HOME TOUR
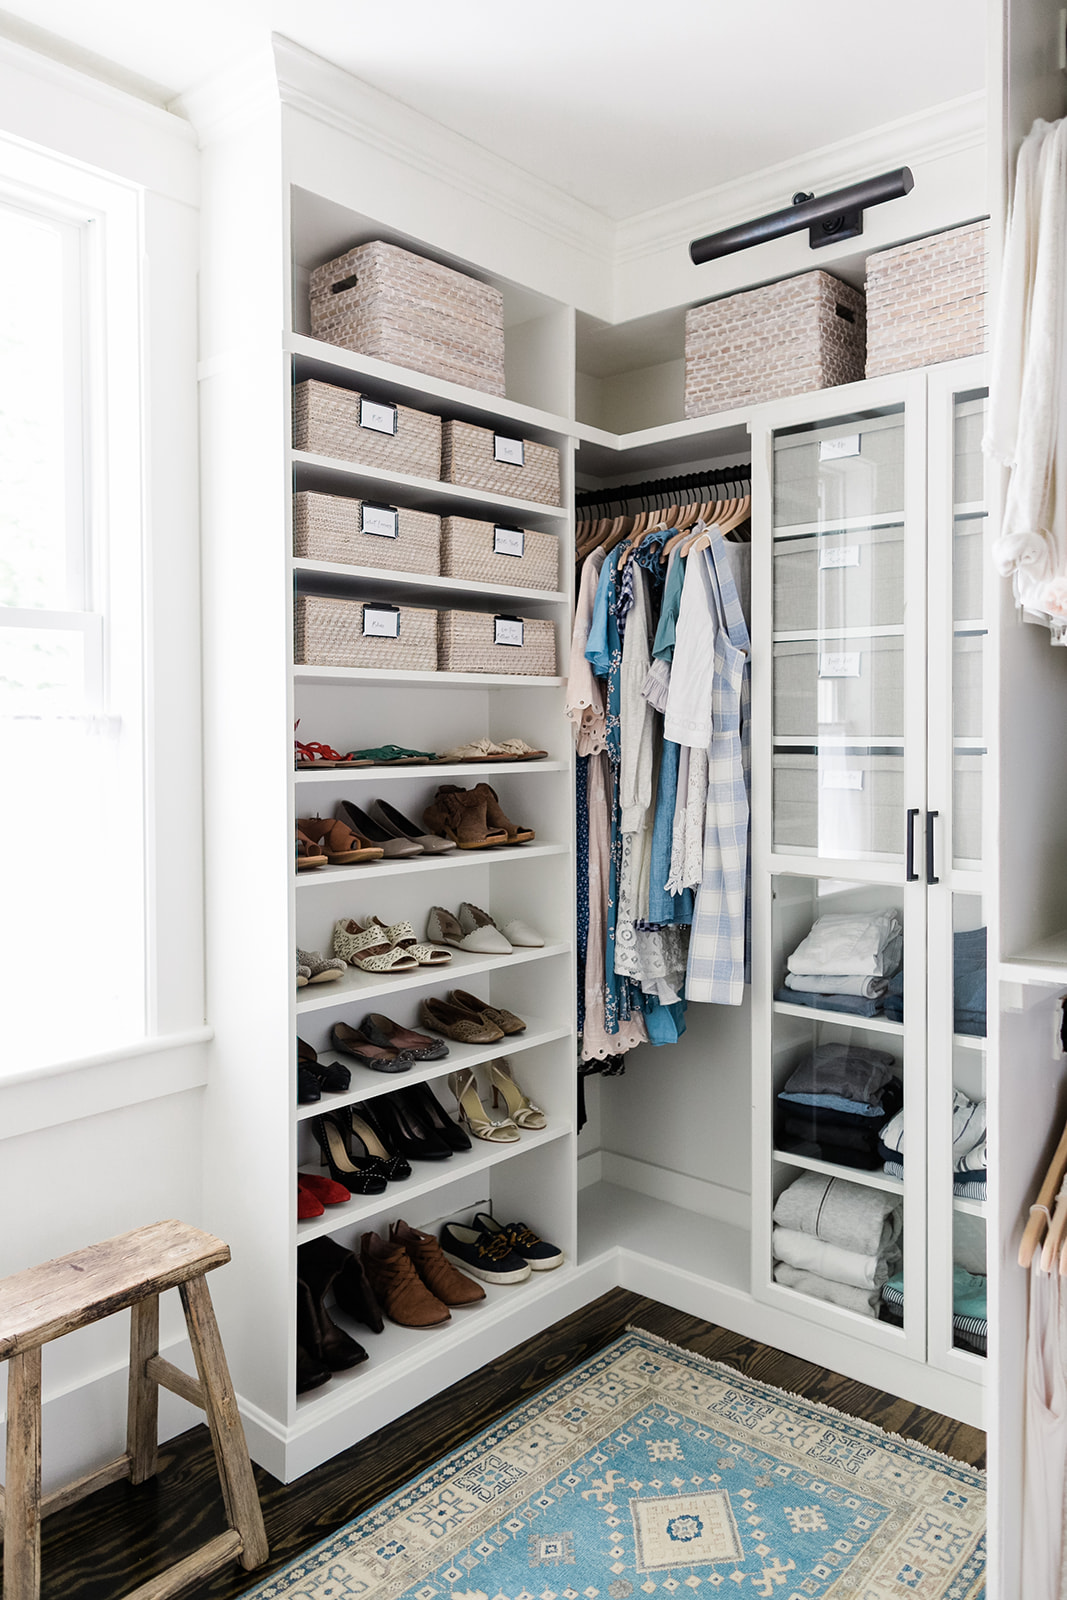
Probably one of our longest DIYs to date, this one was totally worth every minute. We accomplished exactly what I had hoped for–high end design with a low cost price tag. And honestly a lot of the time it took us to finish was due to a certain little miss joining us in January. We stopped our DIYs to spend time with that sweet bundle of joy and it just seemed to take us a bit to pick back up.

Make sure you go back and read this post on the Master Closet Part I because the change is INCREDIBLE and it gives you all the details on the supplies we used and techniques that worked. The last time we left off, the IKEA Billy Bookcases and dressers had been framed in, the upper boxes Matt built were in place with electrical run for the picture lights and we were needing to put up molding, put all the shelves in place and putty the remaining holes (for that more refined, upscale look) caulk and paint everything the same color and dum dum dum, style it to look lovely (like the addition of that pretty vintage rug from a local antique store).
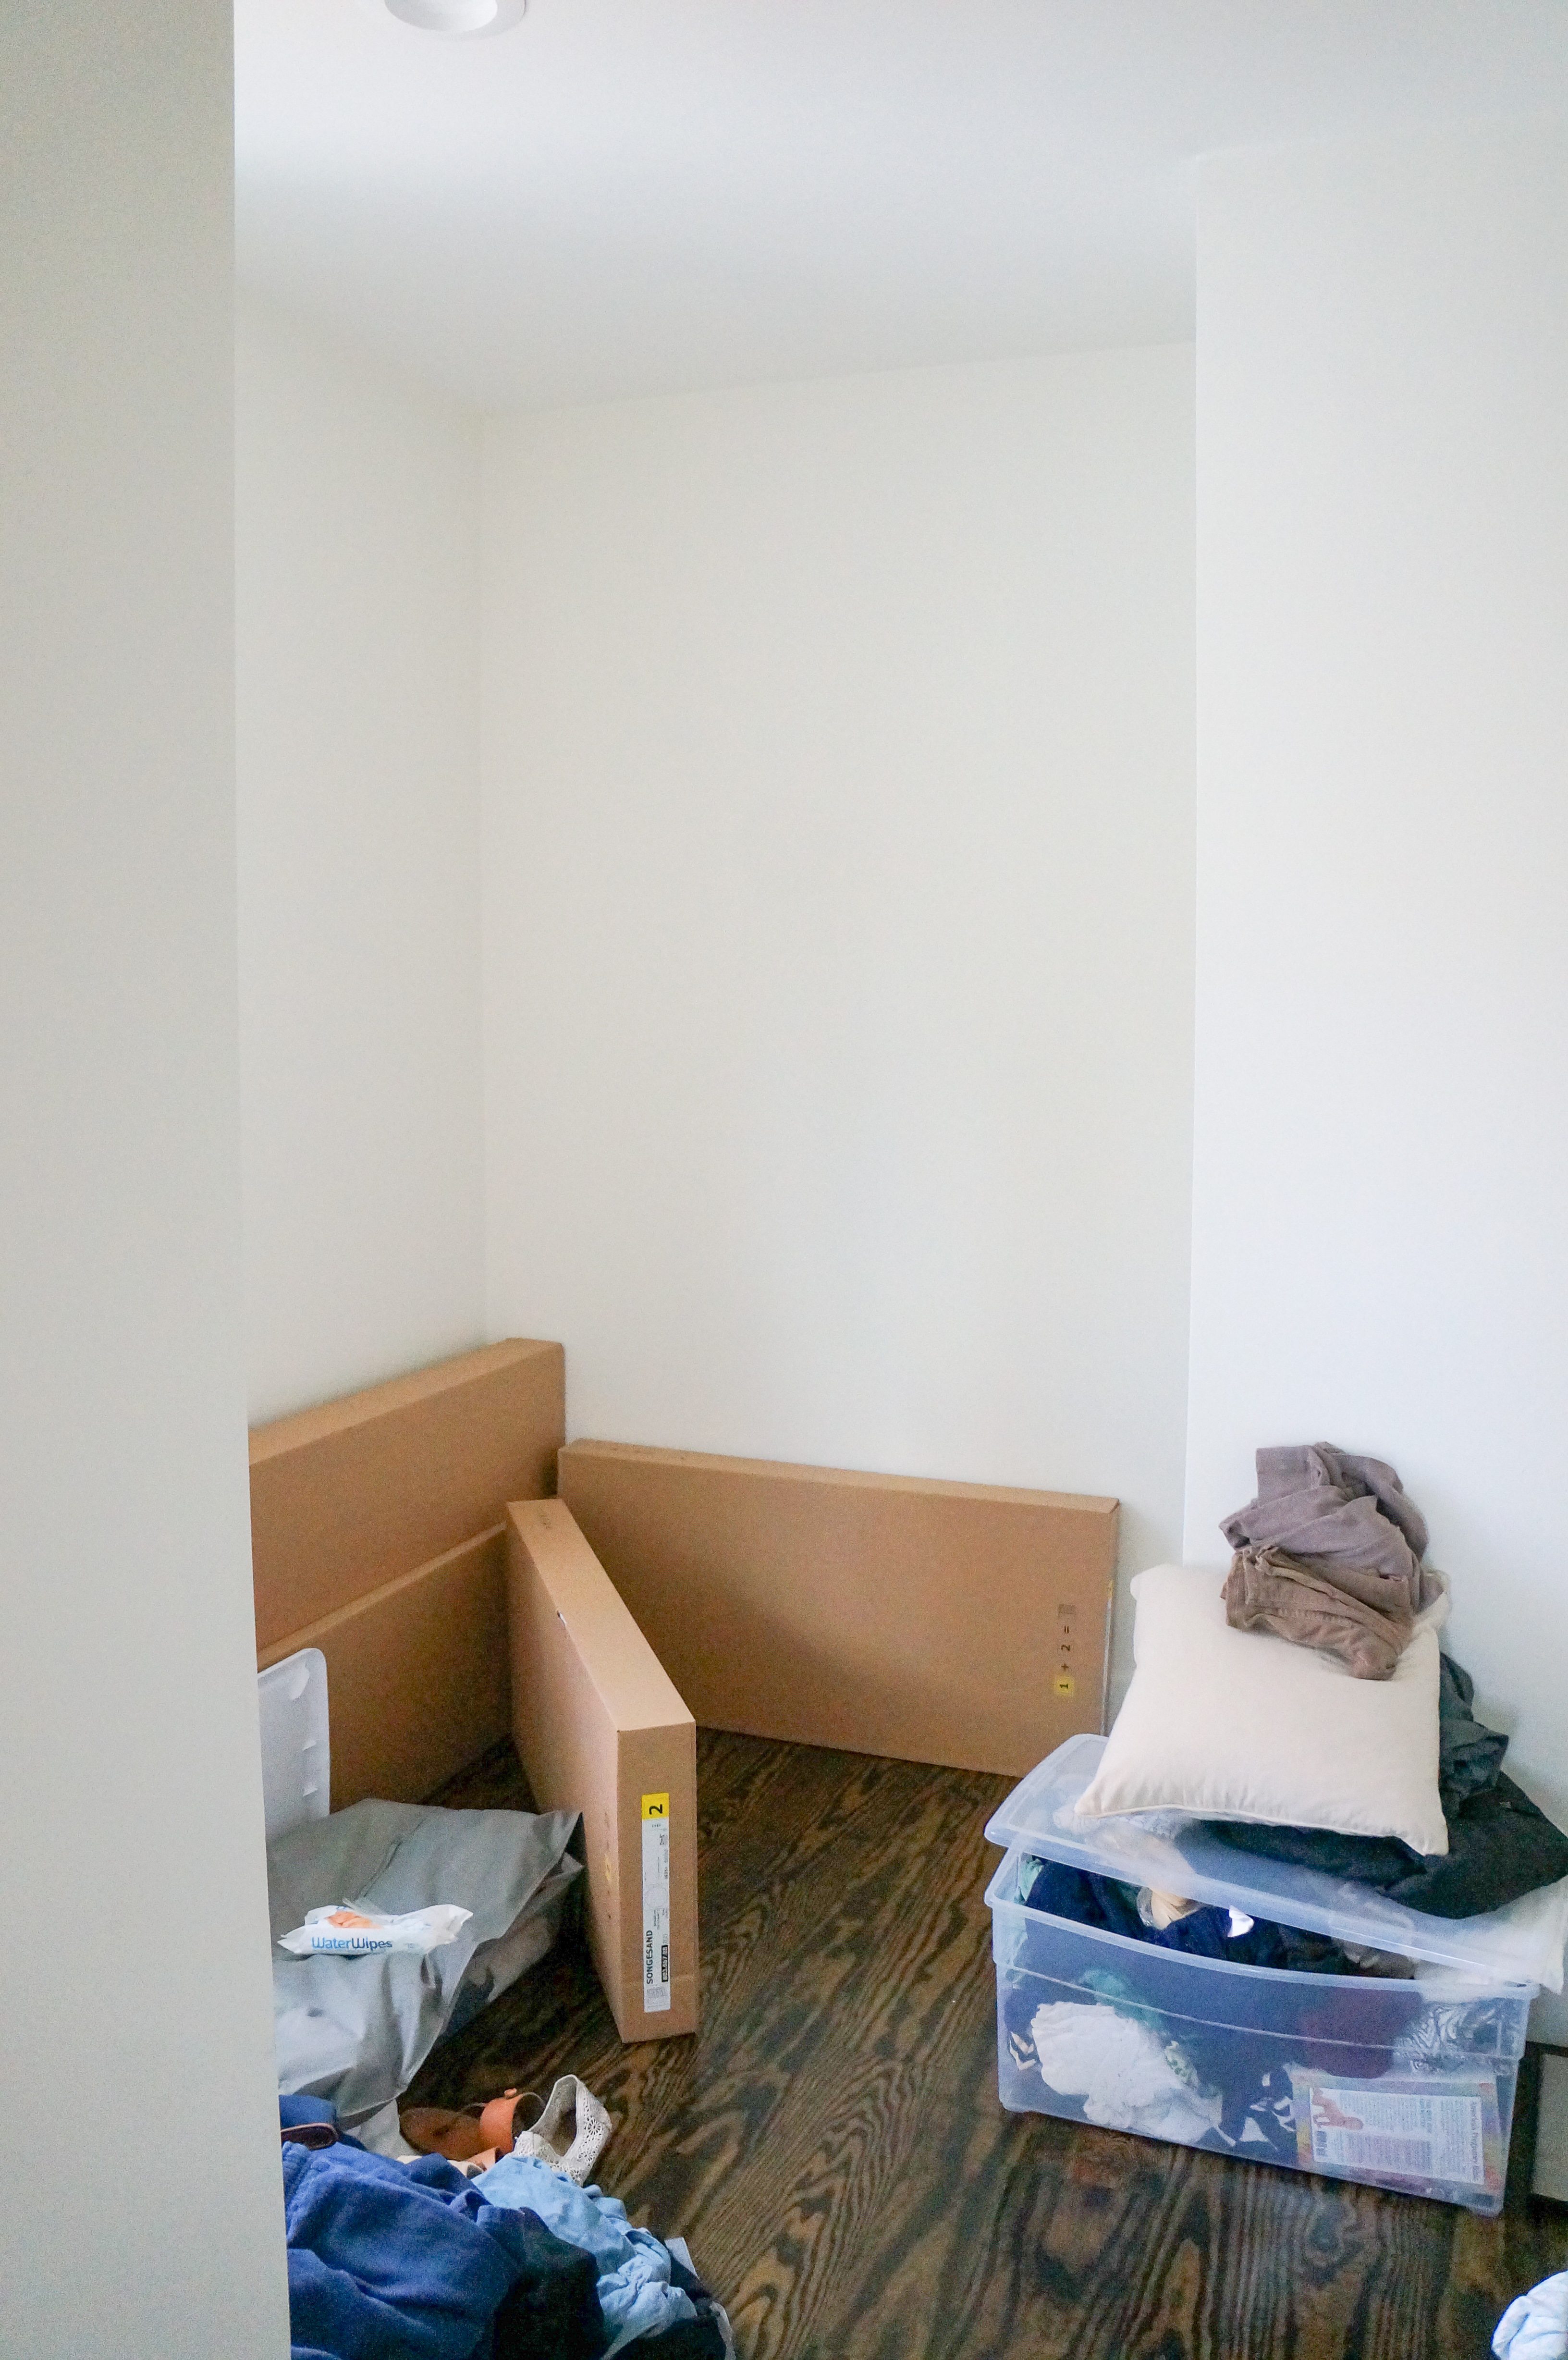
The “Before”

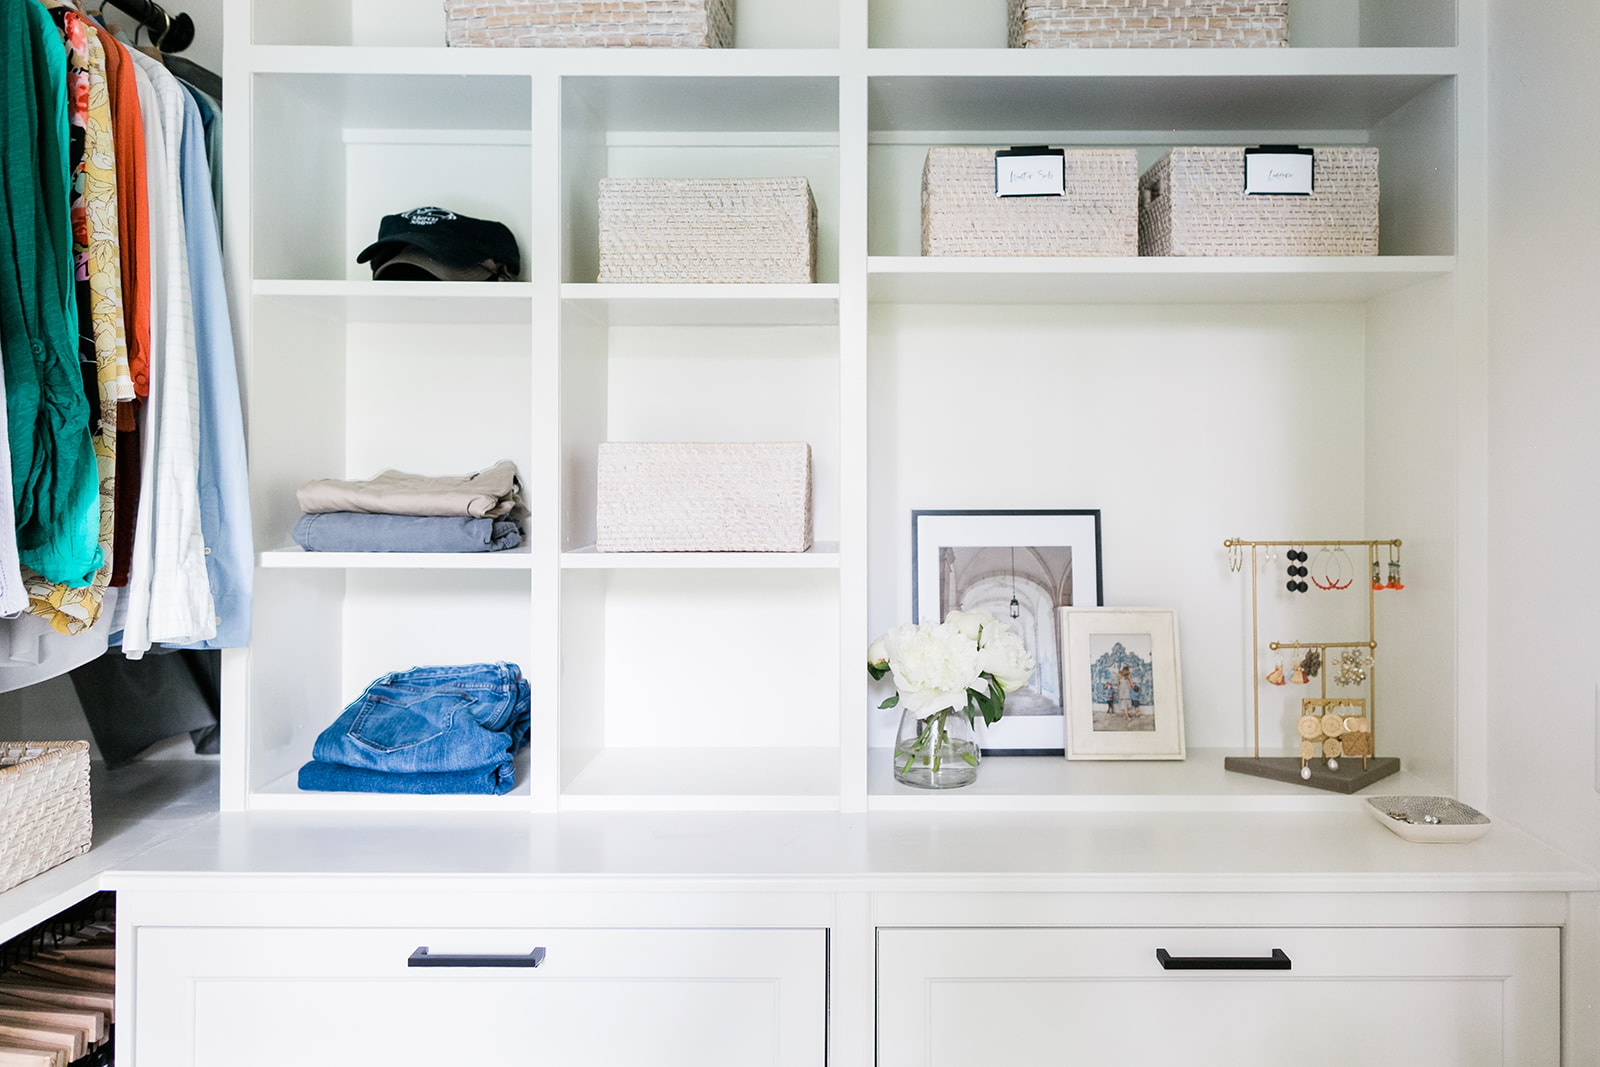
The “After”
This all took some time. Matt’s dad helped with the painting and we waited several weeks to add baskets to the shelves to really make sure the paint cured and wasn’t going to peel up off the surface of the IKEA products. Don’t skimp on paint. Get the high quality stuff. We used the highest quality paint at Home Depot because that’s just where we happened to be. We had it color matched to Benjamin Moore White Dove which is our wall/trim color in our master suite. You could even try sealing it once it has cured completely with a clear coat. Don’t forget to put felt pads on the bottom of your baskets to prevent scratching / peeling.

ORGANIZING THE CLOSET
Once everything cured, actually getting to make it pretty was easy. It took us a solid afternoon to go through our clothes, toss into a giveaway pile what no longer fit or “brought joy” and then the lucky items left got transitioned into their pretty new home. Organizing the look of them in the closet took time however. I love the look of the hanging clothes in Aubrey’s nursery closet where I organized them based on length. So I tried that with my long sleeve and short sleeve ones. I ended up leaving the short sleeve shirts organized like that, based on sleeve length, but organized the top hanging long sleeve shirts based on color. Clearly just personal preference.


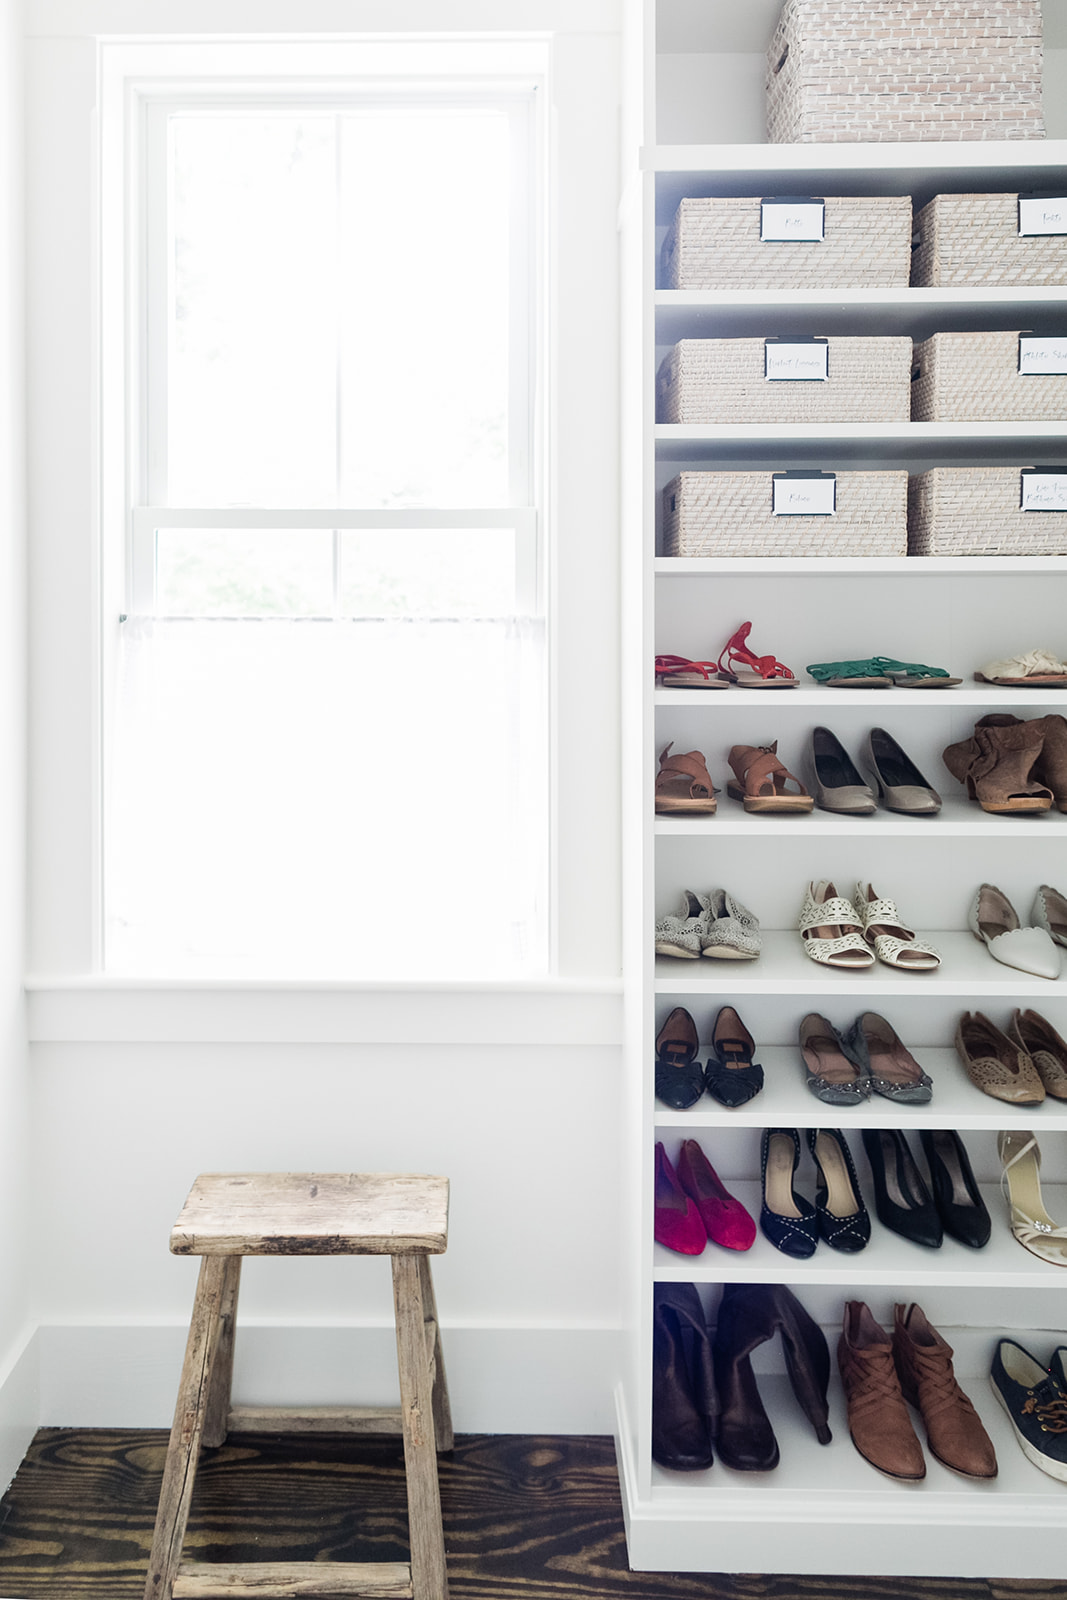
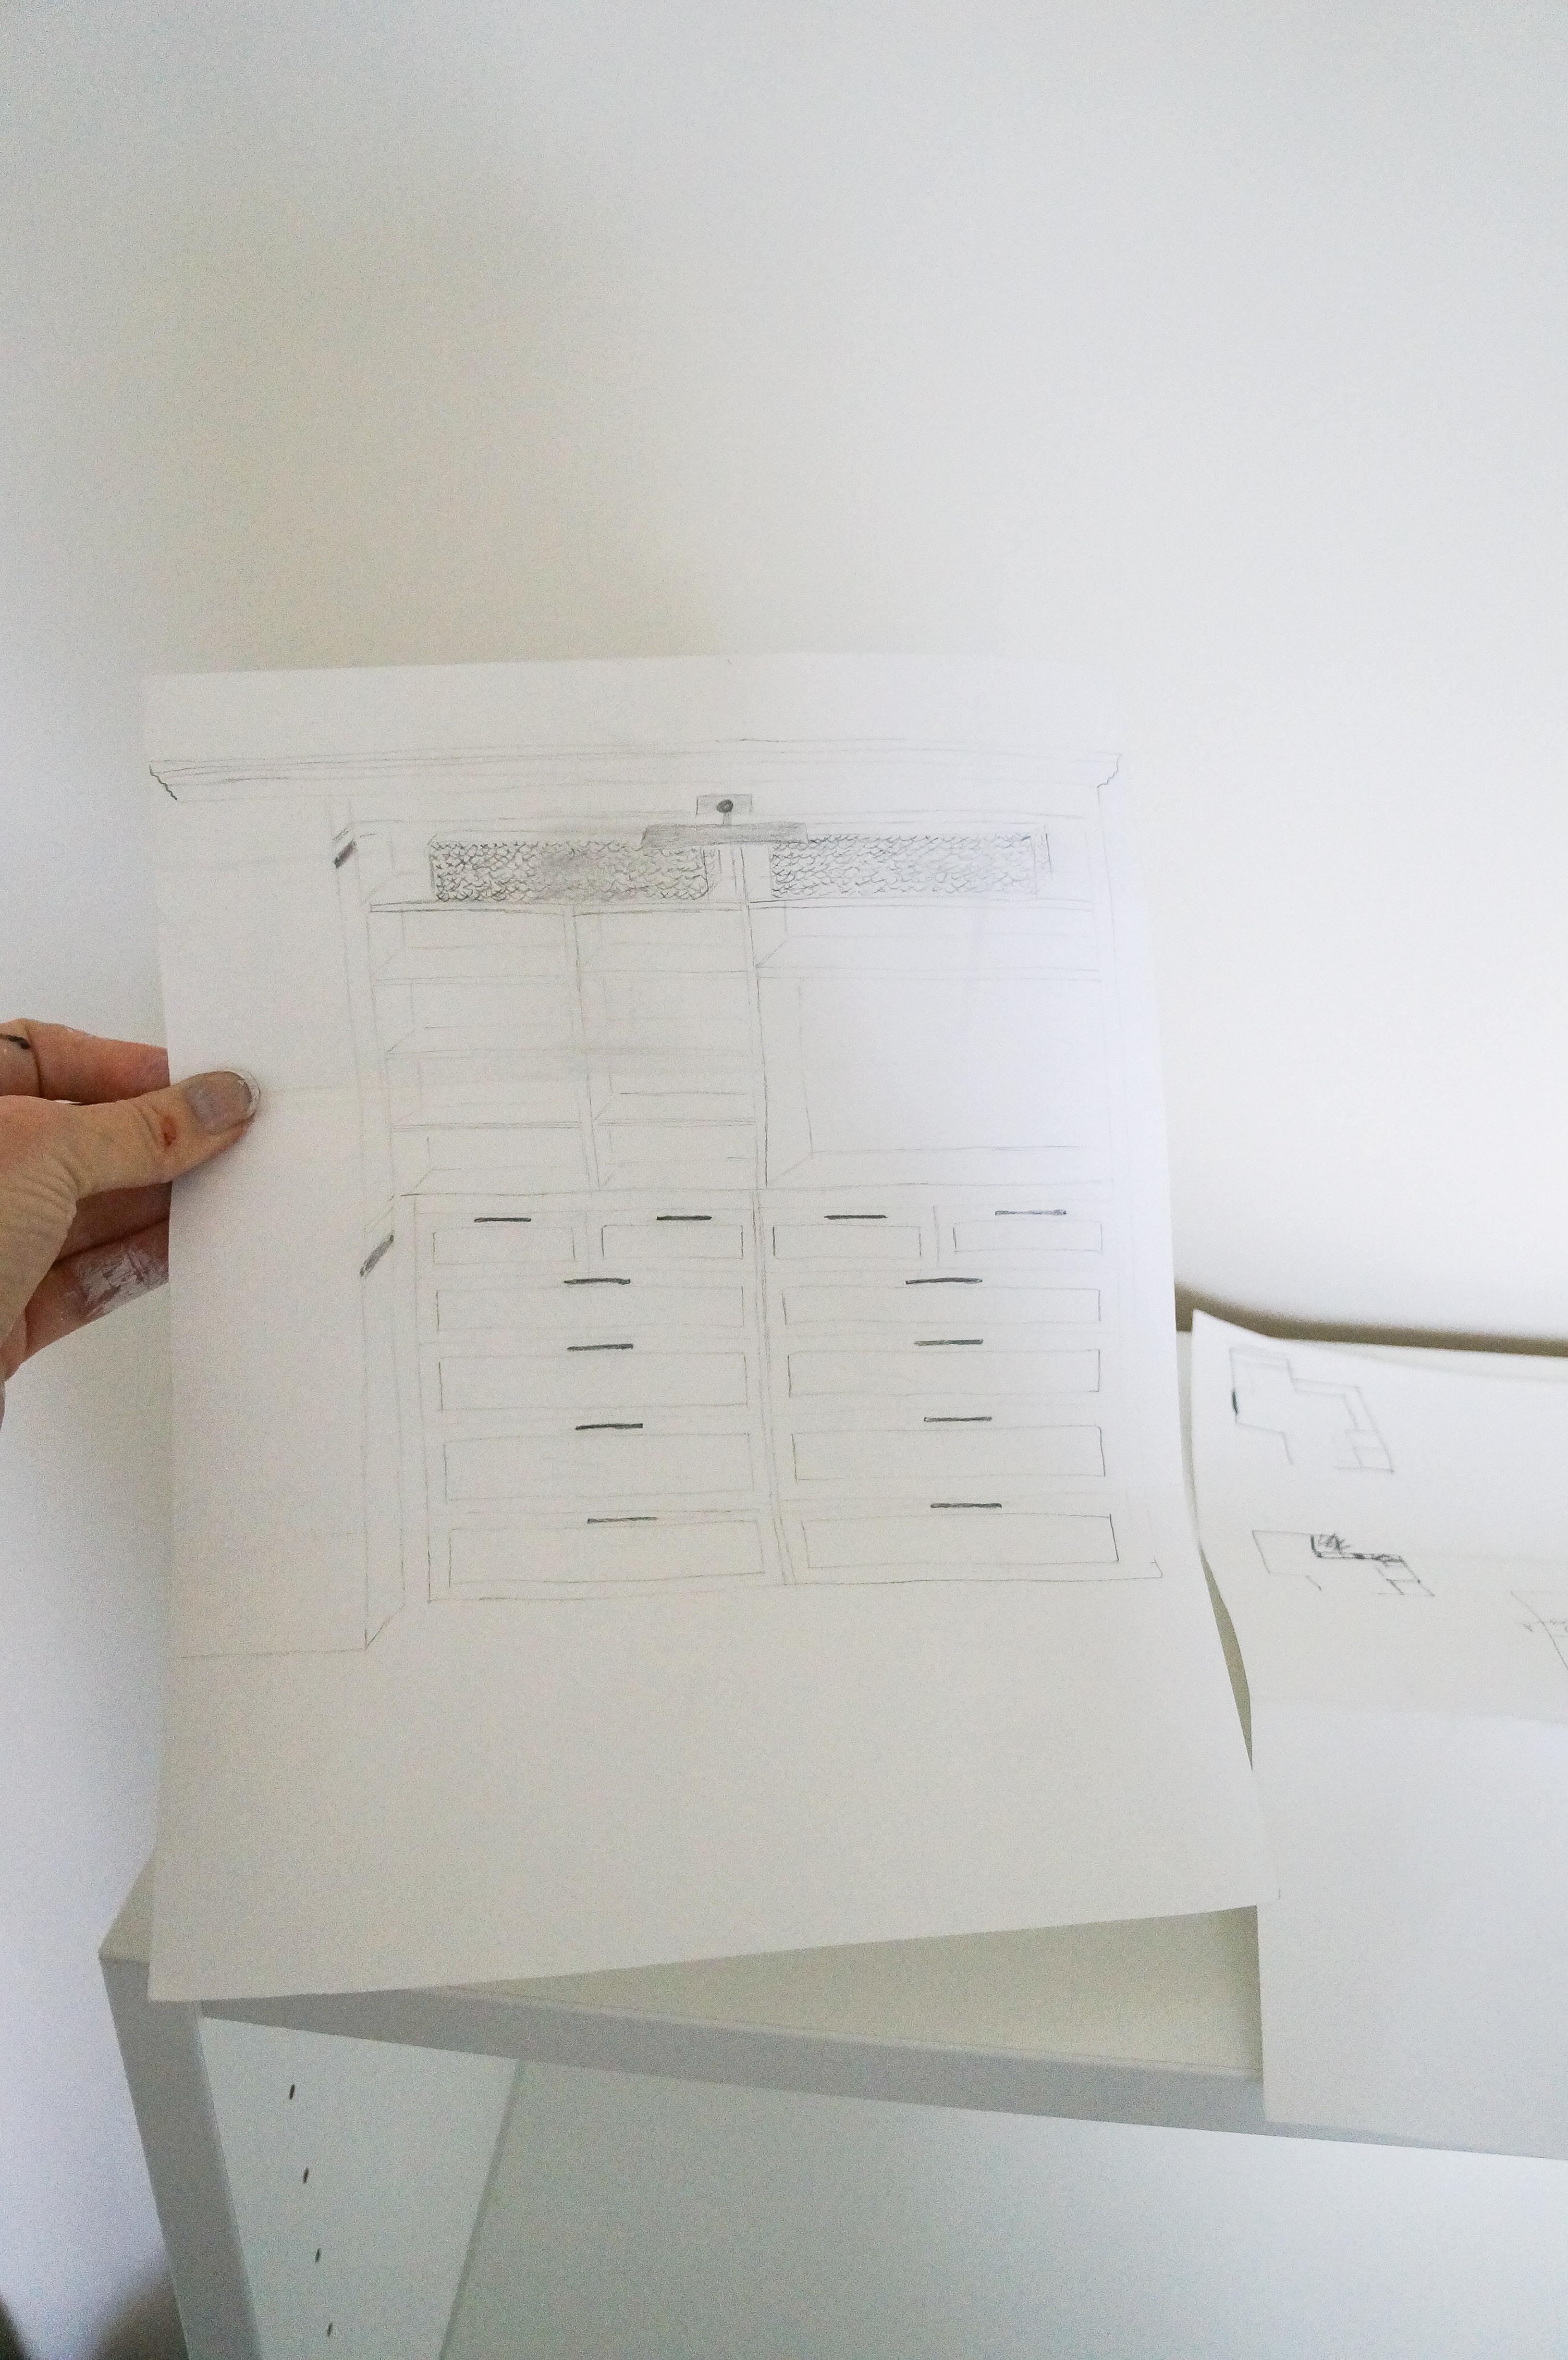
This whole project worked out so well because Matt is super handy. I doodled out how I wanted it to look and he pulled it off. So even though we had no idea what we were doing and it took forever, the finished product is AWESOME. I’m so proud of him. So know that it is totally possible to get a high end built in closet look using IKEA products, and not even ones specifically for a closet design. I remember back to those early planning days walking through the fancy closets in The Container Store knowing I wanted that built in look but knowing I didn’t want to spend the cost of a car to accomplish this goal. All in, this whole project was <$2000. Which seems like a lot until you realize what built in closets actually cost. And that was including me splurging on the fancy Visual Comfort lights. But know that there are battery operated picture lights that are very reasonable and you then don’t have to run electrical.
BASKETS, BASKETS, AND MORE BASKETS
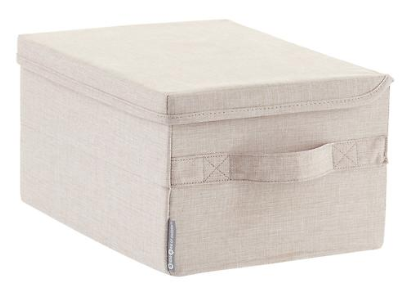
You may remember, if you follow me on Instagram, the great debacle regarding folding my sweaters. I wanted glass doors on one of the Billy Bookcases specifically so that my sweaters (and there are many because you wear them through June in New England) could live and hopefully be more protected from moths, dust, etc. But when I folded them, and believe me I funneled my old Jcrew days and used a clipboard to try and do it neatly, I just couldn’t get them to look right. I’m very visual and it mattered to me that it look neat and orderly. No matter how hard I tried, they looked messy. So I got to work tracking down baskets or bins that would fit inside the Billy Bookcase and allow the glass doors to close. Harder than it sounds because it’s not that deep of a bookcase! Enter the brand, Bigso. It’s a Swedish brand and I’m guessing basically in cahoots with IKEA because the bins fit like they were MADE FOR IT!!! They look all the more awesome with those label holders and custom labels made by Little Lief Creative.


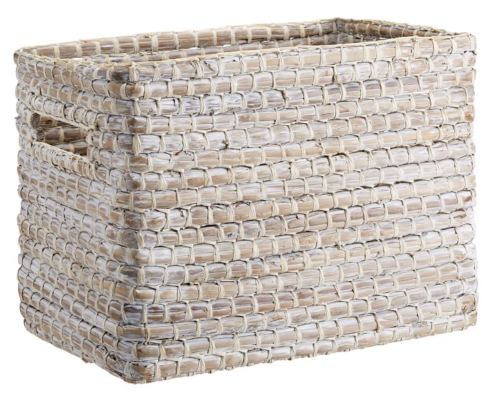
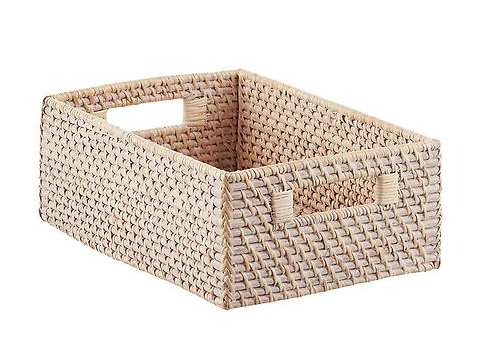
I used two different white washed rattan baskets in the closet, the taller ones in the top shelves compliment the smaller weave ones in the Billy Bookcase above the shoes and in the nooks above our drawers. This adds a design element that is quite pretty.


WALL JEWELRY STORAGE
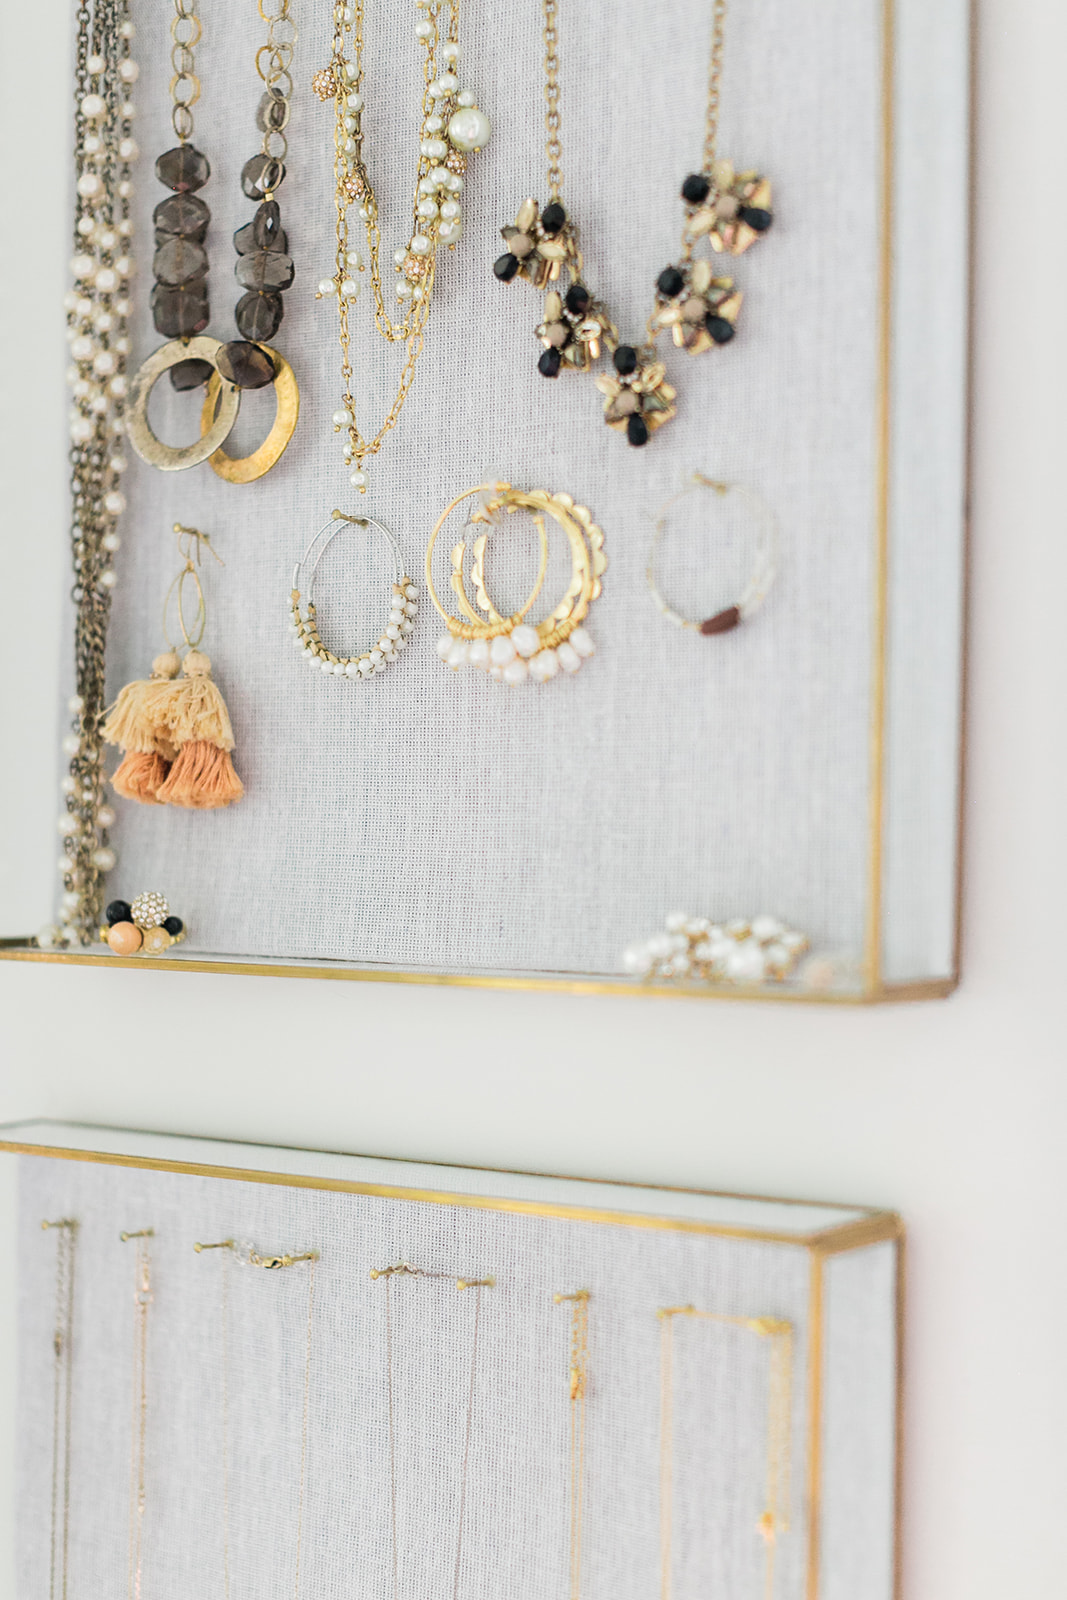
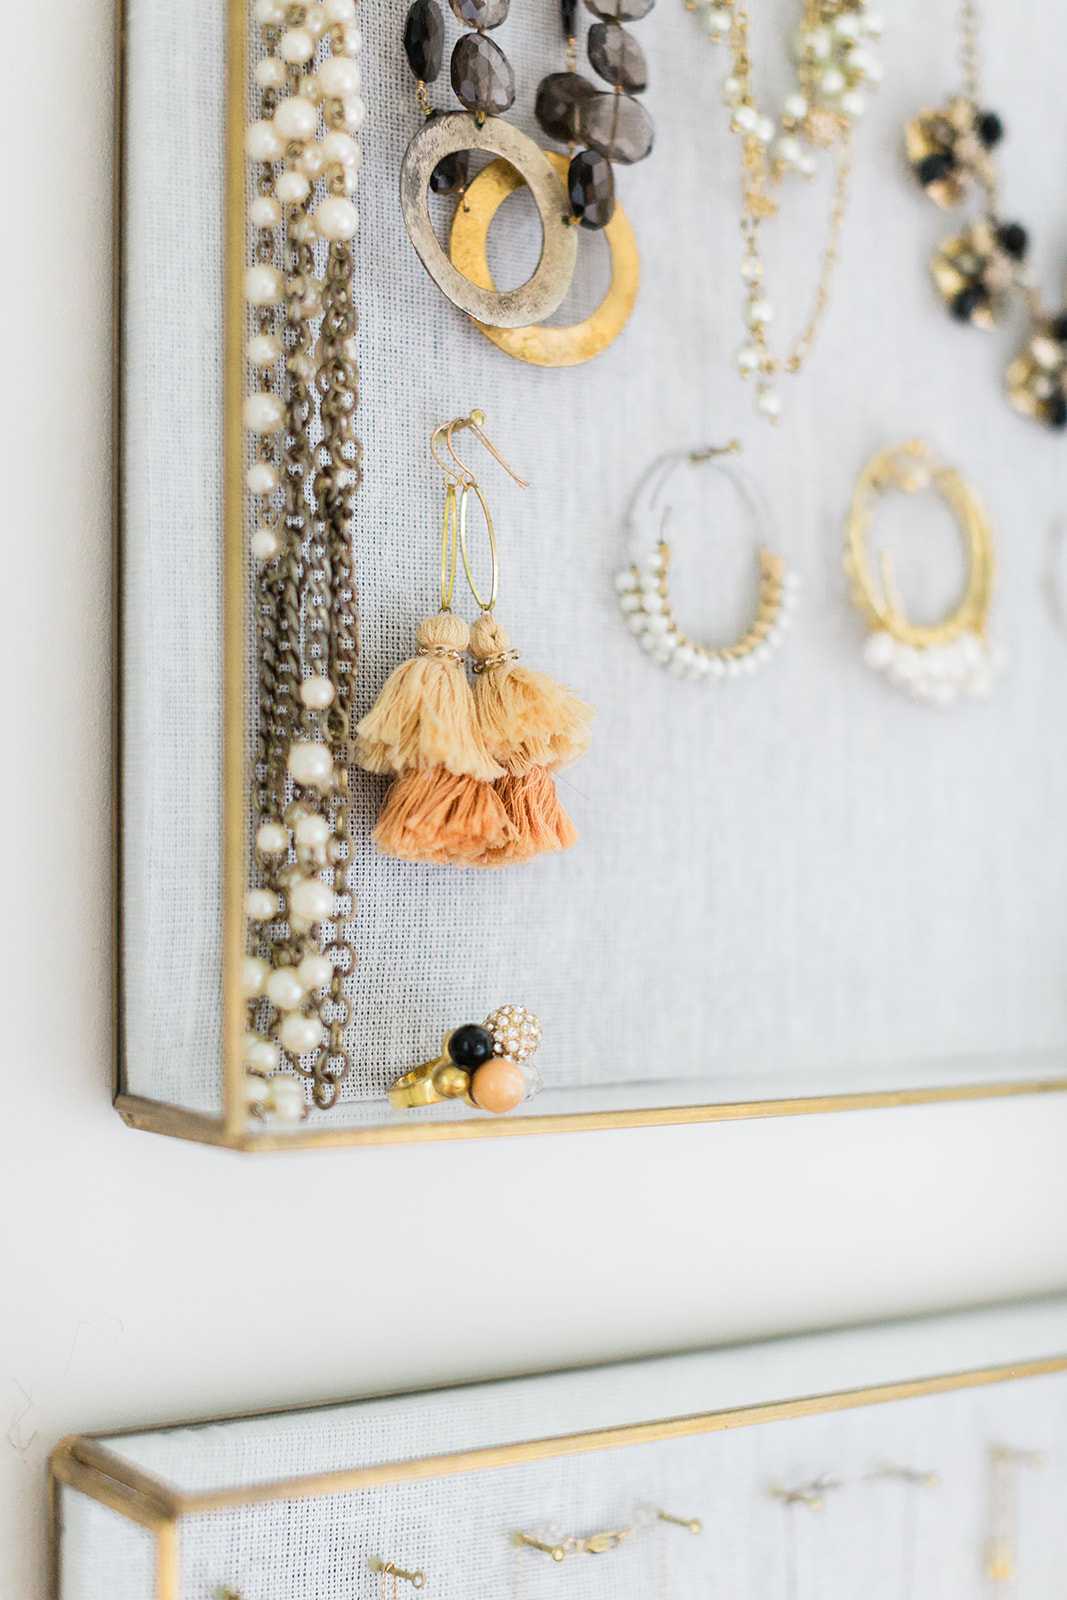
The glass boxes hanging on the wall displaying my jewelry are one of my most asked about purchases. They were a happy find I stumbled upon at Target several months ago. I haven’t seen them since. Check your store. Here is an almost identical one I found at West End. What these beauties forced me to do was really think about my jewelry and pare down to only what I really loved. I have some older ones upstairs I’m saving for when Aubrey wants to play dress up someday.


Here’s some tips to give you a high end look:
*Make sure to use all the same hanger
*Organize hanging clothes by sleeve length or color for a uniform look
*Use lots of the same kind of basket (different sizes are ok if the material is the same)
*Print out pretty labels (I used Little Lief Creative, an Etsy shop to have labels made)
*Neatly fold clothes (I even organized the folded clothes by color, darkest on the bottom to lightest on the top)
*Bring in different textural elements (metal drawer pulls, old wooden stools, linen jewelry holders, etc)
*Consider nicer hardware. We used these ones and they were quite reasonable.

I could not be more pleased with how it turned out. It’s beautiful, organized to perfection which we’ve actually managed to keep up and a joy to use. No more crying over not being able to find my clothes, haha! We started with an empty canvas and now have a dream closet. I hope you feel inspired to tackle one of these too! A big ole’ thank you to sweet Ruthie of Ruth Eileen Photography who captured these pictures beautifully, even Aubrey’s adorable crying face.

8 responses to “Master Closet Reveal”
Leave a Reply


 Back To Home Tour
[…] The closet looks large. Jacqueline Hempel/Finding Lovely […]
Hi Jackie, do you feel like your clothes fit well in the Billy bookcases even thought they are only 11″ deep?
Hi Katherine, I feel like my clothes fit great, it’s the shoes that I could see being a problem with the Billy Bookcases. Mine are 6.5 or 7 and they are within and inch of the edge.
[…] Photo Finding Lovely […]
[…] Transparent cabinet looks big. Jacqueline Hempel / Master Closet Reveal […]
[…] place to linger. Right now my “office” is in our closet. Which if you haven’t seen in a while, its worth taking a second look because Matt finished it himself on a budget and it’s beautiful and functional. Regardless, […]
Hi Jackie,
I came upon your post when I was looking for closet inspo. I’m planning on modeling my closet after seeing how beautiful yours turned out. I’ll have to make a few adjustments as my closet space is not as big, but I did want to please ask – in the third photo where most of your clothes are hanging, is that a platform or some type of bookcase from Ikea, or did your husband build that from hardware? Any help would be greatly appreciated. Thanks!
Hi there! That area of the closet with the hanging shirts is essentially a box constructed from plywood. You can see more details of that area on the first post on the closet:
https://www.findinglovely.com/master-closet-diy-part-i/