HOME TOUR
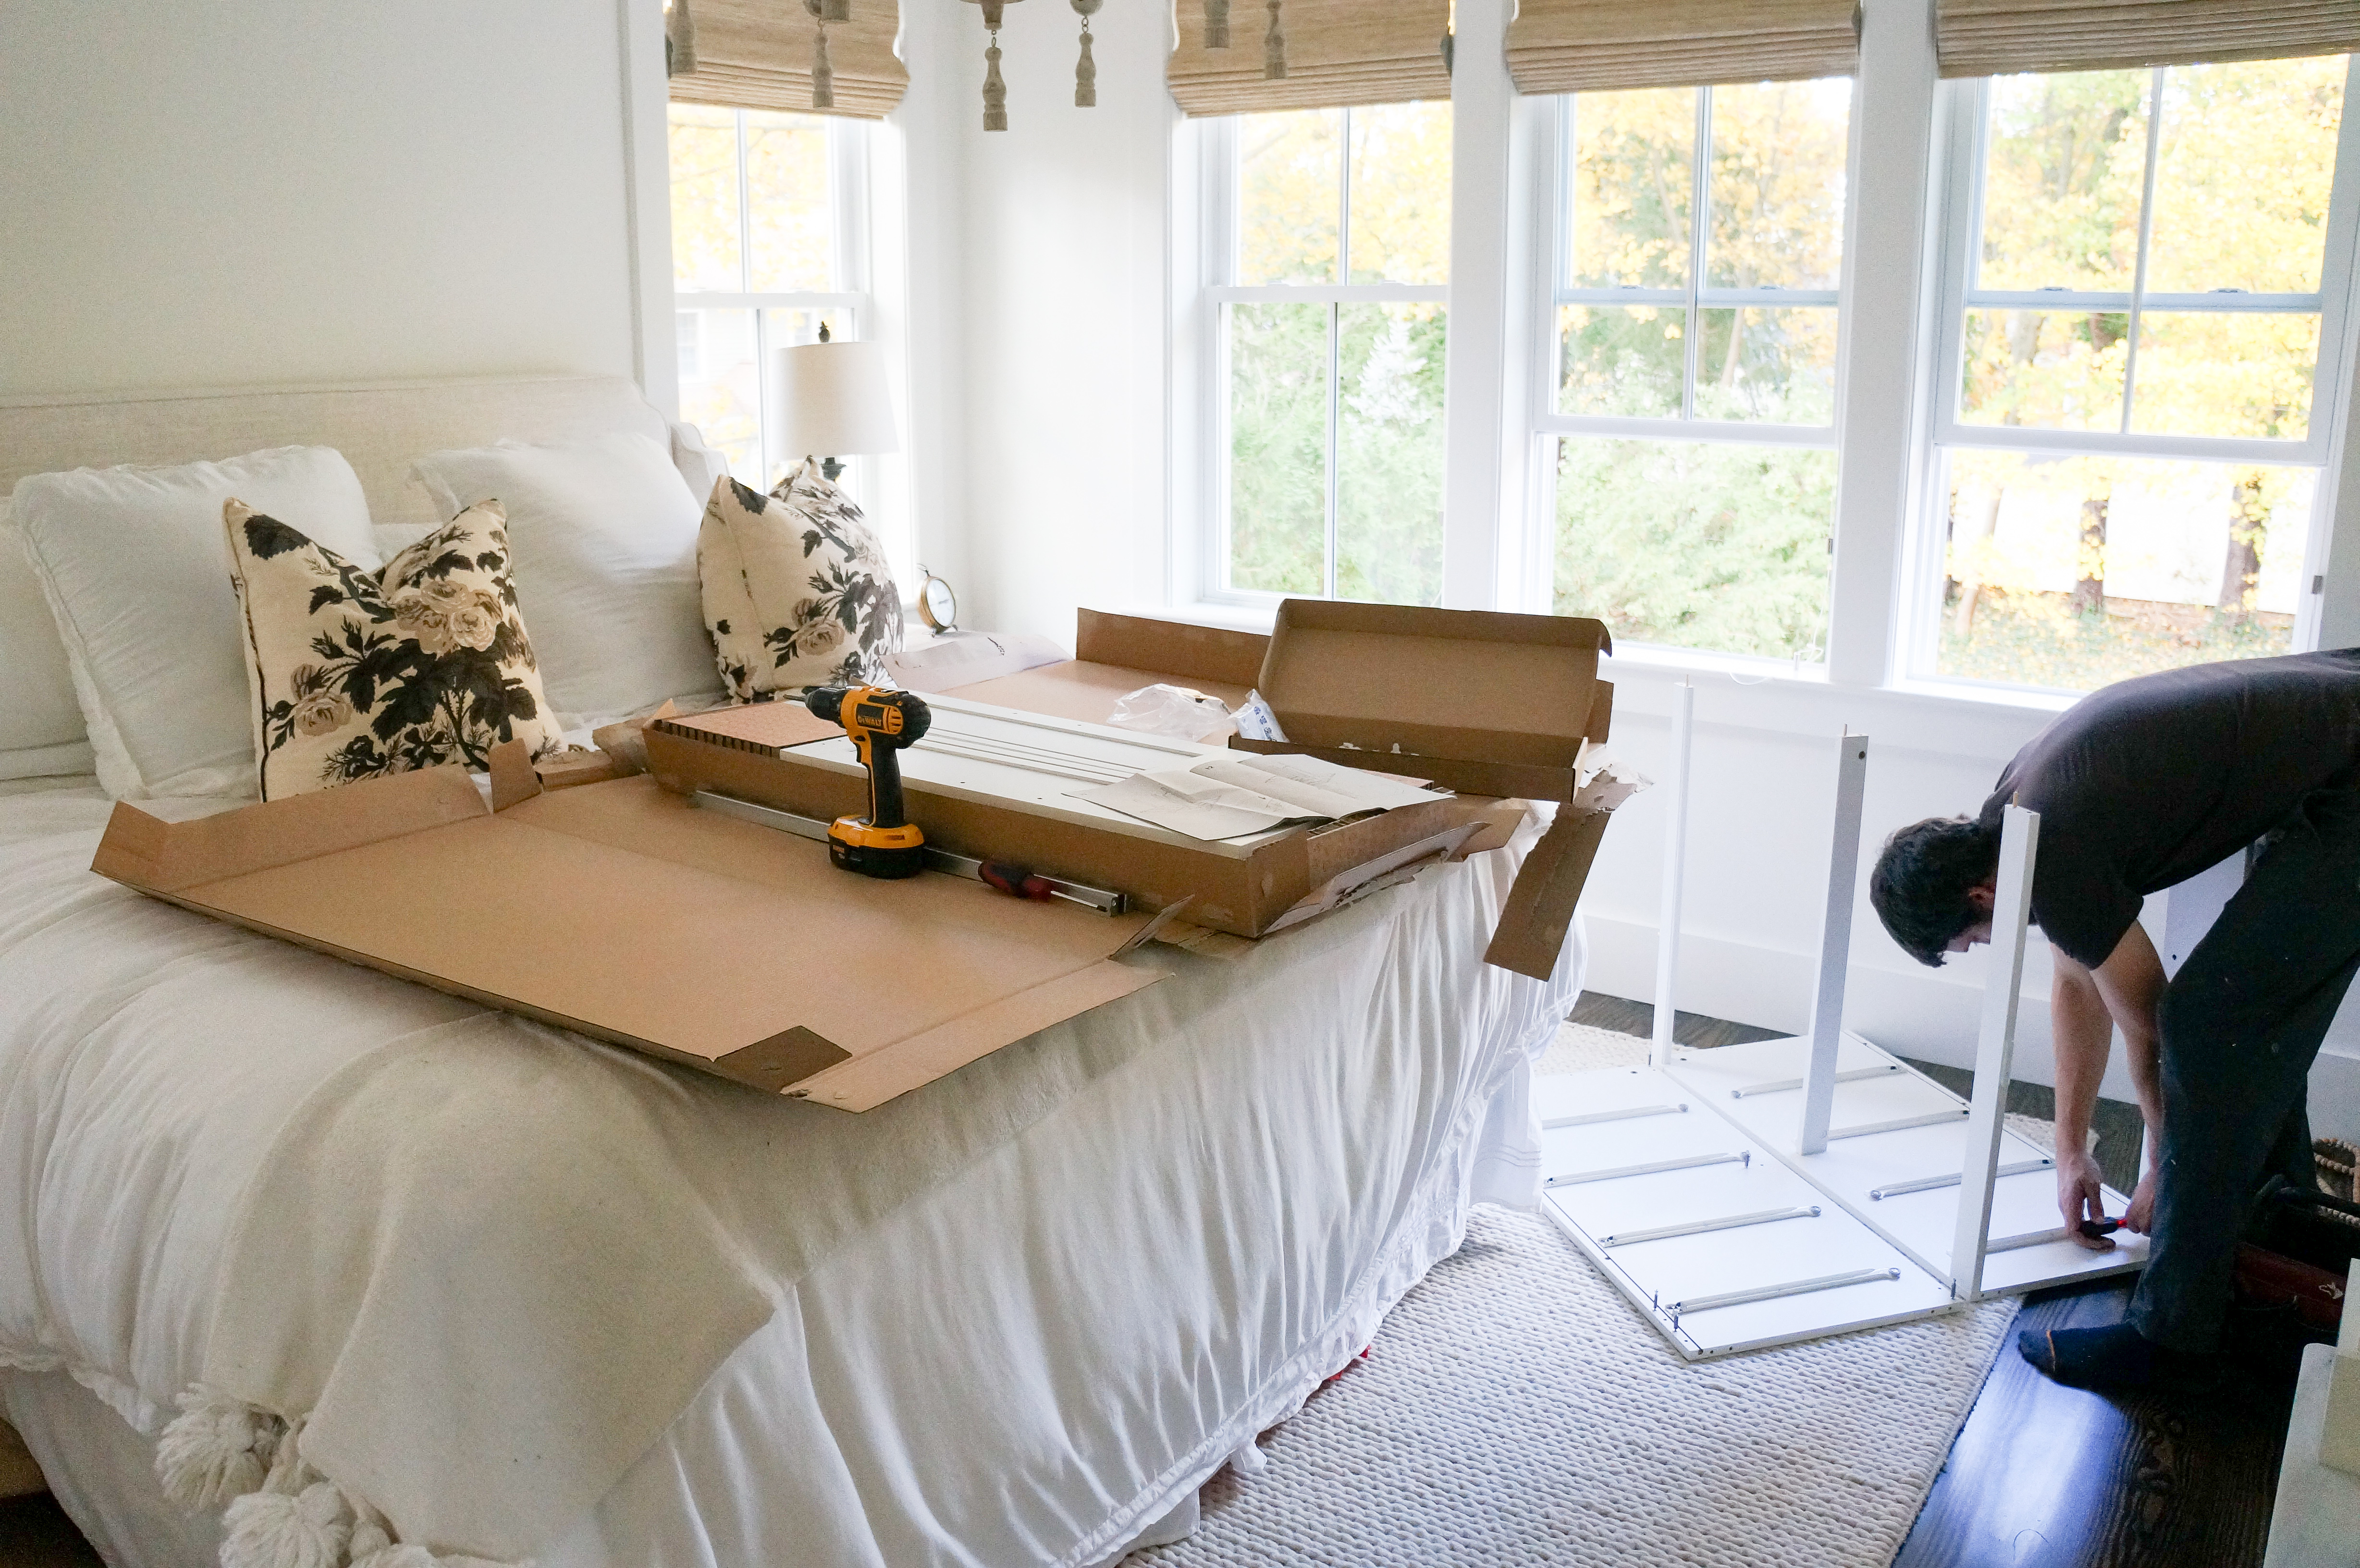
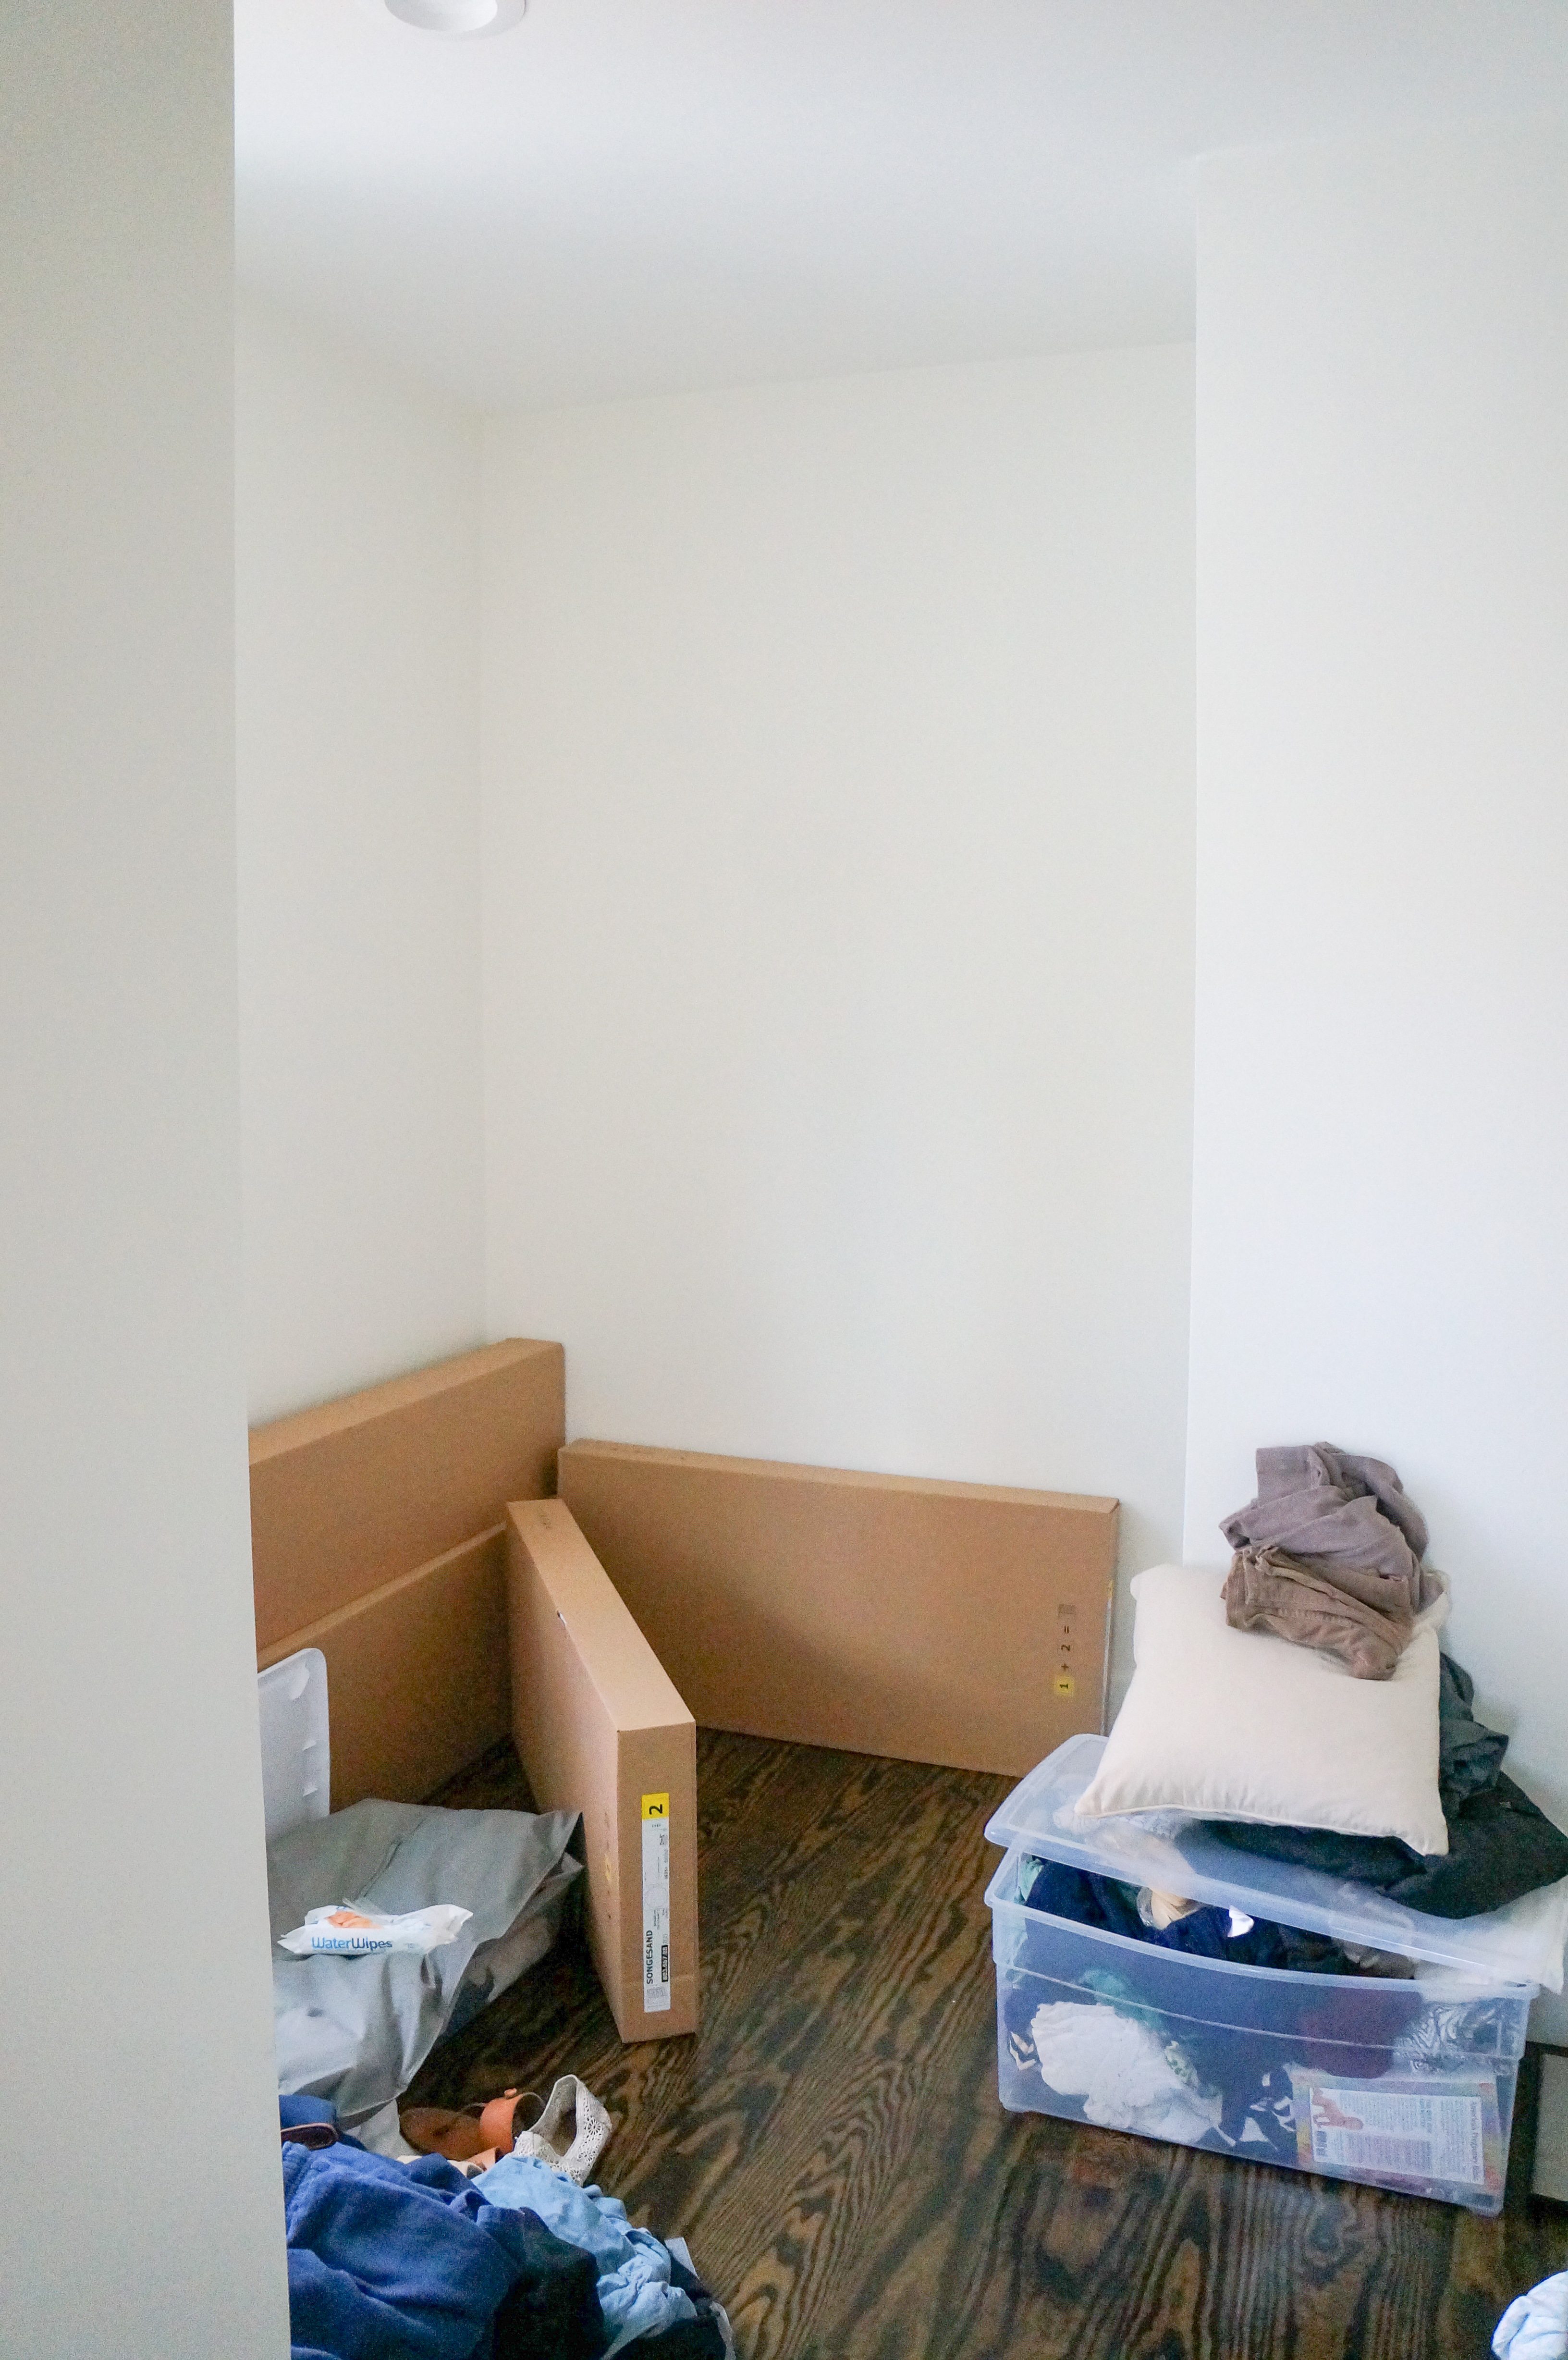
After the major renovation on our old farmhouse wrapped up this last summer, we were definitely left with some projects on our hands. Most pressing was our master closet as it was just a finished but empty room. No place to hang or fold or store clothing, just a room and we had asked our contractor to do that on purpose so we could save money and stay in our renovation budget. Boy did it quickly start to accumulate. Closet built-ins are a fortune. Have you ever tried shopping around for them? Just a stroll through that section of the Container Store makes you realize they can cost as much as a car.
My husband likes to joke that I have high-end taste and for this particular project he has a “low-end budget”. Haha! So what I wanted was a beautiful custom-looking built in closet. What husband wanted to shell out was enough to purchase a few coat hooks. Sooooo, compromise in hand and crazy hats on, we decided to tackle this closet using IKEA billy bookcases and the Songesand dressers. I’m going to say “we” a lot in this post but just know, husband gets the credit. I designed it, drew it out on paper for him, told him exactly what I wanted and where but he is actually in the process of pulling it off.
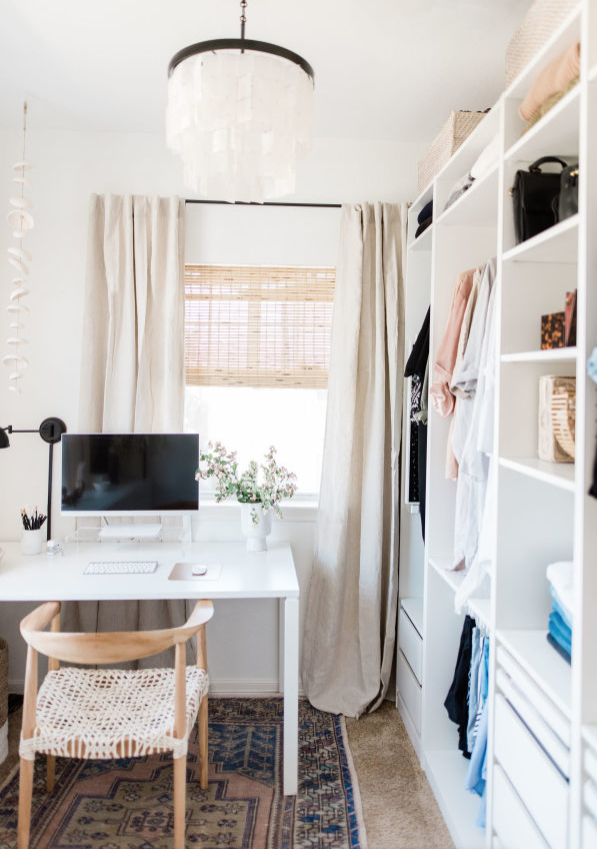
THE BEGINNING
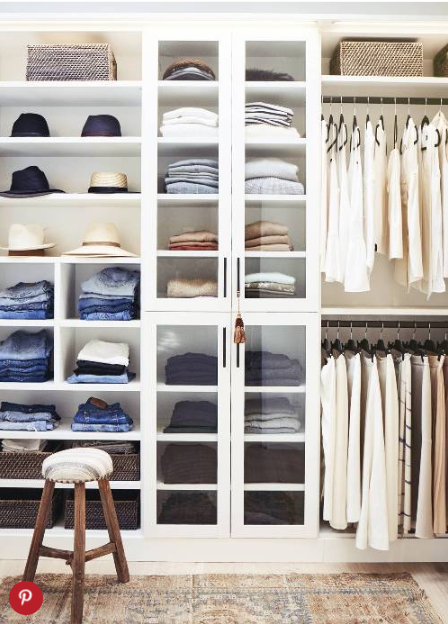
So lets start at the very beginning. I sat on the floor of the empty closet room, pencil and paper in hand and pinterest open to my closet board and started with a list of what I was needing–place to hang dresses and skirts, place to fold sweaters keeping them free from dust (this meant a glass cabinet?), dresser drawers for the undies, socks, bras, tank tops, bathing suits, pretty things etc. My husband needed space for folded t shirts, long sleeves, pants, shorts, boxers, etc. He only has two suits in typical software company job style. Then there’s jewelry, accessories and shoes. I’m not a fashionista or crazy clothes person, I don’t have 1000 pairs of shoes but I do want a nicely organized closet that is pretty.
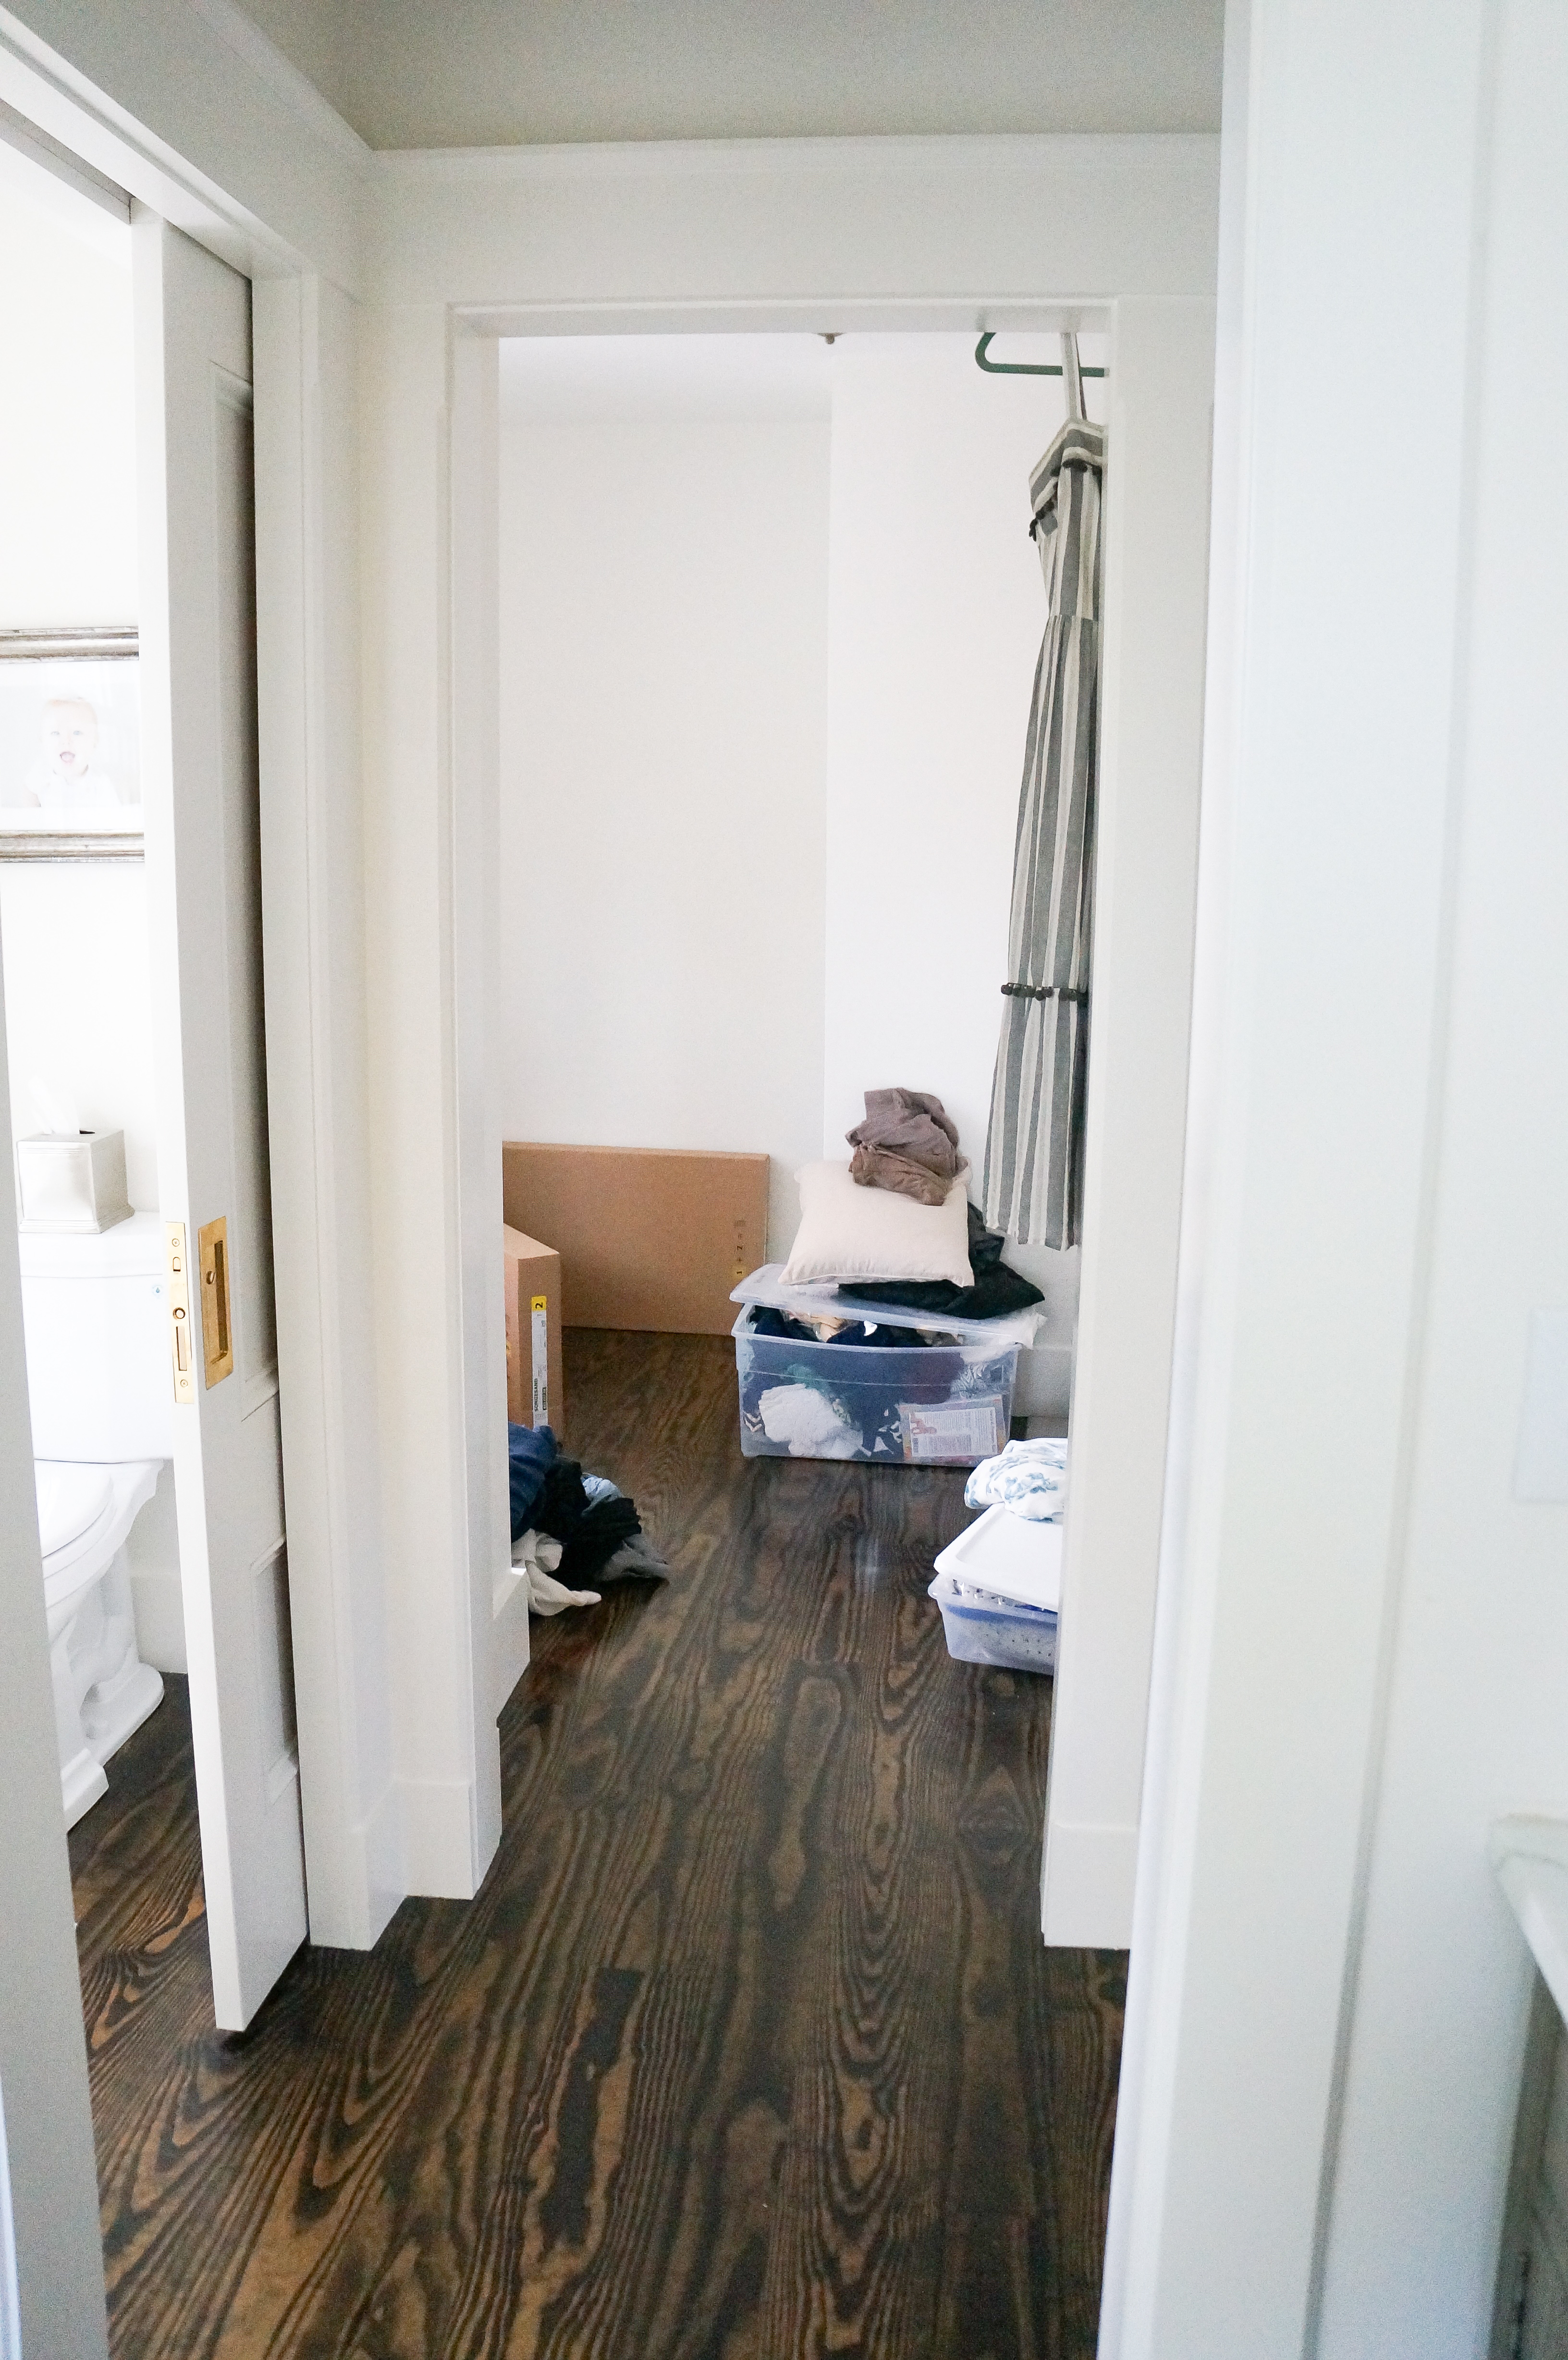
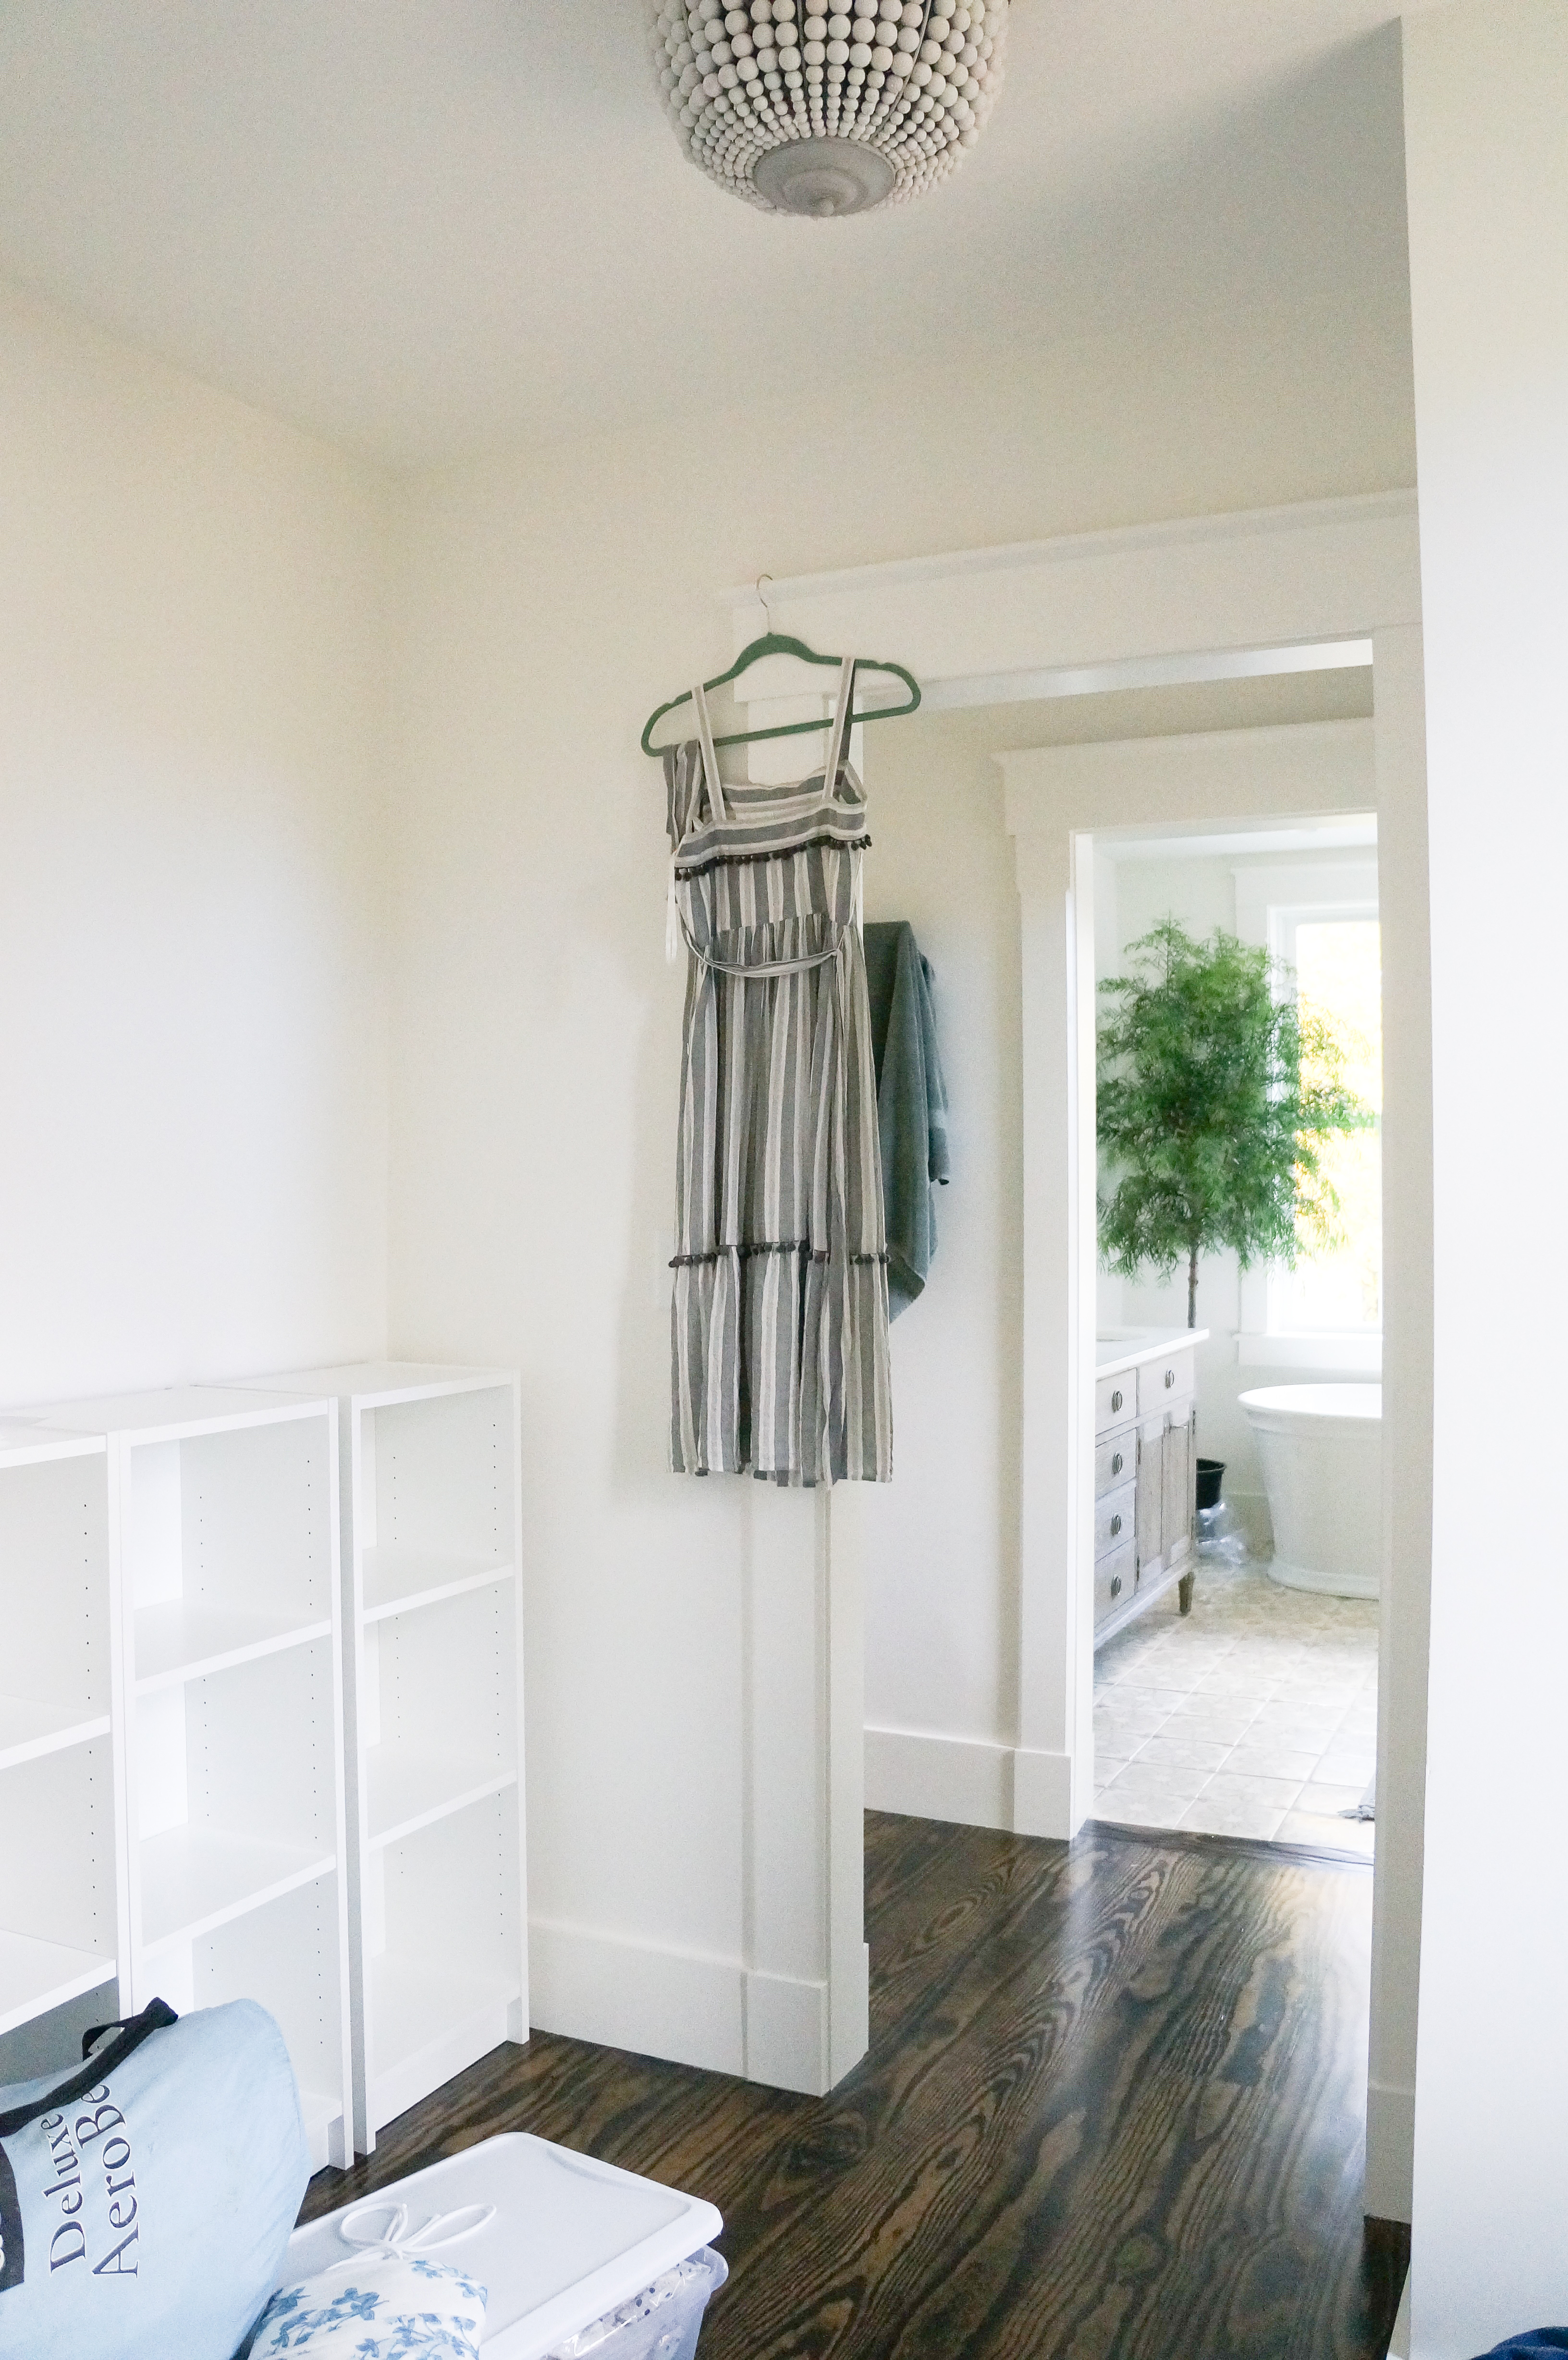
I took general stock of what I had already, ie the number of dresses, skirts, pants, shirts which helped me fine tune what I thought I might need storage-wise. This is tricky for anyone. I’d like to go on a mega purge of my closet but for the majority of this project I’ve been in my third trimester and figuring out “what still fits” and “brings joy” is a very lofty order.
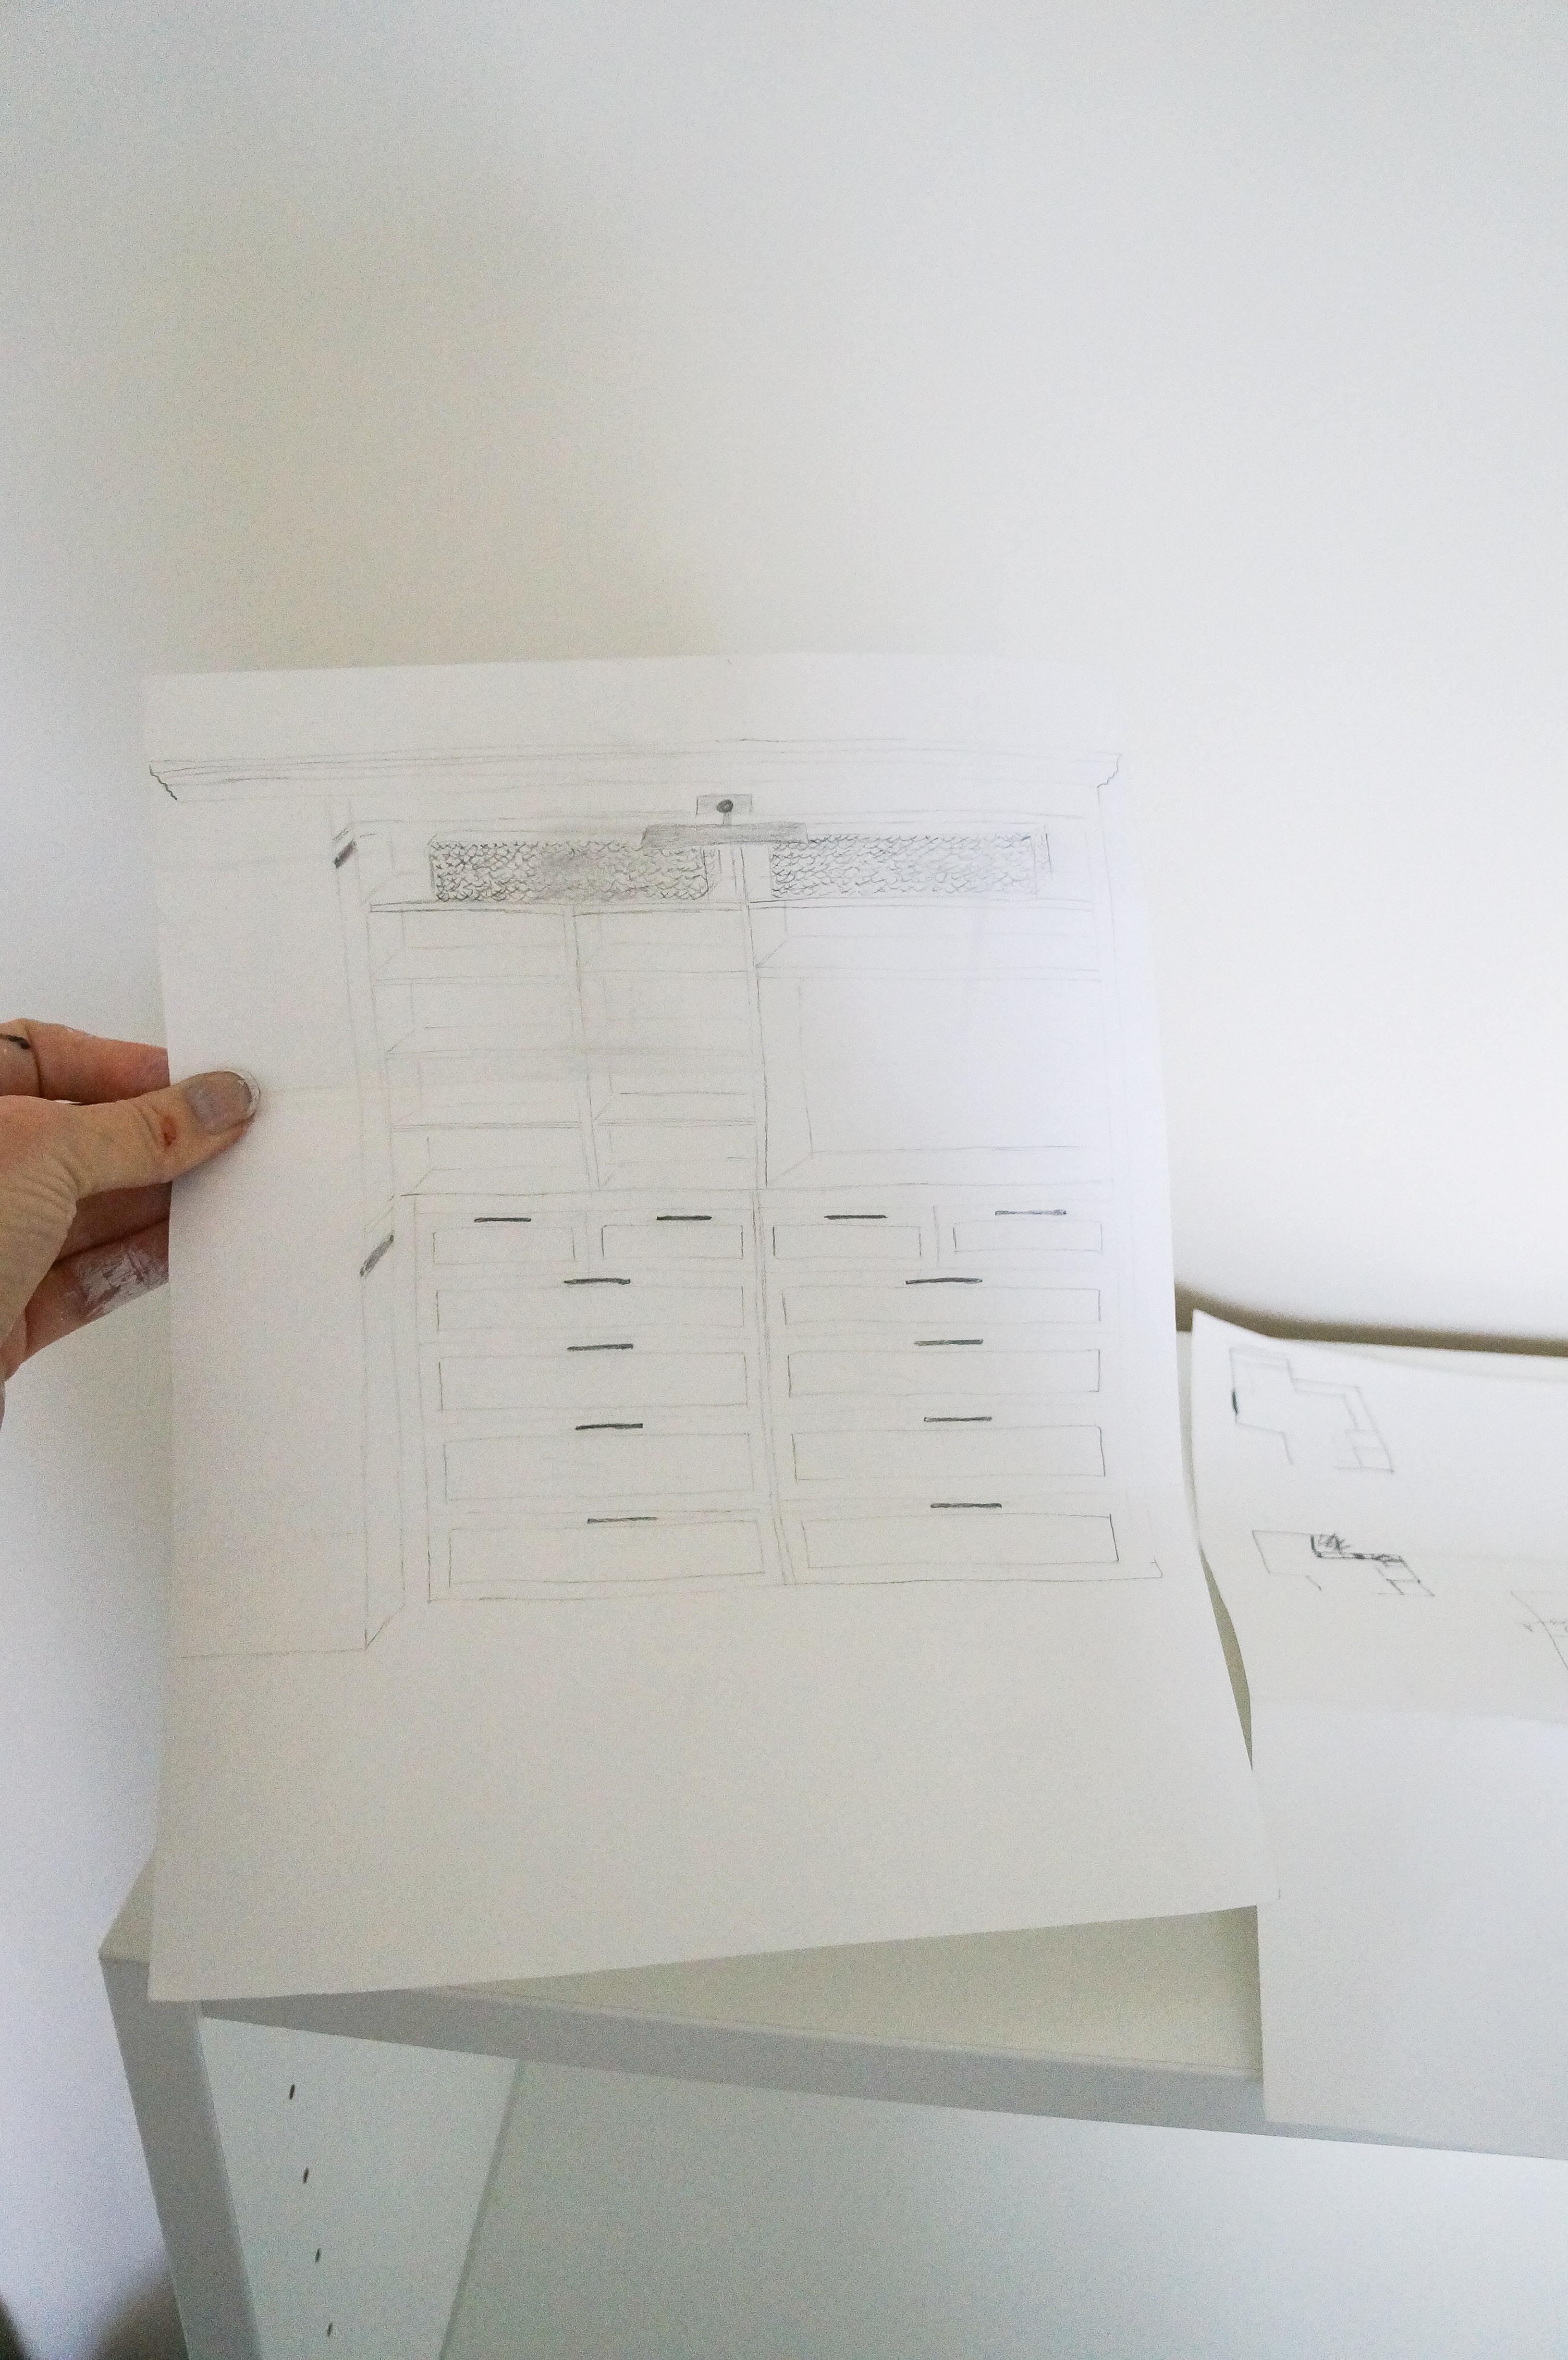
Using some inspiration pictures, I started to sketch what I thought I wanted. Once I had those sketches I measured the room and went to IKEA online to find bookcases and dressers that fit the bill. We ended up going with a slightly smaller dresser to give us more room at the top. We ended up with:
1 Full size Billy Bookcase
2 Short/Narrow Billy Bookcases
1 Short/Wide Billy Bookcase
1 Billy Bookcase with Glass Doors (only came in beige)
2 Songesand 4 drawer dressers
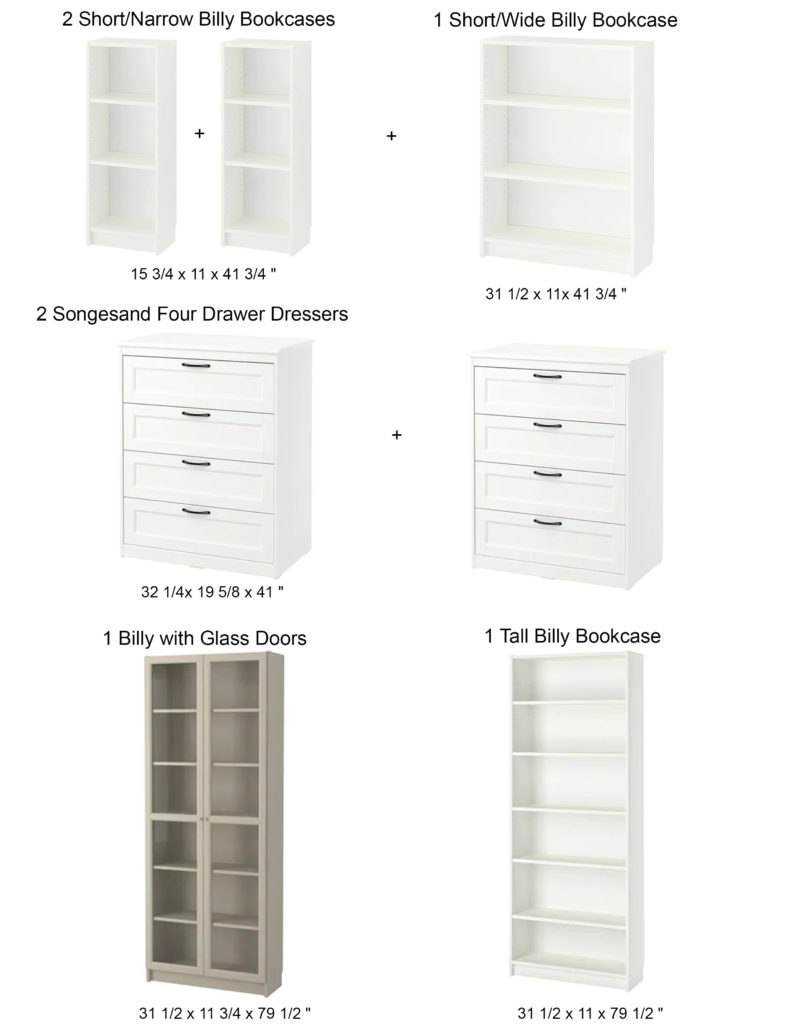

Other Supplies Used to Build the Closet
Plywood – 4 x 8 ft sheets
–1 composite (for platforms to raise the drawers and Billy Bookcases)
–4 birch sheets
–2 oak sheets (Oak is stronger, used for the pieces that hold lights)
Construction Screws to affix IKEA dressers together
30 ft of crown and baseboard
25 ft of other trim pieces
Wood Edging (iron on edging for sides of plywood)
3 black metal closet rods and matching metal rod hangers (used metal cutting blade on jigsaw to cut rod to size)
4 2x4s and 2x3s for framing pieces
1 gallon paint
2-3 caulk
Painters Putty
All cuts done with a miter saw, table saw, jigsaw or Dremel (tools hubby already had)
Framing for the platforms, clothes hanging area and header box done with construction or drywall screws, facade plywood and crown/baseboard affixed with a nail gun.
BUILDING A PLATFORM
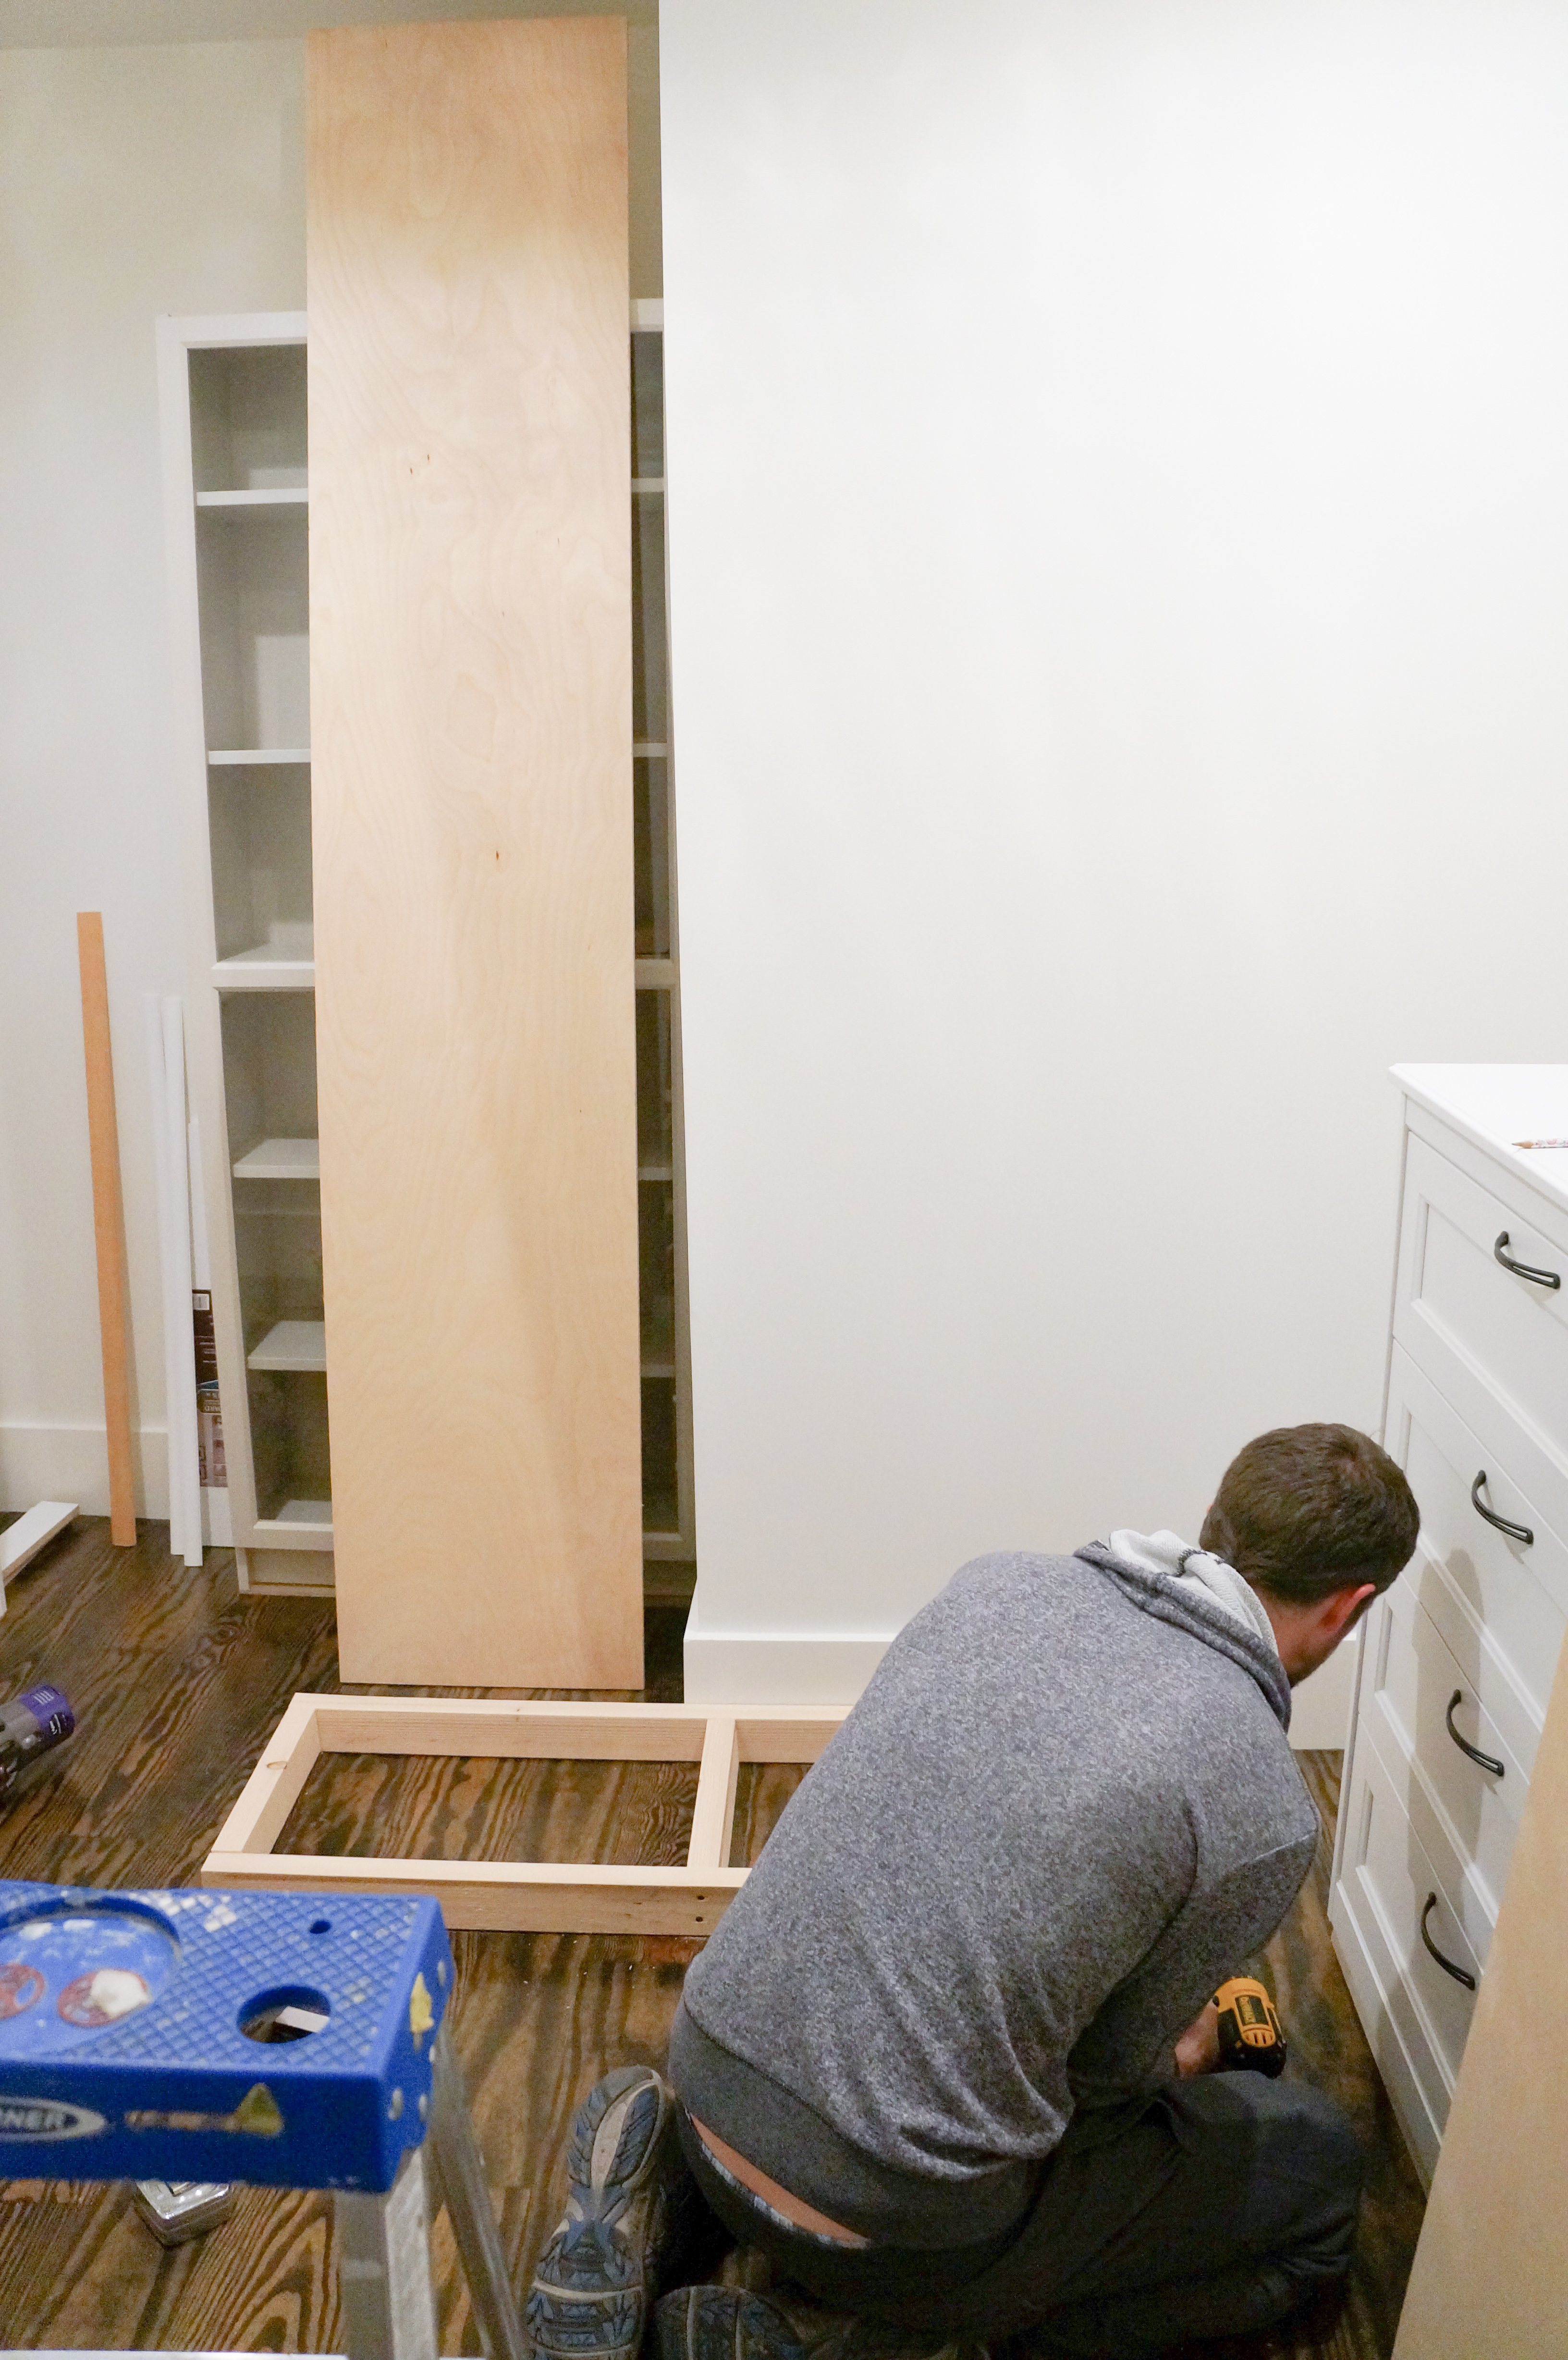
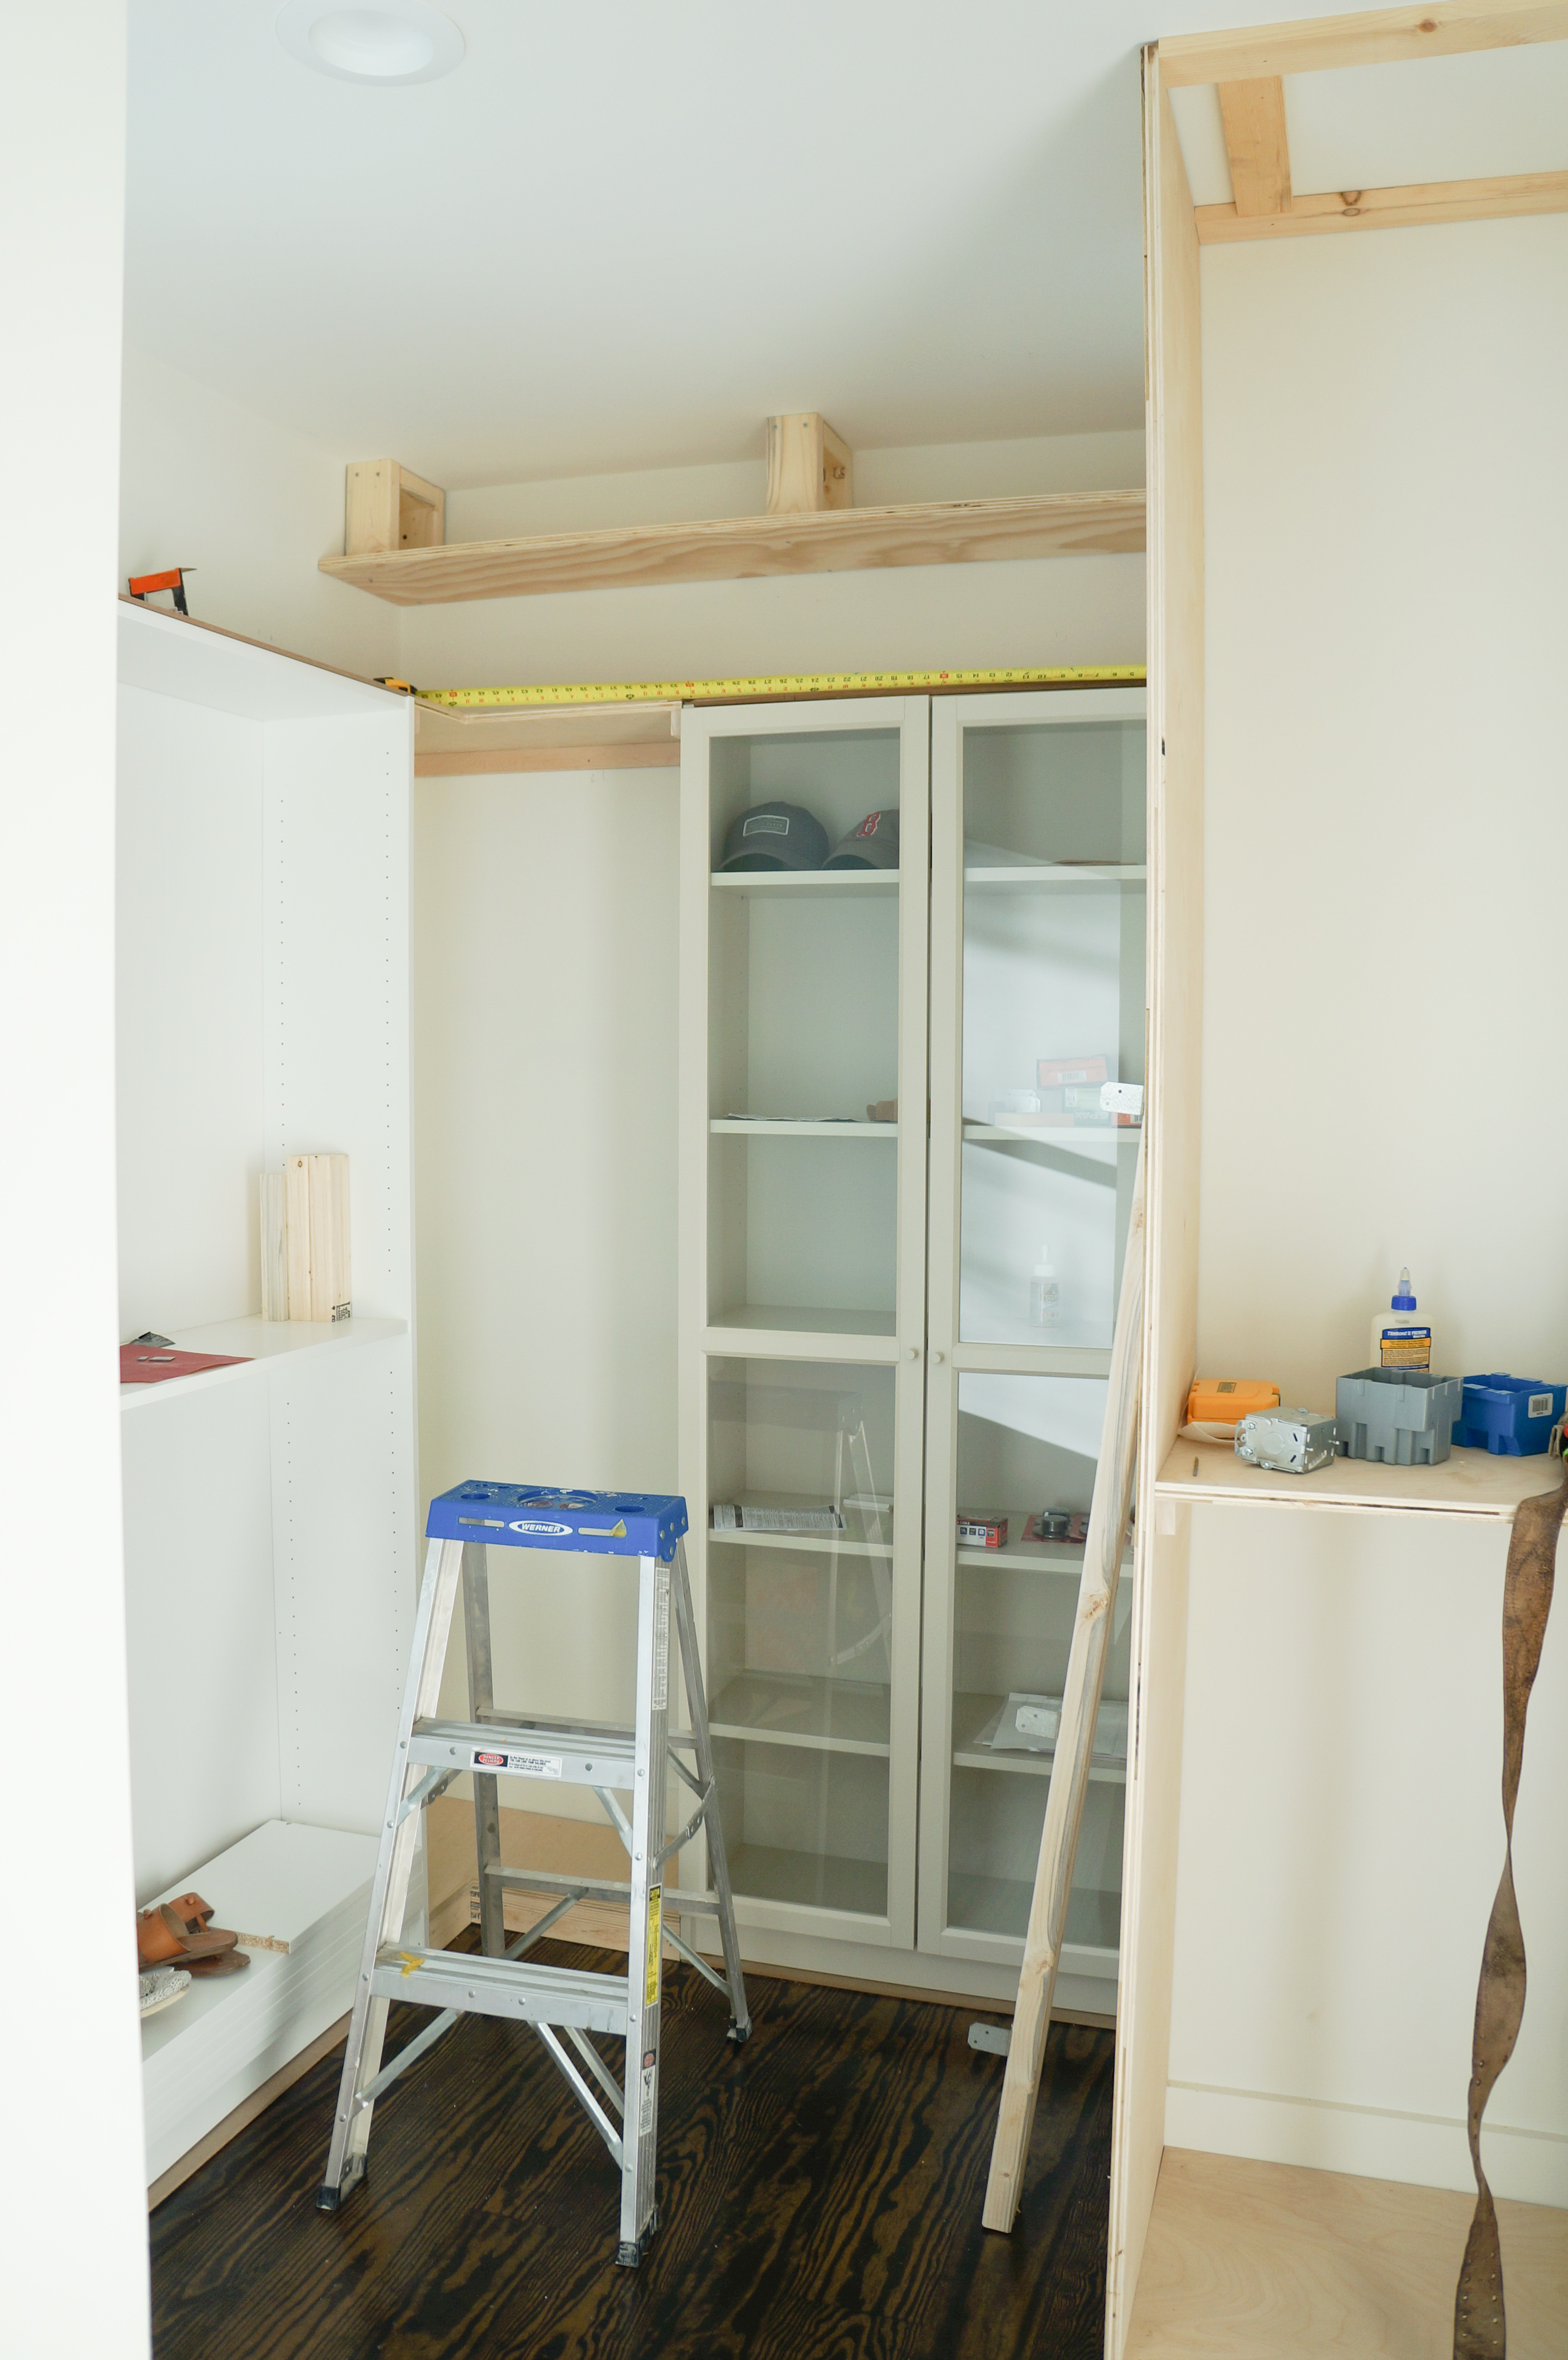
We built a platform for the dressers and bookcases to sit on to match the height of the Billy bookcase with doors. The Billy bookcase with glass doors needed just a small board under it to lift it high enough to fit the baseboard but the two Songesand dressers and clothes hanging area Matt built needed a higher platform to make it uniformly the same height off the ground. Because I wanted these IKEA pieces to look like expensive built-ins, this part is crucial.

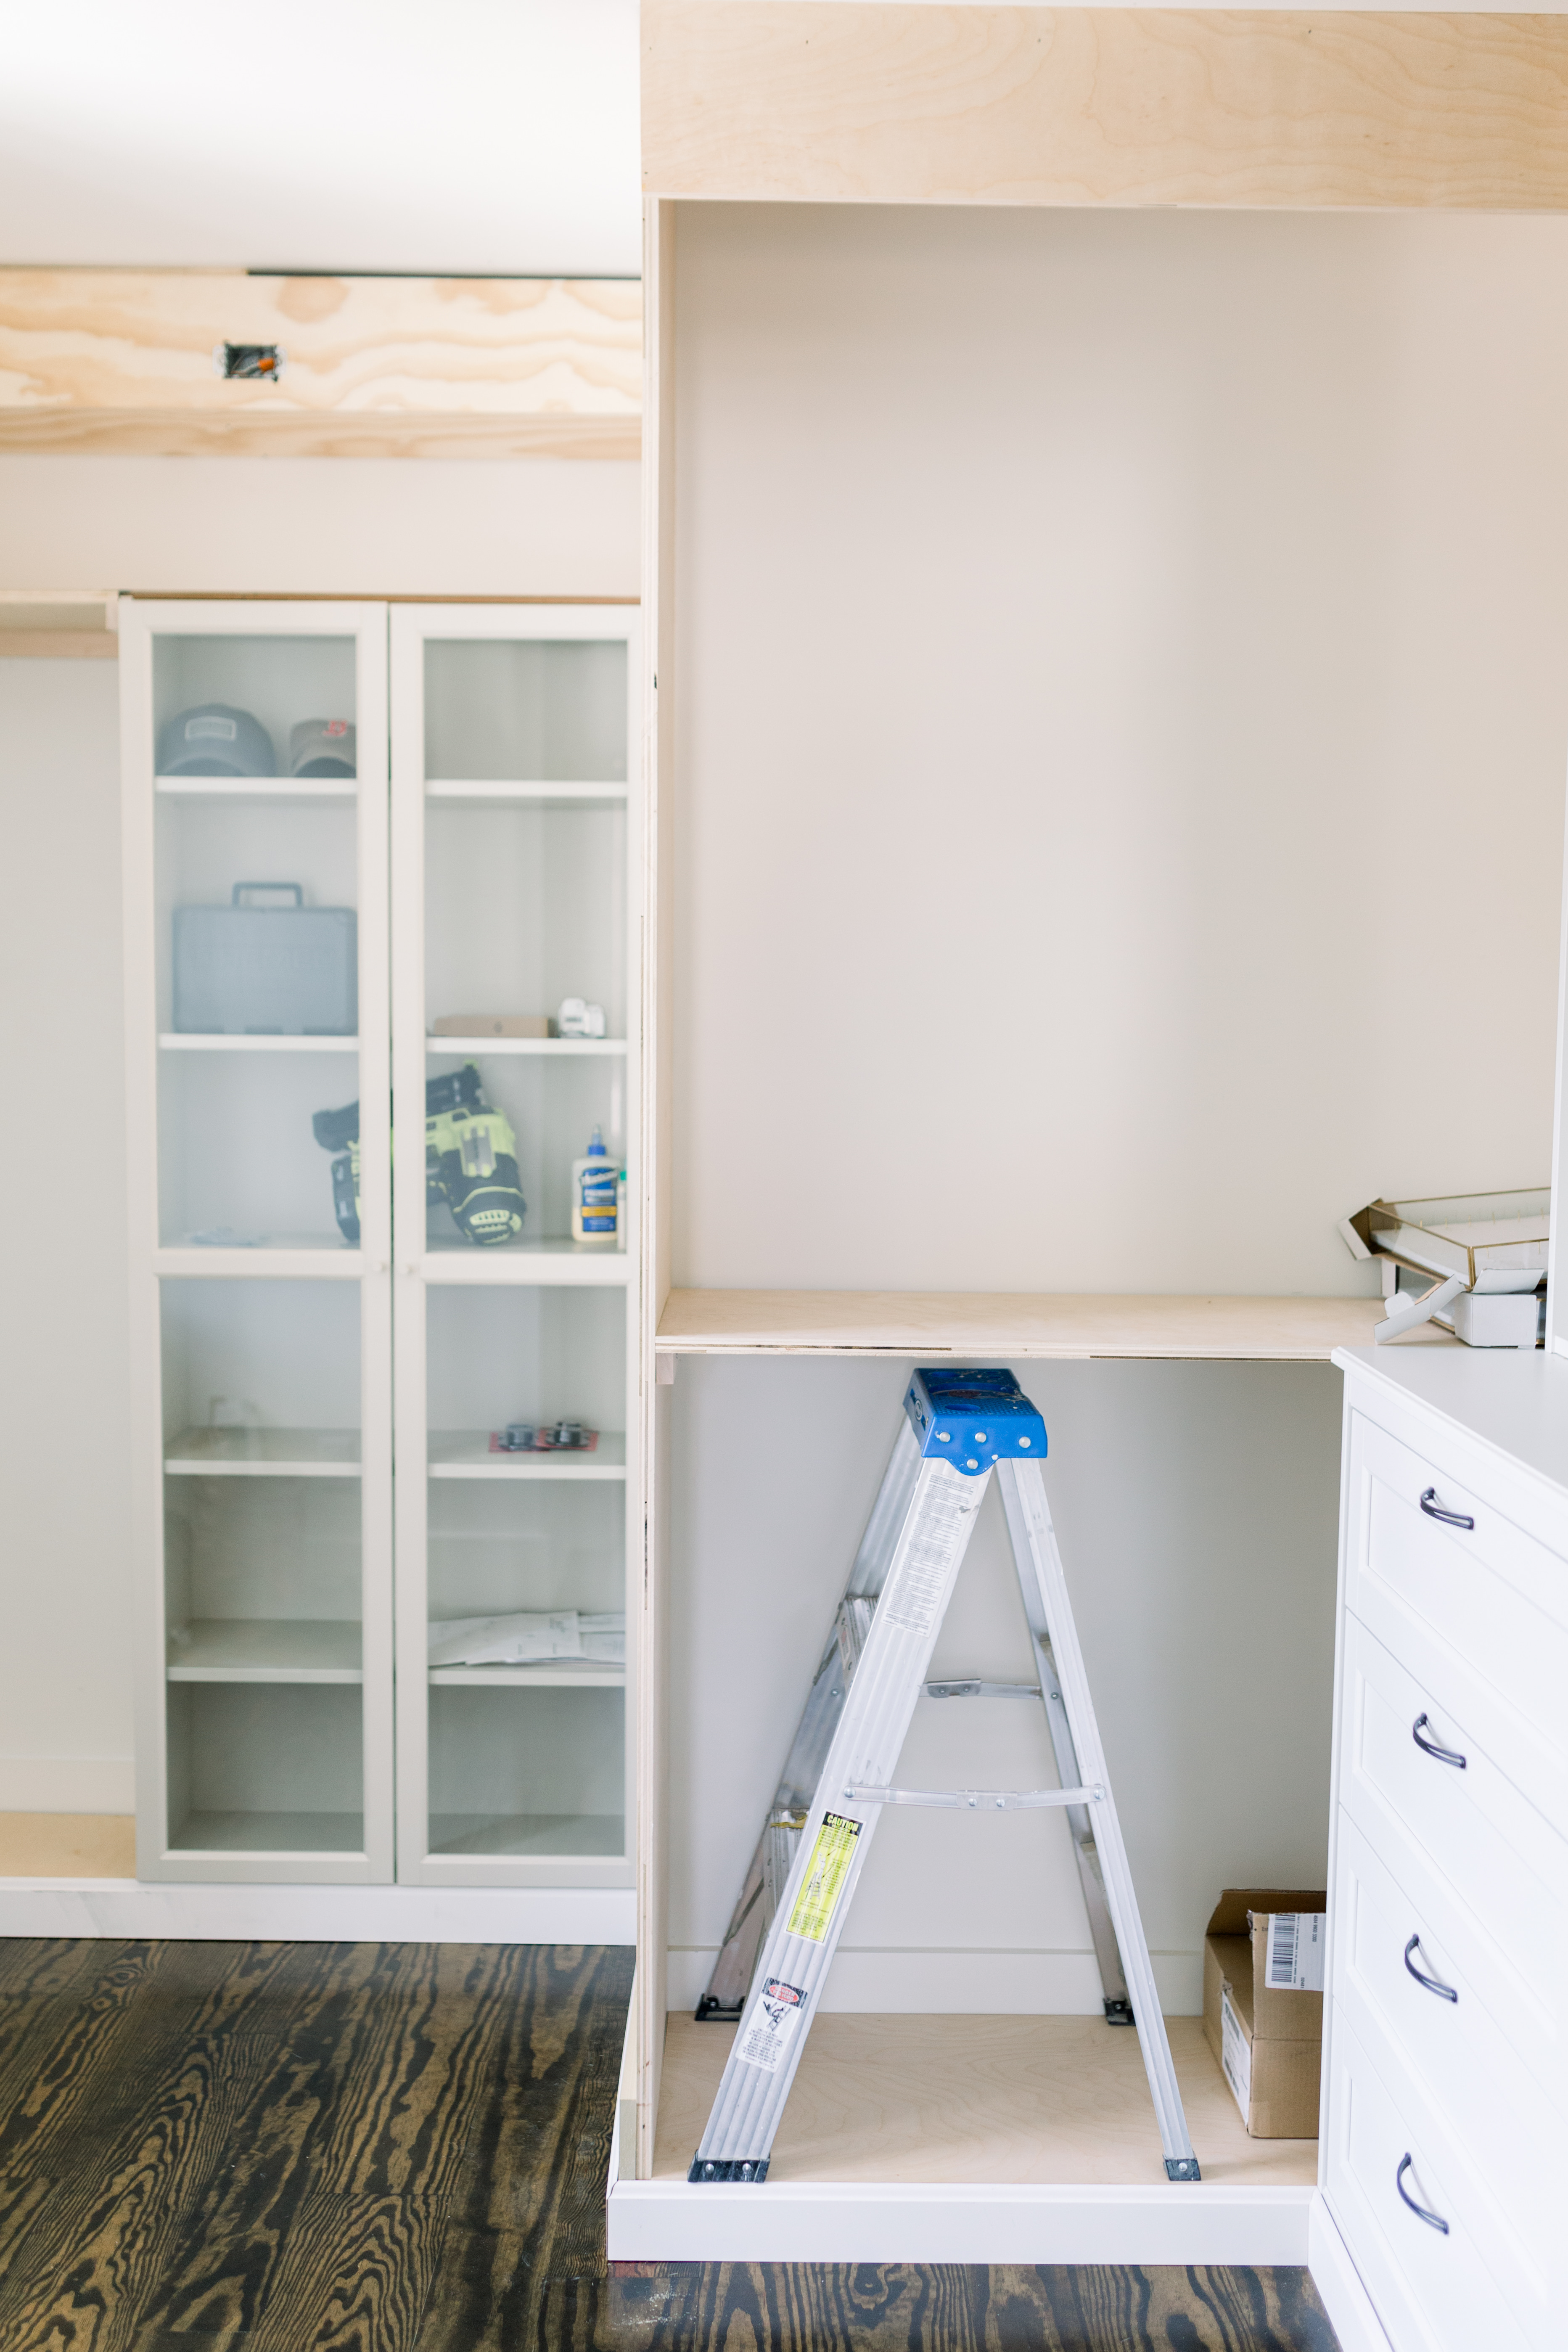
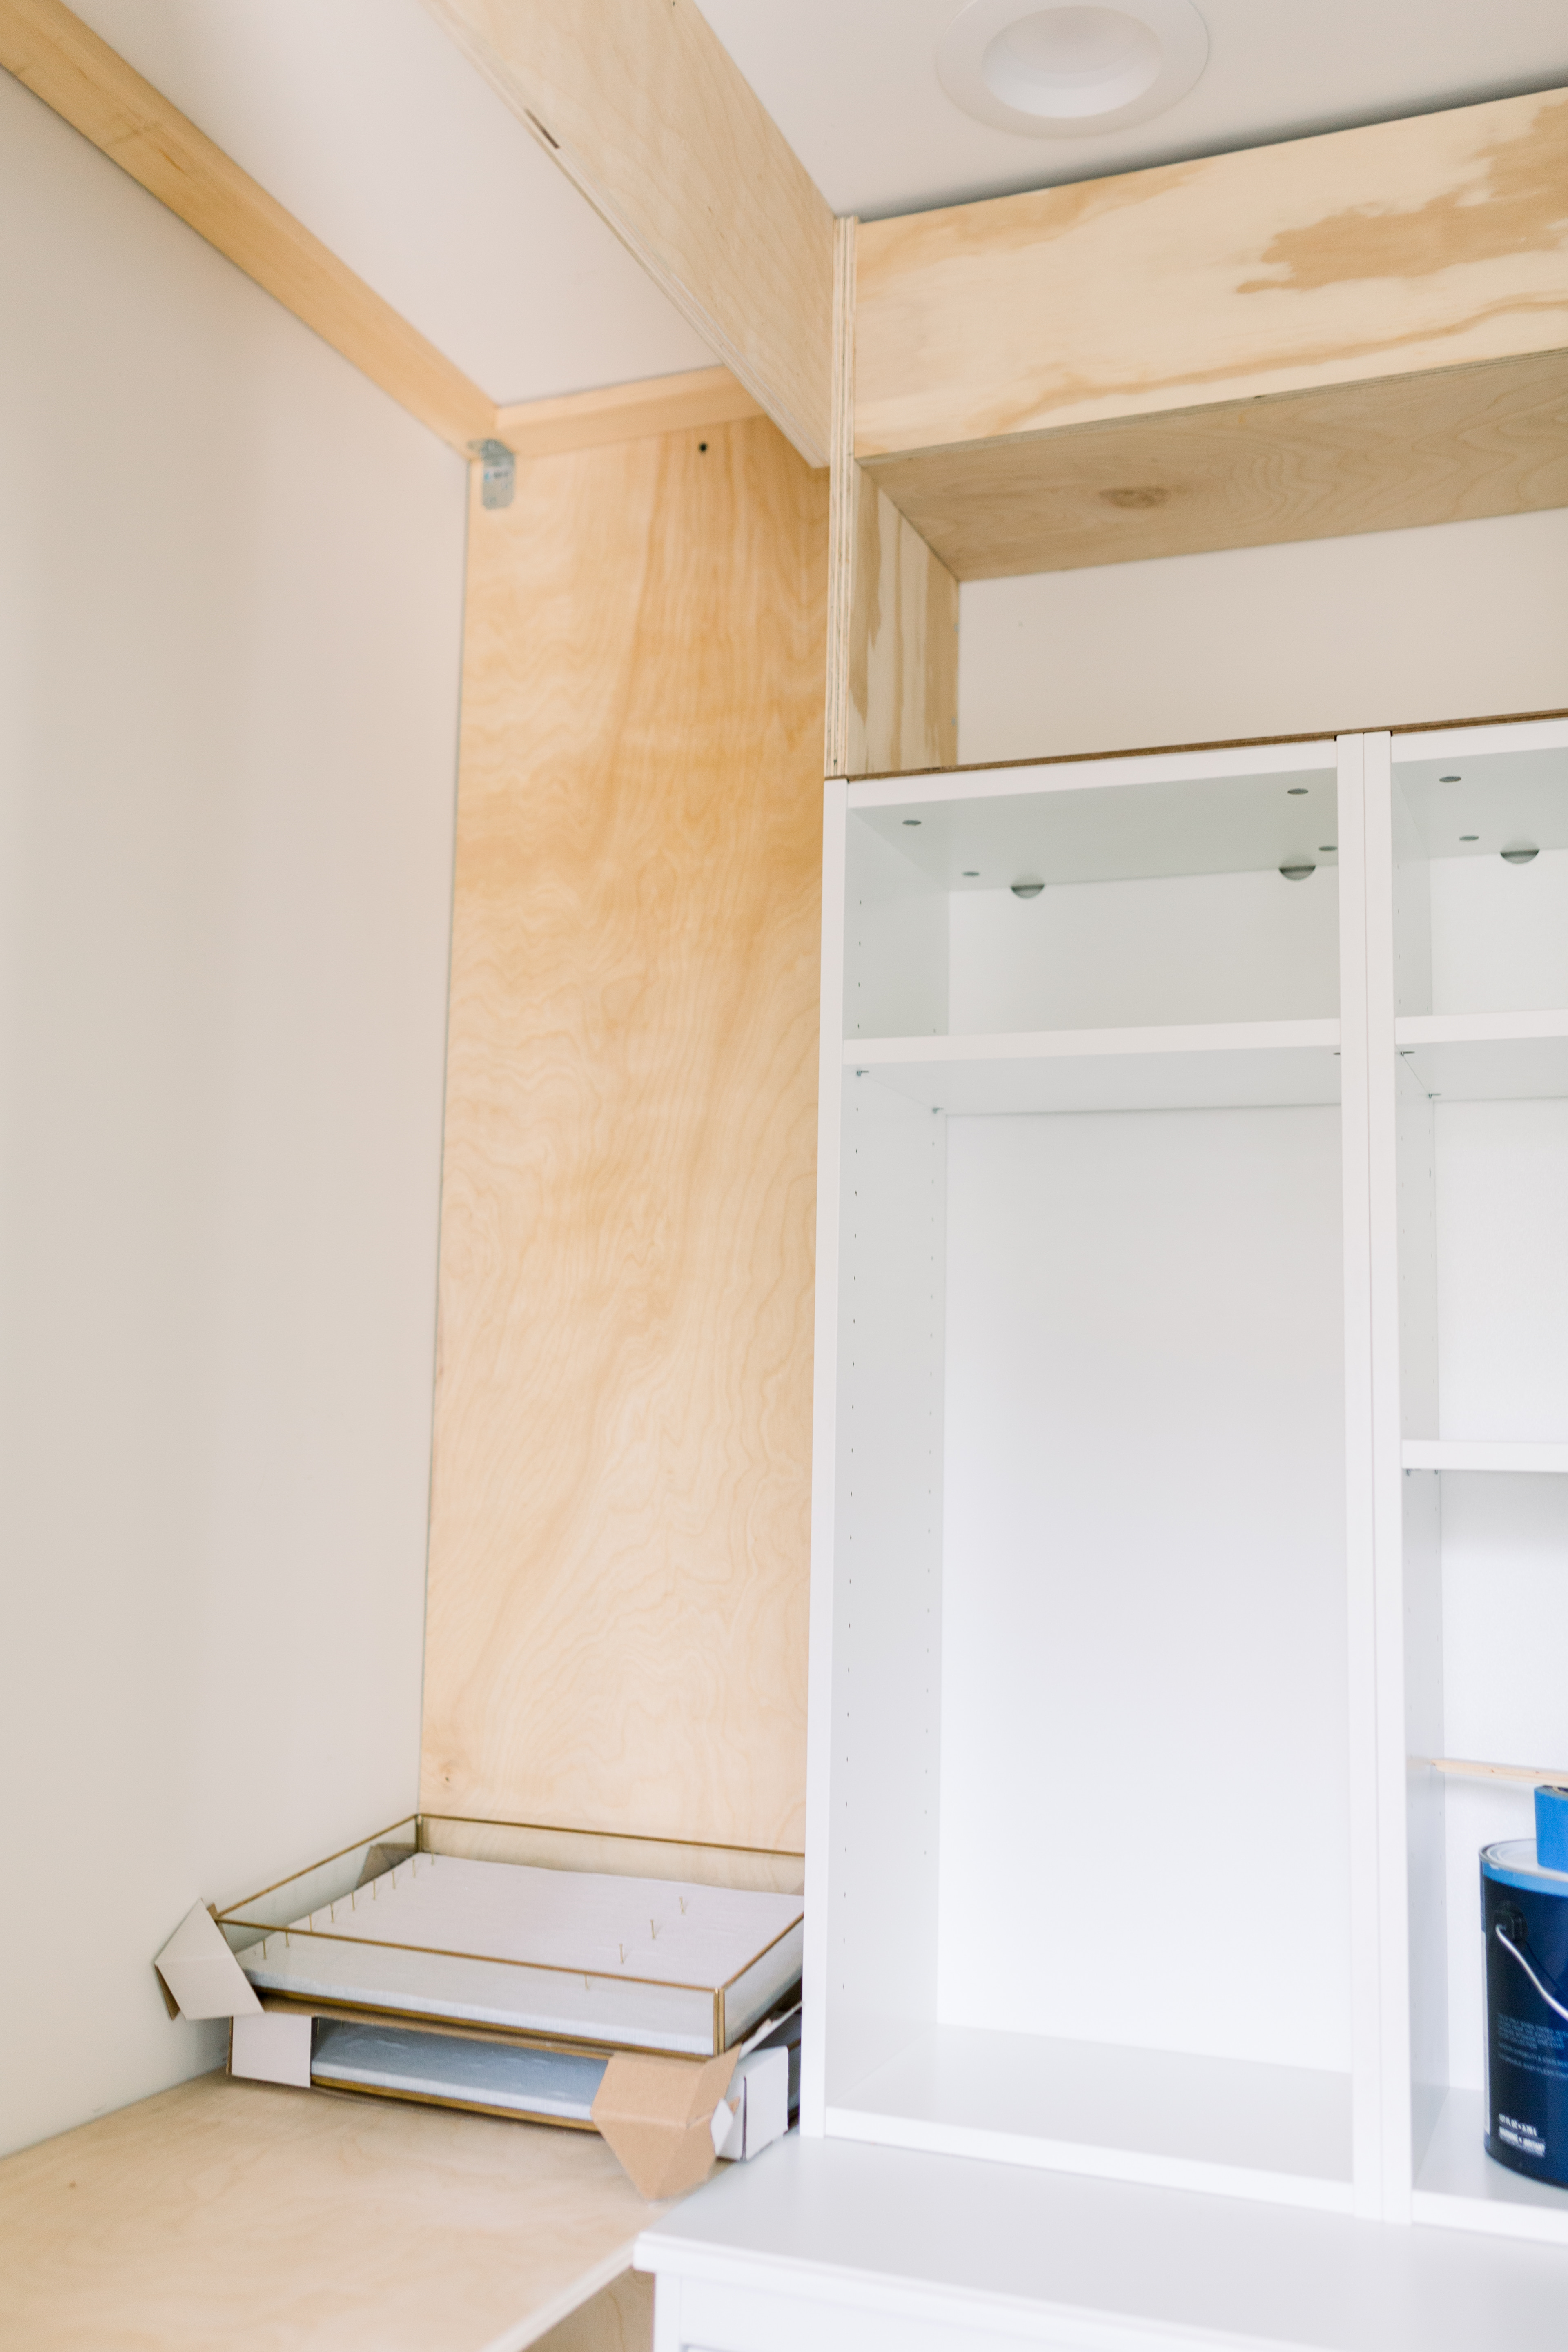
He screwed the dressers into place on top of the platform he built and into the wall, and then put the two short/narrow bookcases together on top of one dresser butted up against the short/wide Billy bookcase on top of the other dresser. We realized that we’d gain more space at the top for a basket shelf if he “trimmed” off the extra wood along the bottom of these short cabinets (you can see them before their “trim” above). These cabinets, like all the Billy’s are designed to sit on the ground, not to be used as upper cabinets. But you can easily make it work with a little sawing. He had to unfortunately take them back apart to saw off that extra piece from the bottom.
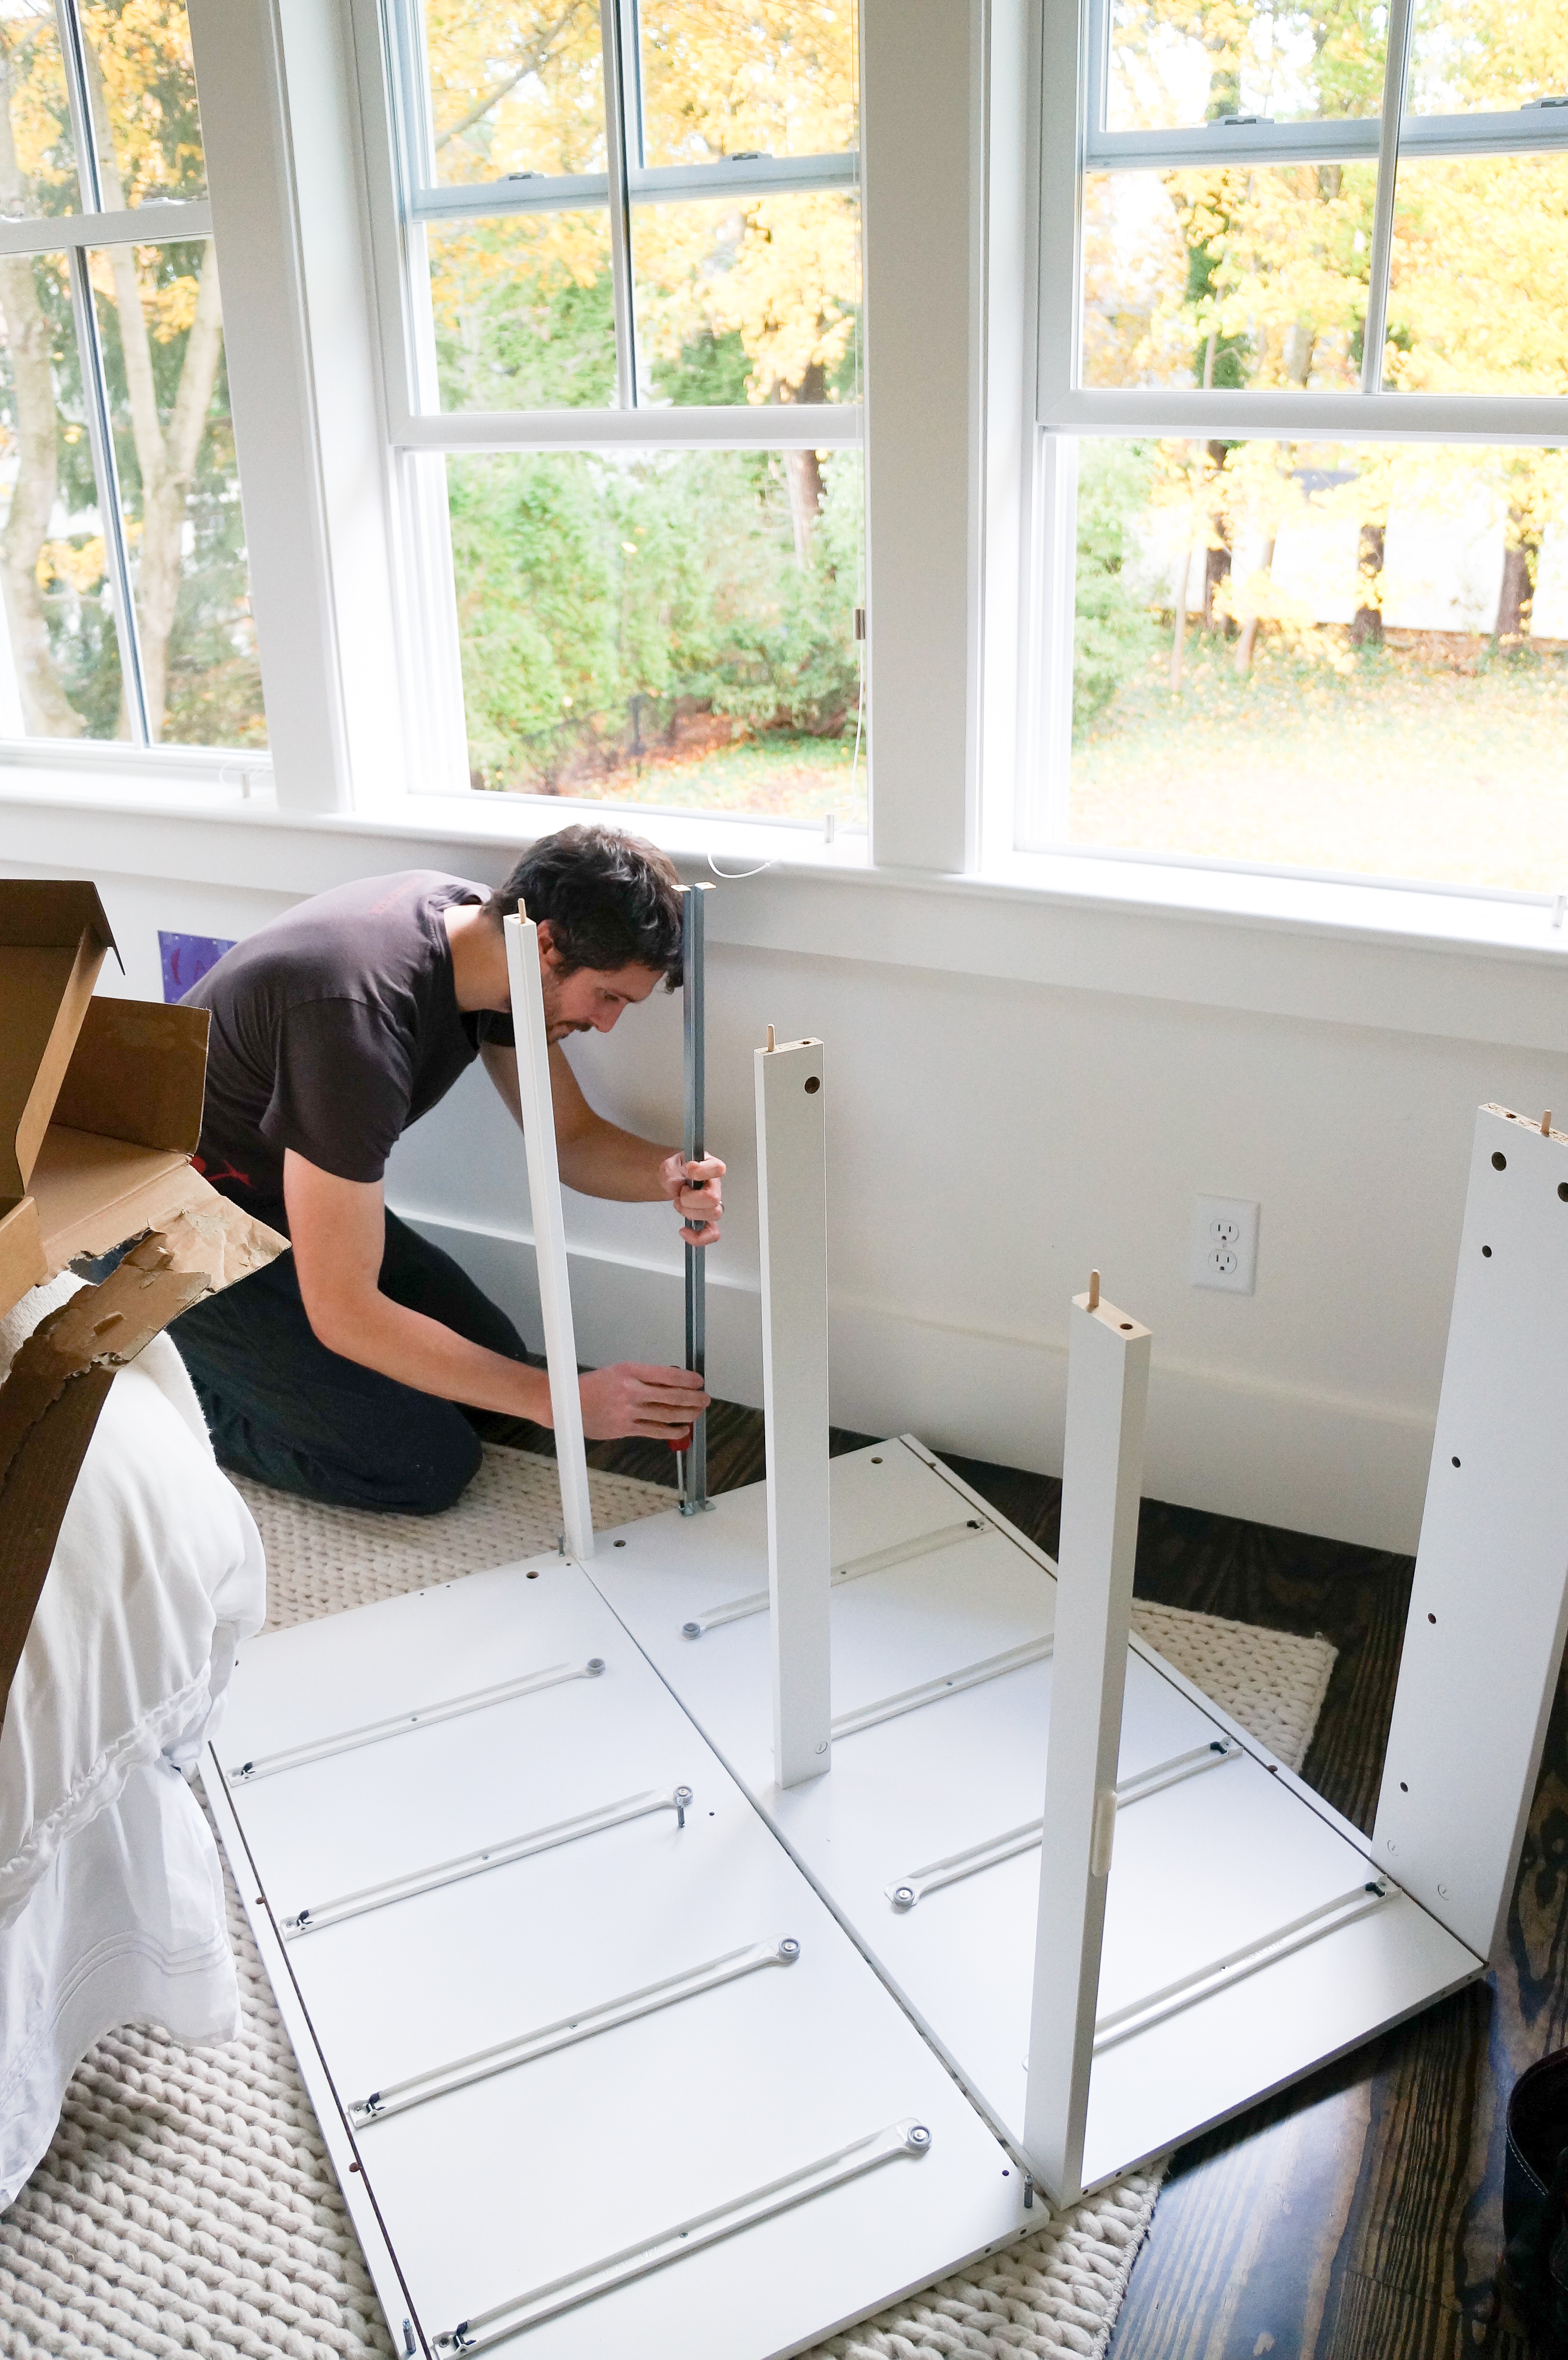
We knew we would be trimming out all the joints of where the Billy bookcases and dressers came together with thin molding pieces, so that rough edge along the cut was fine.
Matt built essentially a giant box which will serve as the clothes hanging area for both of us, mostly me. It will be divided into an upper hanging section and a lower hanging section but will be trimmed out with baseboard and upper crown molding to look like it is a seamless part of the IKEA built-ins.
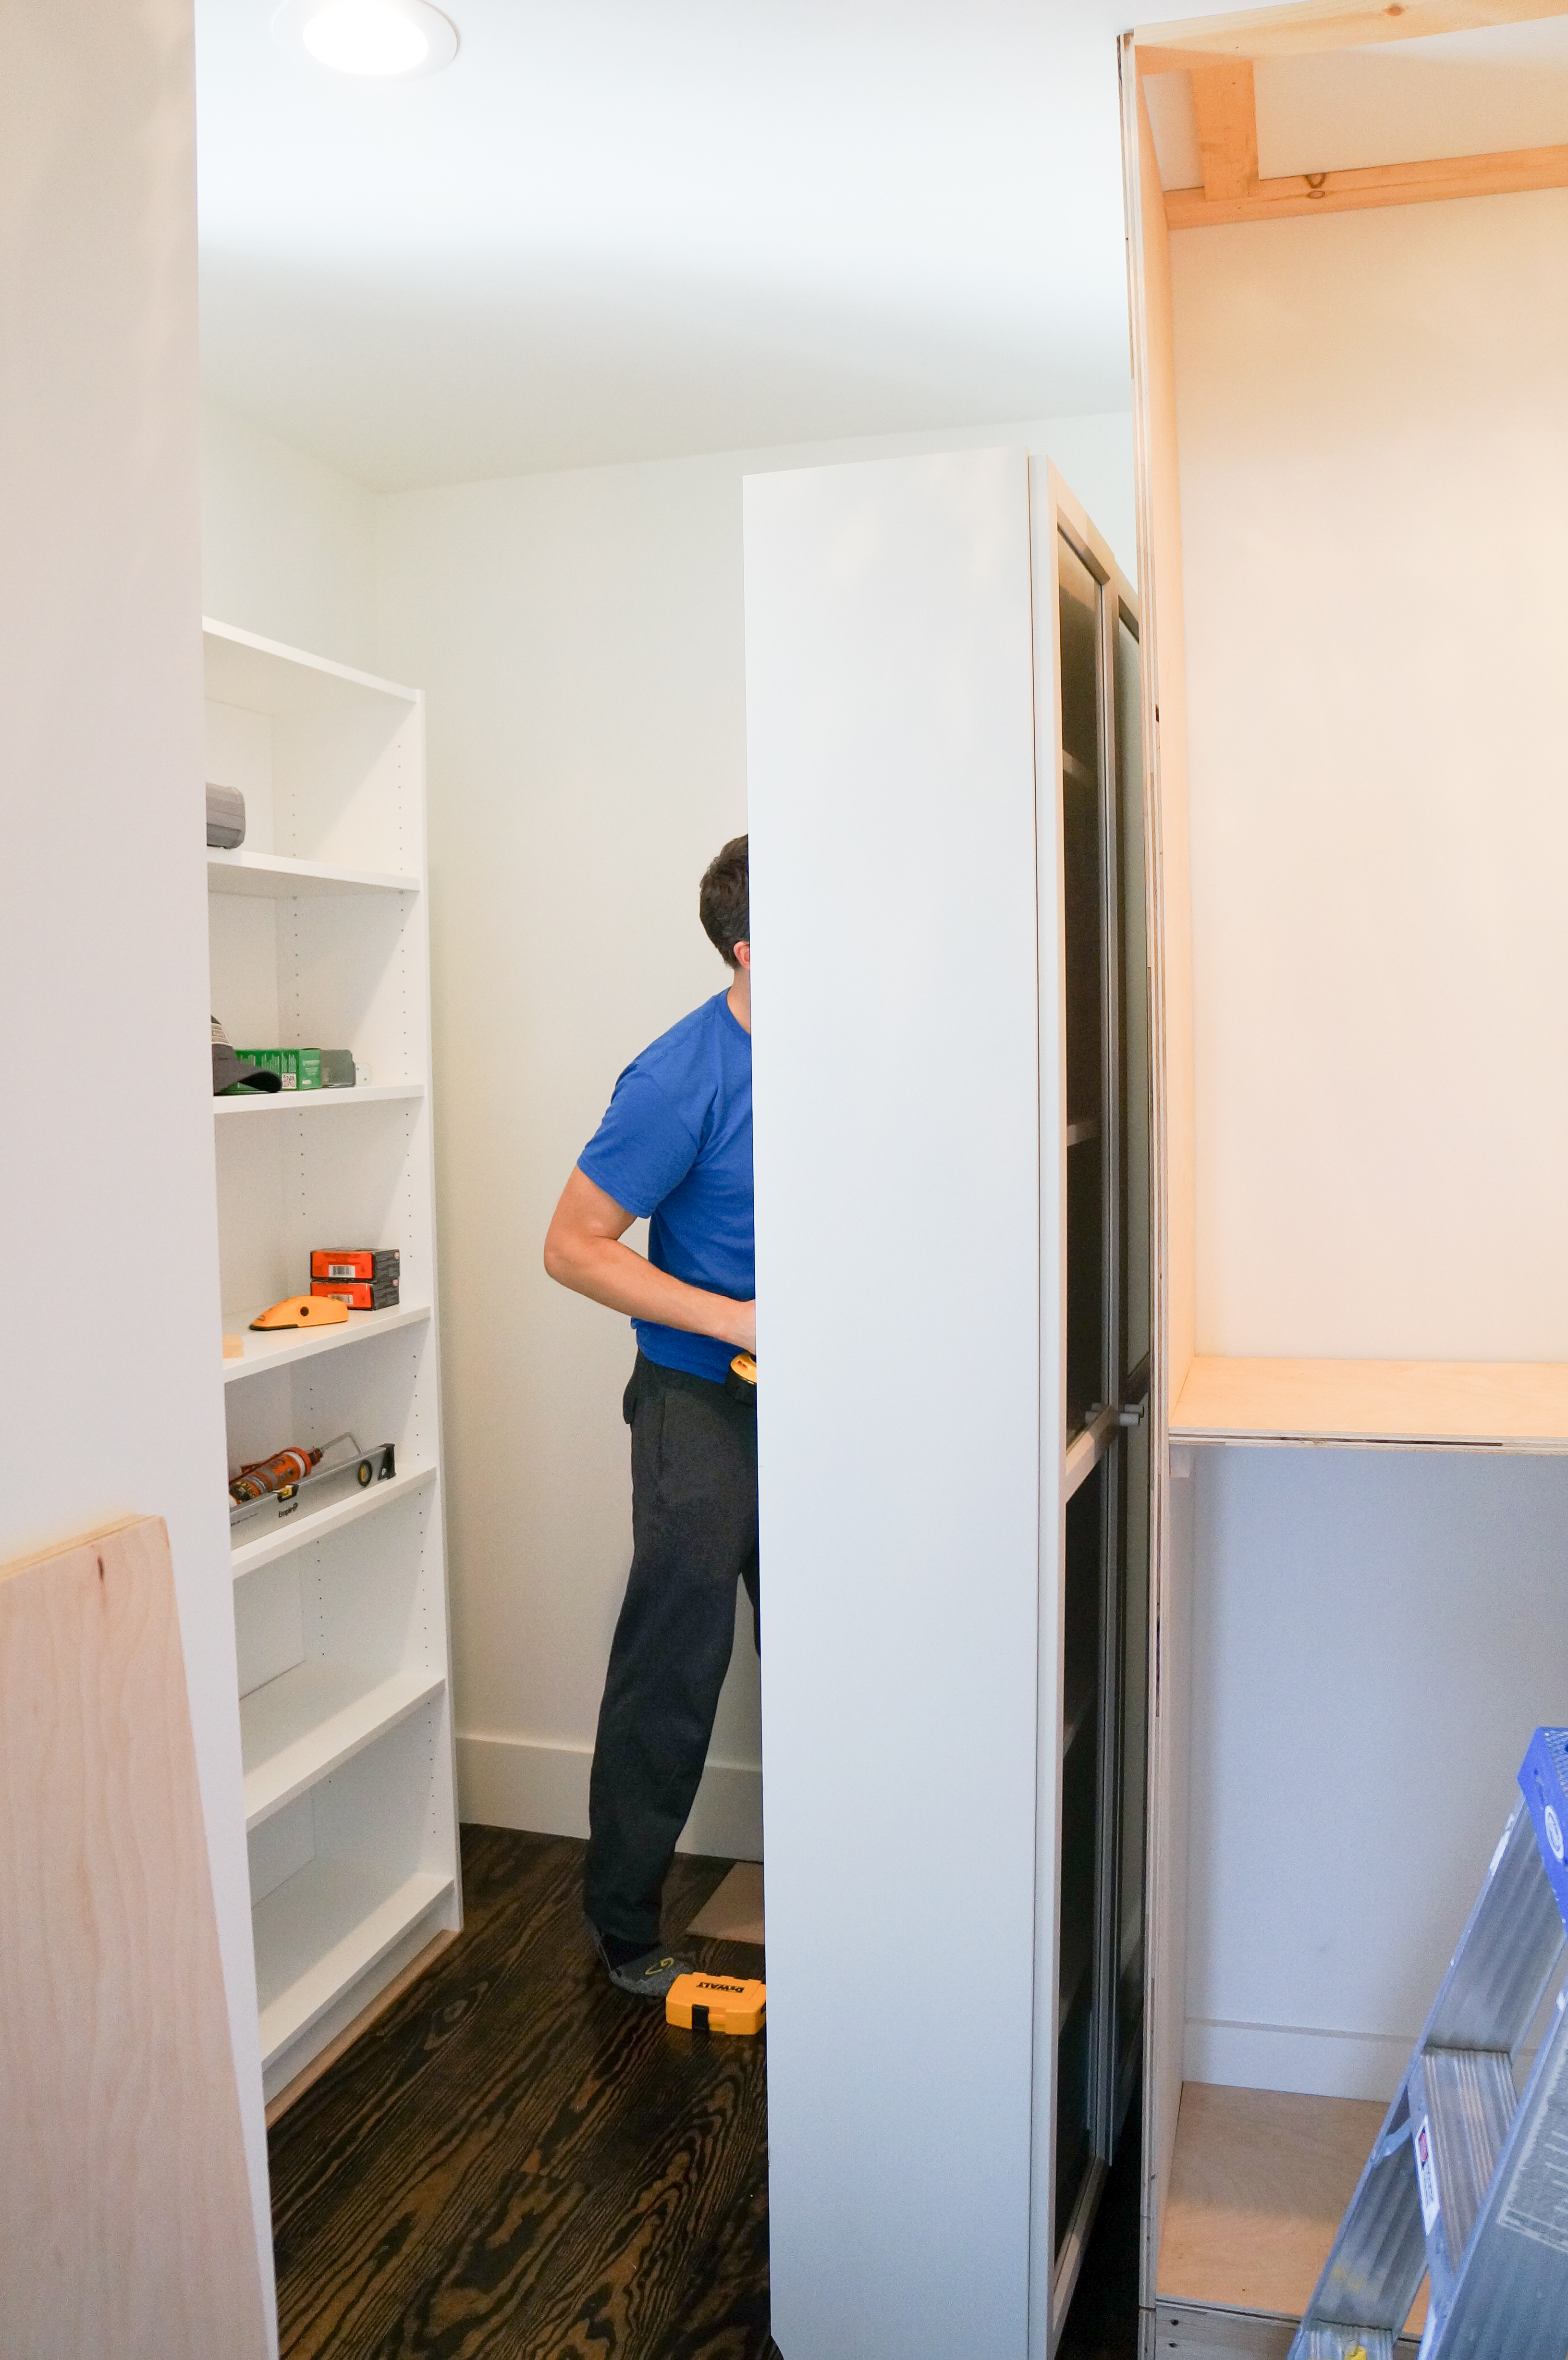
THE OVERHEAD BOX
By far the longest and hardest part of this project was the overhead “box” he needed to build. You can see it in the beginning stages in the picture below. It needed to be built to screw into the ceiling, hold up some beautiful library lights and hold the crown molding. I designed there to be a shelf above the Billy bookcase so that the built-ins would extend all the way up to the ceiling giving me a place to put decorative stuff, mainly pretty rattan baskets to store scarves, seasonal items, maybe even maternity stuff.
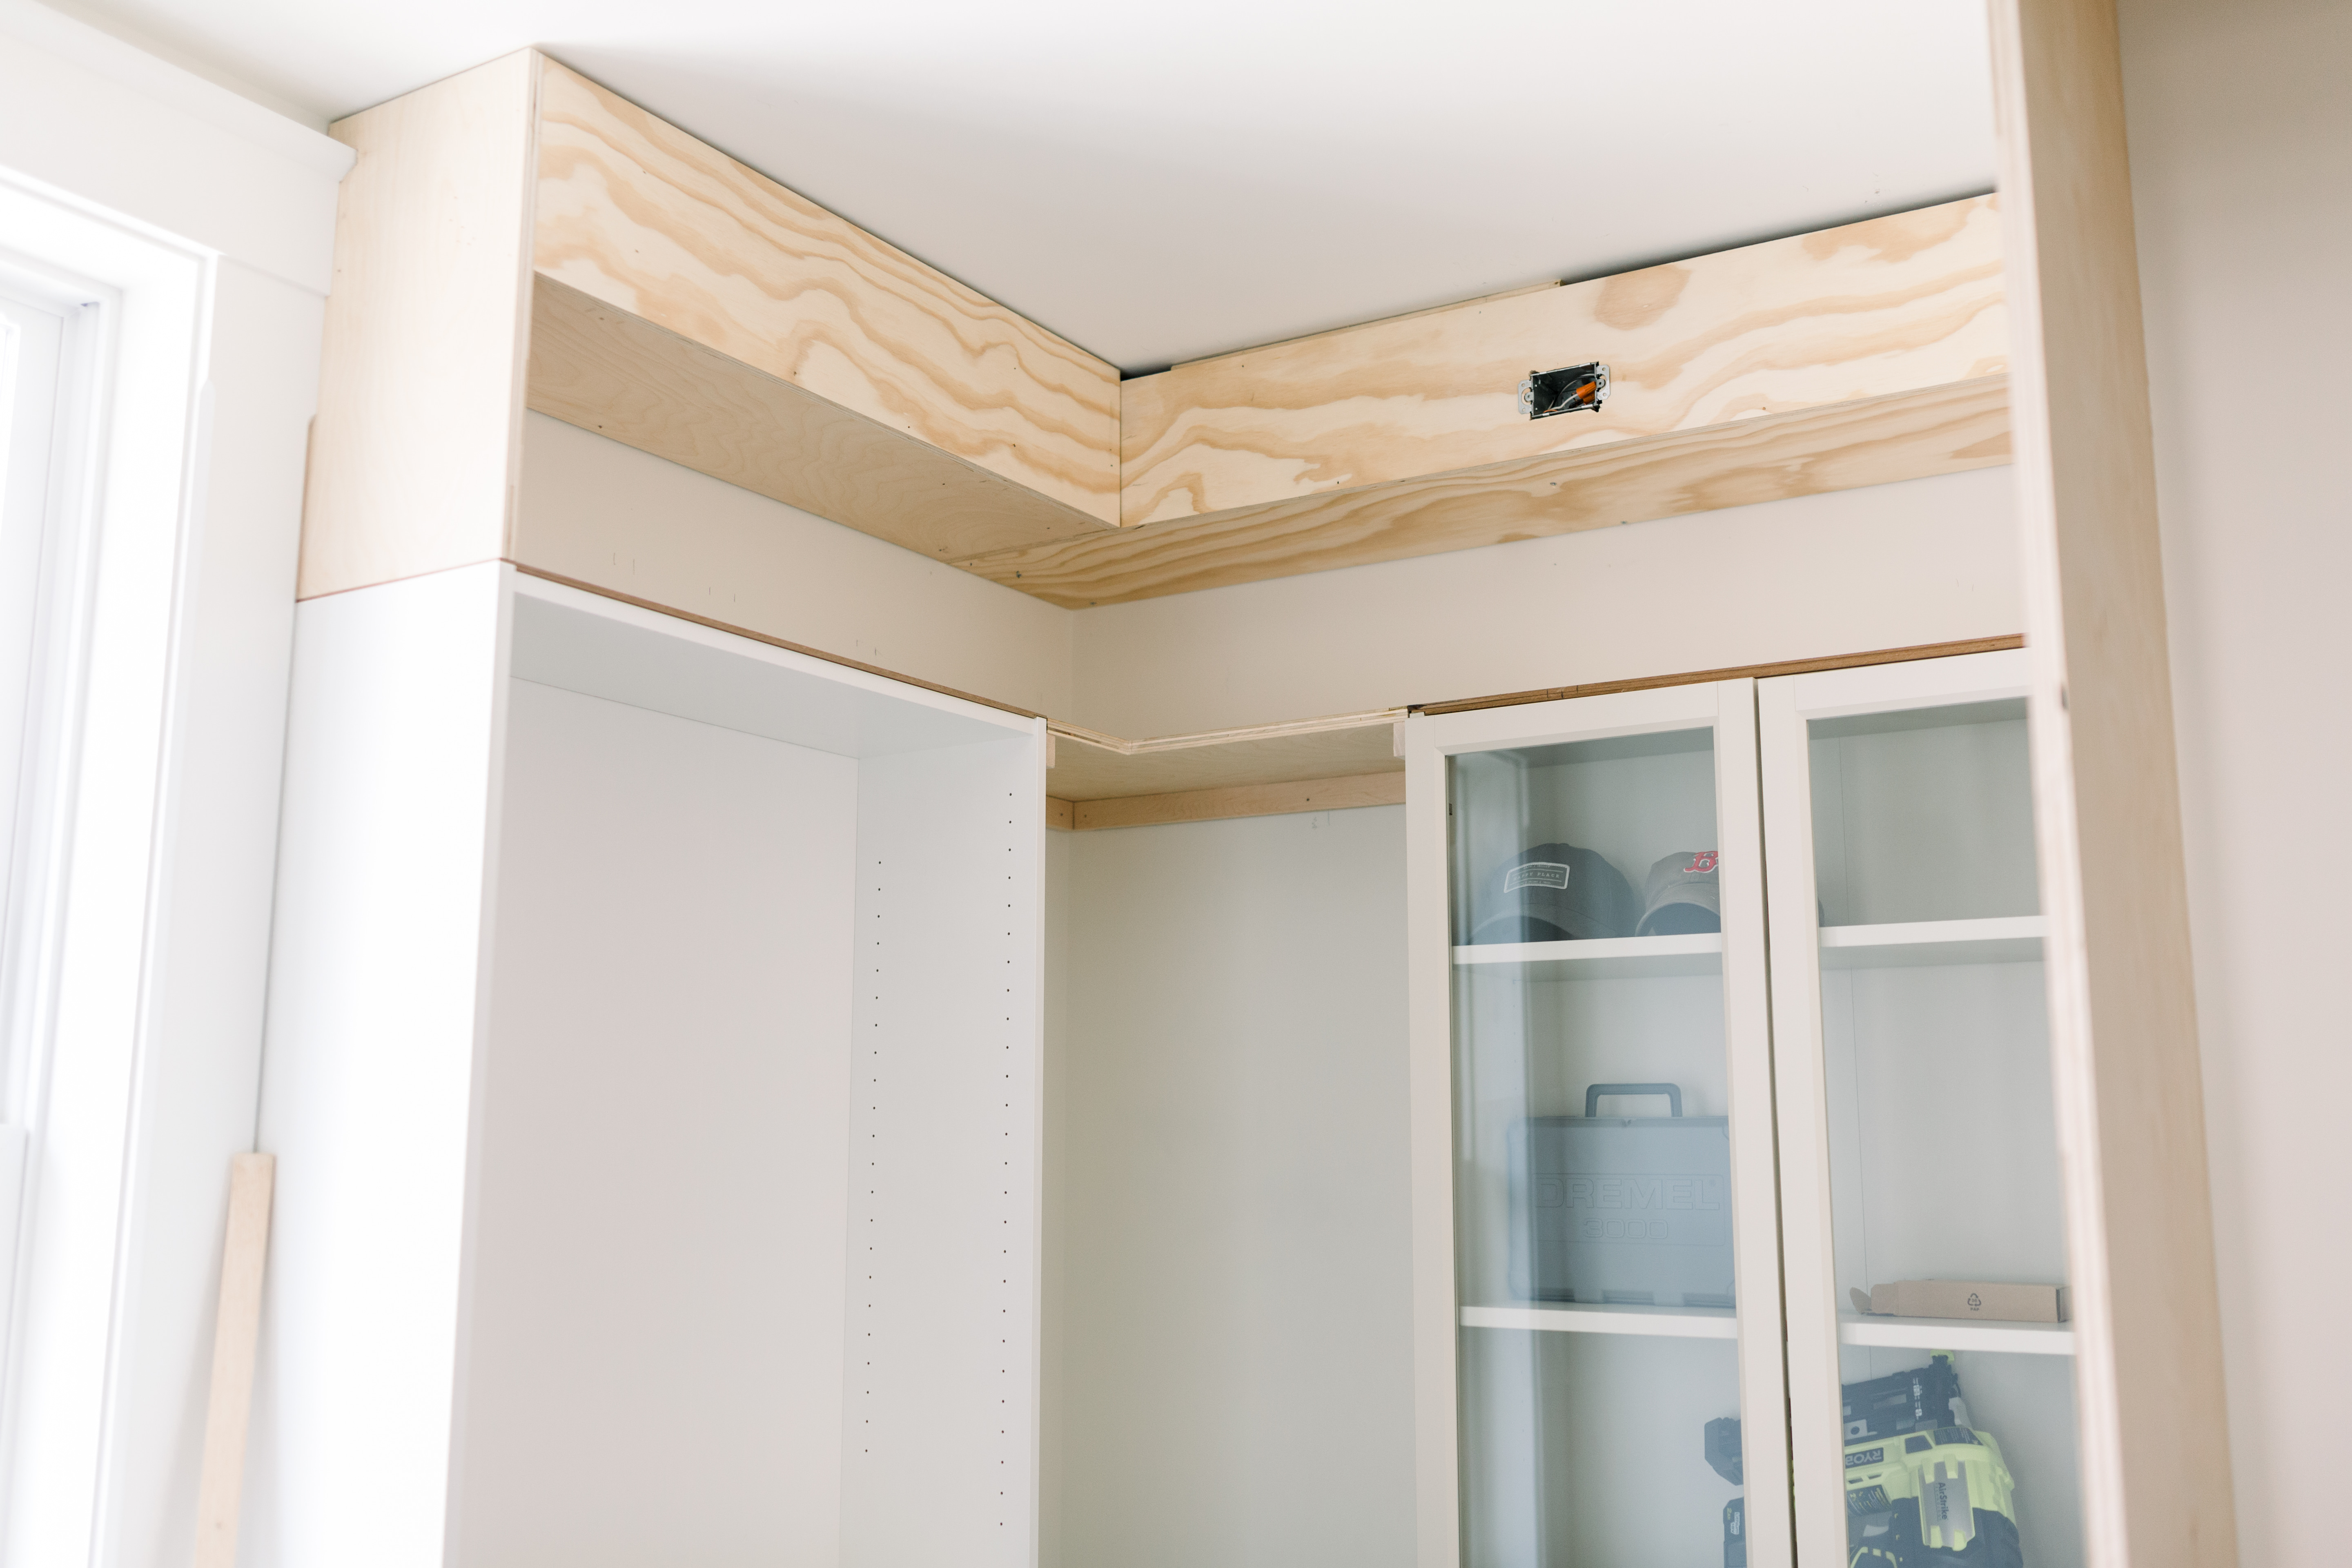
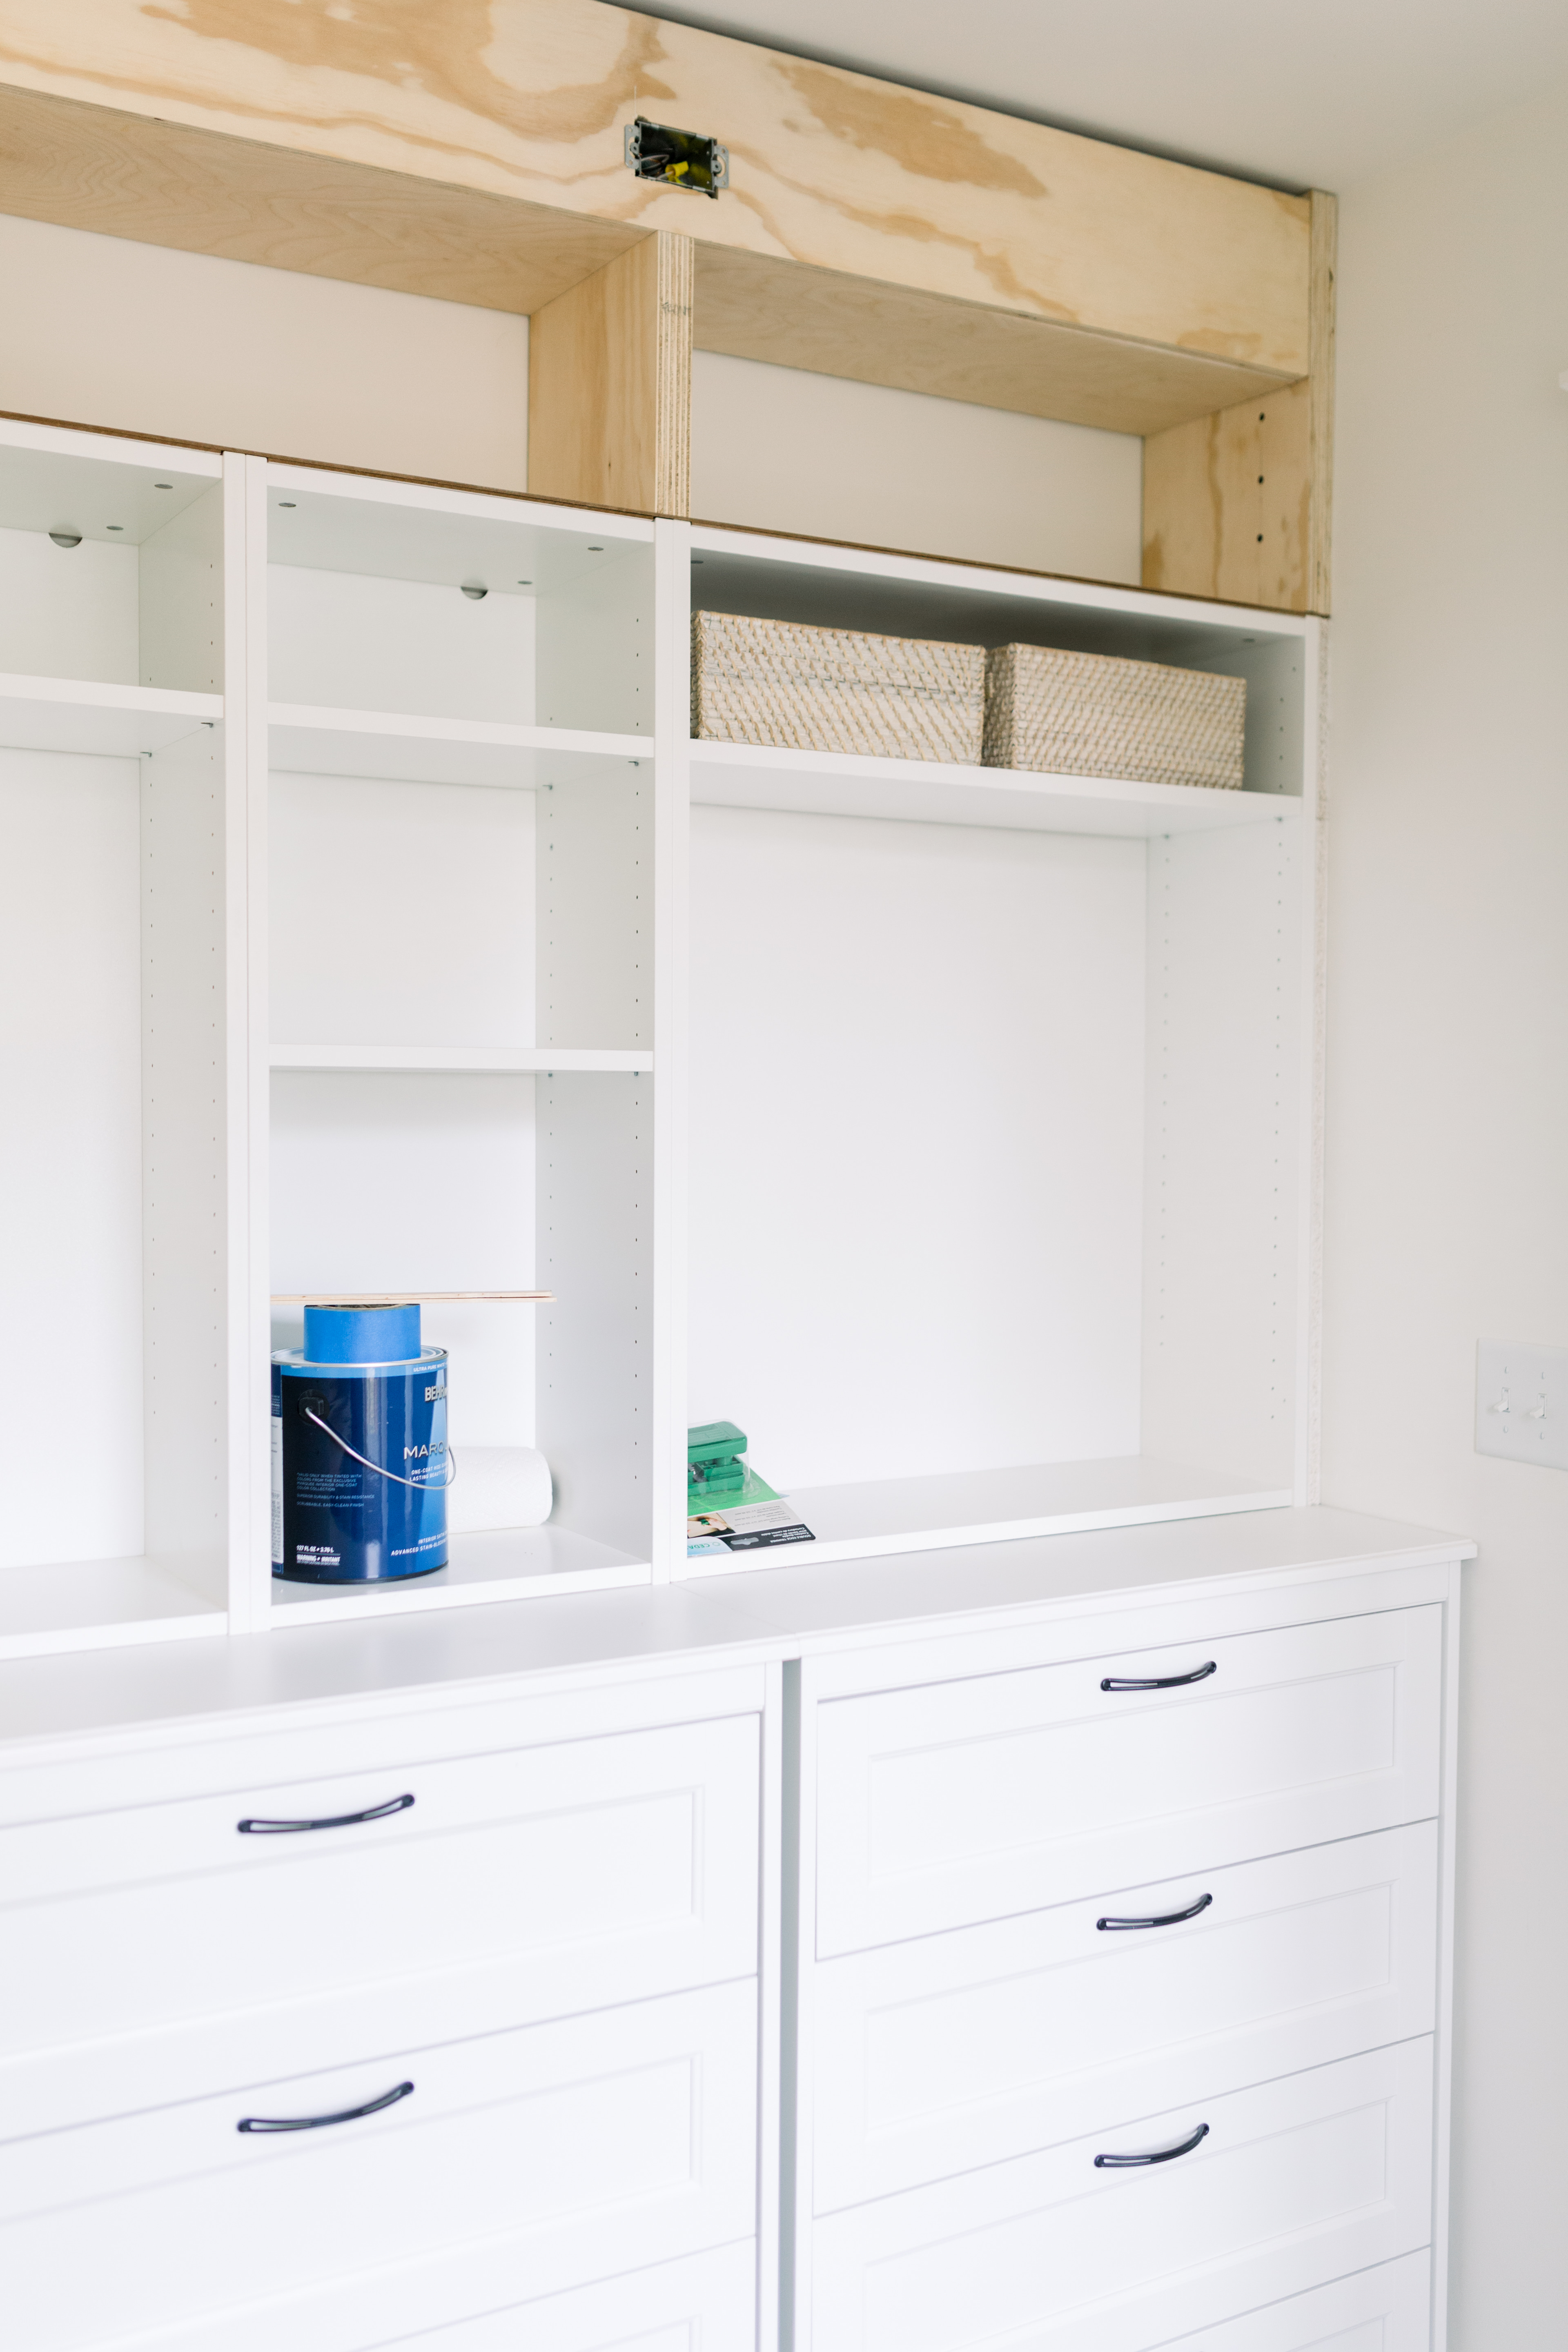
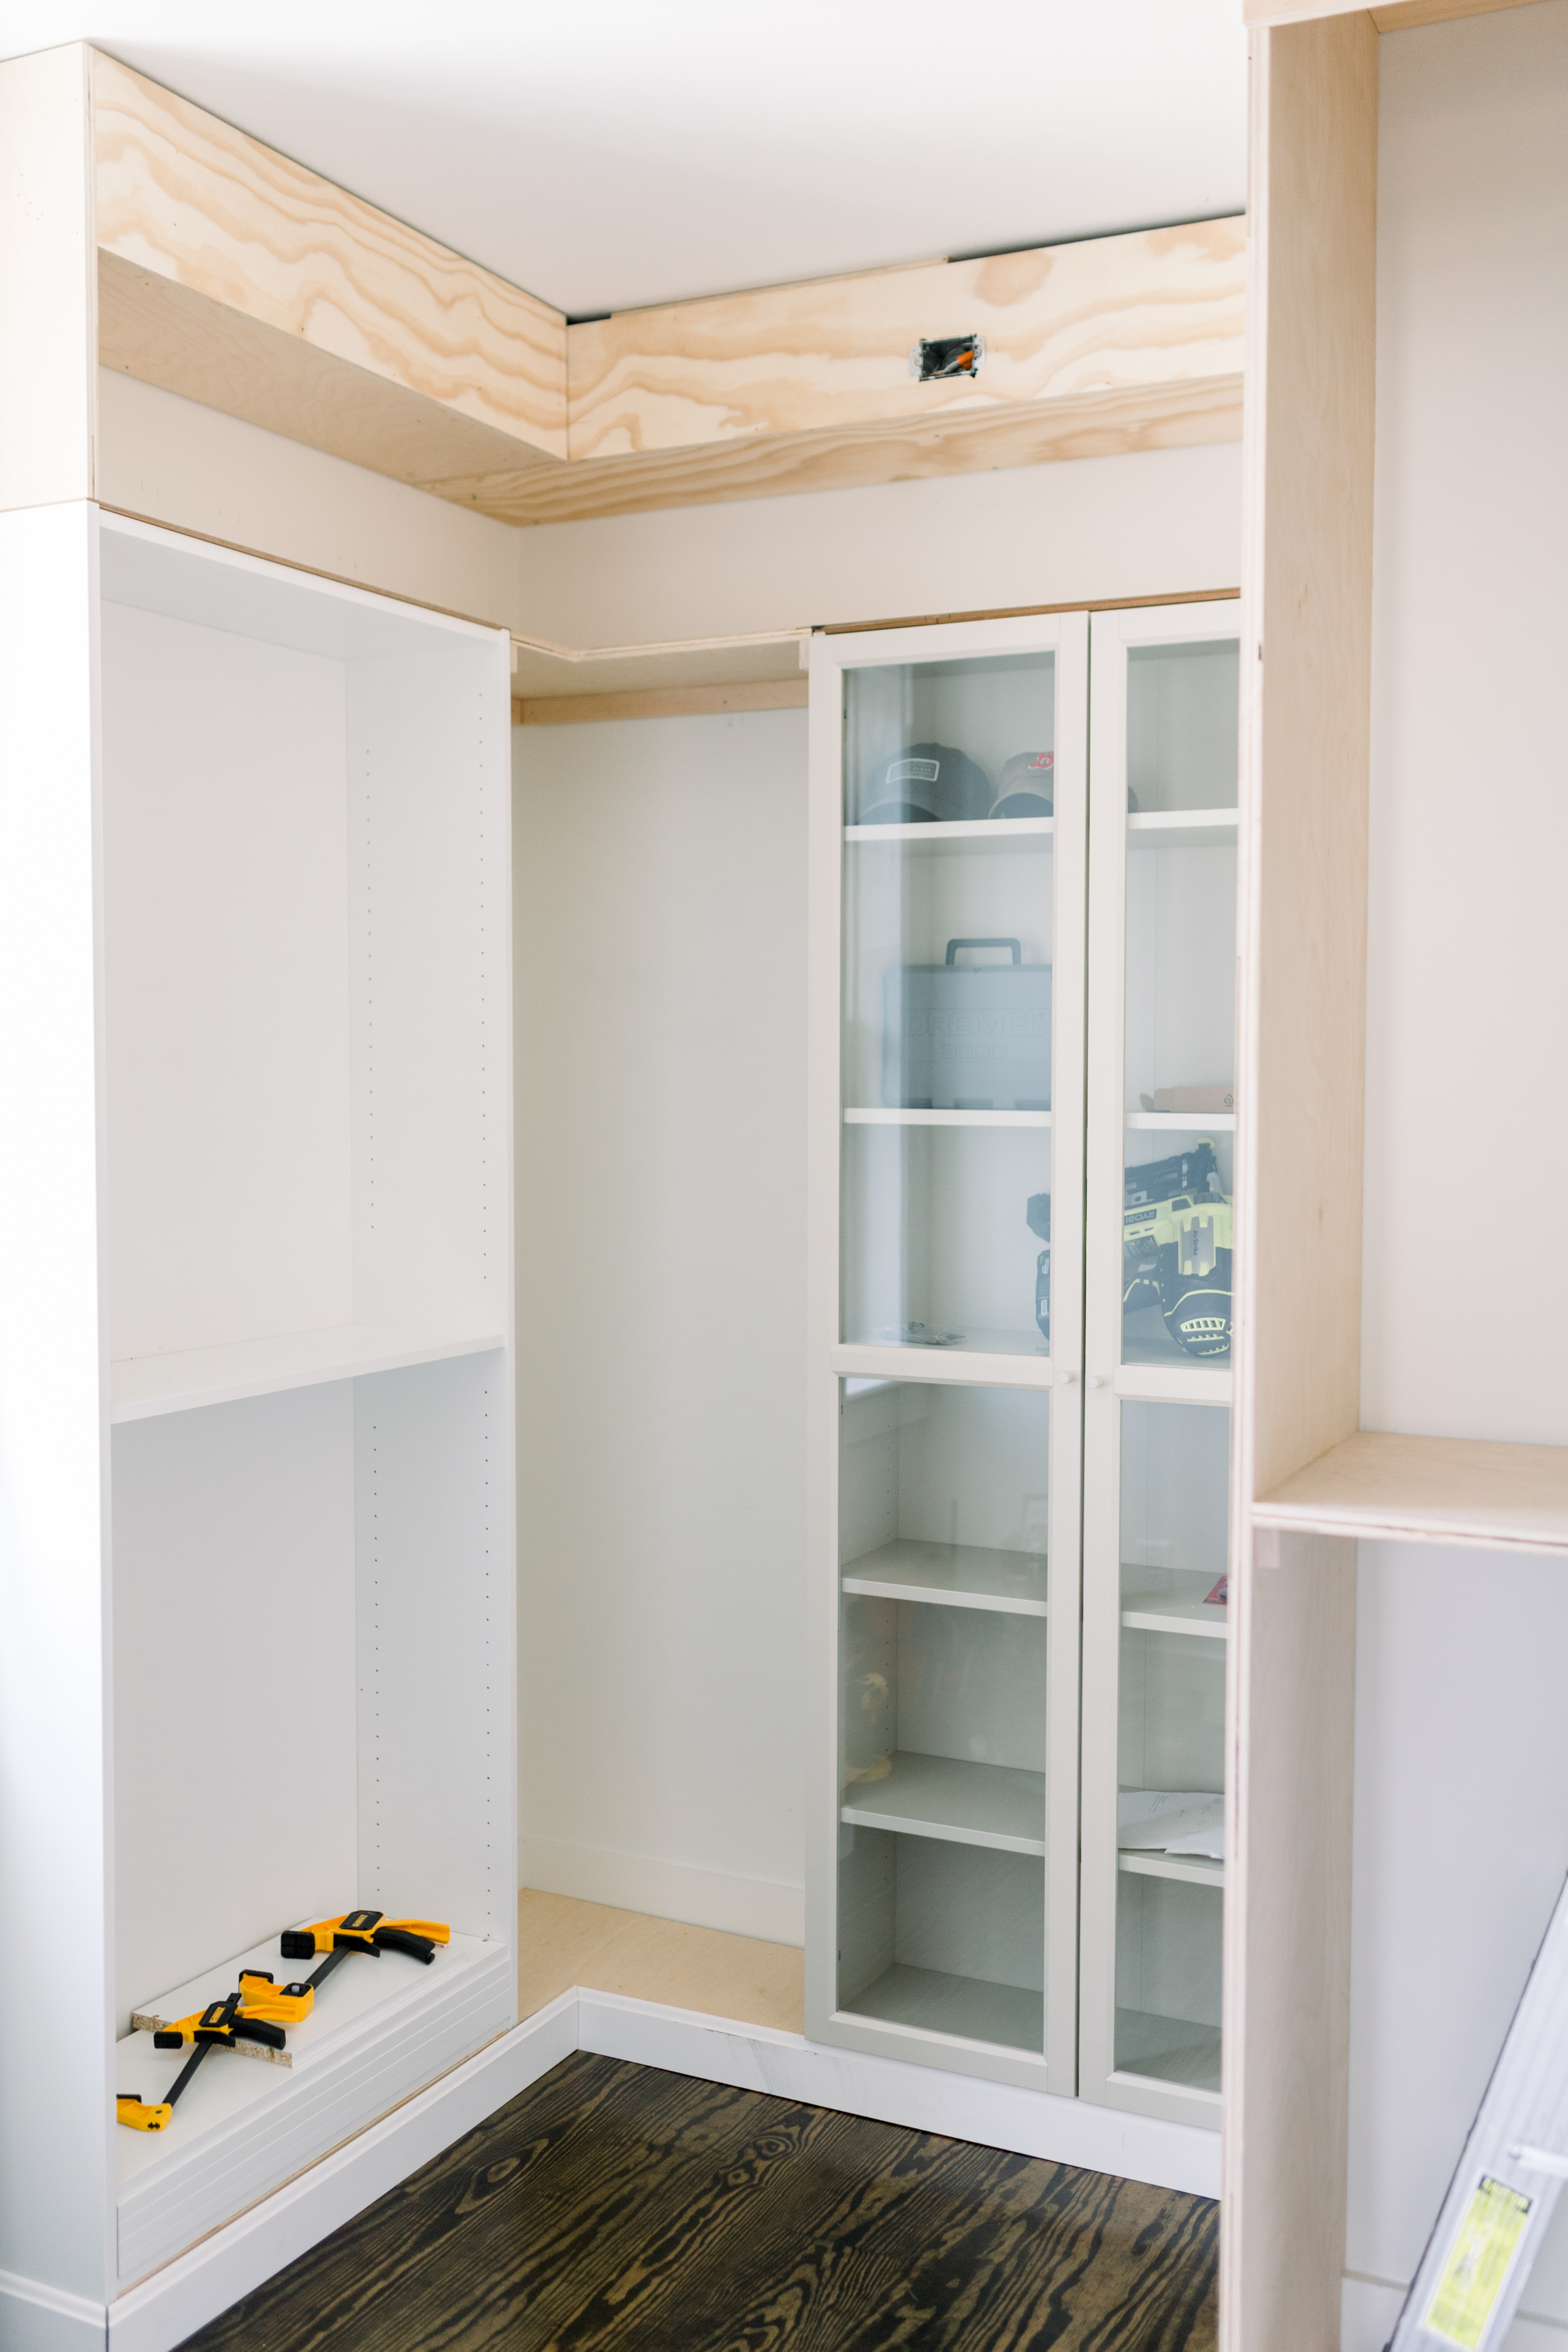
So now those upper boxes are built, electrical has been wired in place (we hired that job out), we installed the baseboard, crown molding and trim pieces that will cover the seams of all the IKEA units we used to create these built-ins and are waiting for paint to dry. Stay tuned for part II–the reveal. Now that sweet baby girl has joined us, the final organizing and decorating is probably going to be moving slower for us but she’s wonderful and we’re thankful. Several of these “good pictures” of the closet were taken by Madison Rae Photography. She’s such a sweetheart!
6 responses to “Master Closet DIY part I”
Leave a Reply


 Back To Home Tour
I would love to have a closet like this one! Great job. Excited to read you have a new baby girl. Will be waiting to hear more.
Thank you Sonja!
I am so excited about this closet of yours. It already looks incredible! I have a massive order from IKEA showing up tomorrow for our closet makeover. I feel like there is not much I can plan for until I get to building and installing and that it will mostly be just figuring out the customizing part as we go along.
You’re going to have so much fun Shelley! It’s amazing how nice it can all look built in. I’m in awe!
This looks amazing! Thank you for sharing the details! I am looking forward to seeing the finished product. I am intrigued because the Pax system is too deep for my closets so this looks like it will be a better fit! Thanks for sharing, and congrats on that sweet baby girl!
Thank you Peggy!