
HOME TOUR
We’re a little over a month away from Easter and I could not be more excited. I love this time of year with the melting snow, more sunlight, warmer temperatures and peeks of flowers, it feels…hopeful. Add some cute bunnies and Aubrey and I are ready. This Wooden Easter Egg Bunny DIY is a great way to add some festive touches to your home this season and the supply list is minimal.
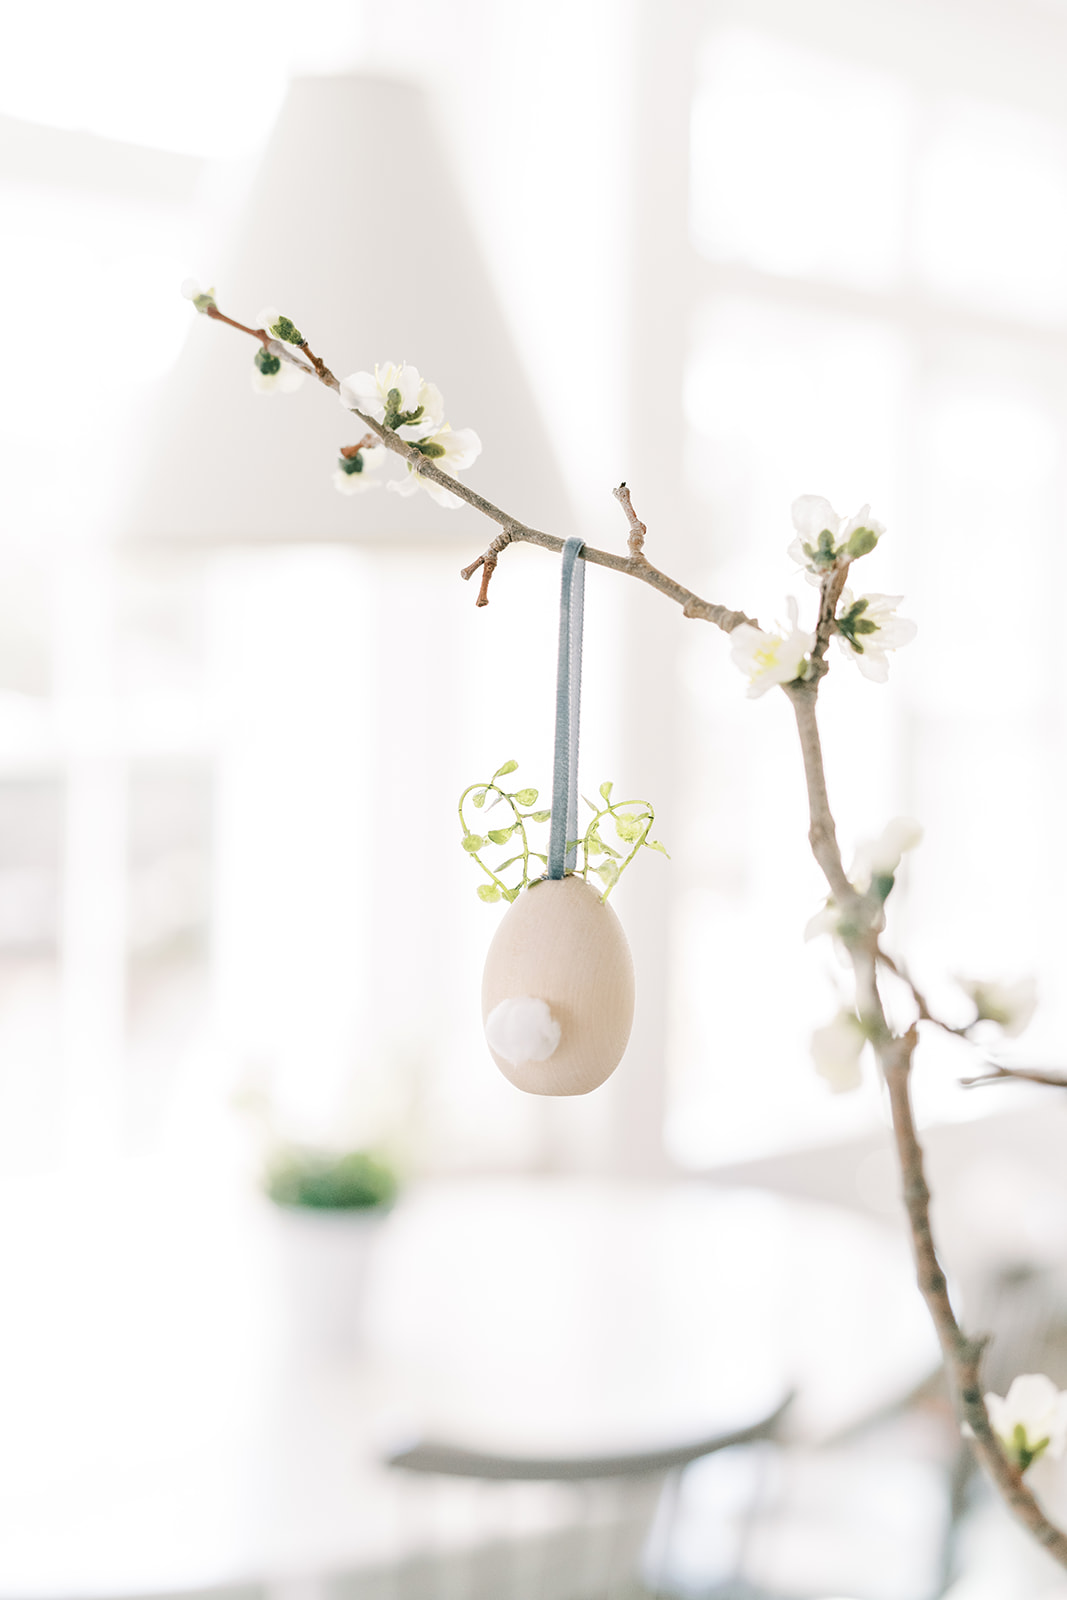
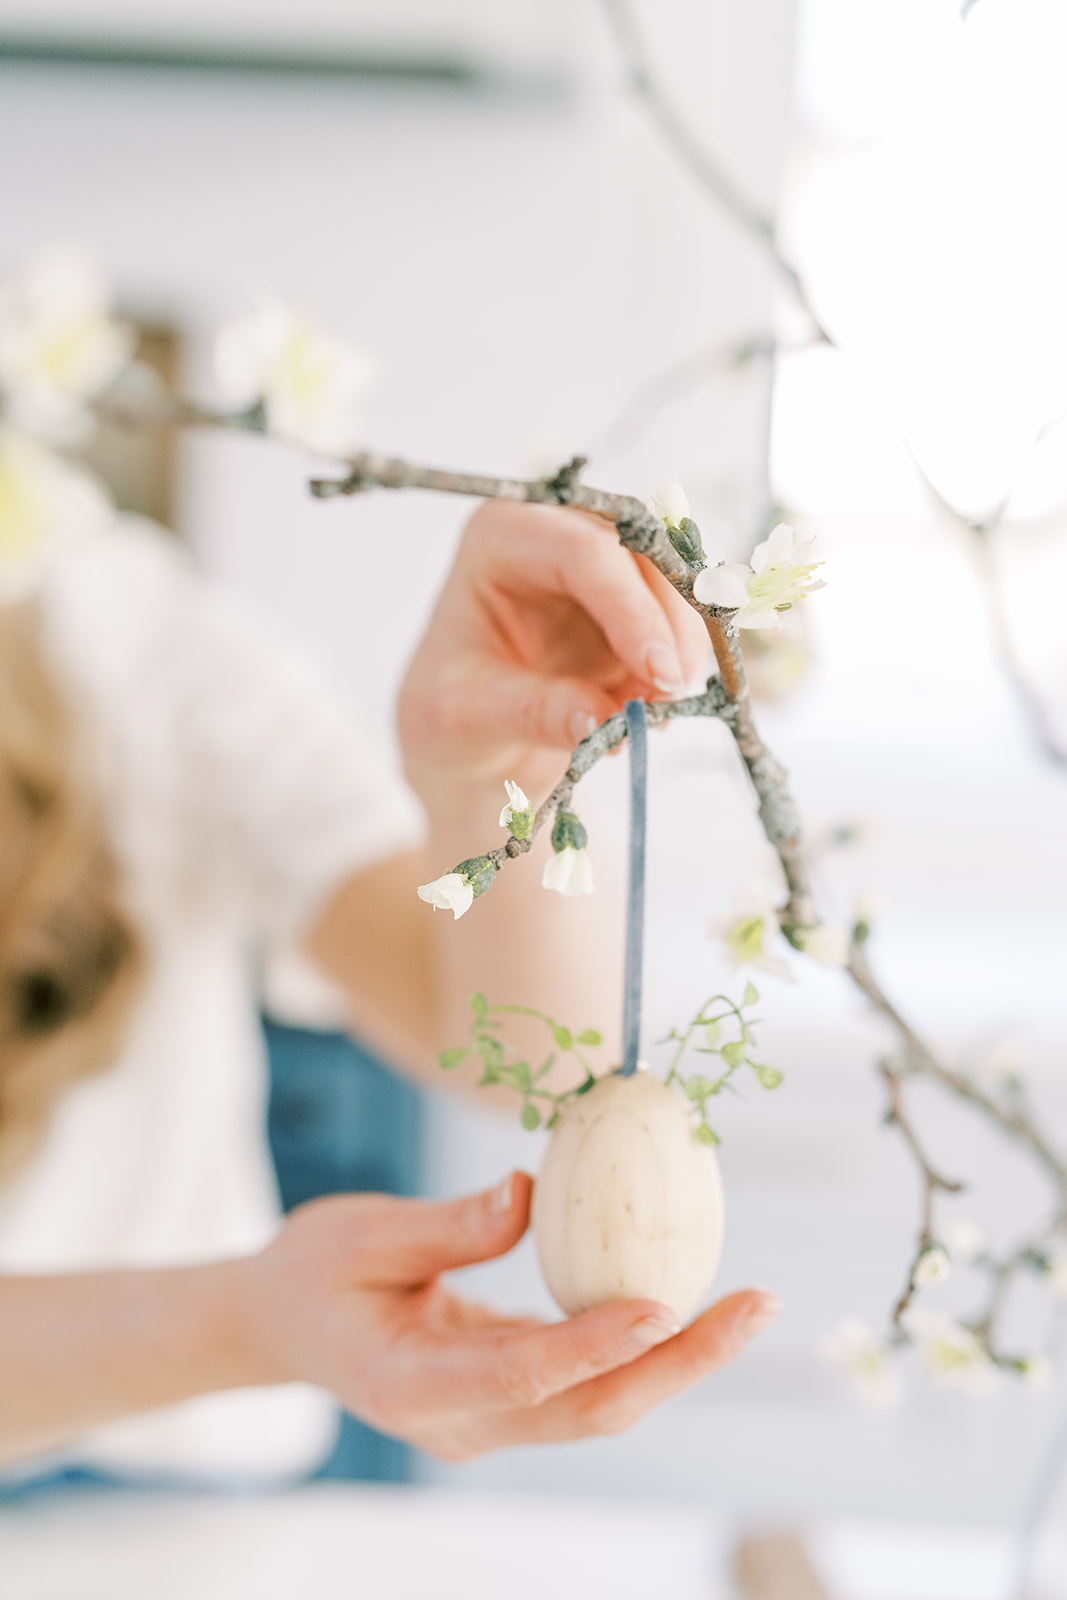
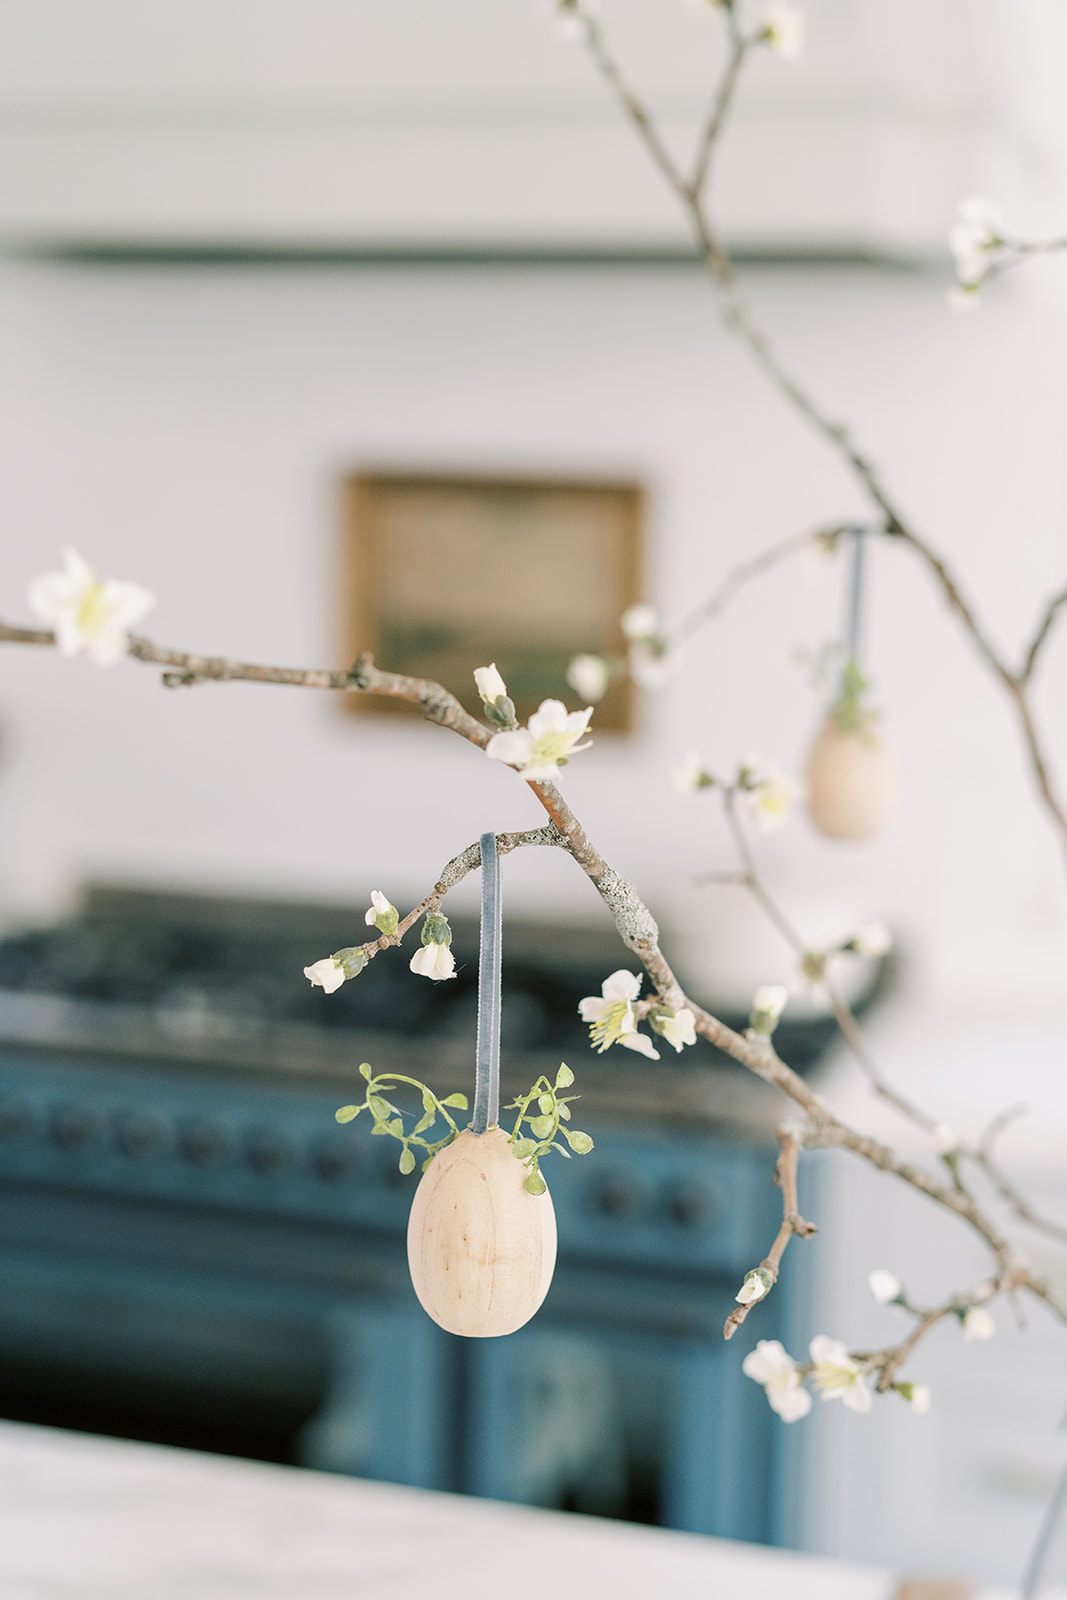
I hung these cute wooden ornaments on my blooming branches from this DIY post earlier this year. This could not be a simpler DIY and a versatile one at that because now with some hanging bunnies, it’s perfect for Easter.
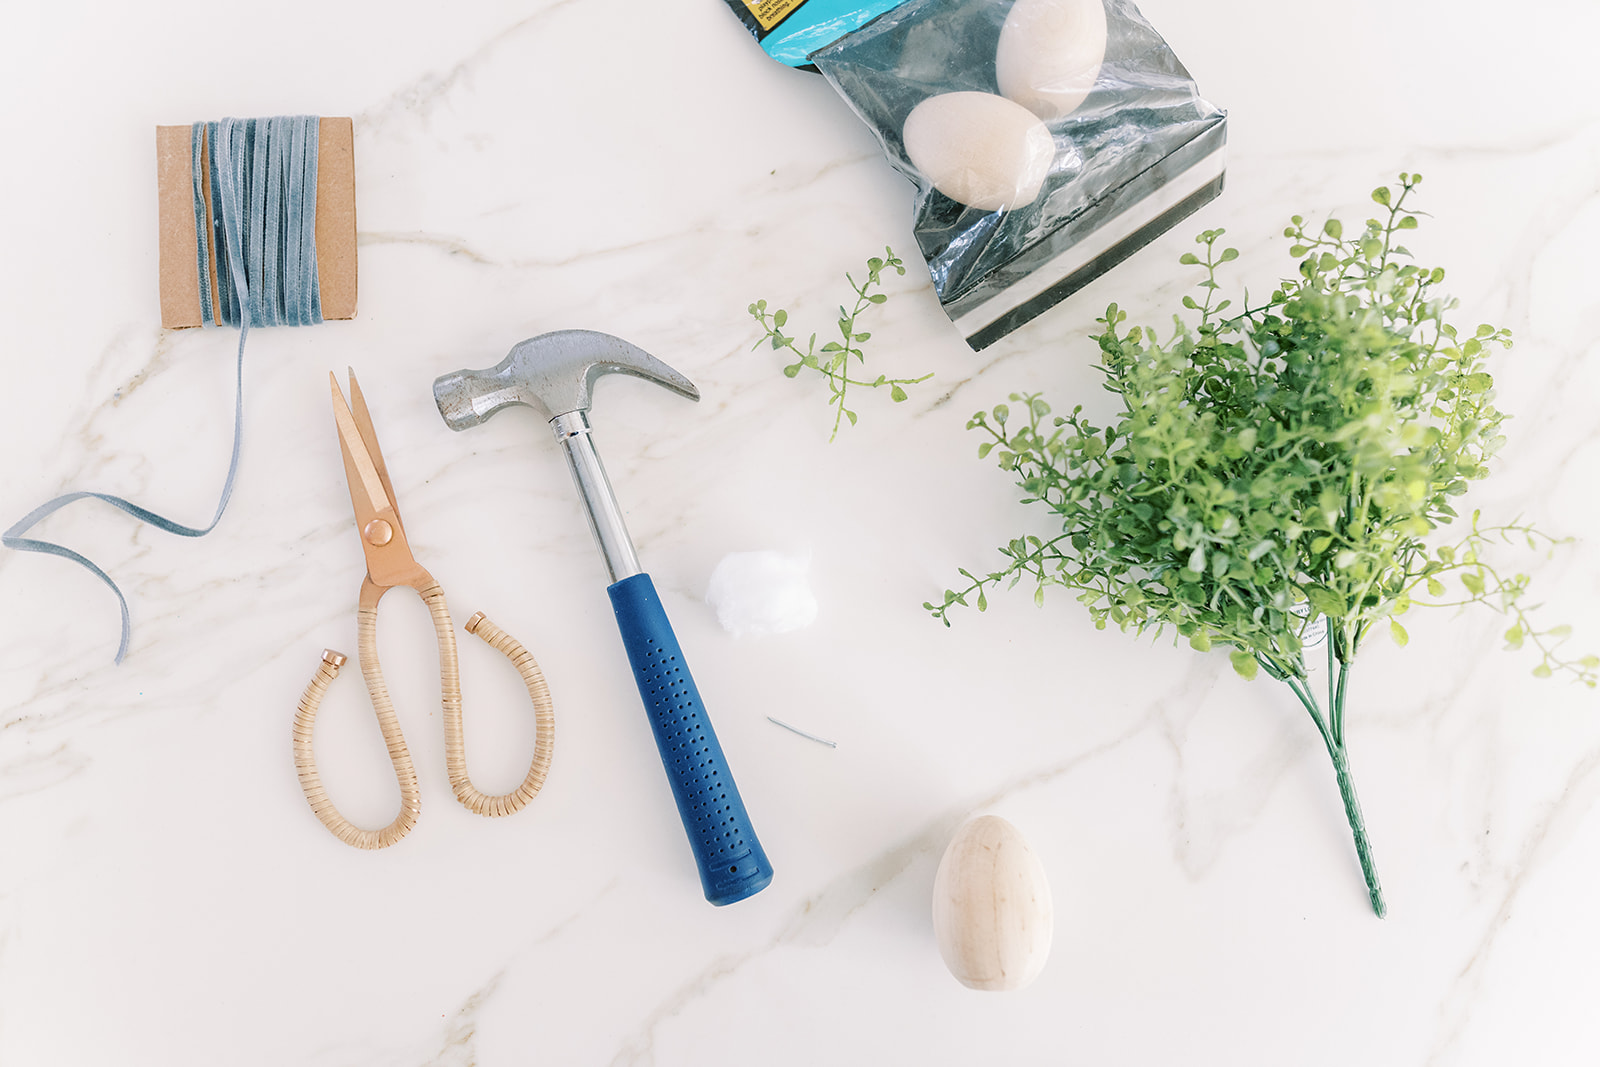
SUPPLIES
6 Wooden Eggs, 2.5″ in size
6 Thumb tacks with a flat top
1 Yard of thin velvet ribbon (I used 1/8″)
Faux Wild Thyme or other small-leafed faux green
Thin Nails
Hammer
Scissors
INSTRUCTIONS
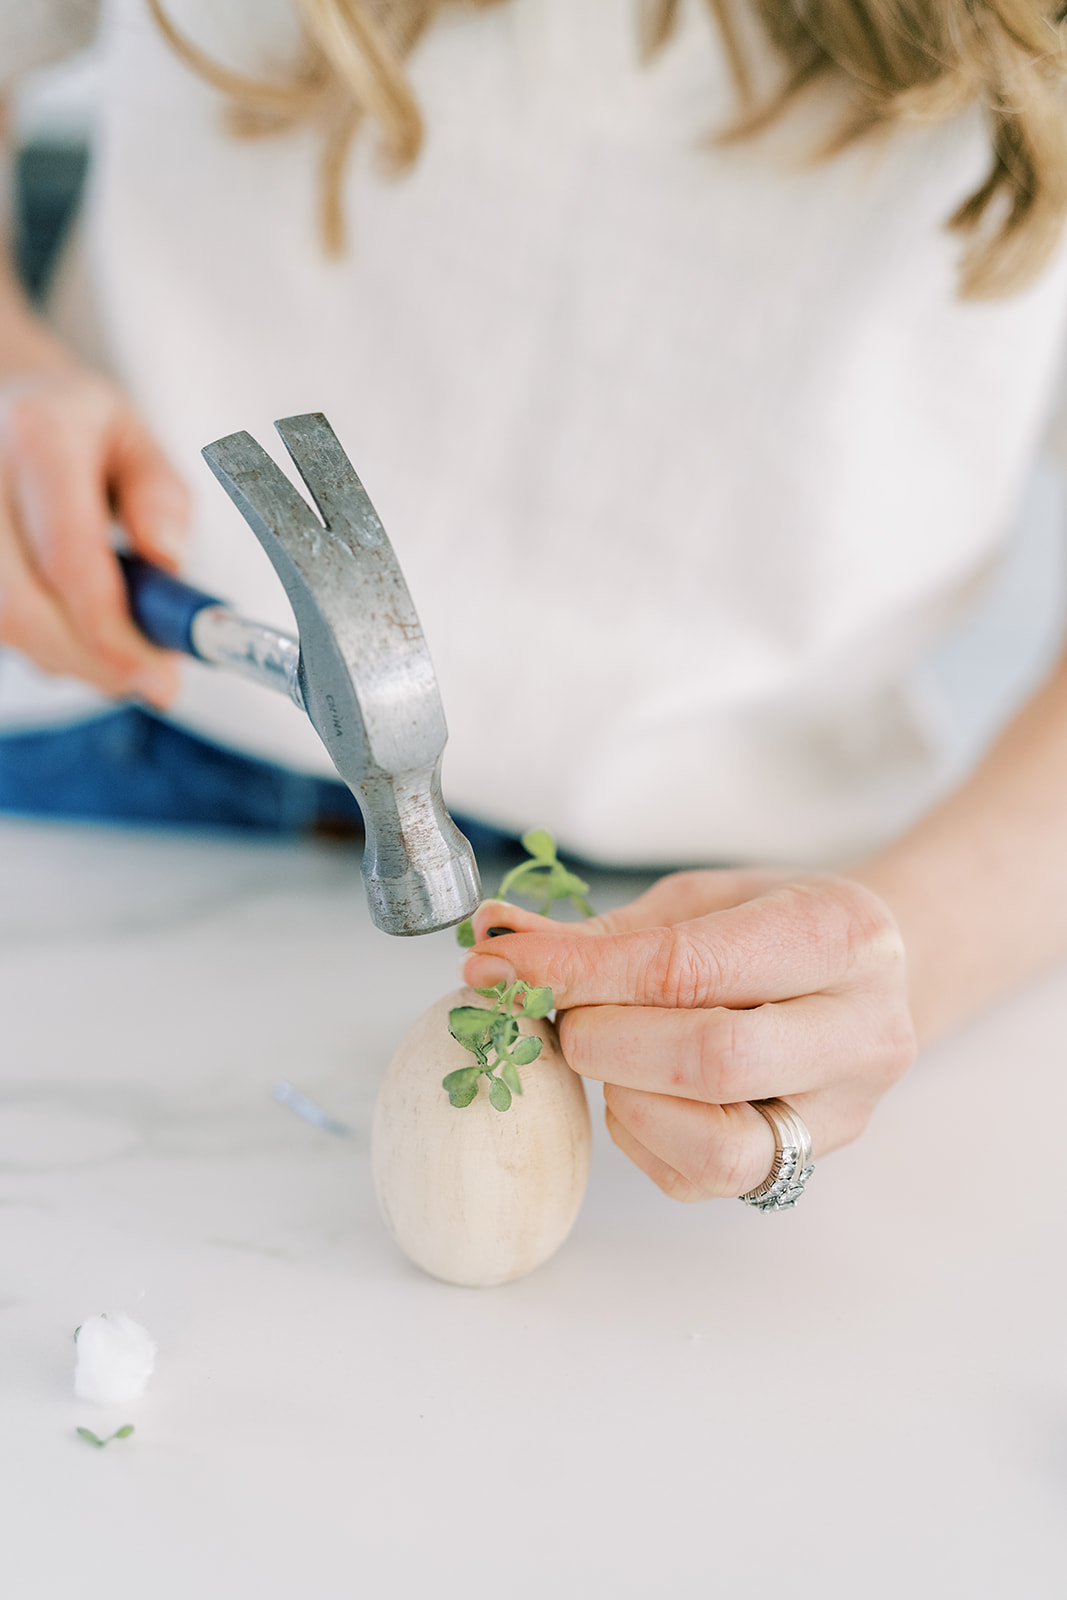
Start by gathering your supplies and getting set up. Firstly, you’ll need a thin nail and hammer to create the holes in the top of the wooden egg that you’ll tuck the stems into to create the ears.

Tap the nail in (not too deep) and just slightly down from the top center of the egg. Subsequently, tap the second 3/8″ down from that first hole.
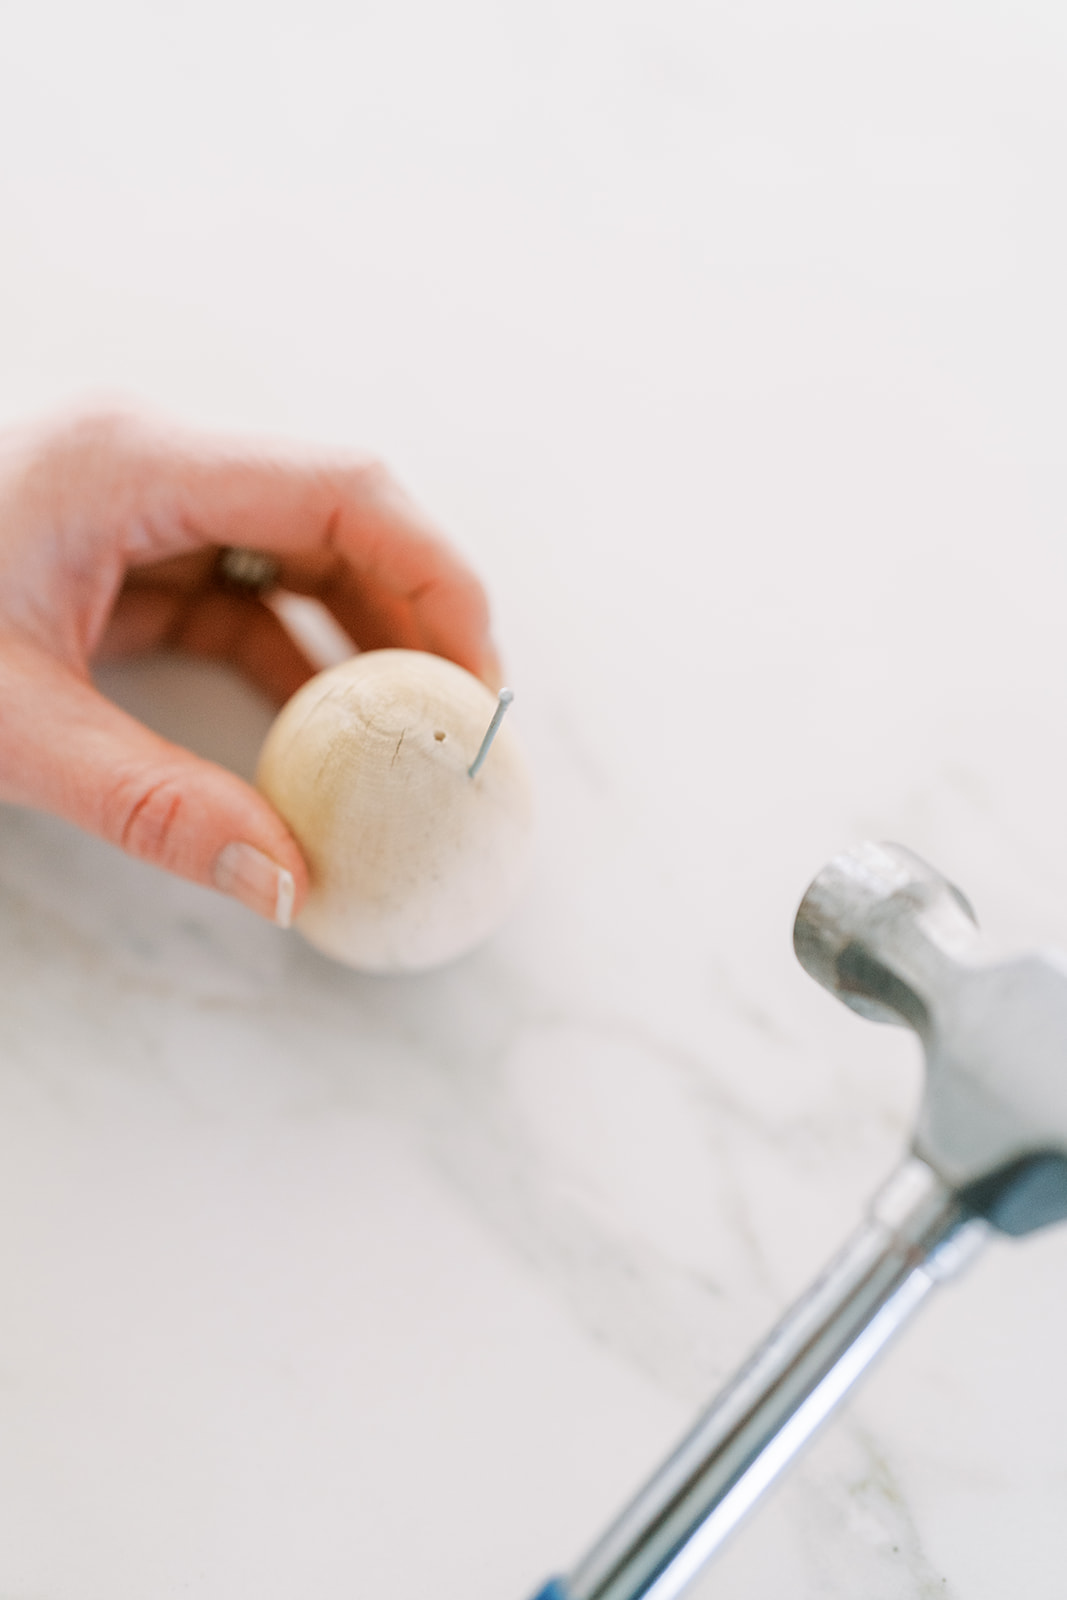

Repeat this on the other side and you’ll have four holes like the image above.
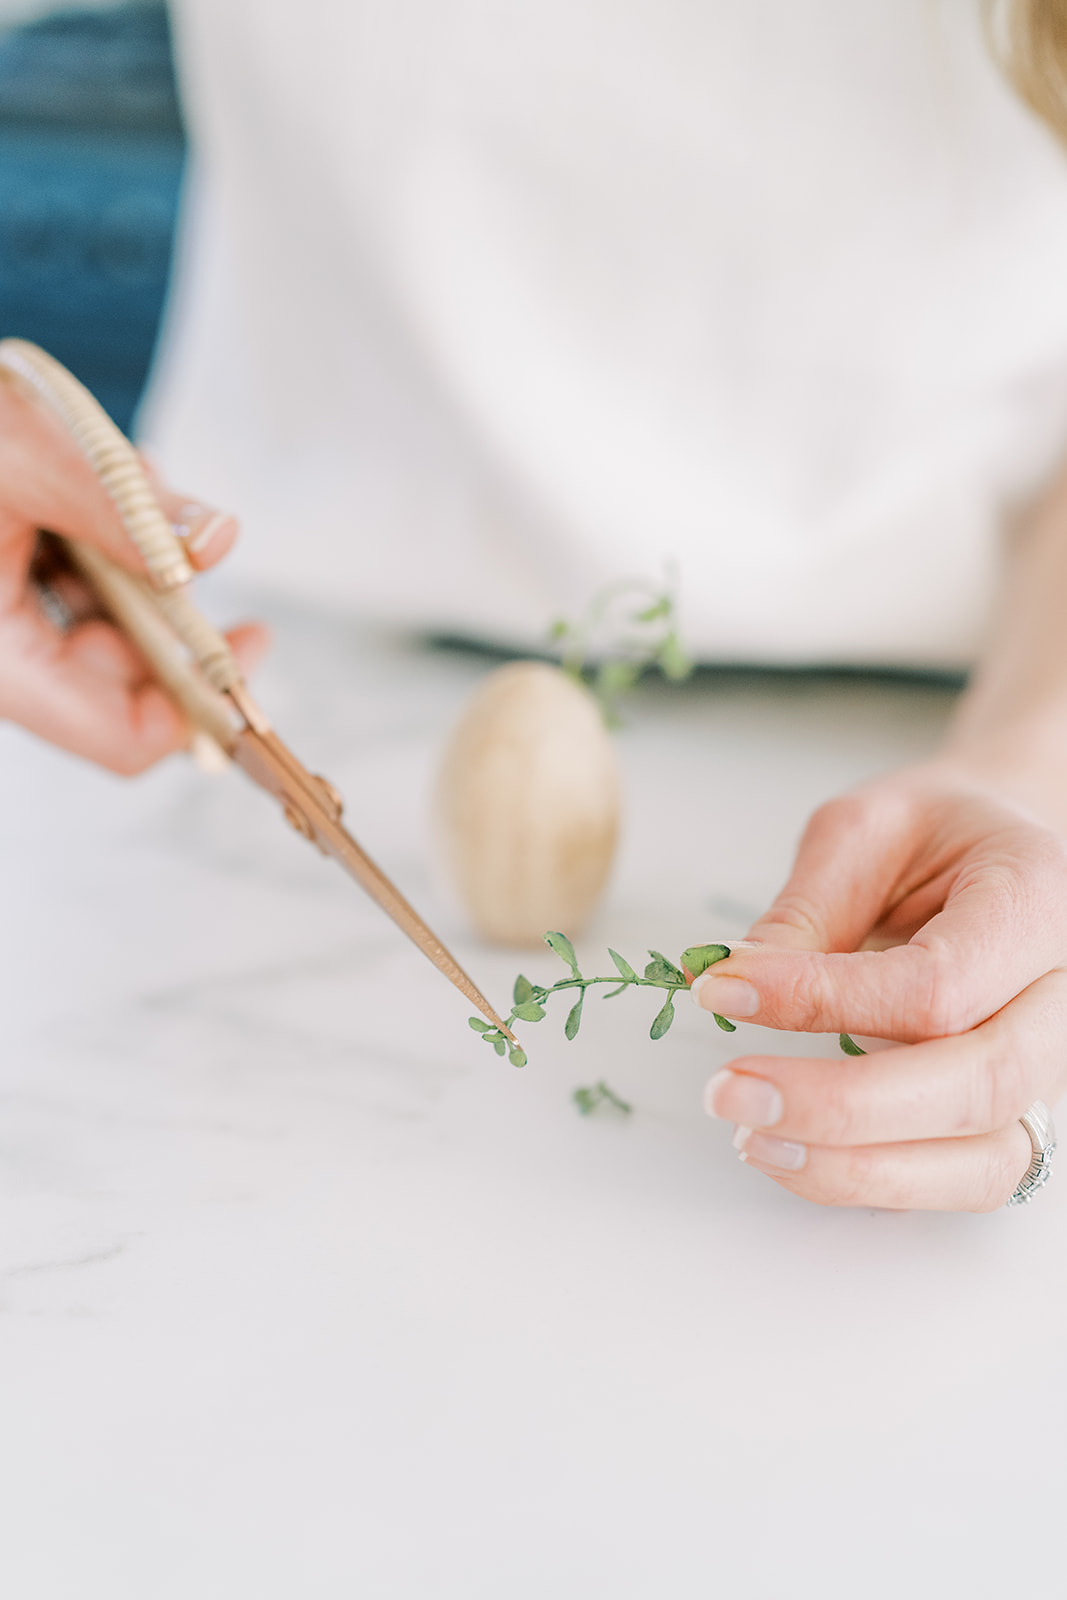
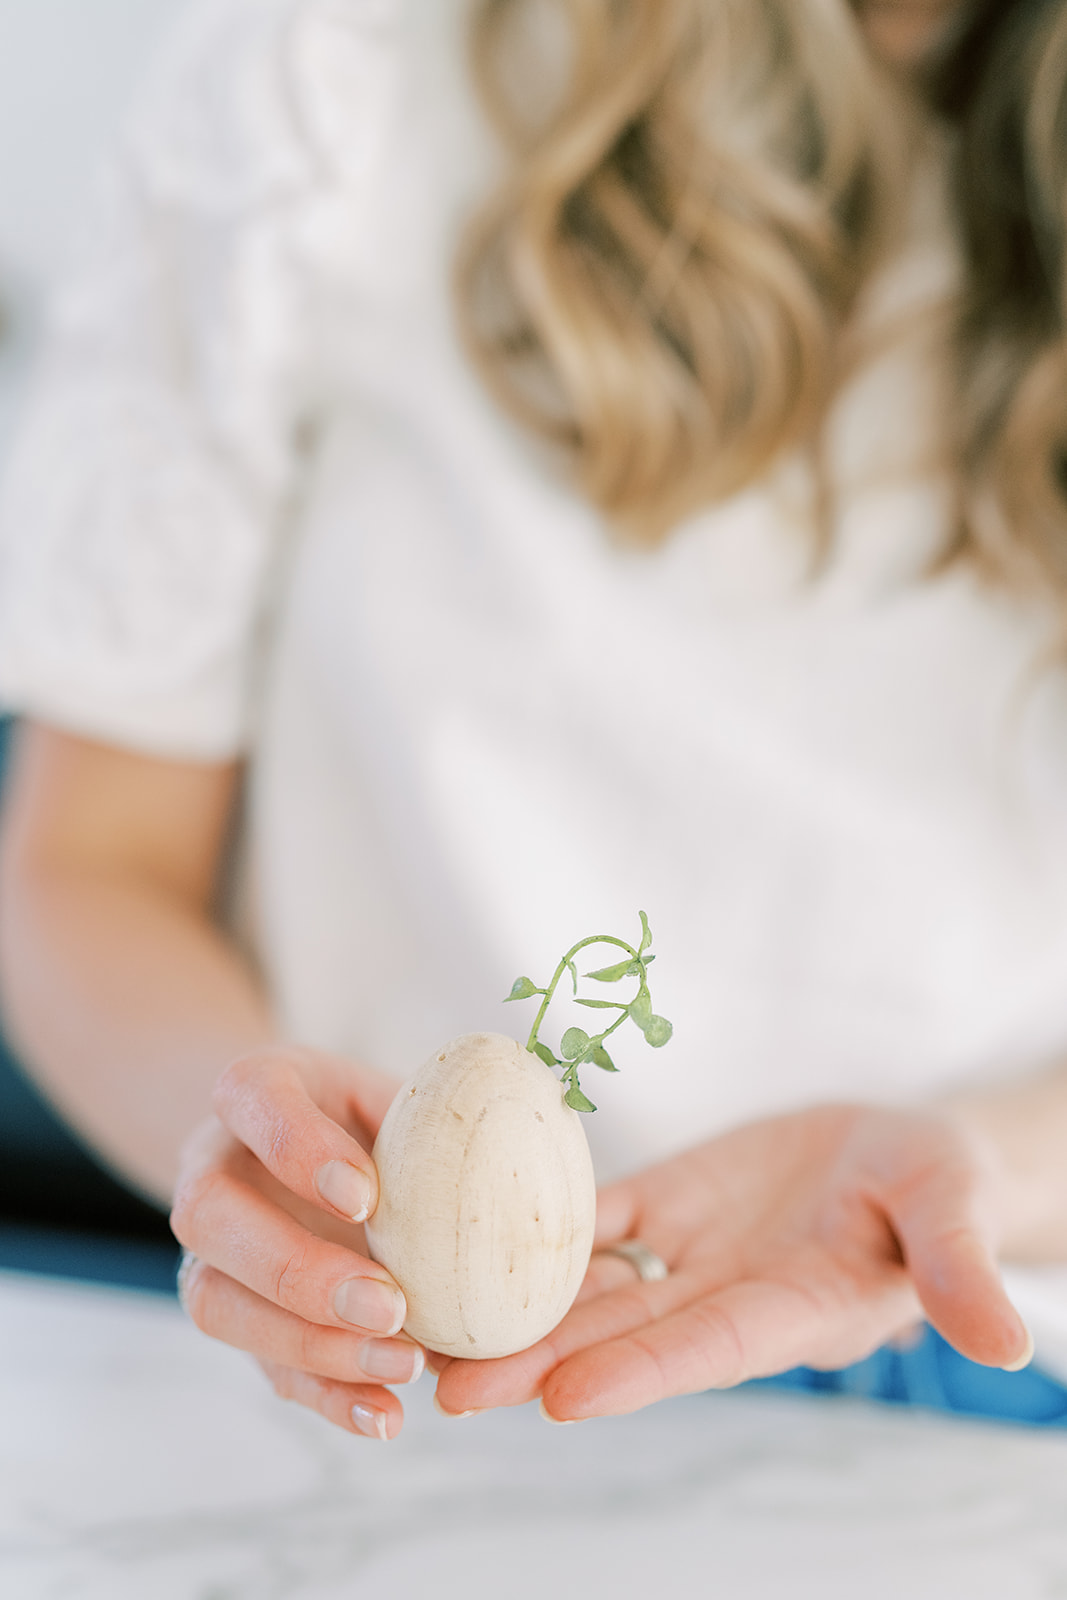
I found my greenery pick at Hobby Lobby. It looks like thyme and I was purposefully after that look–a stem with small leaves so you can turn it into ears. As an example, if you use a stem with too big of leaves it overwhelms the egg and you can’t see the ear shape that makes it look like a bunny. To make a stem that will go into the two holes, you need to cut the end leaves off the tip as seen above.
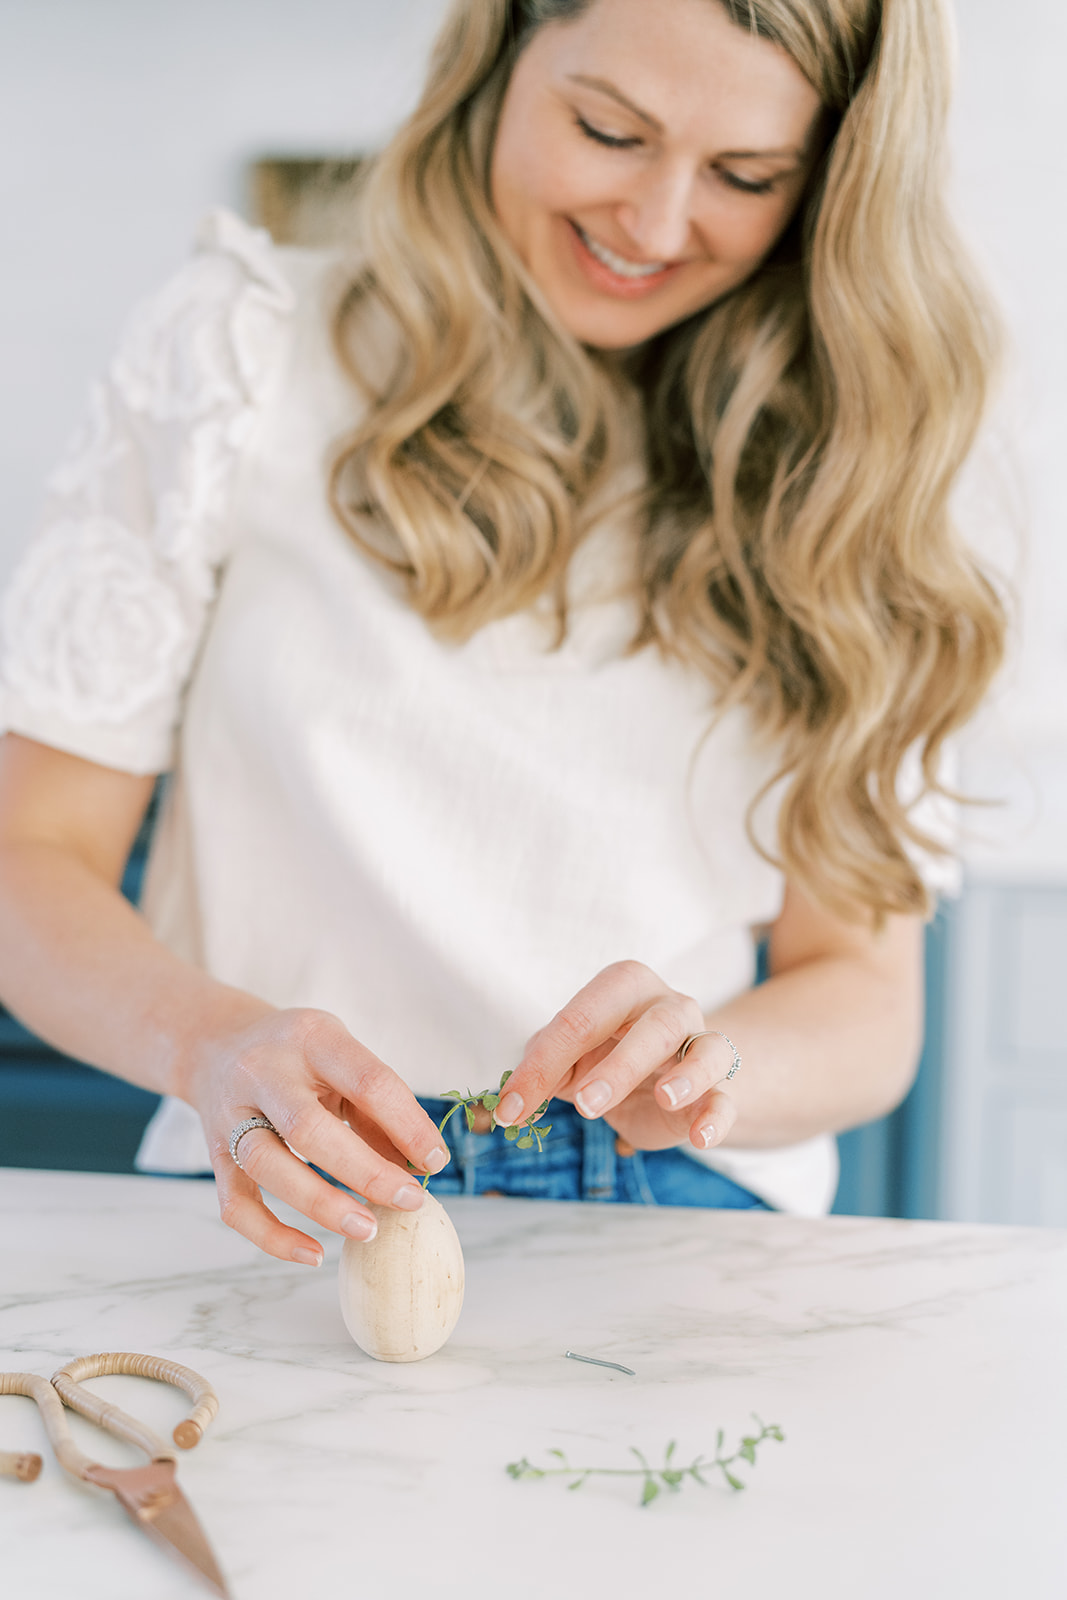
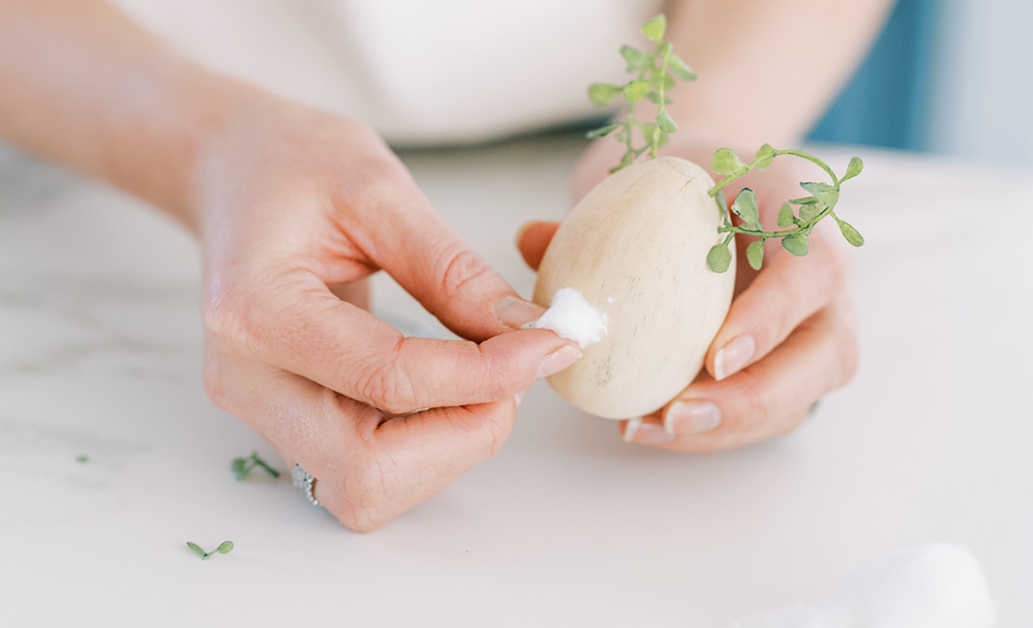
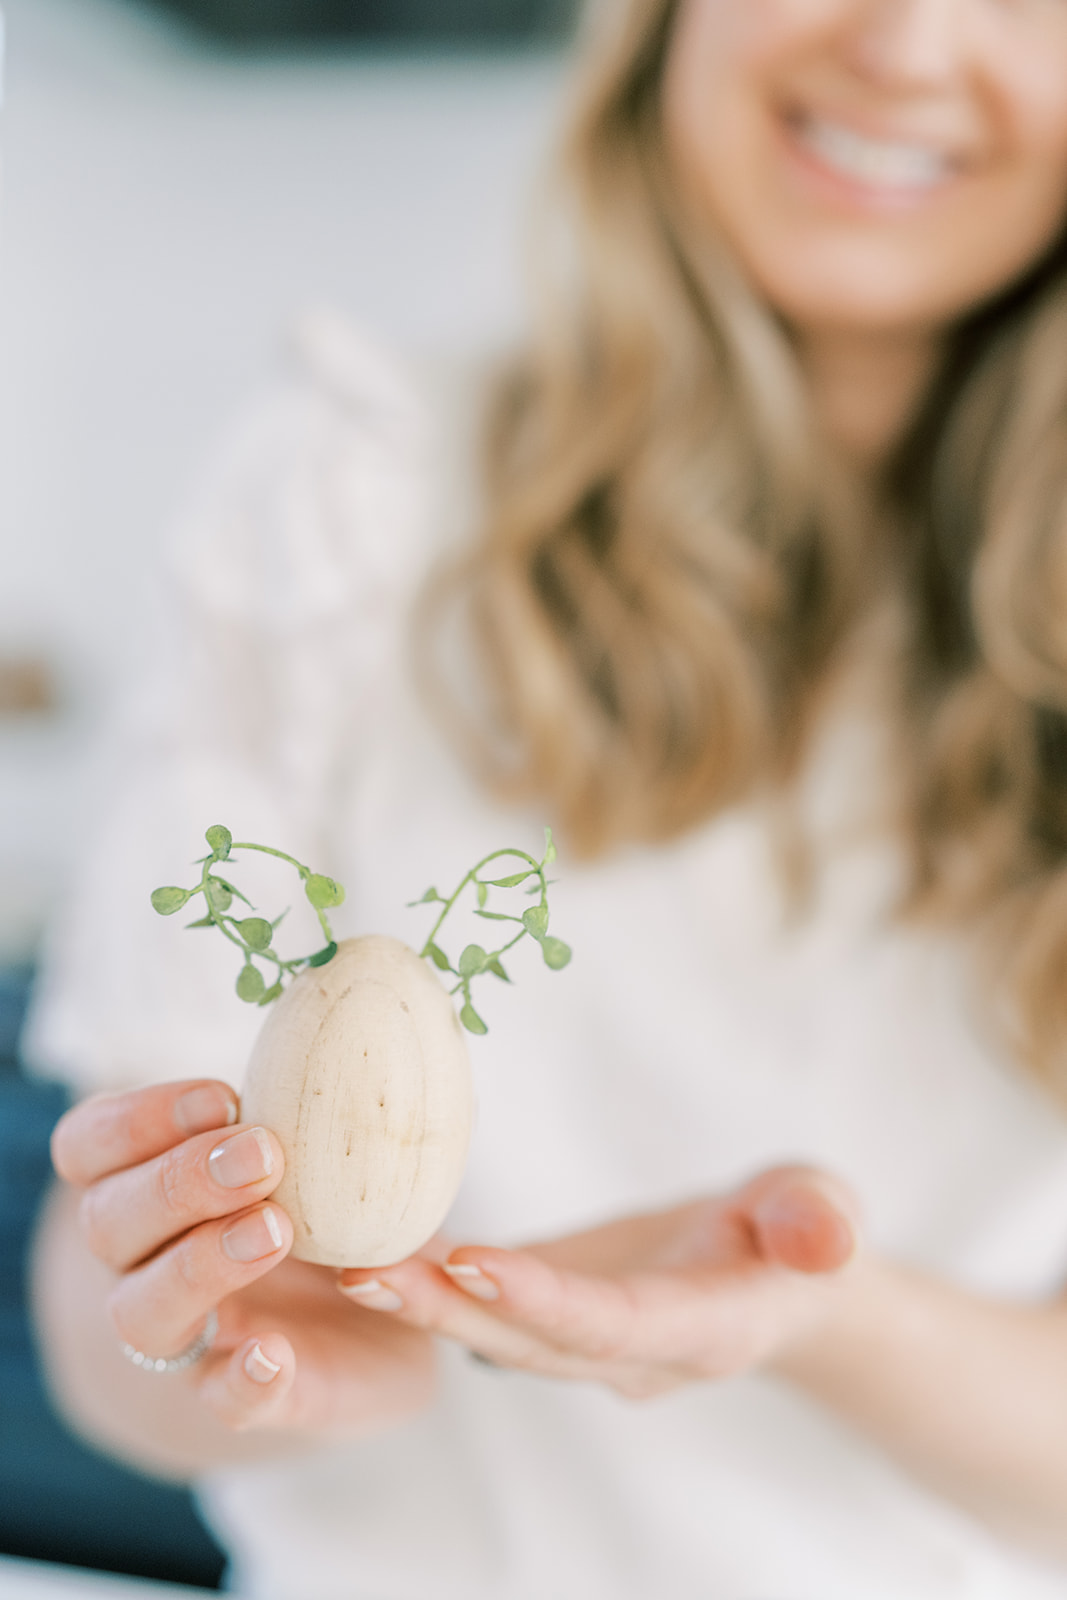
I lucked out and my stems were roughly the same size as the nail so they held secure but if your stems are popping out, you can easily use a little glue to hold them in place in the holes. Start with the top stem and fold it over to make the ear shape and tuck the end of the stem into the second hole.
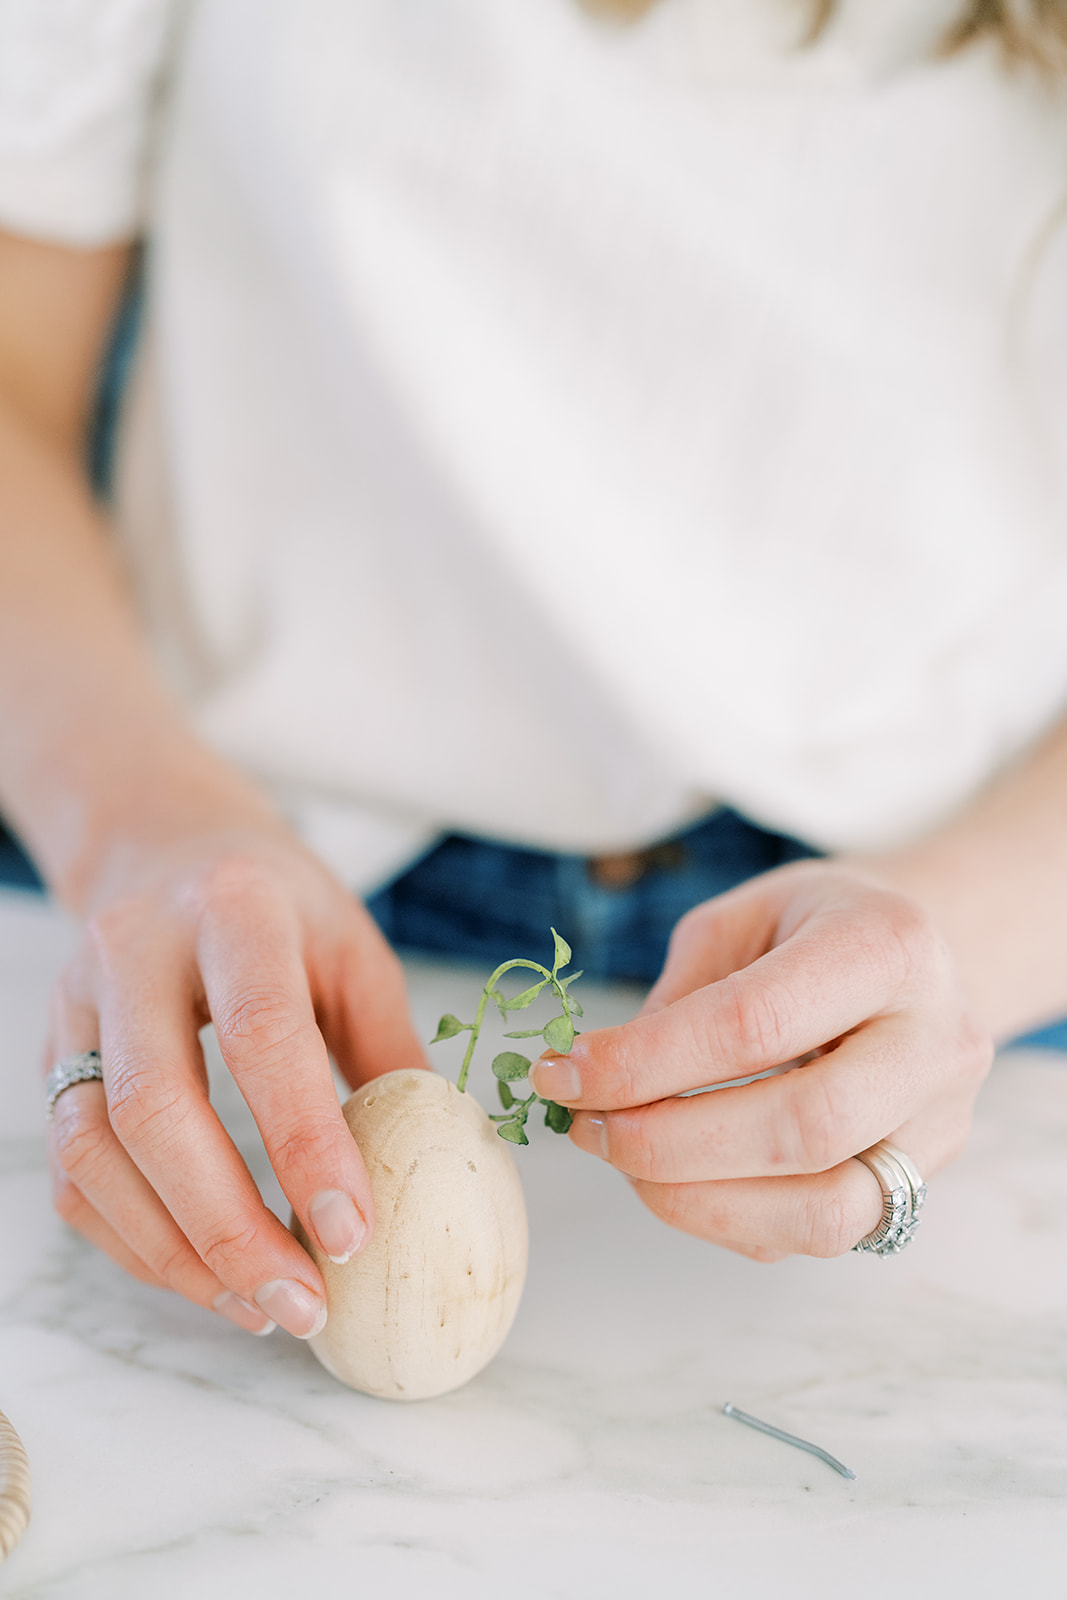
Now repeat this for the other side.
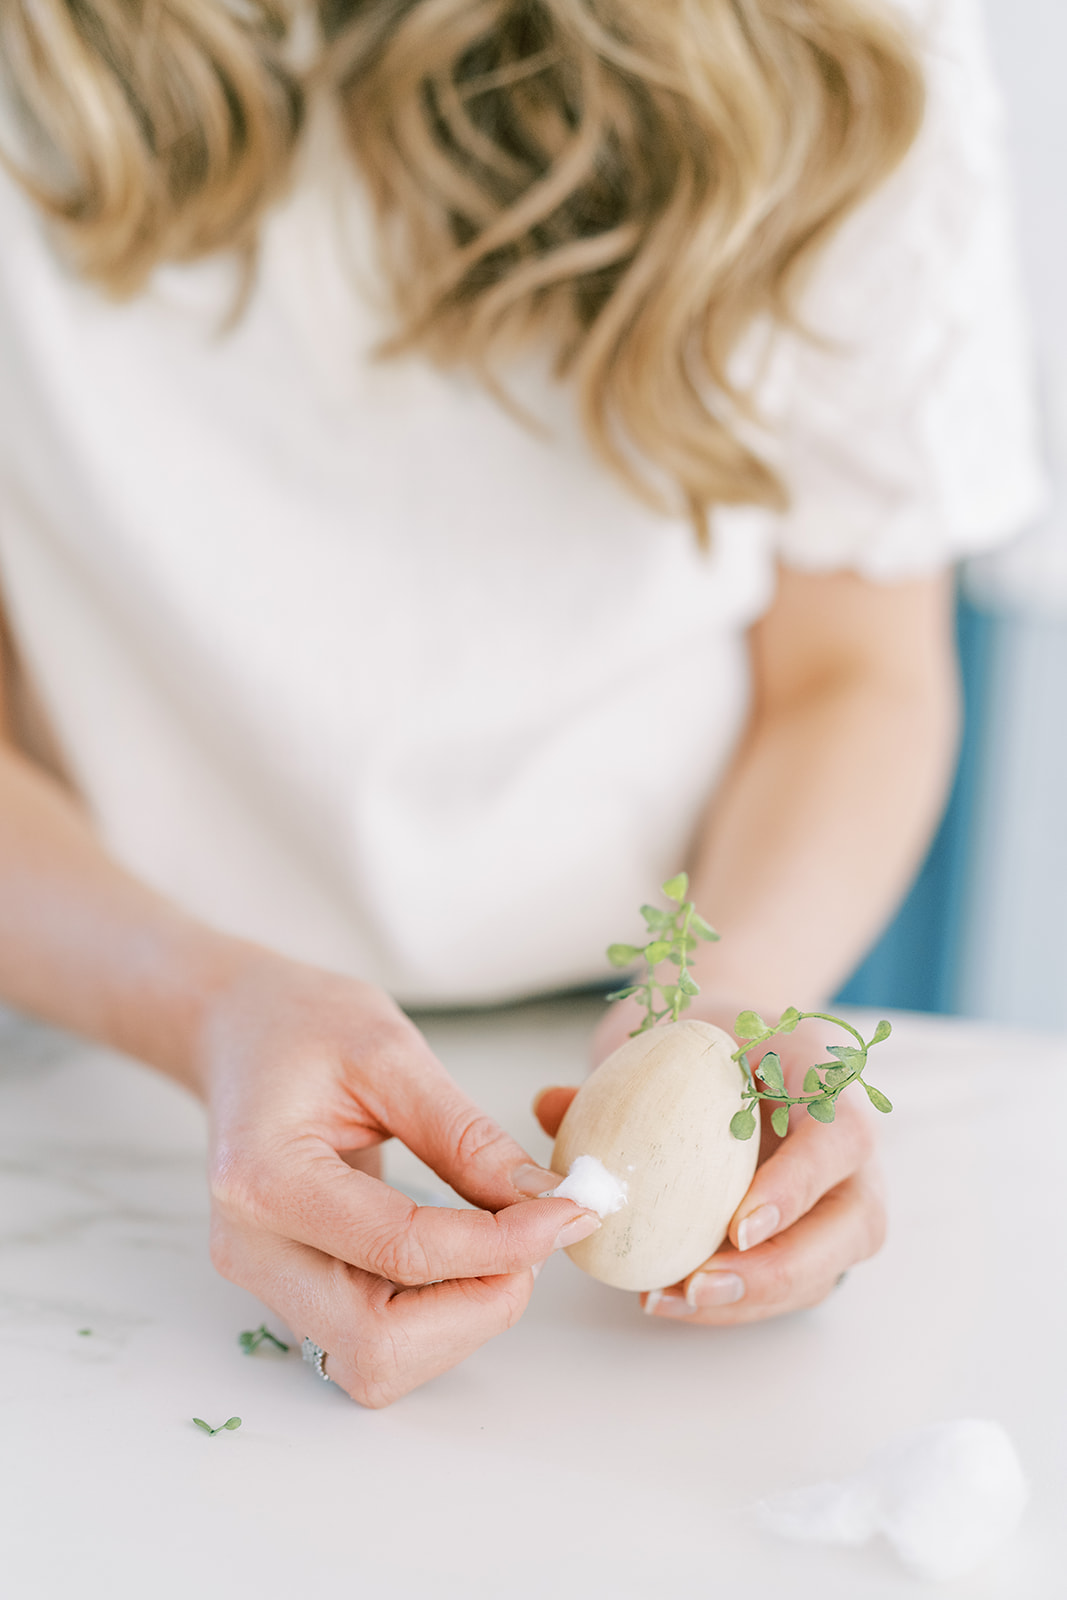
I used one cotton ball and pulled pieces off, rolled them between my fingers to make smaller balls and hot glued them on.
To continue, hammer the nail in, just a few taps, to create a small hole (ie not very deep) directly in the top center of the egg. Pull that nail out. You’ll be using the hole as a guide to make it easier to push your thumb tack in.
For the ribbon, I used about a 6″ long piece of thin velvet ribbon (1/8″ thick).
RIBBON LOOP
Most velvet ribbon is one sided with just backing on the reverse side. Turn your ribbon over and stick the thumbtack through the back side (the non-fuzzy side) at the end of the piece of ribbon. Now loop the ribbon over and stick the thumbtack through the other end of the ribbon, also the backing side. See the pictures above. Once your ribbon ends are on the tack and you have a loop of ribbon, use your hammer to tap the tack in. Use the hole you already tapped into the top of your egg. Now you have a darling wooden egg bunny you can hang from flowering branches. The kids loved this project and helped me with the process. Projects are so much sweeter when little hands help.

I hope you enjoyed this sweet craft with pictures by the talented Ruth Eileen Photography. Now head down and visit my friends Easter DIYs on this seasonal blog hop.
The DIY Mommy | Fuzzy Crochet Chain DIY Easter Eggs
Happy Happy Nester | Decoupage Easter Eggs
Finding Lovely | Wooden Easter Egg Bunnies DIY
Zevy Joy | Vintage Inspired DIY Painted Easter Eggs
Craftberry Bush | Hand Painted Easter Eggs
Modern Glam | Living Centerpiece for Your Easter Table
Twelve on Main | Easy Bunny Art Using Scrap Fabric
Tatertots and Jello | Easter Basket Living Floral Centerpiece
My 100 Year Old Home | How to Make Easy Paper Flower Daffodils

 comment share
[…] Finding Lovely | Wooden Easter Egg Bunnies DIY […]
[…] Finding Lovely | Wooden Easter Egg Bunnies DIY […]
[…] Finding Lovely | Wooden Easter Egg Bunnies DIY […]
[…] Finding Lovely | Wooden Easter Egg Bunnies DIY […]
[…] Finding Lovely | Wooden Easter Egg Bunnies DIY […]
[…] Finding Lovely | Wooden Easter Egg Bunnies DIY […]
[…] Finding Lovely | Wooden Easter Egg Bunnies DIY […]
[…] Finding Lovely | Wooden Easter Egg Bunnies DIY […]
[…] Trouver belle | Oeufs de Pâques en bois à faire soi-même […]
[…] Finding Lovely | Wooden Easter Egg Bunnies DIY […]
[…] Finding Lovely | Wooden Easter Egg Bunnies DIY […]
[…] Finding Lovely | Wooden Easter Egg Bunnies DIY […]