
HOME TOUR
There’s something innately lovely about the start of the blooming season. The winter waning, spring at the door ready to usher the chill away. And although it is only late January and New England is in its perpetual cold spell, spring feels not that far off. The days are getting longer and hope feels like it is springing. With Valentine’s Day on the near horizon, how about surprising someone you love with this blooming branches DIY? Give them some lovely blooms that won’t fade away.
I’ve got a confession to make. I’ve never loved faux flowers. But I AM a fan of blooms. With grocery delivery and not much blooming outside, my flower situation has gone downhill fast. I was at the craft store gathering some supplies for Aubrey’s upcoming birthday party and stood in the faux flower section trying to figure out how to take a not-so-great-looking faux cherry branch and turn it into something I actually wanted in my kitchen. When a blossom fell off onto the floor an idea struck. Maybe by gluing these onto a real branch the blooms would look better??
Now clearly you can just buy some real branches when they’re available or cut them from your yard. But it’s January and here in New England, they’re not readily available yet or they’re really expensive. You can make blooming branches from tissue paper but it takes work and time. Rather, this is an easy DIY that transforms a faux branch of blooms into something lovely in a matter of minutes that frankly would fool even the most ardant bloom lover.
SUPPLIES
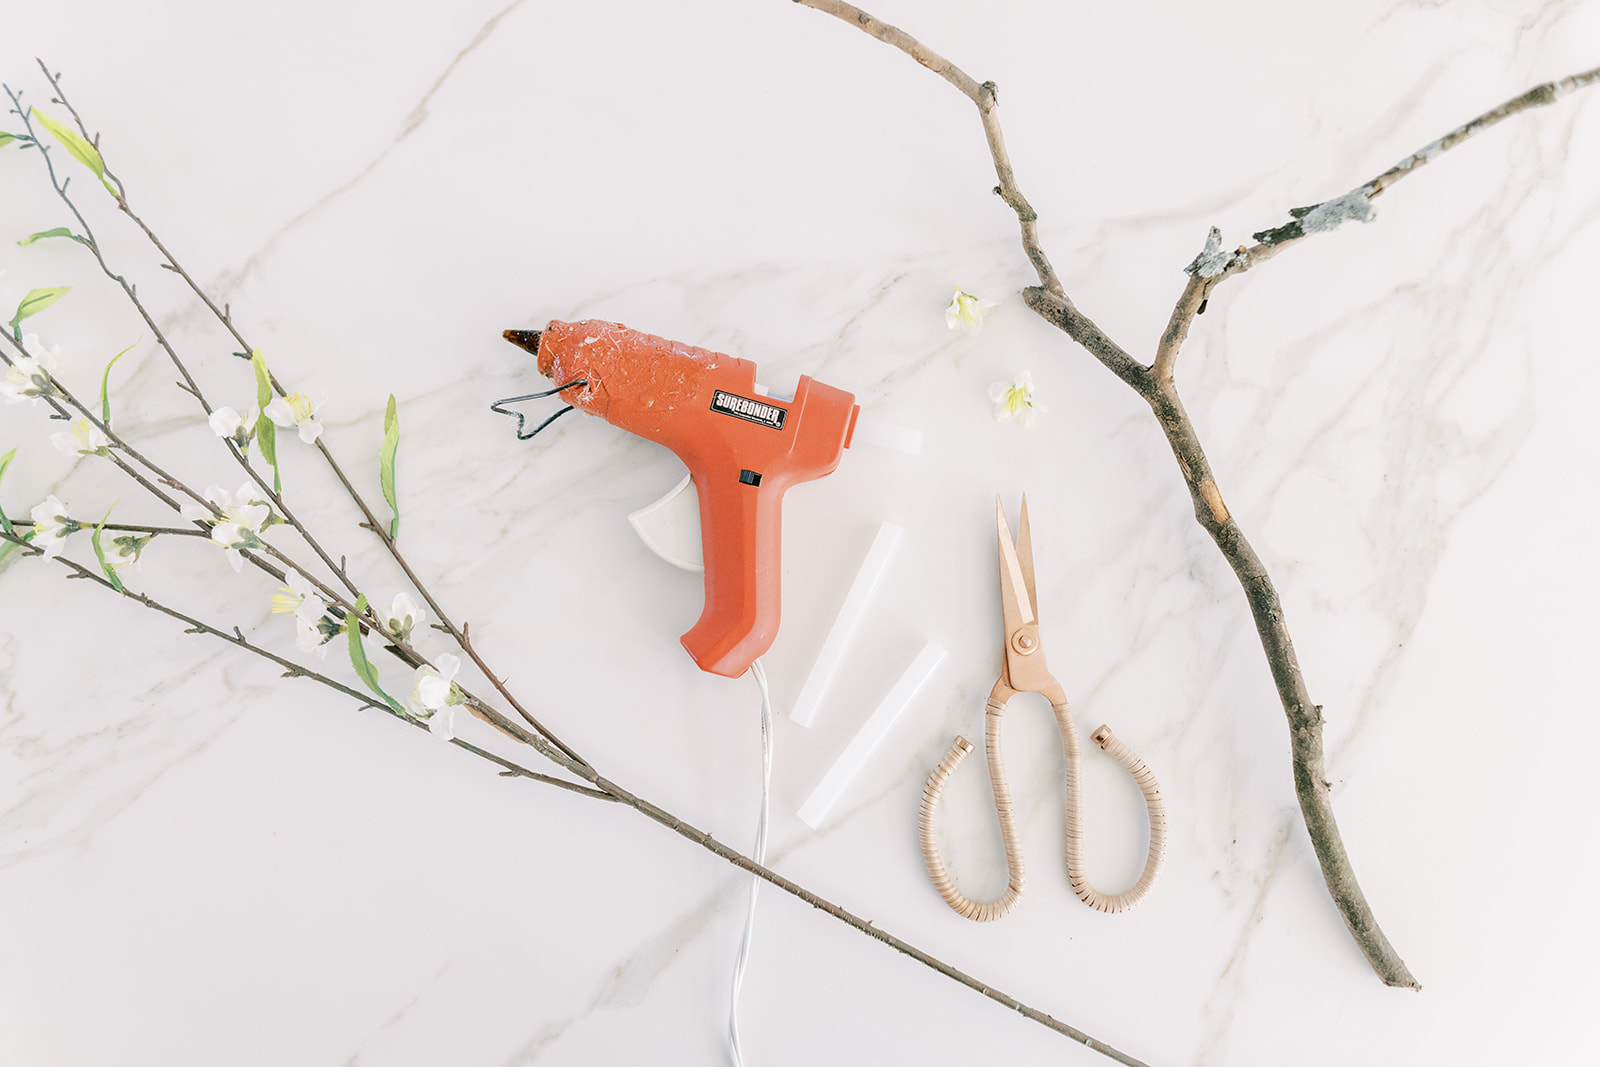
Tree branches (3-5 depending on how “branchy” they are)
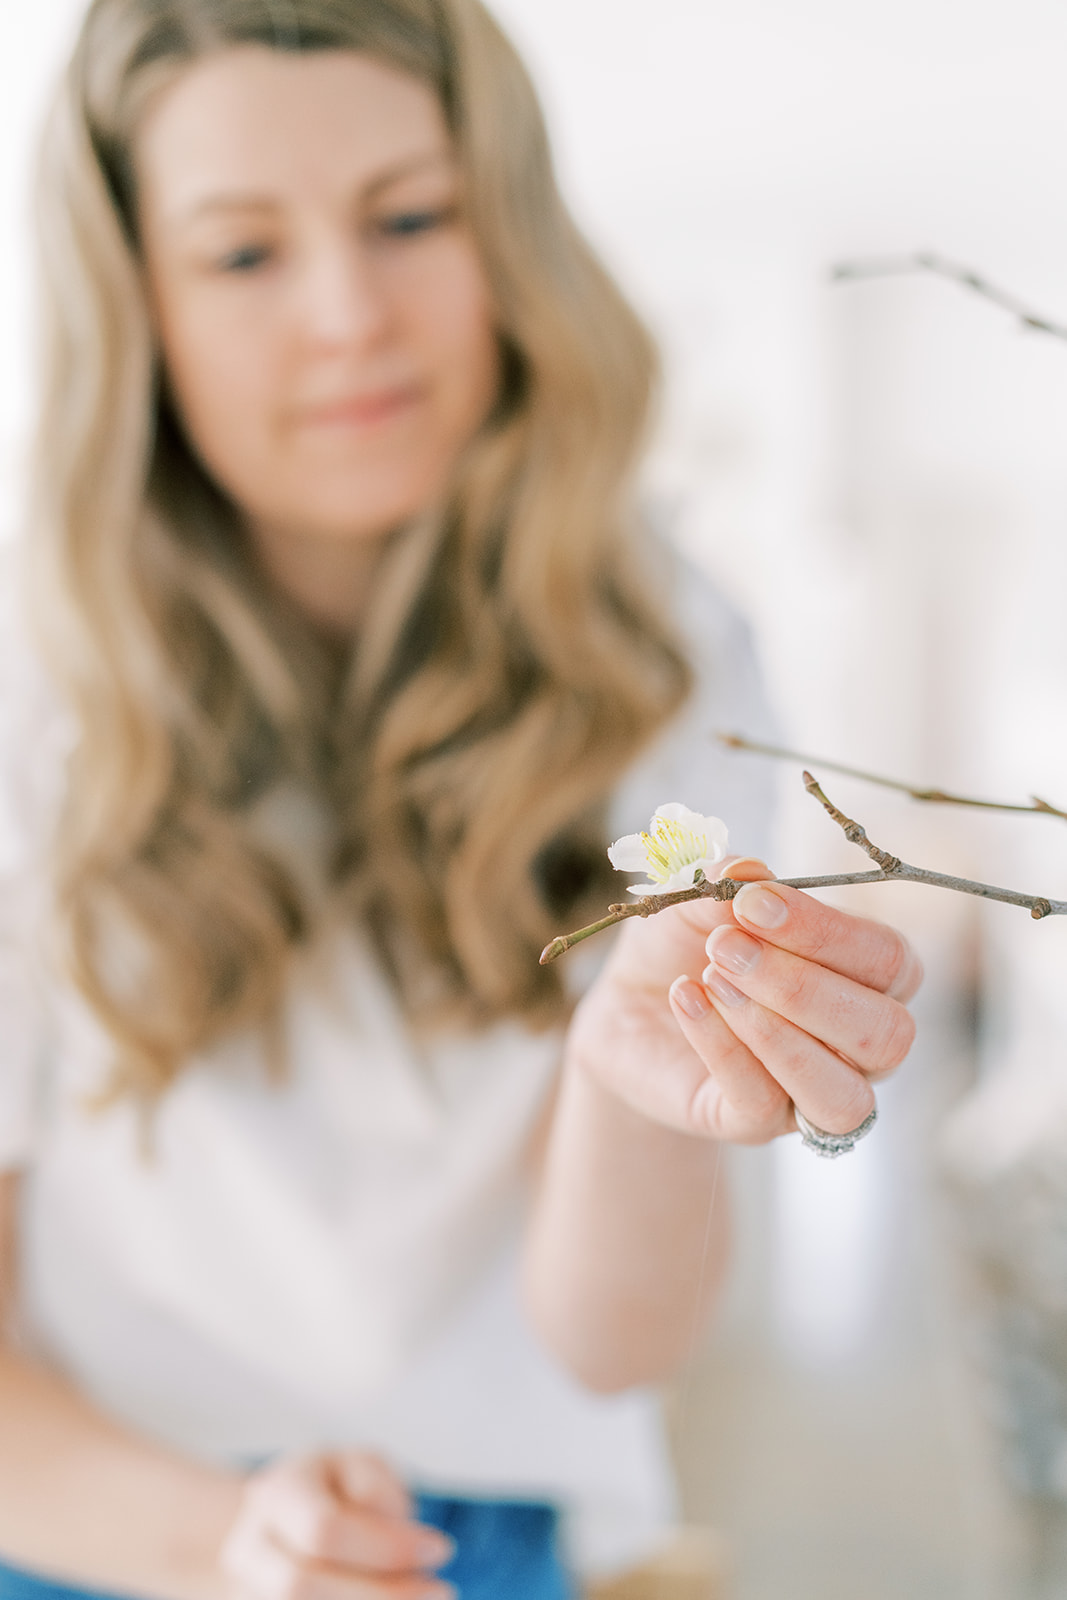
2 Faux blooming branches (I used a white cherry branch from Hobby Lobby–look specifically for ones that have differing sizes of blooms, from buds to fully opened faux flowers)
Hot Glue
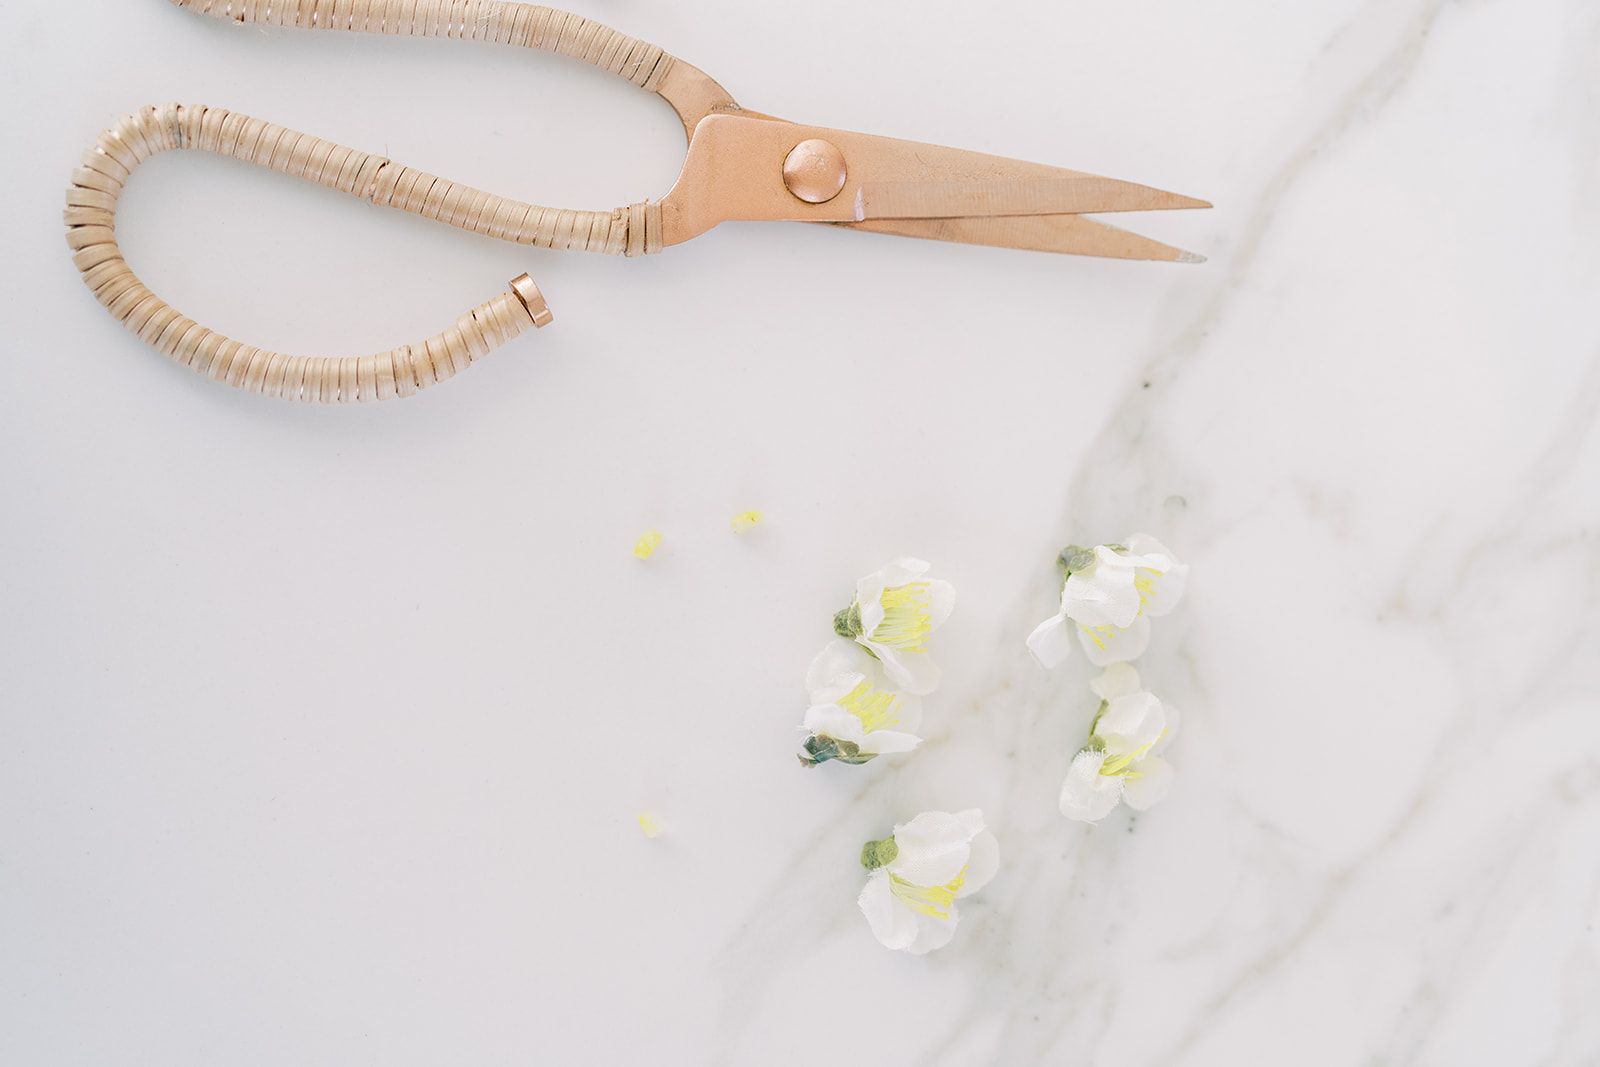
Scissors
INSTRUCTIONS
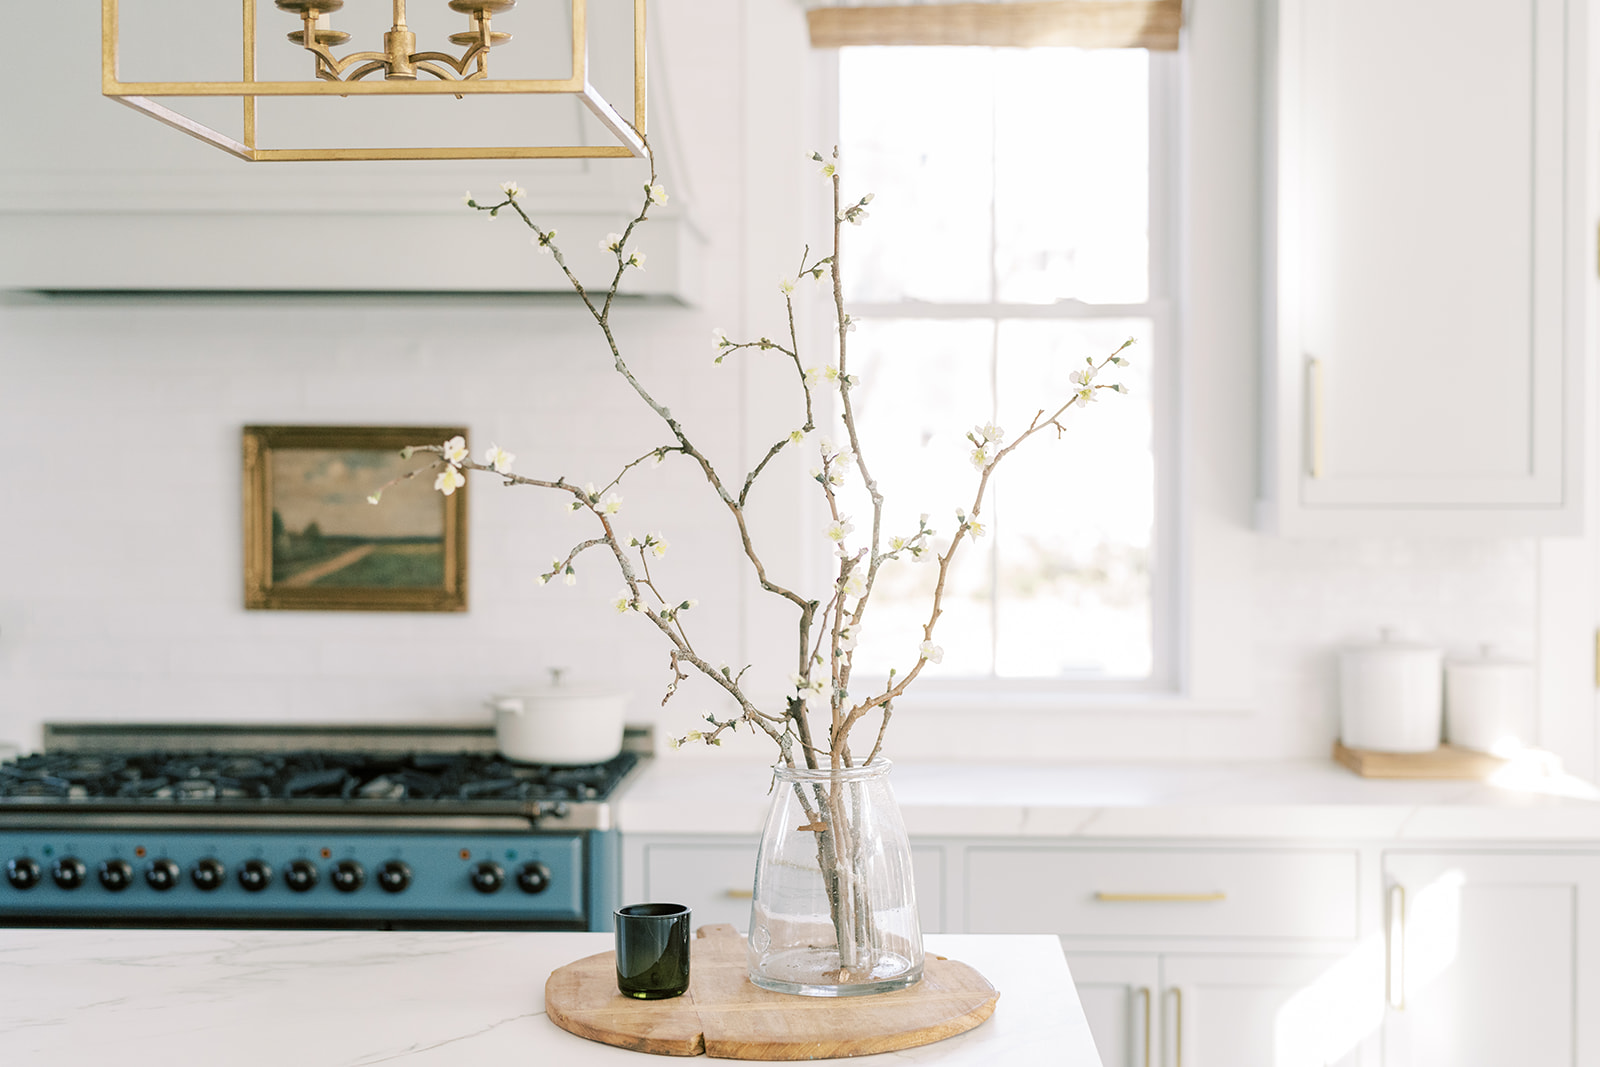
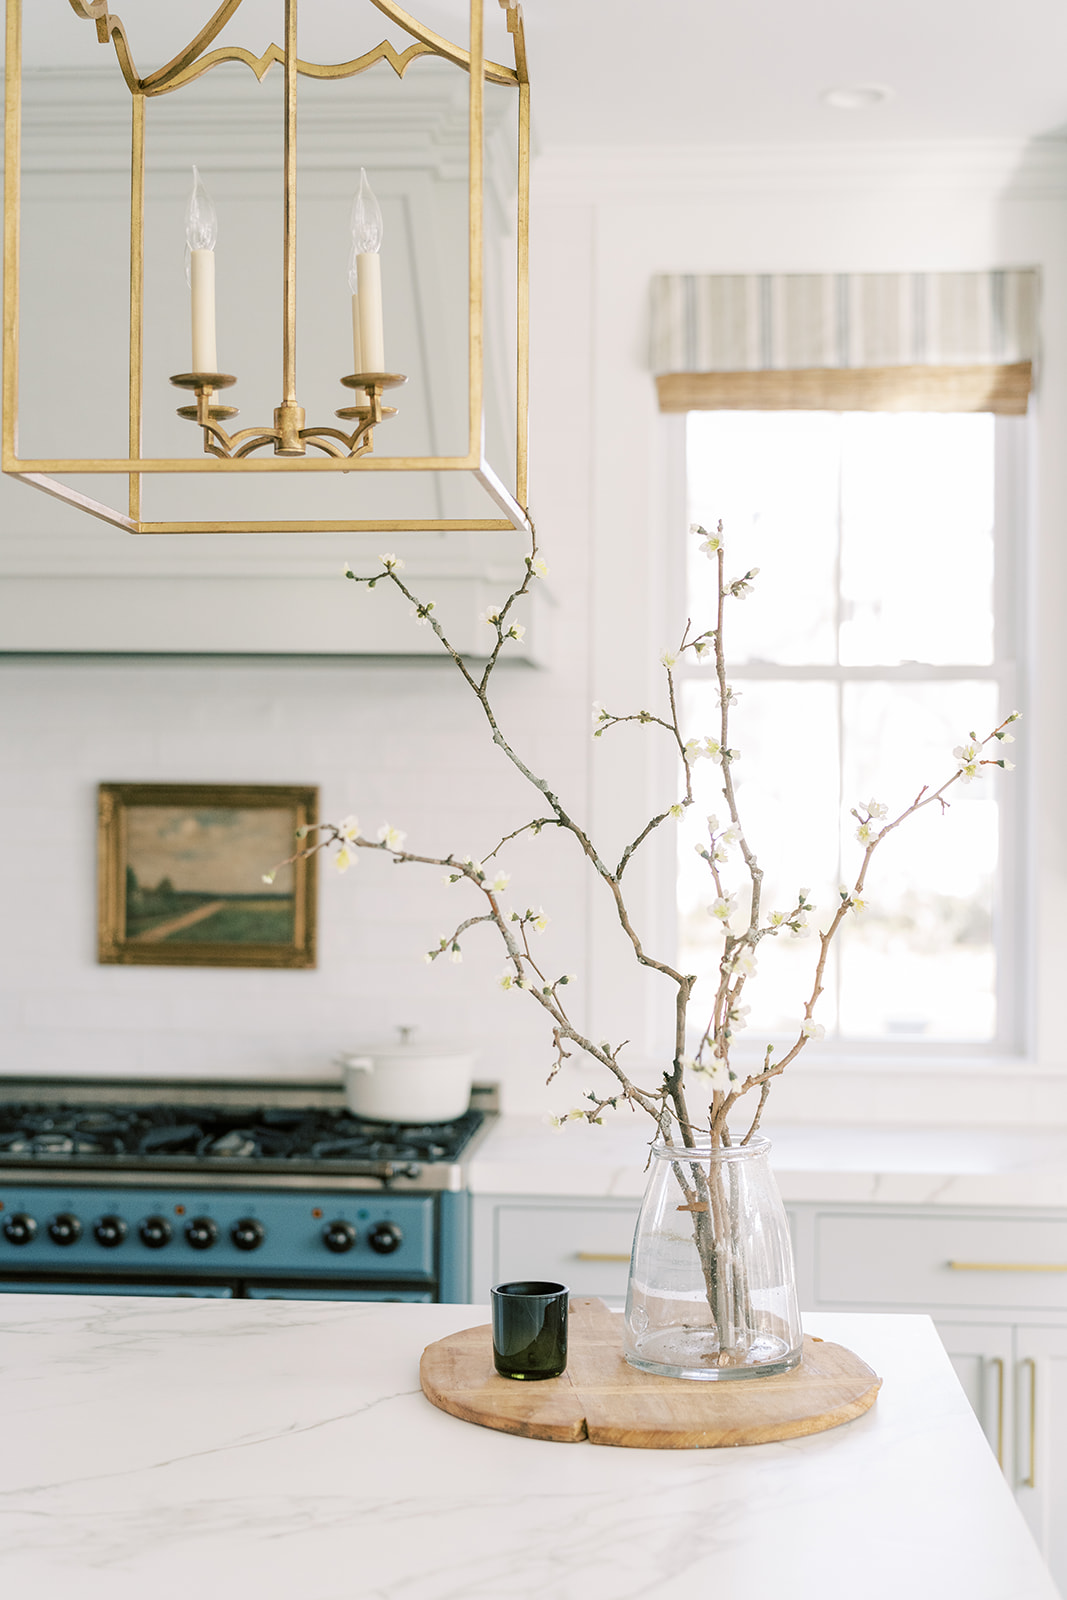
Start by bringing in a handful of branches and arranging them in your vase. You want to trim the branches to the right size for your space before you start gluing on blooms. If the branches are moving around in your vase and you can’t get them to stay the way you’d like, use a dab of hot glue on the edge of the vessel where the branch touches. Make sure this doesn’t damage your vessel, I wouldn’t even try this on a vintage vase or highly painted one but my Target glass vases are fine because the hot glue pops off with a little wiggling.
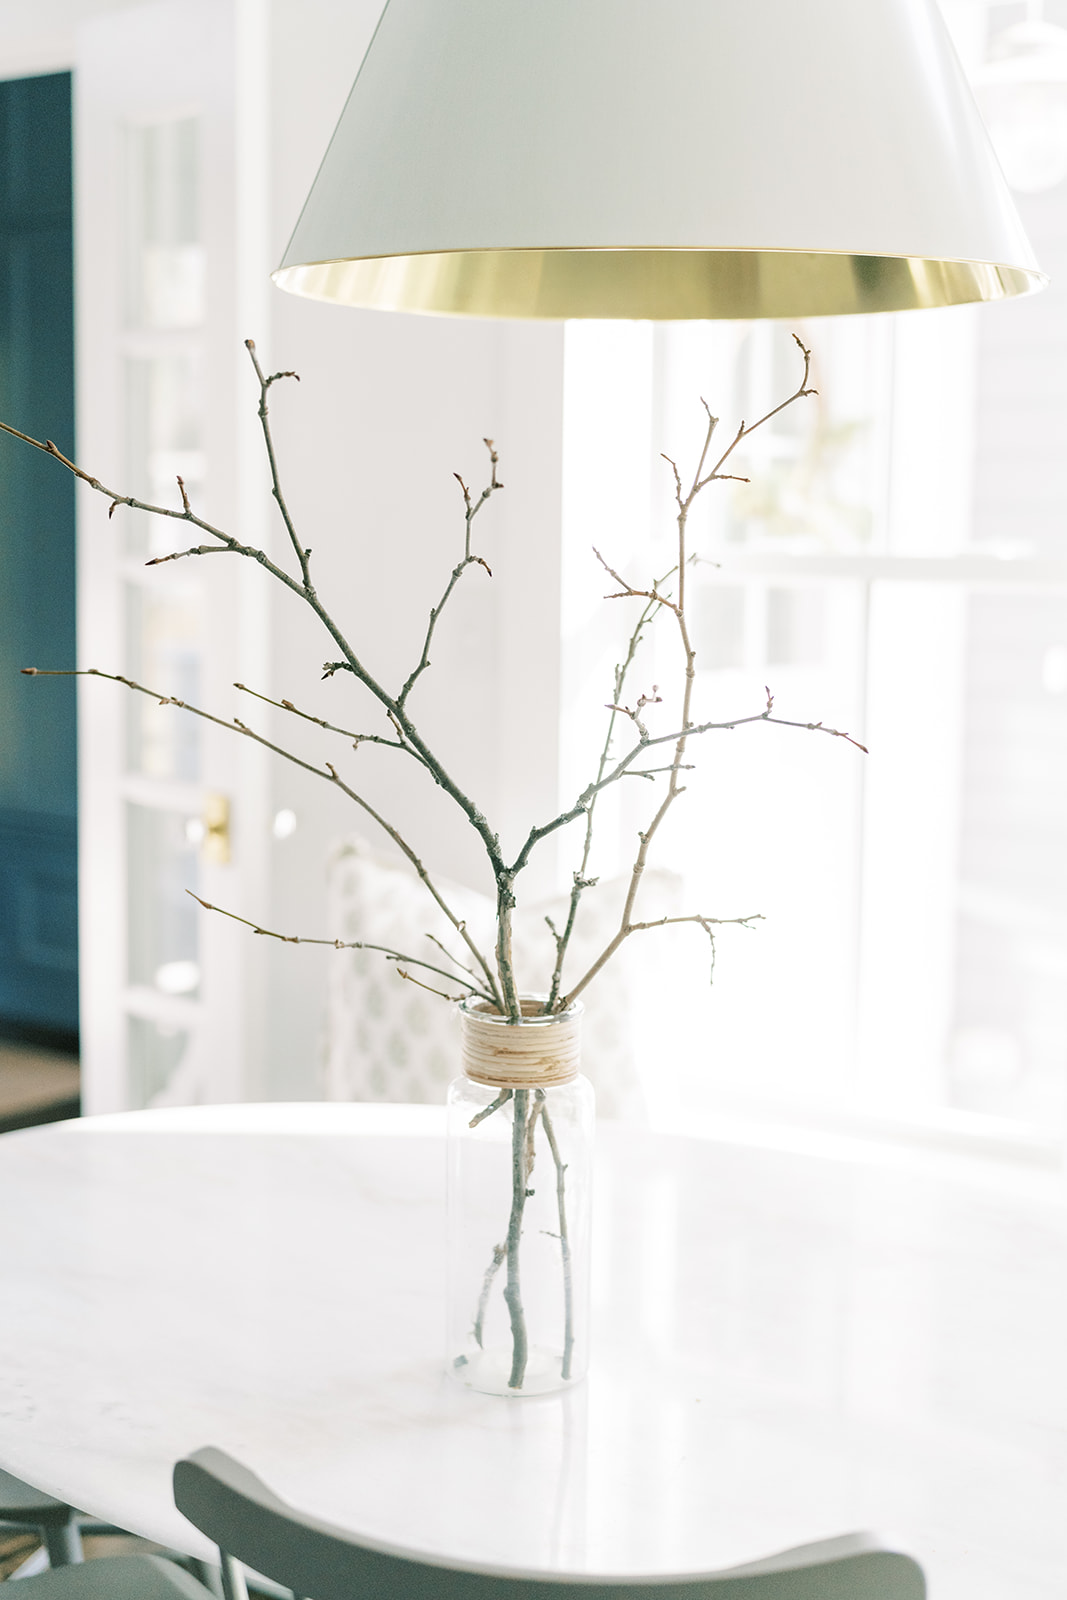
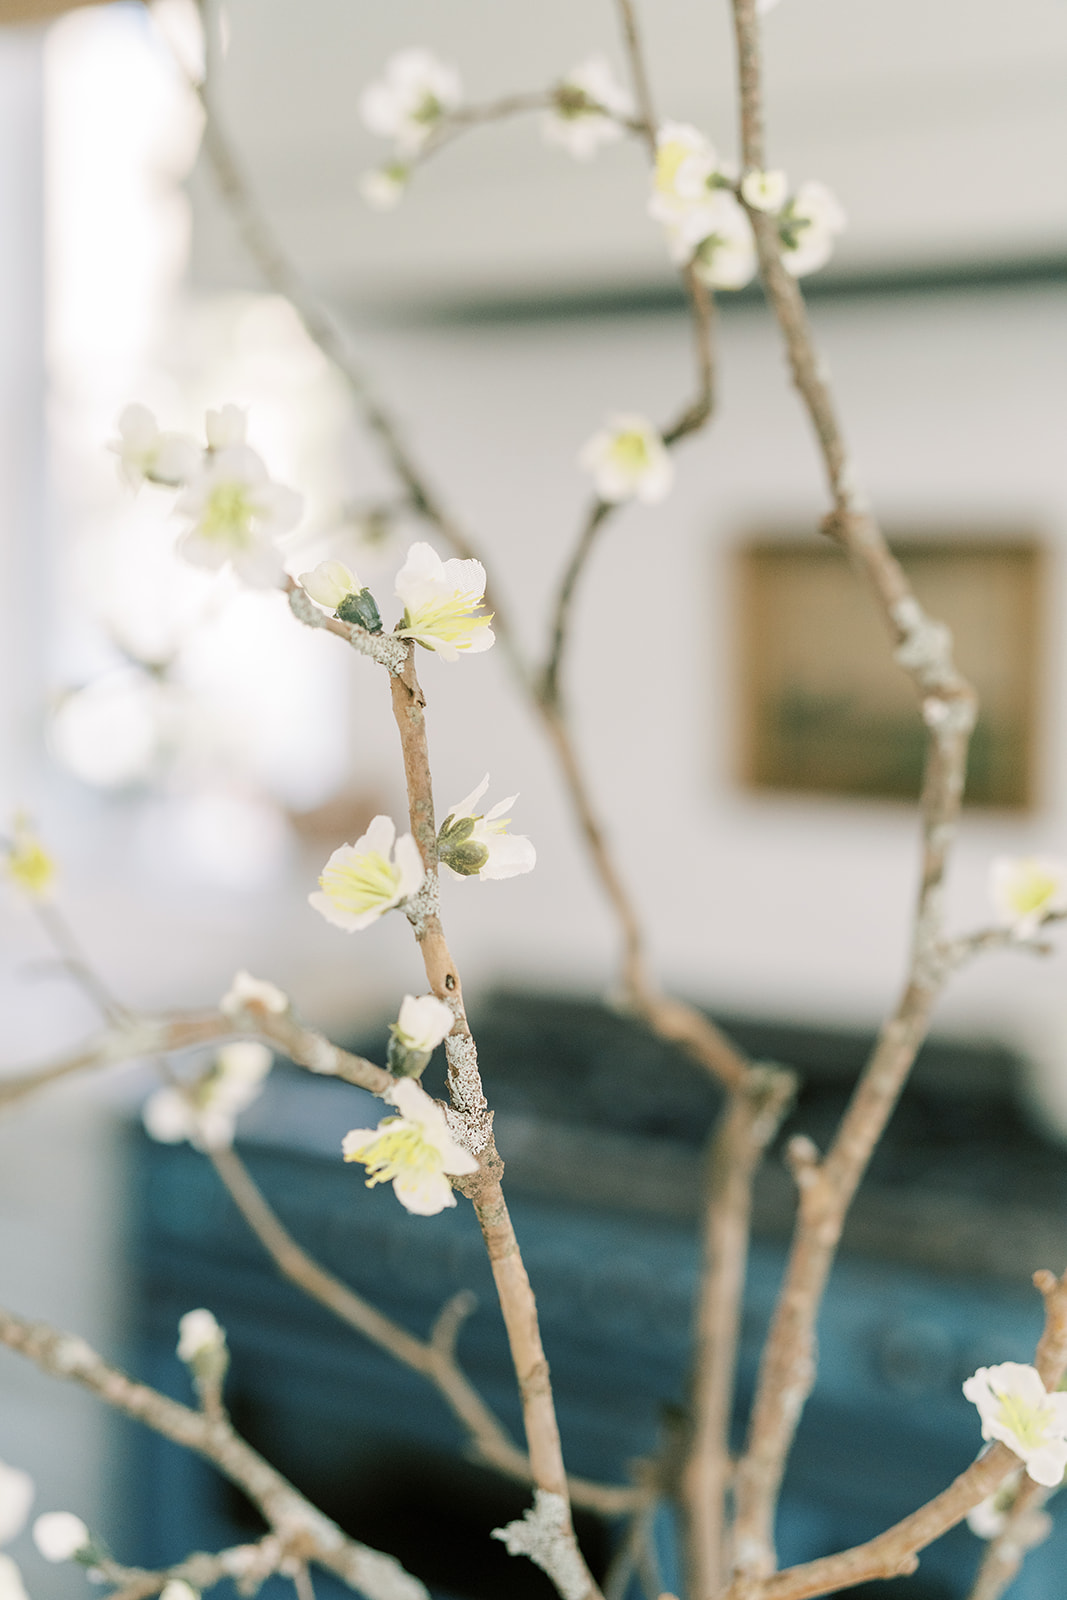
The key here is great branches. I scavenged my yard for down tree branches, looking specifically for branches that had some tinier off shoot branches and bud spots. Take a peek at the picture above. On the ends of the branches and down the main stems you either see a bud or a place a bloom would naturally be. Analyzing your branches is going to be important. So look them over and pay attention to where these natural bud spots exist. That’s where you’re going to be hot glueing your buds.
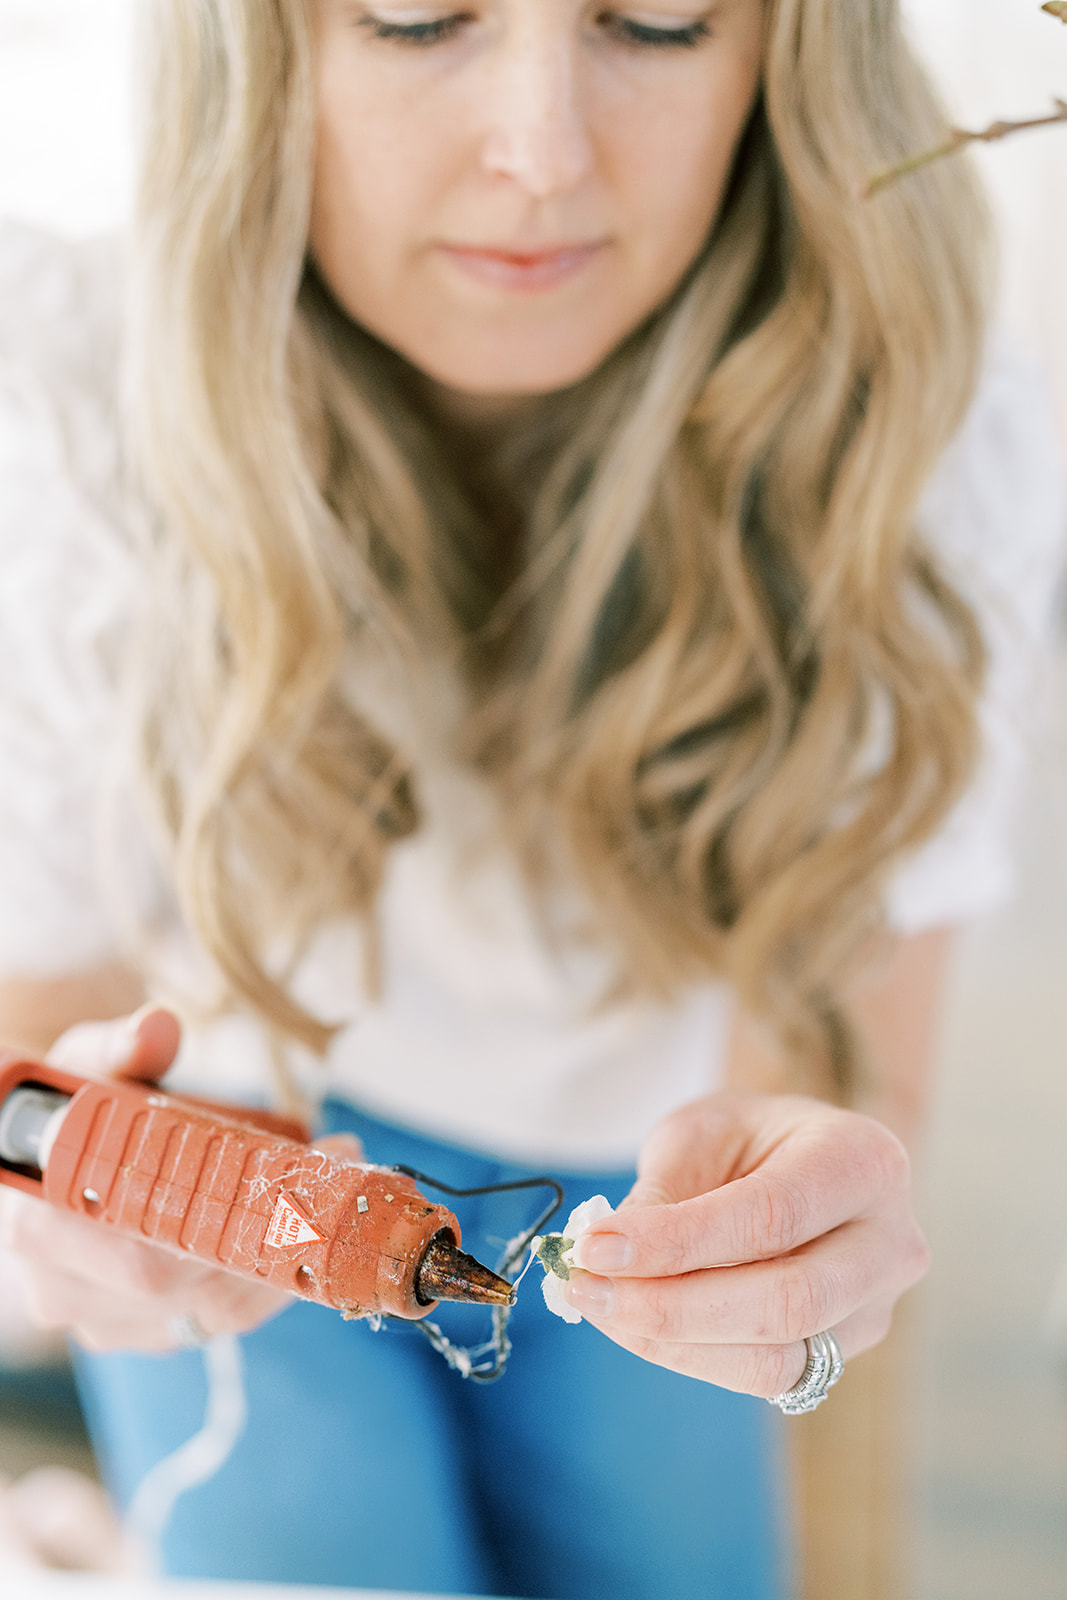
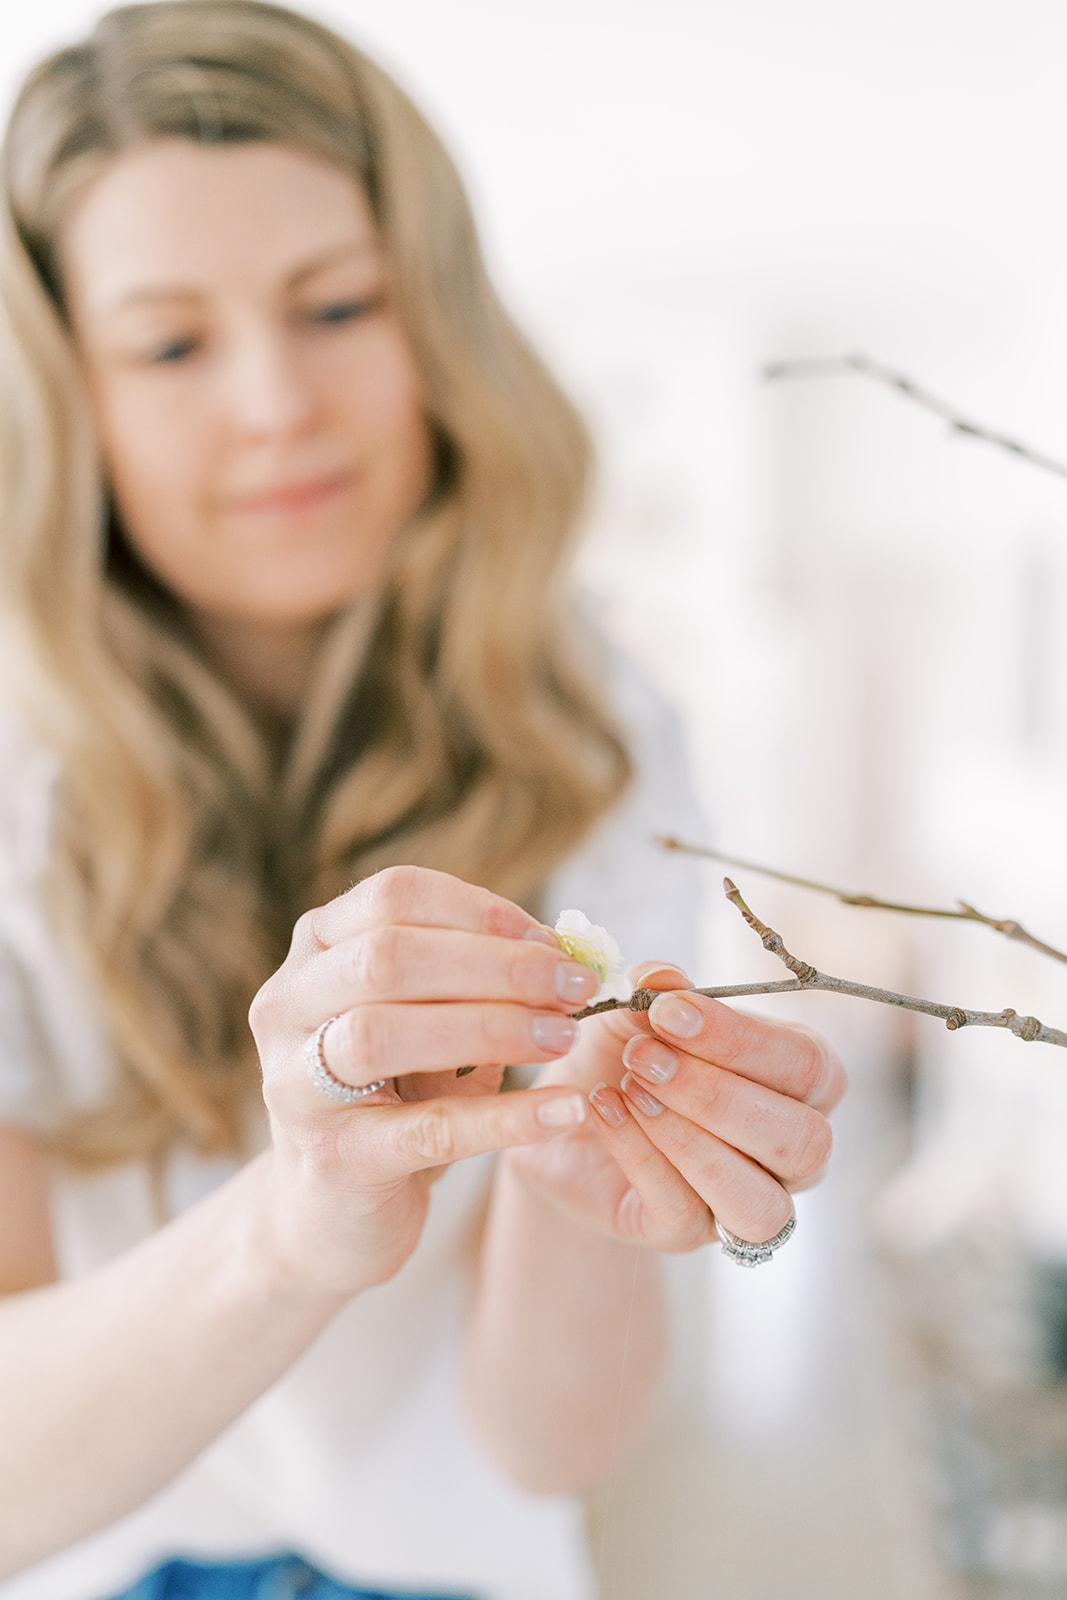
Next you’ll want to slide the blooms and buds off the faux flowering branch. The faux buds and blooms will often have a plastic piece that sticks out beyond the green part of the bud. You’ll want to snip that off in order to have a flat bottom to work with. If the green of the bud separates from the flower bloom, a dab of hot glue will hold it together.


I did this to all my buds and blossoms prior to starting to glue them on. I liked the look of the more closed blossoms and buds so I gathered as many of those ones as I could find.
It only takes the tiniest of dabs of hot glue to get the blossom to stick on. All that analyzing you did a few minutes ago is going to pay off because now you know where to hot glue the blossoms on. You’ll want to mimic the look of a natural blooming branch the best you can. So the more closed blooms and buds go on the tips of the branches (in those natural bud spots) and the more open blooms further on down the large branch.
Now the blooms are often clustered and not very orderly on a real branch. So don’t think you need to get them perfectly spaced or on every single natural bud spot on the branch. Leave space on the branches and group a cluster of blooms for the most realistic finished product. And remember, those buds and the more closed blooms go on the tips of the branches and save a few buds to go next to a more open bloom. See picture below.
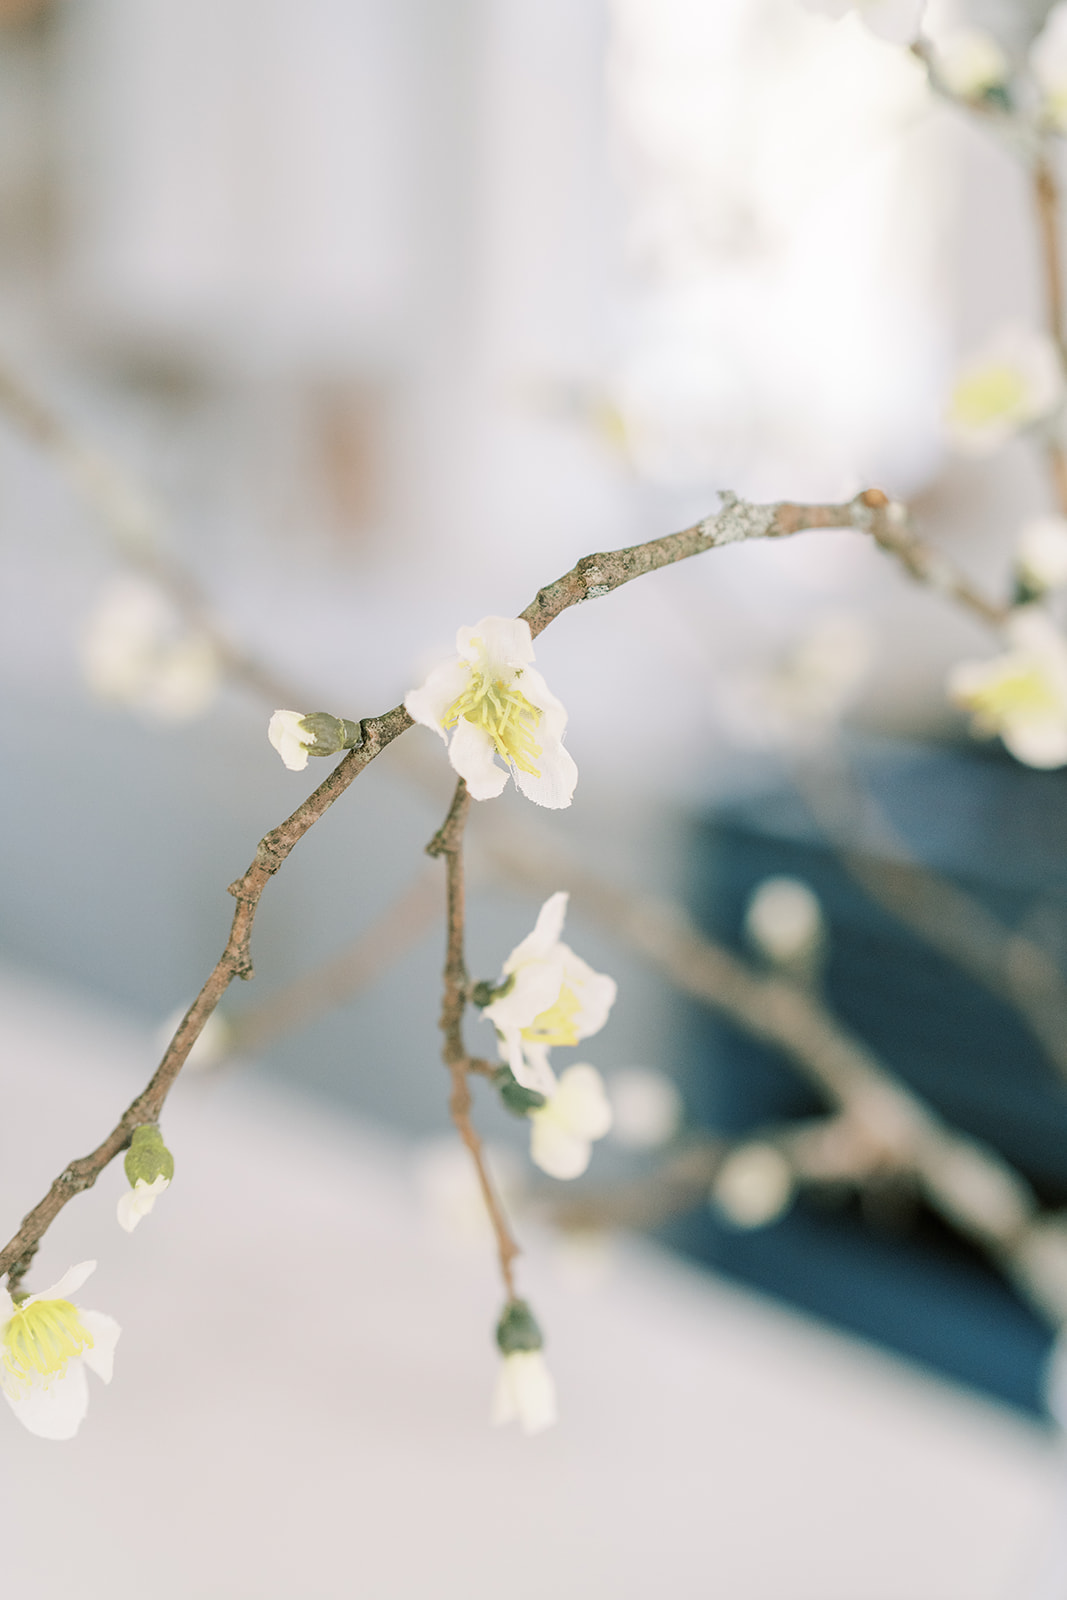
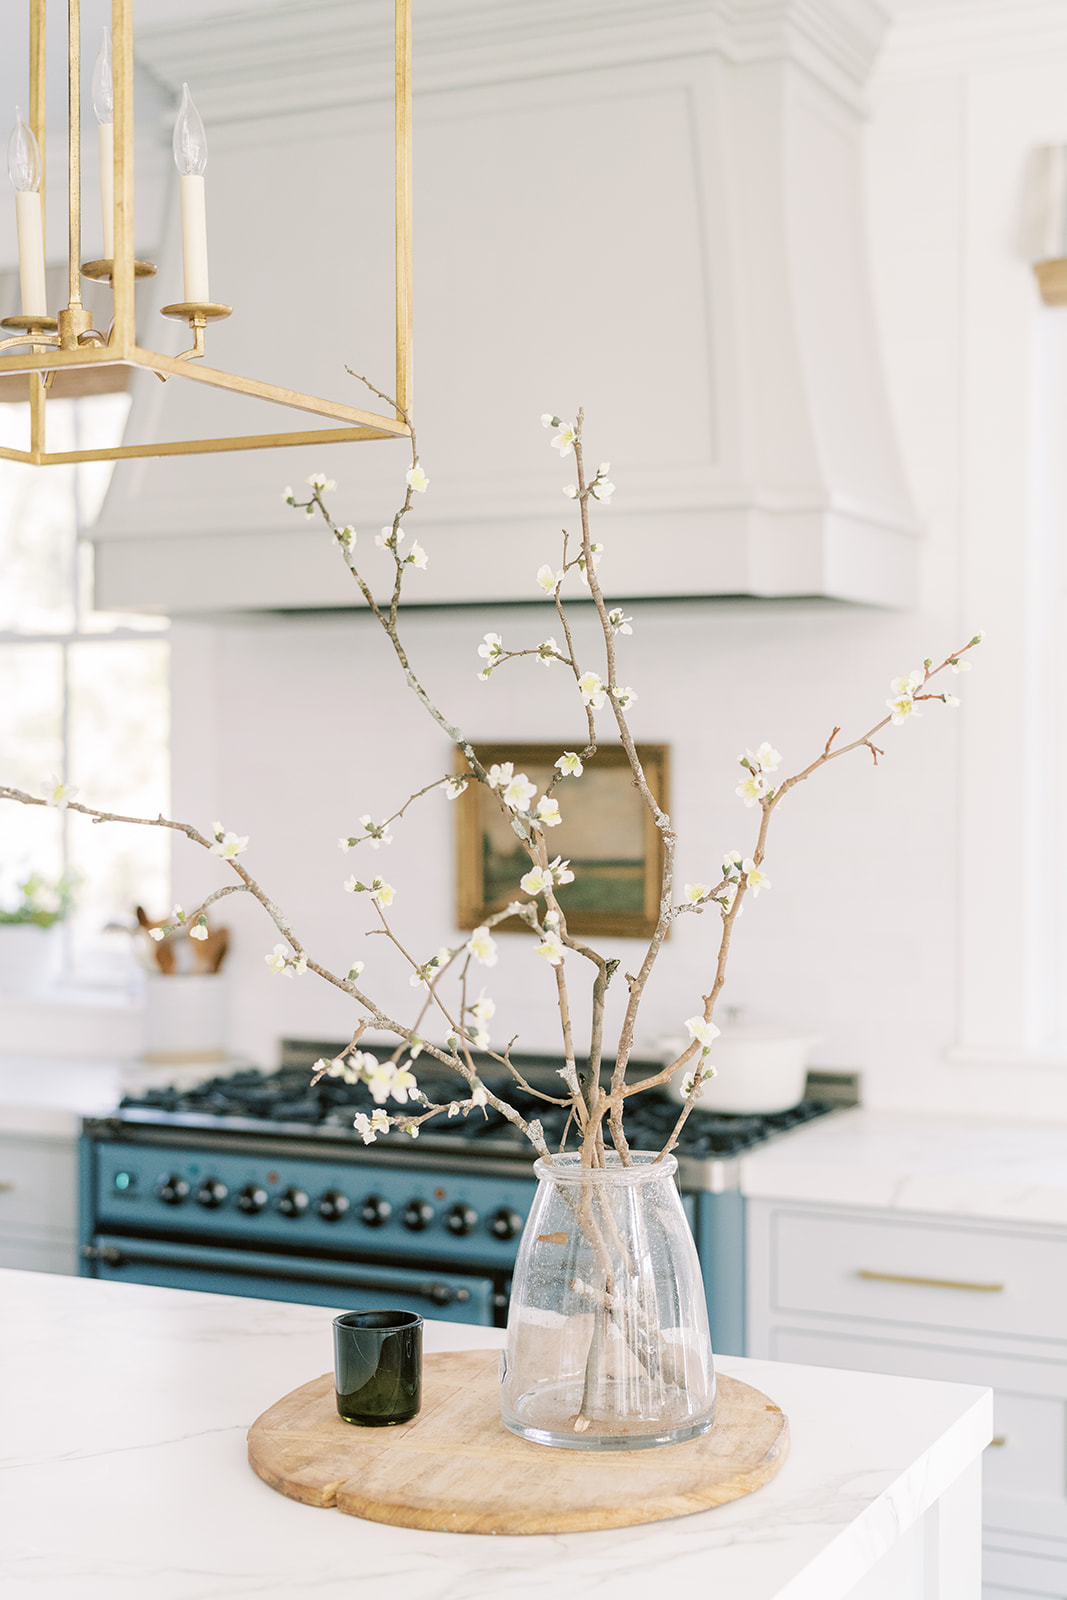
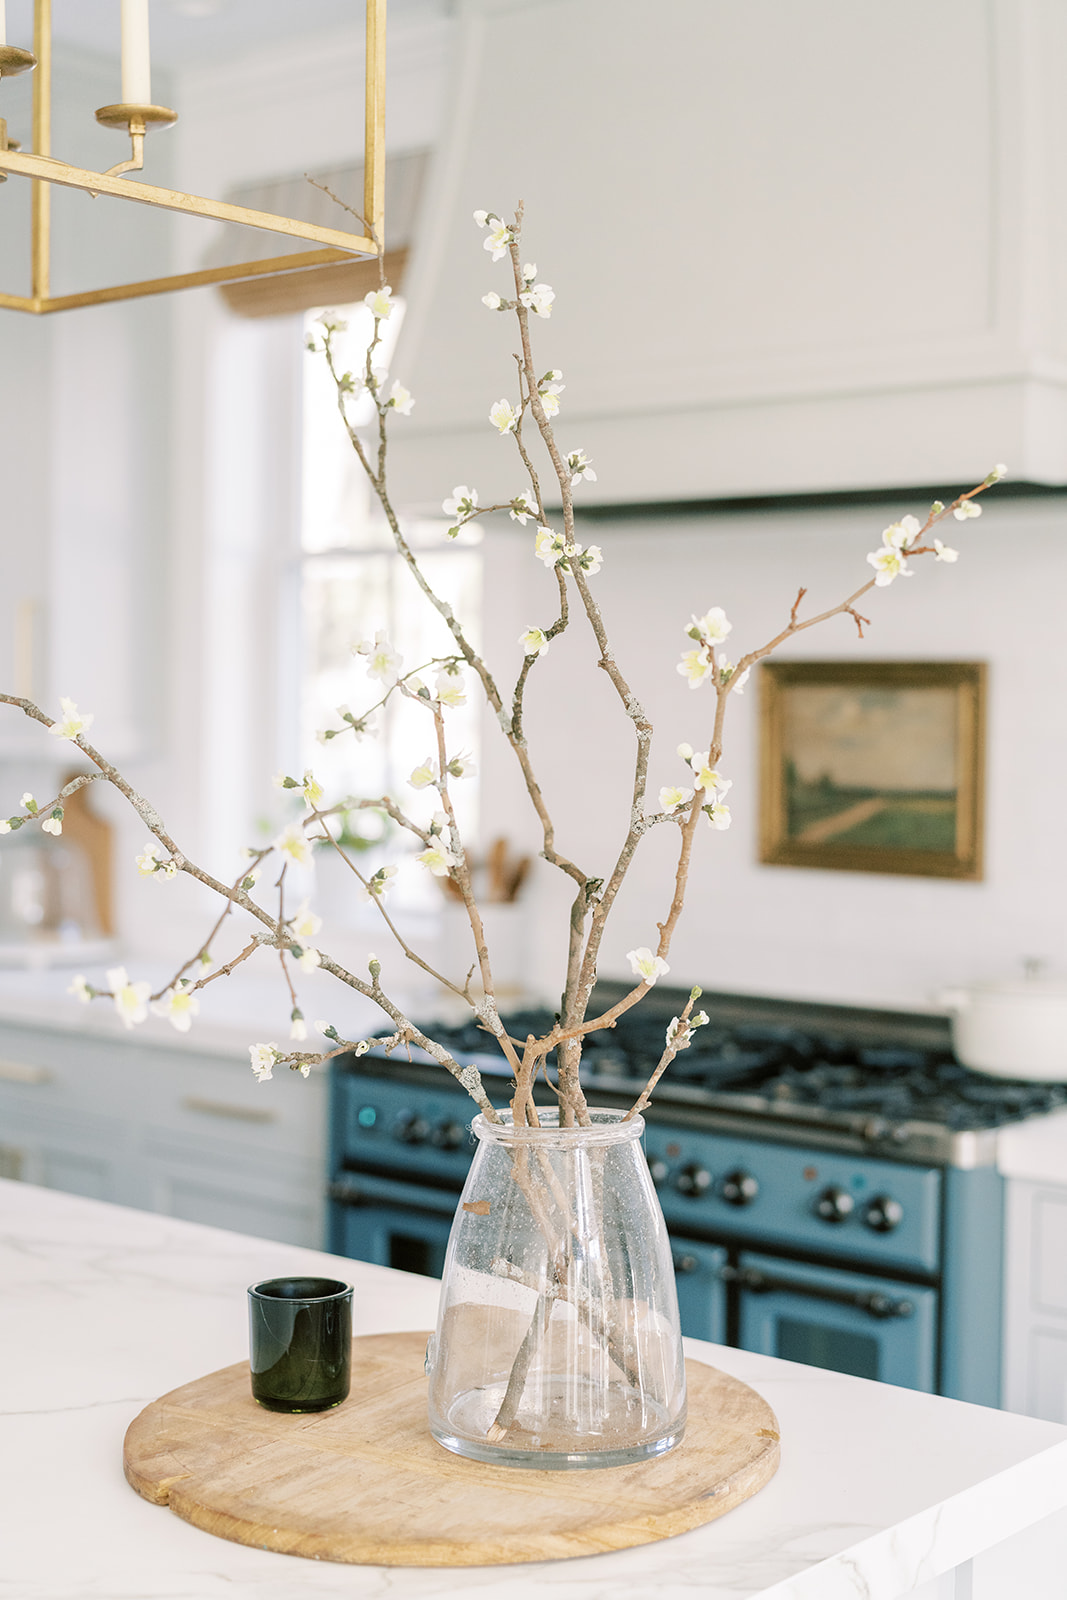
The finished look is a lovely, realistic arrangement of blooming branches. Ones you don’t have to remember to water or be sad when all the blooms drop off.
I hope you’ve enjoyed this easy Blooming Branches DIY and beautiful pictures by Ruth Eileen Photography. I’m joining my favorite group of friends on this blog hop. So make sure you soak up all the Valentine’s Day inspiration.
10 Best Valentine’s Day Projects
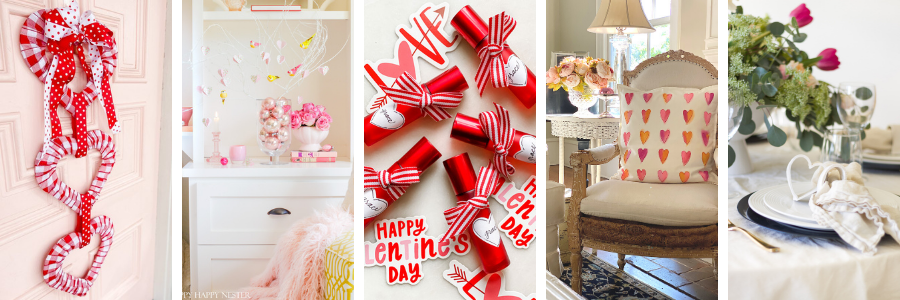
Dollar Store Triple Heart Valentine’s Day Wreath // Tatertots & Jello
Valentine’s Day Heart Tree Tutorial // Happy Happy Nester
DIY Perfume Roller with Essential Oils // Most Lovely Things
Valentine’s Day Decor Ideas // My 100 Year Old Home
Valentine’s Day DIY: Clay Heart Napkin Holders // Zevy Joy
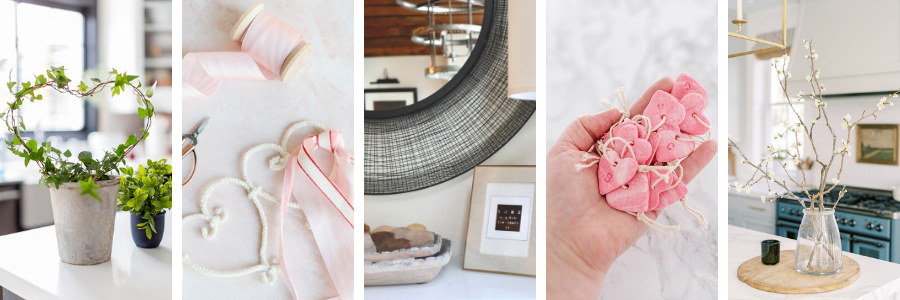
Heart Topiary DIY // Craftberry Bush
Pipe Cleaner Heart Garland // Modern Glam
Home Is Where The Heart Is FREE Printable // My Sweet Savannah
Polymer Clay Marbled Heart Ornaments // The DIY Mommy
Blooming Branches DIY // Finding Lovely

 comment share
[…] 꽃 가지 DIY // 사랑스러운 찾기 […]
[…] Blooming Branches DIY // Finding Lovely […]
[…] Blooming Branches DIY // Finding Lovely […]
[…] Blooming Branches DIY // Finding Lovely […]
[…] Blooming Branches DIY // Finding Lovely […]
[…] Blooming Branches DIY // Finding Lovely […]
[…] Blooming Branches DIY // Finding Lovely […]
[…] Blooming Branches DIY // Finding Lovely […]
[…] Blooming Branches DIY // Finding Lovely […]
[…] would be a sweet card to tie to a bouquet of homemade faux cherry blooms I made a few DIYs ago. At 5.5″ square it’s an easy one to print on standard card stock […]
[…] Blooming Branches DIY // Finding Lovely […]
[…] hung these cute wooden ornaments on my blooming branches from this DIY post earlier this year. This could not be a simpler DIY and a versatile one at that because now with […]
[…] Blooming Branches DIY // Finding Lovely […]
[…] Blooming Branches DIY // Finding Lovely […]