
HOME TOUR
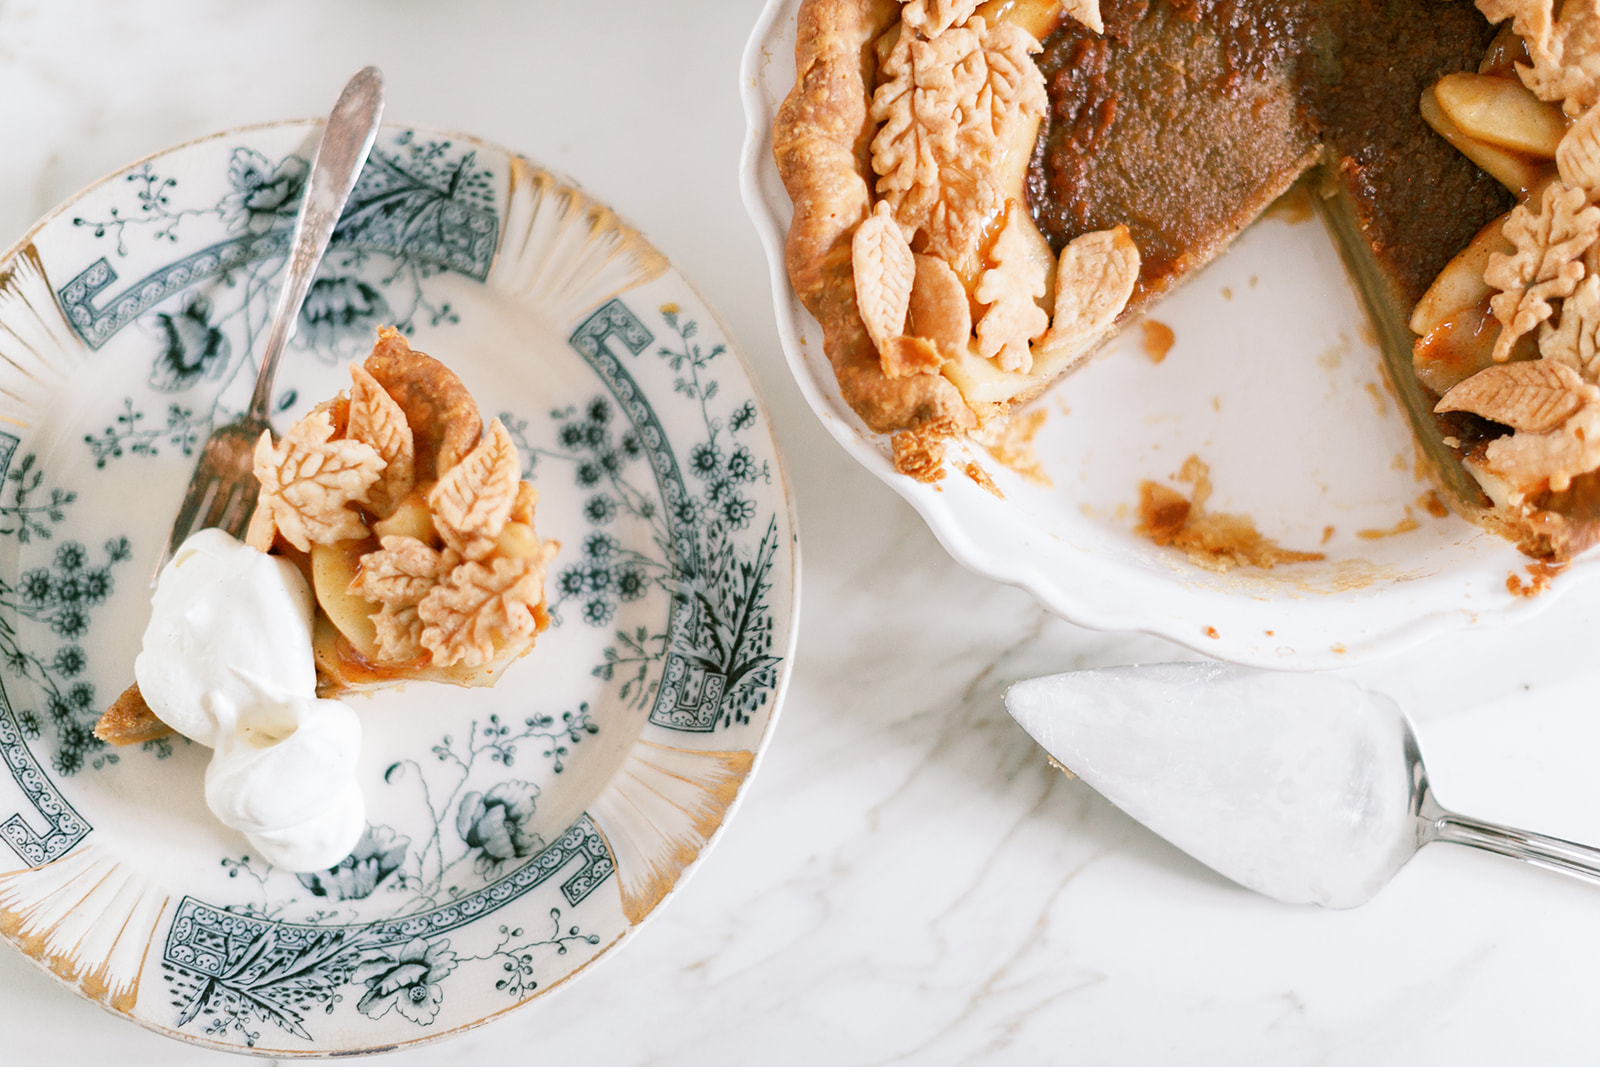
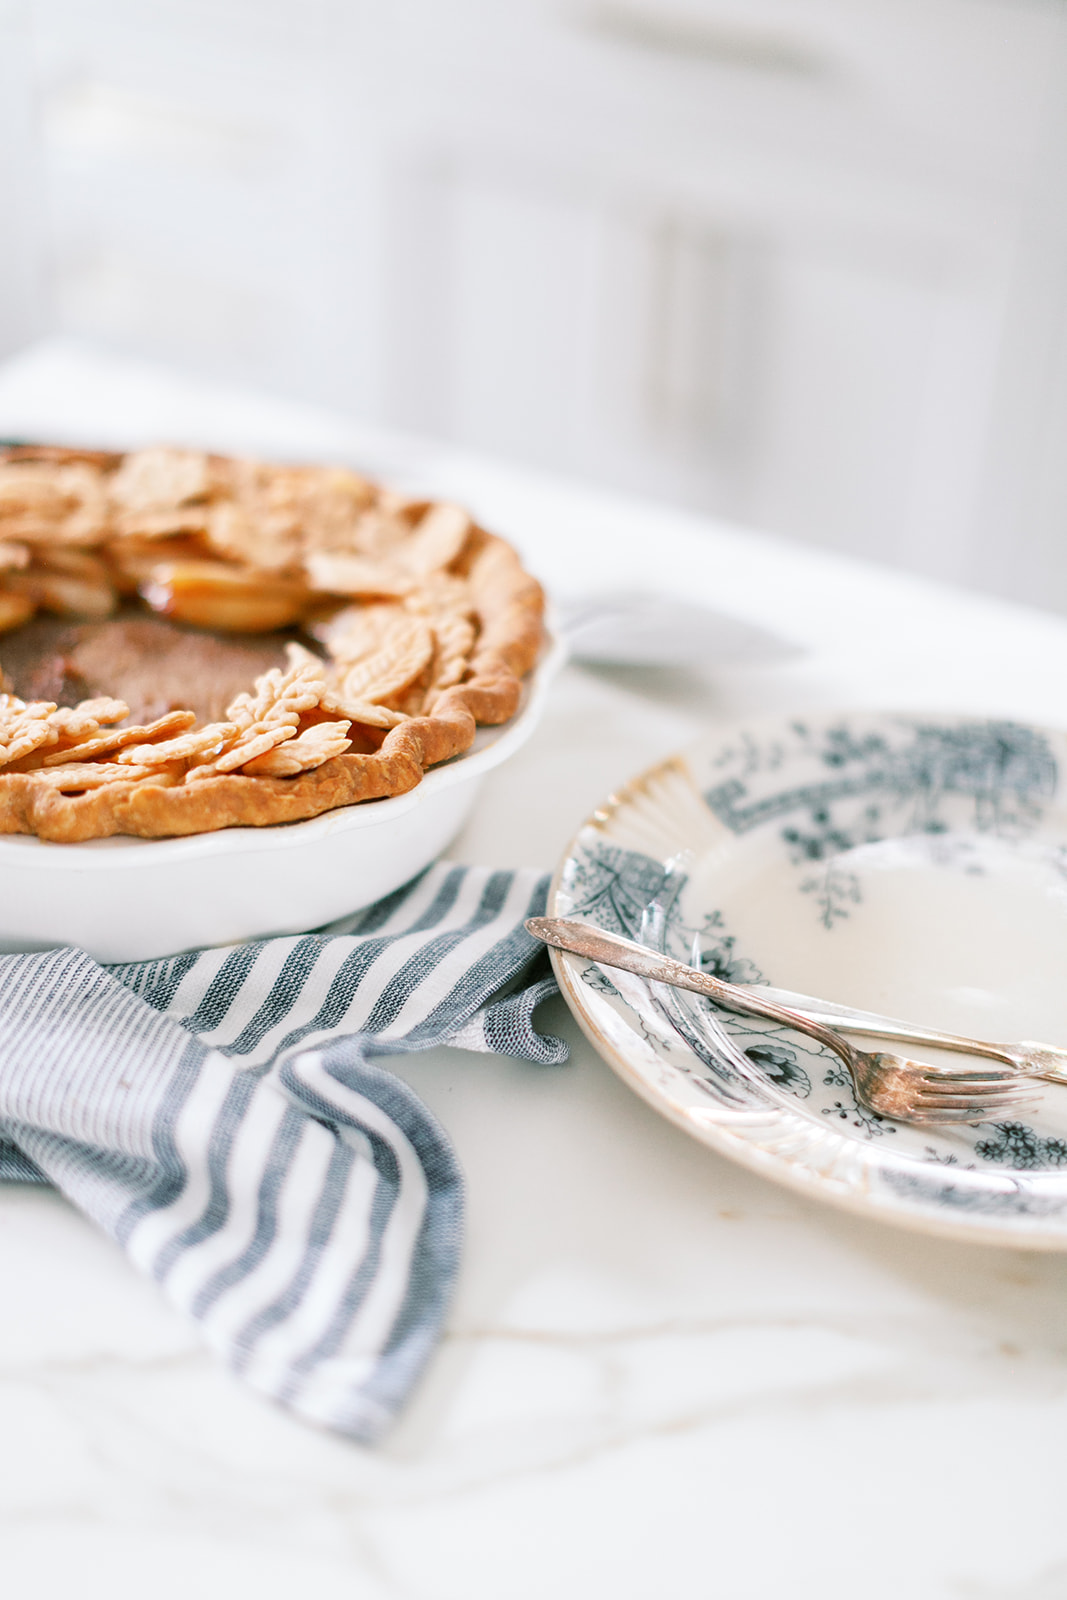
 Oh yum, oh yum, oh yum-o. This maple cinnamon pie with caramelized apple topping really is as delicious as it is beautiful with a wreath of pie crust leaves and the perfect dollop of vanilla whipped cream. Consequently, it’s a holiday treat you’ll definitely want to make. The layers of flavors really shine through and make it feel like comfort food. This is a pie I wish I could have had my mom test, she would have loved this one and sweet Ruthie, Ruth Eileen Photography, you literally captured this pie beautifully.
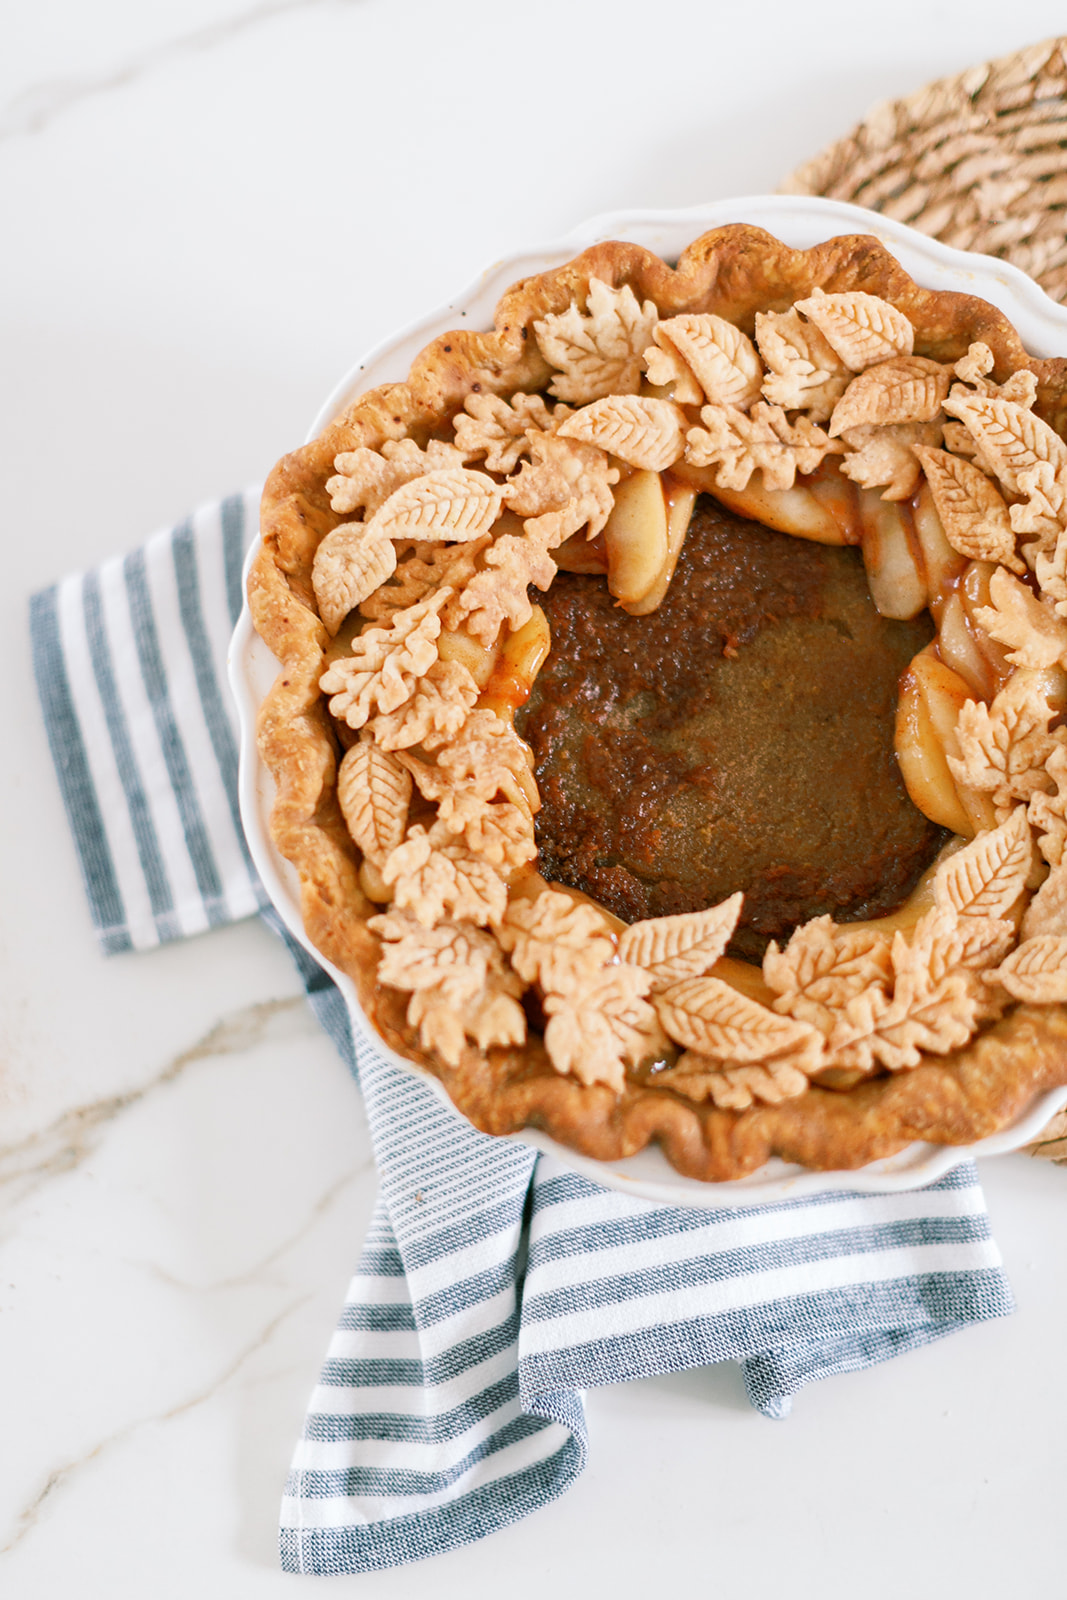
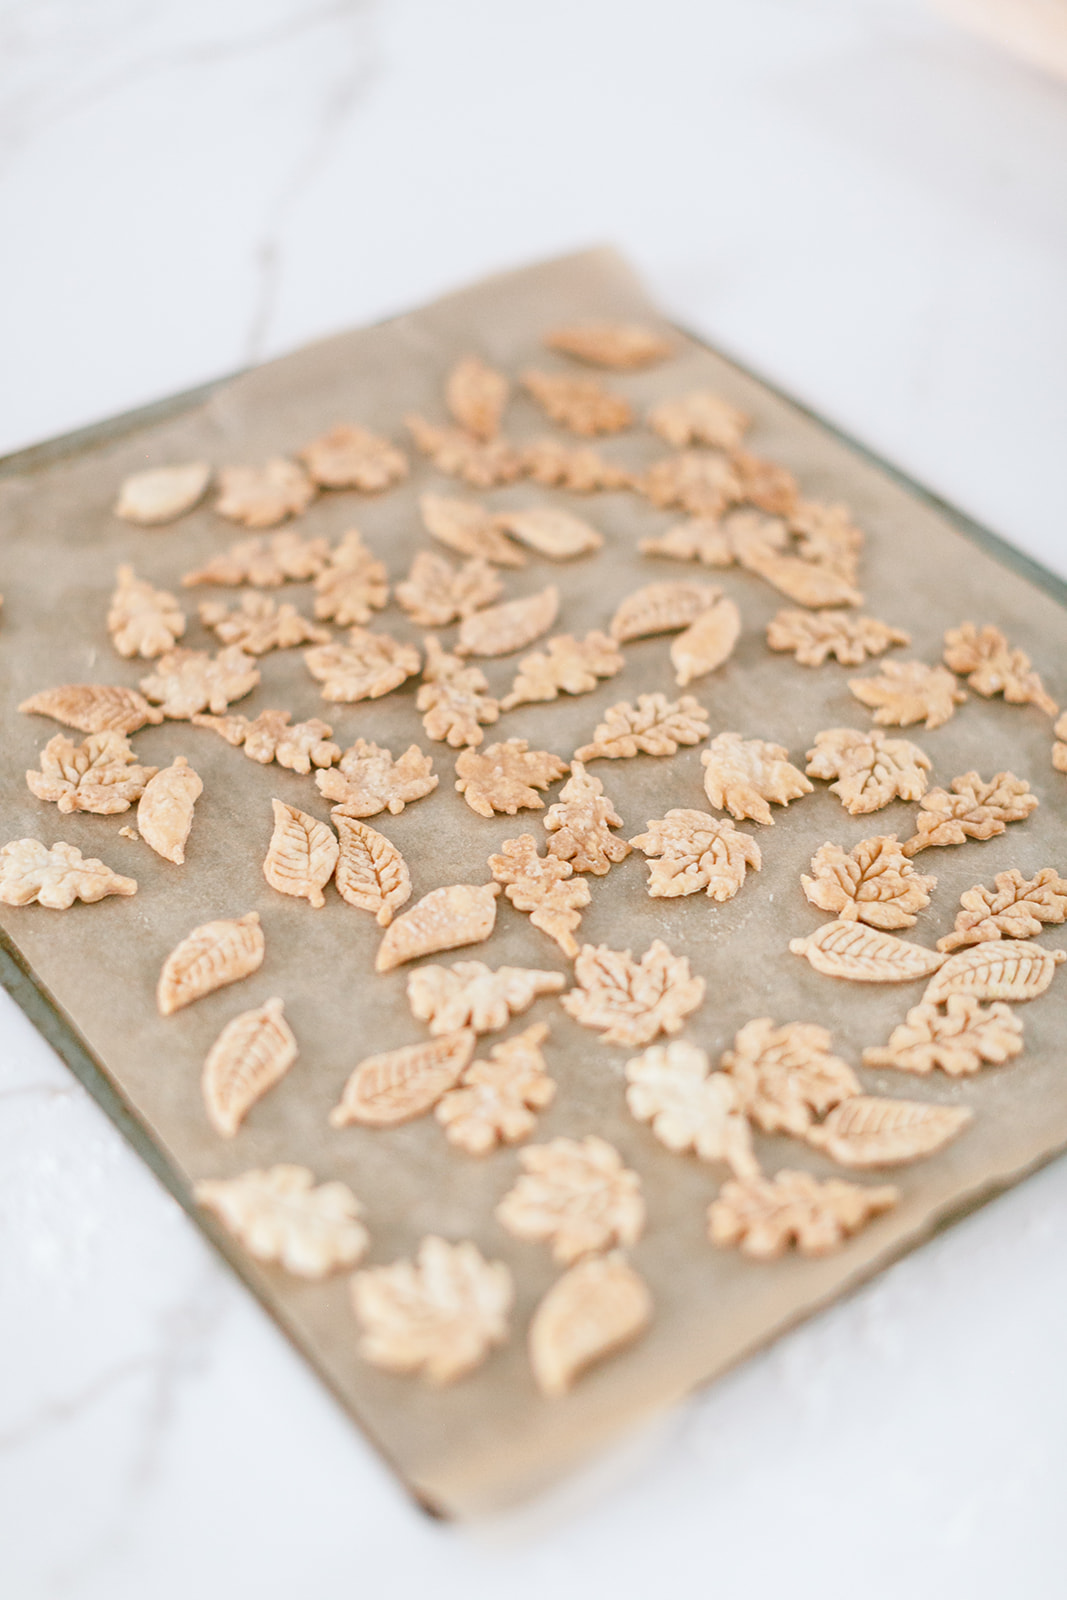
Now if you’re going to make pie, I’m a fan of just making the whole darn thing because great pie, in my humble opinion, starts with great crust and making pie is already a ta-do, embrace the time commitment and mess all over your kitchen. In addition, that pie crust leaf wreath really makes for a lovely presentation and you achieve that by using the extra pie dough from the bottom crust. Now I love a salty, flakey crust–my go-to pie crust recipe uses a combo of vegetable shortening and butter yielding perfect flavor and flake. You’ll want to blind bake your pie crust like you do with a pumpkin pie. I finally invested in those ceramic pie beads you put down on aluminum foil inside your pie crust. Consequently they made the baking easy and very effective.
INGREDIENTS
1 C Maple Syrup
1/2 C Brown Sugar
1/2 C Melted Salted Butter
1/3 C Finely Ground Corn Flour
3 Eggs, 1 Egg Yolk
3/4 C Heavy Cream
1 tsp Vanilla Extract
1 tsp Maple Extract
1 tsp Ground Cinnamon
1/2 tsp Salt
FOR THE CRUST
2 1/2 C All Purpose Flour
1 tsp Salt
1/2 C (1 stick) Salted Butter right out of the refrigerator
1/2 C Vegetable Shortening
6-8 Tbsp Ice water
FOR THE CARAMELIZED APPLES
3 Honey Crisp Apples, peeled and finely sliced
1/2 C Granulated Sugar
2 Tbsp Corn Starch
1/2 tsp Cinnamon
1/8 tsp Nutmeg
1/8 tsp Cloves
Squeeze of lemon juice
1 Tbsp Salted Butter
INSTRUCTIONS
Preheat oven to 350 degrees. Add ice to water and set aside.
Firstly, start by preparing your crust–mix flour and salt together. Using a pastry cutter blend in butter and shortening to the flour until you’ve got about pea-sized pieces and it’s evenly distributed. Using a tablespoon, add 6-8 Tbsp of the ice water to the flour/butter mixture until you’ve got a workable, non-crumbly dough. Do not over mix, once it comes together roll it into a ball and wrap in plastic wrap to chill in the refrigerator 15 ish minutes. I don’t overly chill mine so it rolls out better.
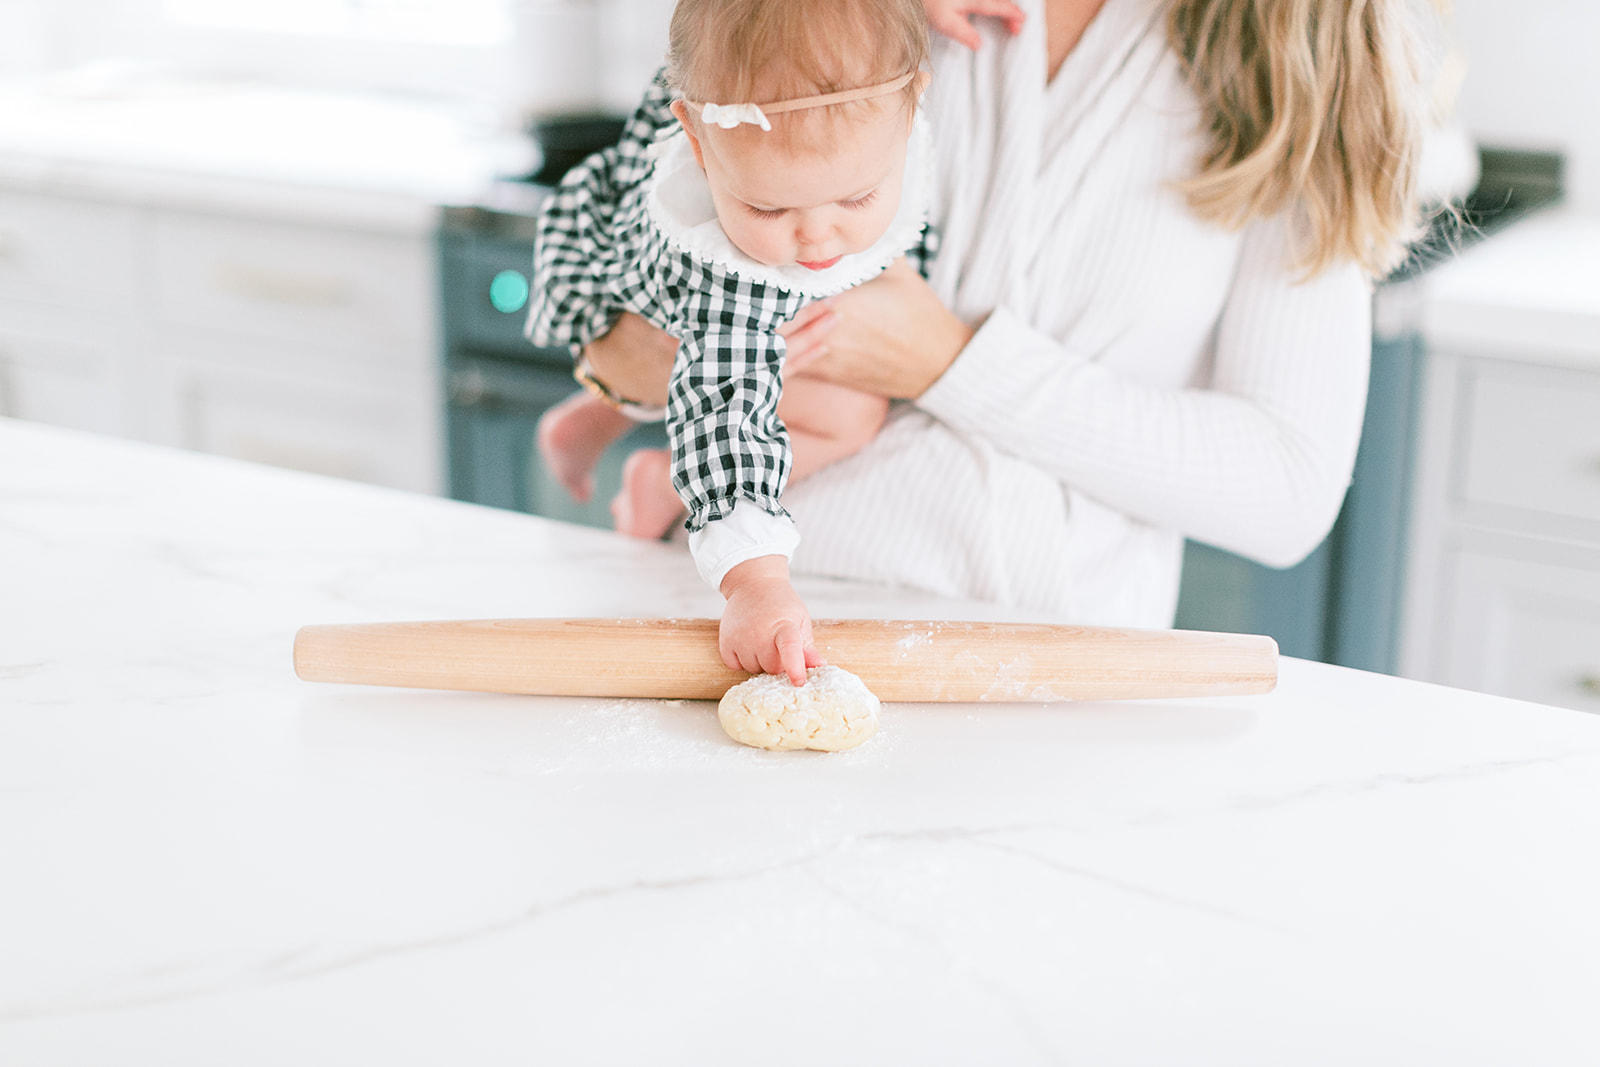
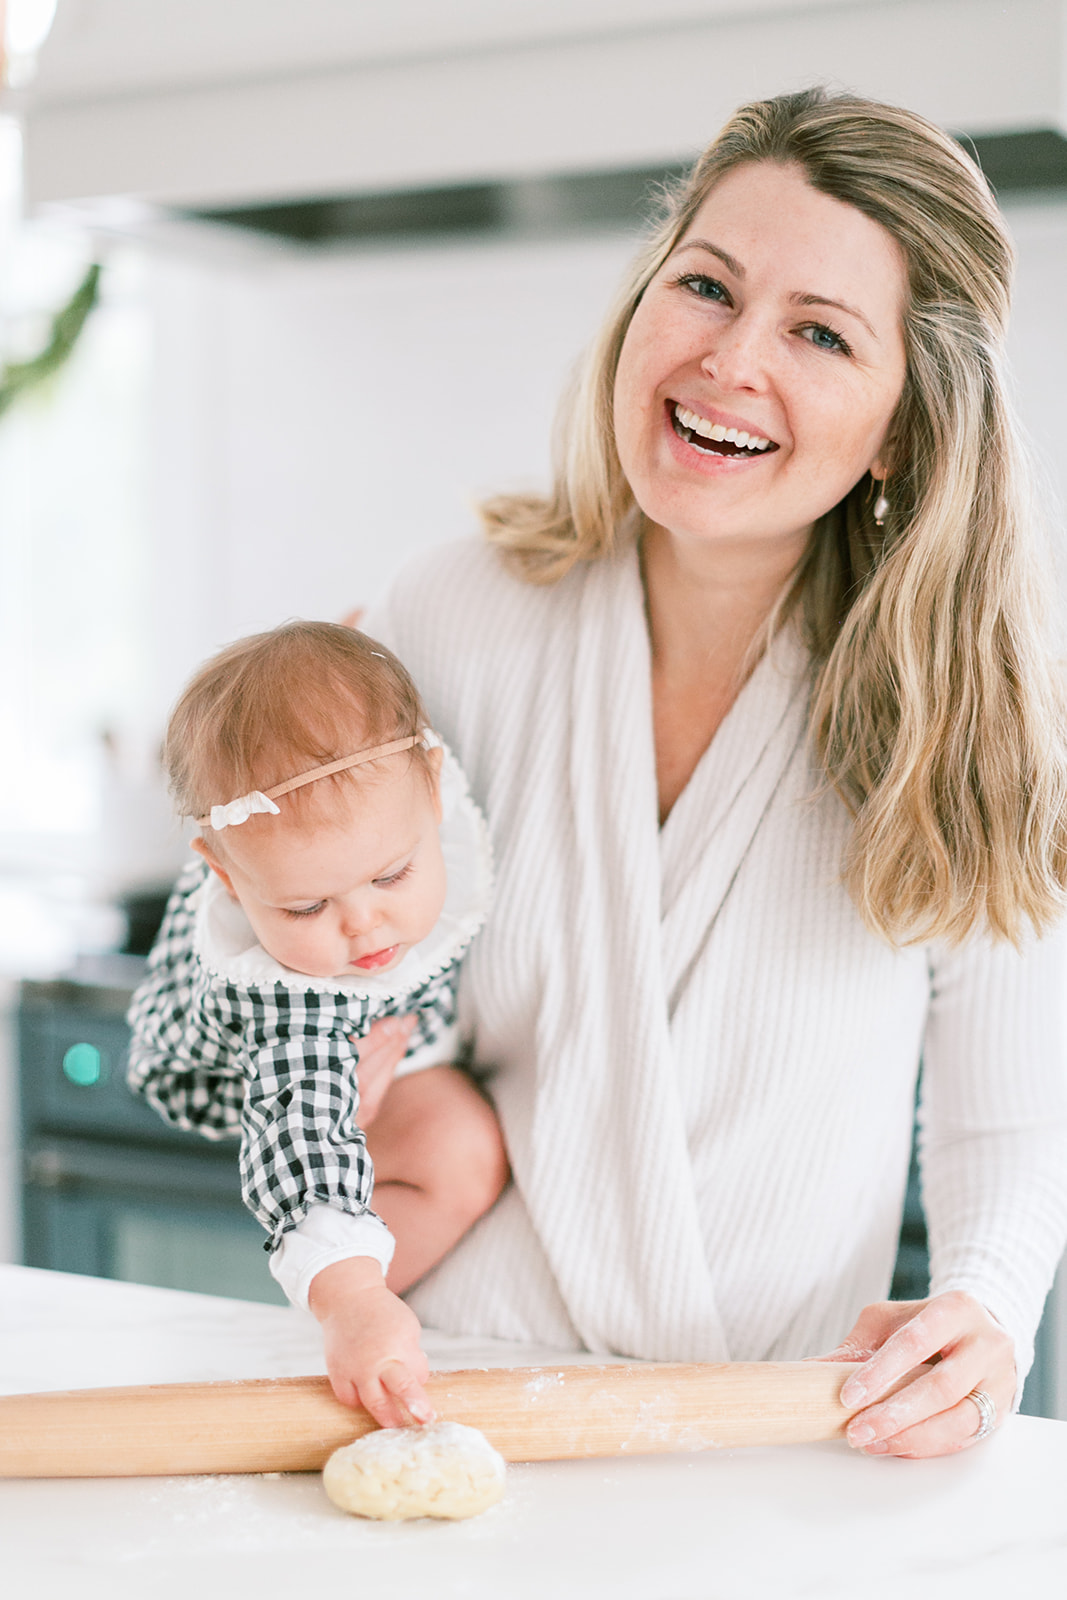
Roll out your pie dough, (put the baby down if you want to be effective) drape over pie pan and crimp edge. You’ll want to blind bake the crust using pie weights if you’ve got them. If not, prick the bottom crust with a fork. Bake fully until lightly golden brown, 10-15 minutes. To make those beautiful pie leaves I invested in this leaf press set. Because it is both a cookie cutter and a press, you can easily make a bunch of perfect leaves quickly. It’s a set you’ll want to snag up and is currently on sale! I put them on a piece of parchment paper and baked until lightly golden brown. You’ll place them on the cooked pie later. So bake and set off to the side.
While the pie crust is baking, make the maple filling by mixing together, in a large bowl, the corn flour, brown sugar and 1/2 cup melted butter, beat until well combined. Add the salt, vanilla extract, maple extract and ground cinnamon, mix until incorporated. In a large liquid measuring cup measure out the heavy cream then add the eggs, egg yolk, and maple syrup, whisking together until combined. Now slowly add the egg/cream mixture to the maple mixture and beat until combine.
Open the oven and slide out the rack using an oven mit so as to not burn yourself. I slowly added the maple mixture to the cooked pie shell filling it fully until it came up to just under the crimped edge. Now slowly move the rack back into the oven and shut the oven door. (My oven racks slide very easily so nothing spills but you may consider putting your pie shell onto a baking sheet if you’re worried about spilling.)
Bake for 45-55 minutes until the middle is fully set, only jiggling slightly when you move the pie. Around the 35 minute mark I draped aluminum foil loosely over the top to protect the pie crust from getting too dark.
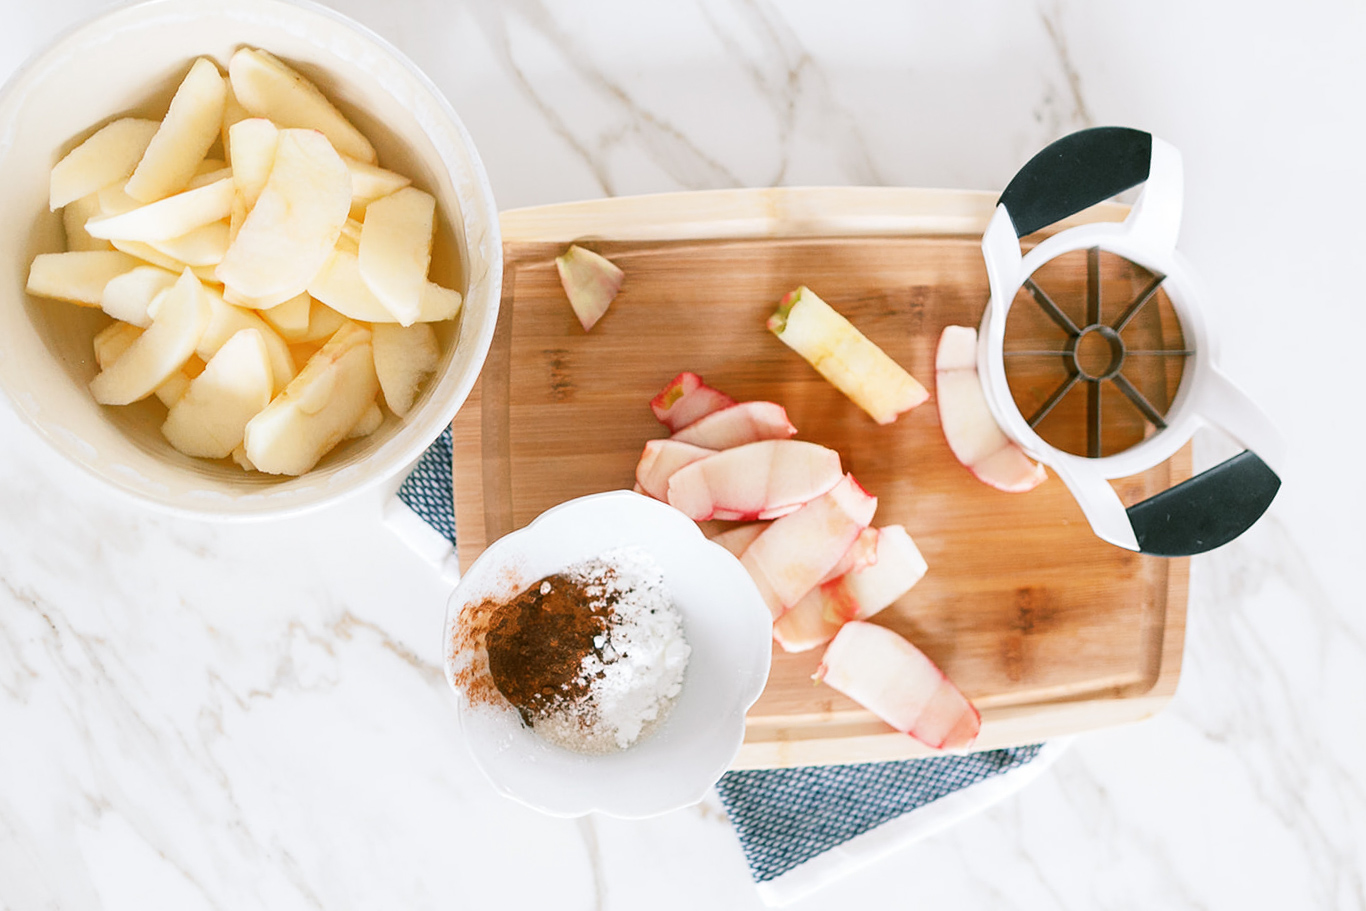
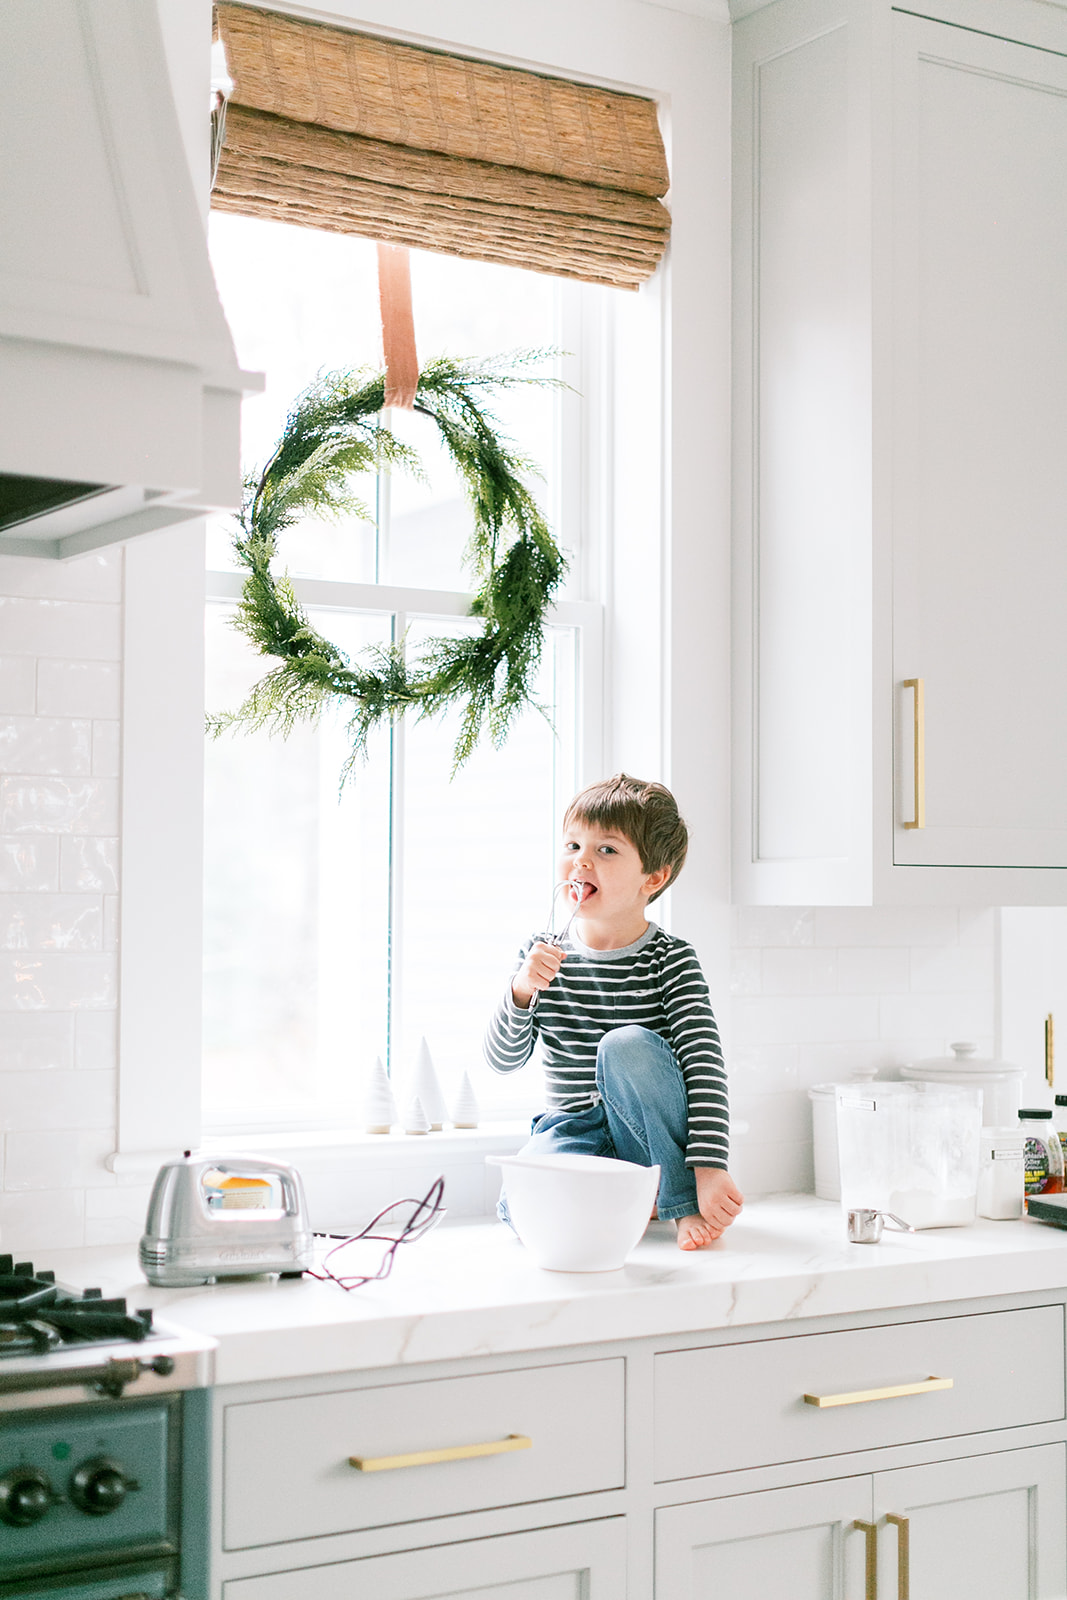
Now it’s caramelize the apples time. Mix sugar, corn starch, cinnamon, nutmeg, and cloves together, set aside. Using an apple slicer, cut your apples. Then peel and finely slice the sliced apples adding them to a bowl and pouring the sugar/spice mixture over. Ok so maybe sample the apples at this point to confirm their deliciousness. Enlisting the help of small people means you get to eat more. Just sayin’.
Melt butter in a large pan on the stove. Add sugared apple mixture and cook until apples are tender and soft.
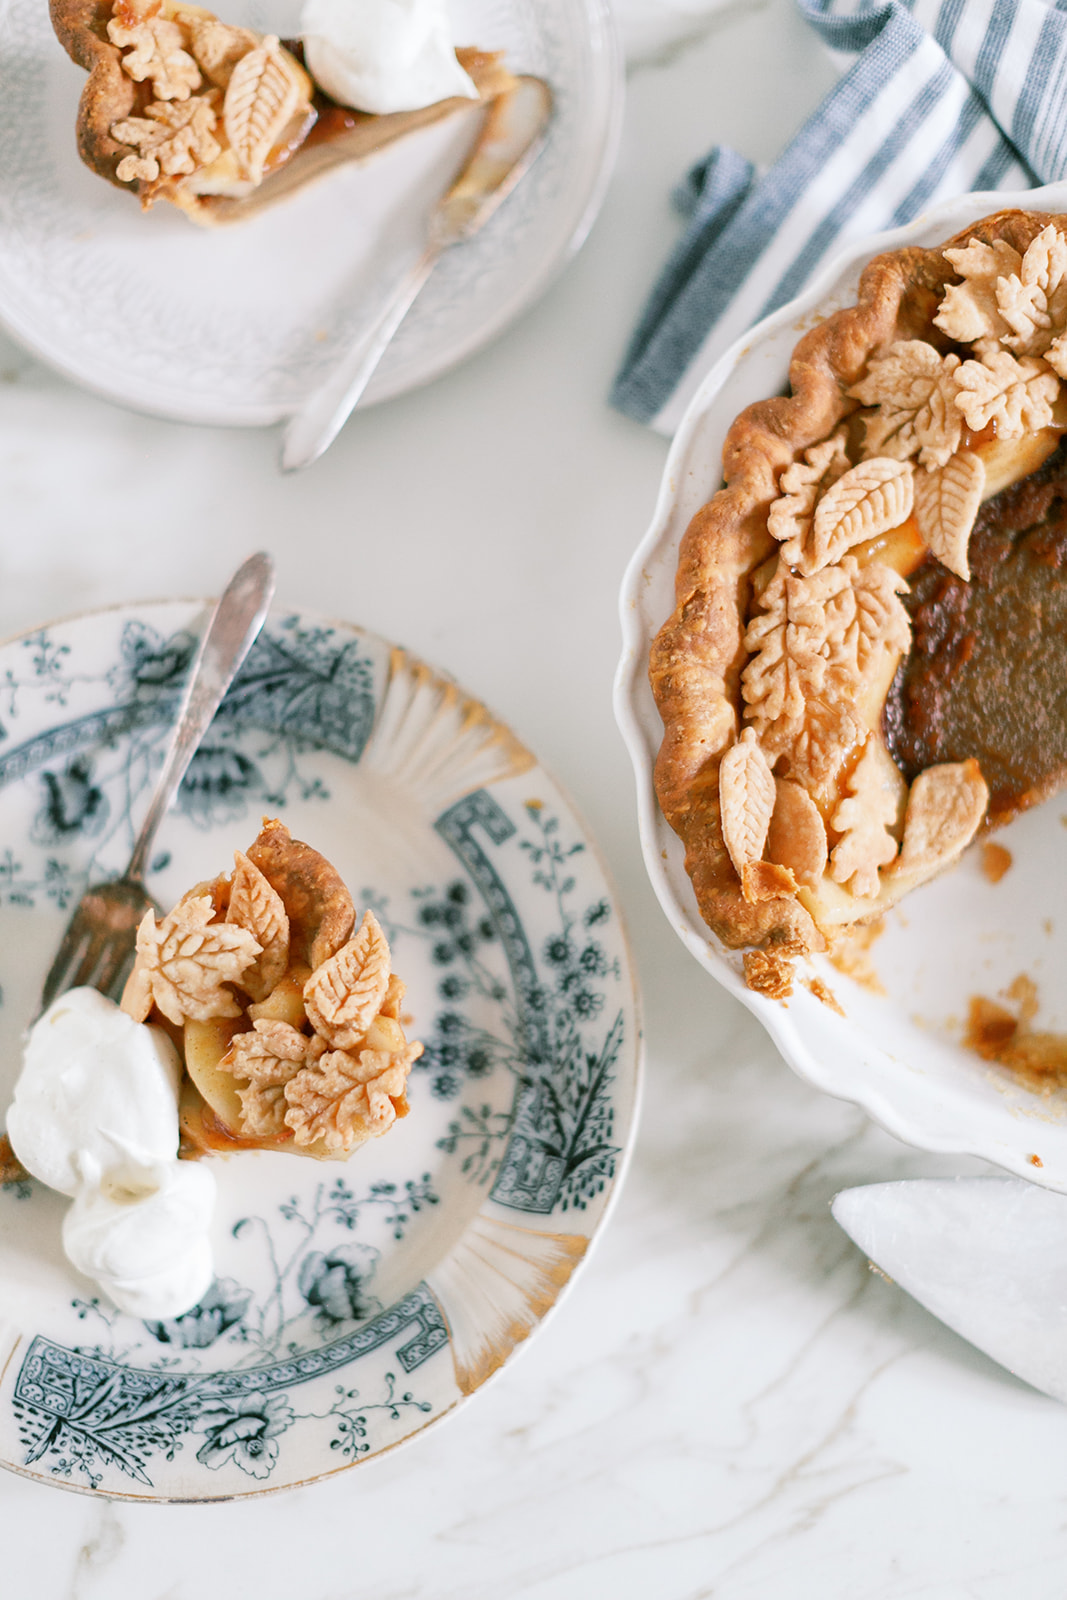
Cool the apples down and pour them over your fully cooled maple pie. I ended up baking my maple pie the day before so when I was ready to add the apples to my pie it was truly fully cool. Place the cooked apples around the outside edge, like a wreath, and added the baked pie leaves to make the most delicious pie wreath of all time.
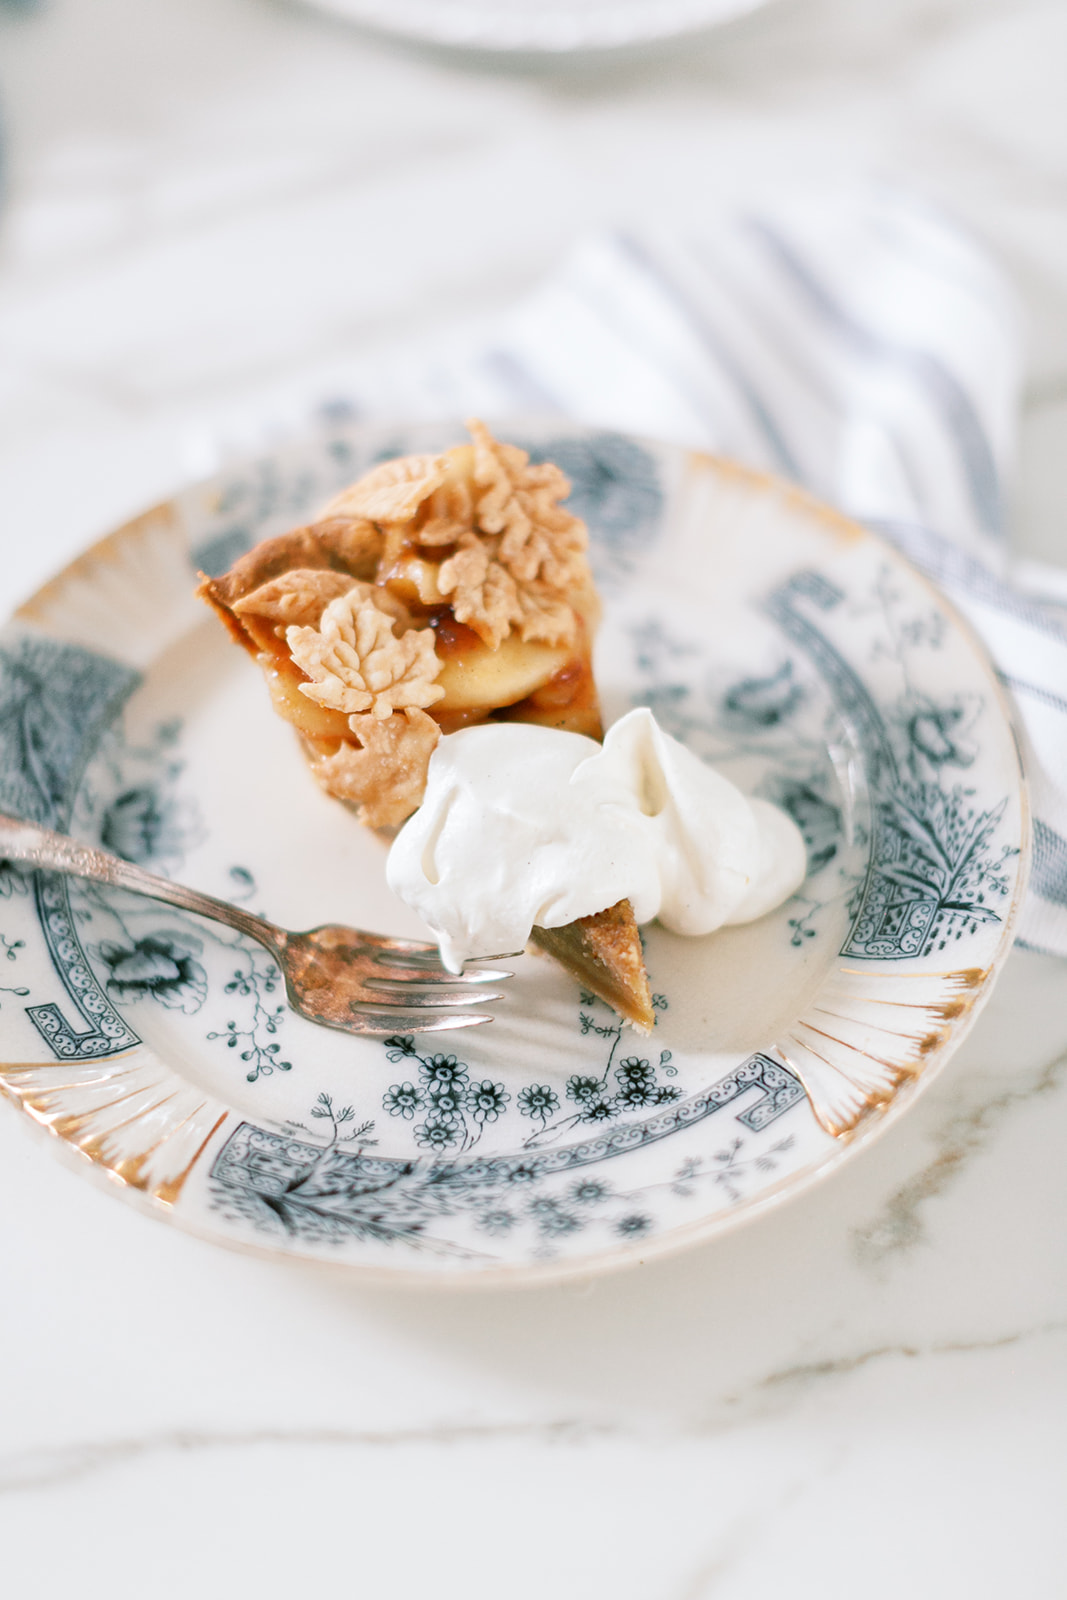
Now comes the truly best part–getting to eat it. It slices well when fully cooled and looks beautiful plated with a little whipped cream. I used the rest of my heavy whipping cream and made some quick whipped cream by adding a couple spoonfuls of powdered sugar and vanilla bean gel to the heavy whipping cream beating until I achieved a nice consistency. Cut a slice and add a dollop of cream. It’s literally the perfect treat this holiday season.
 Lastly friends, I hope you enjoy this delicious maple cinnamon pie with caramelized apples and topped with whipped cream.

 comment share
Leave a Reply
Want to join the discussion?Feel free to contribute!