
HOME TOUR
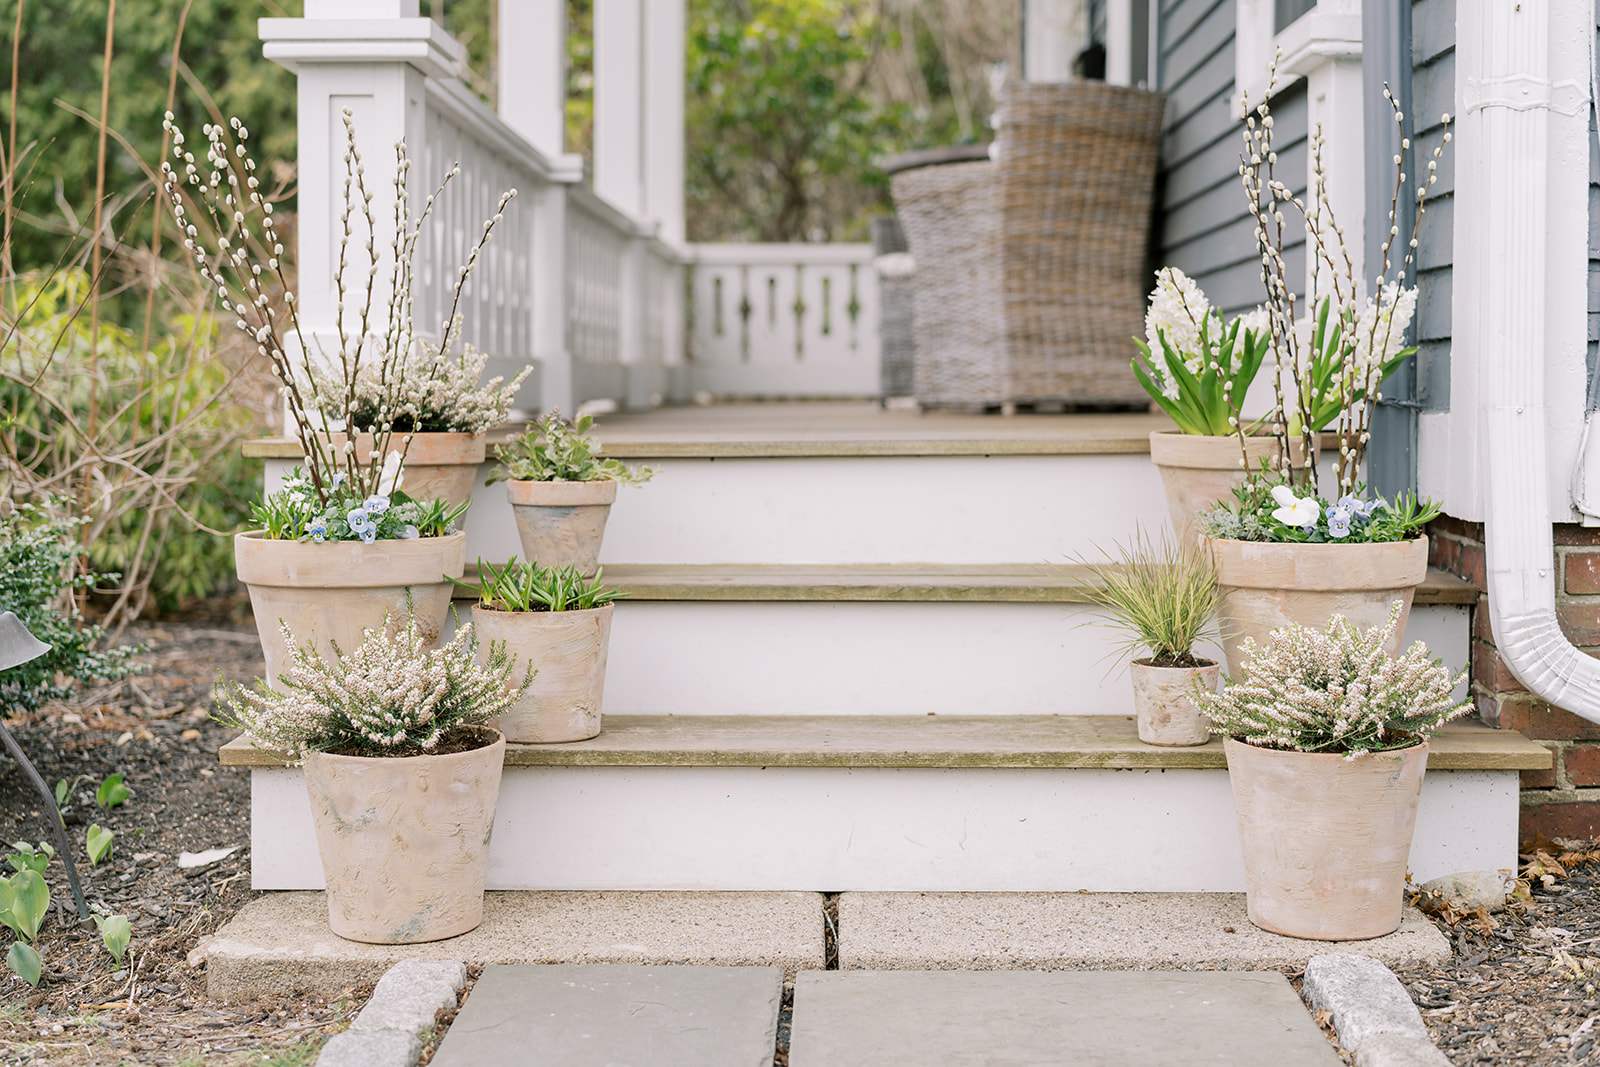
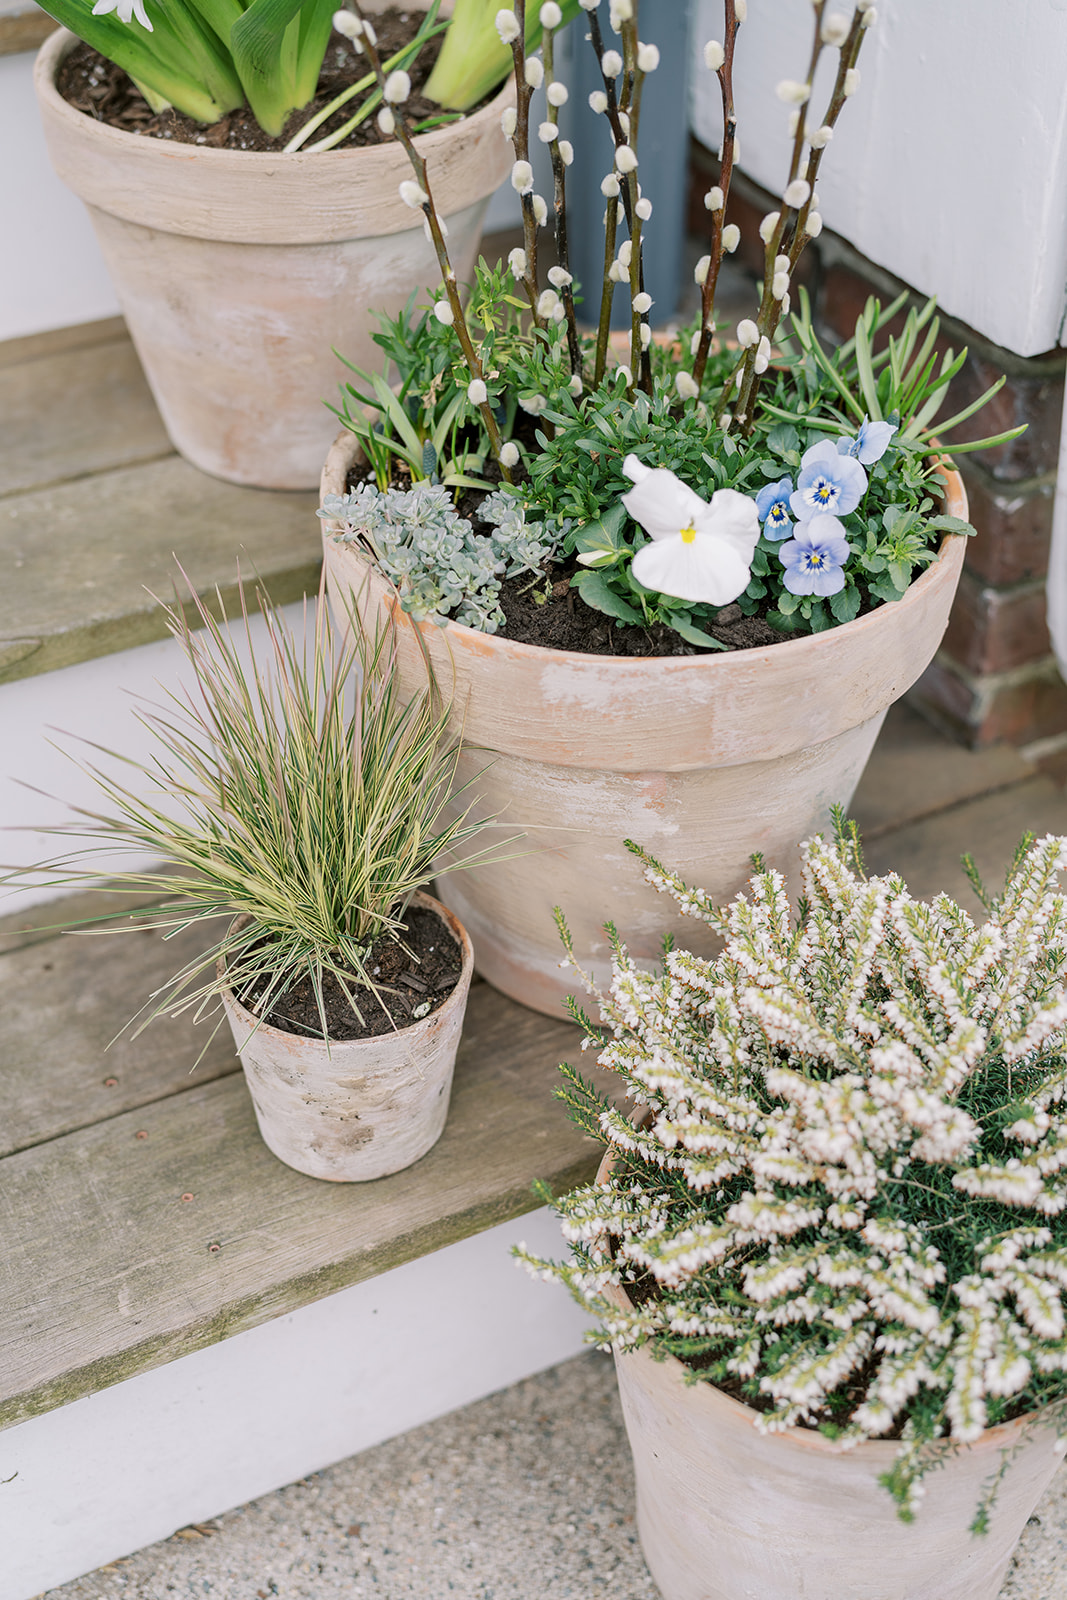
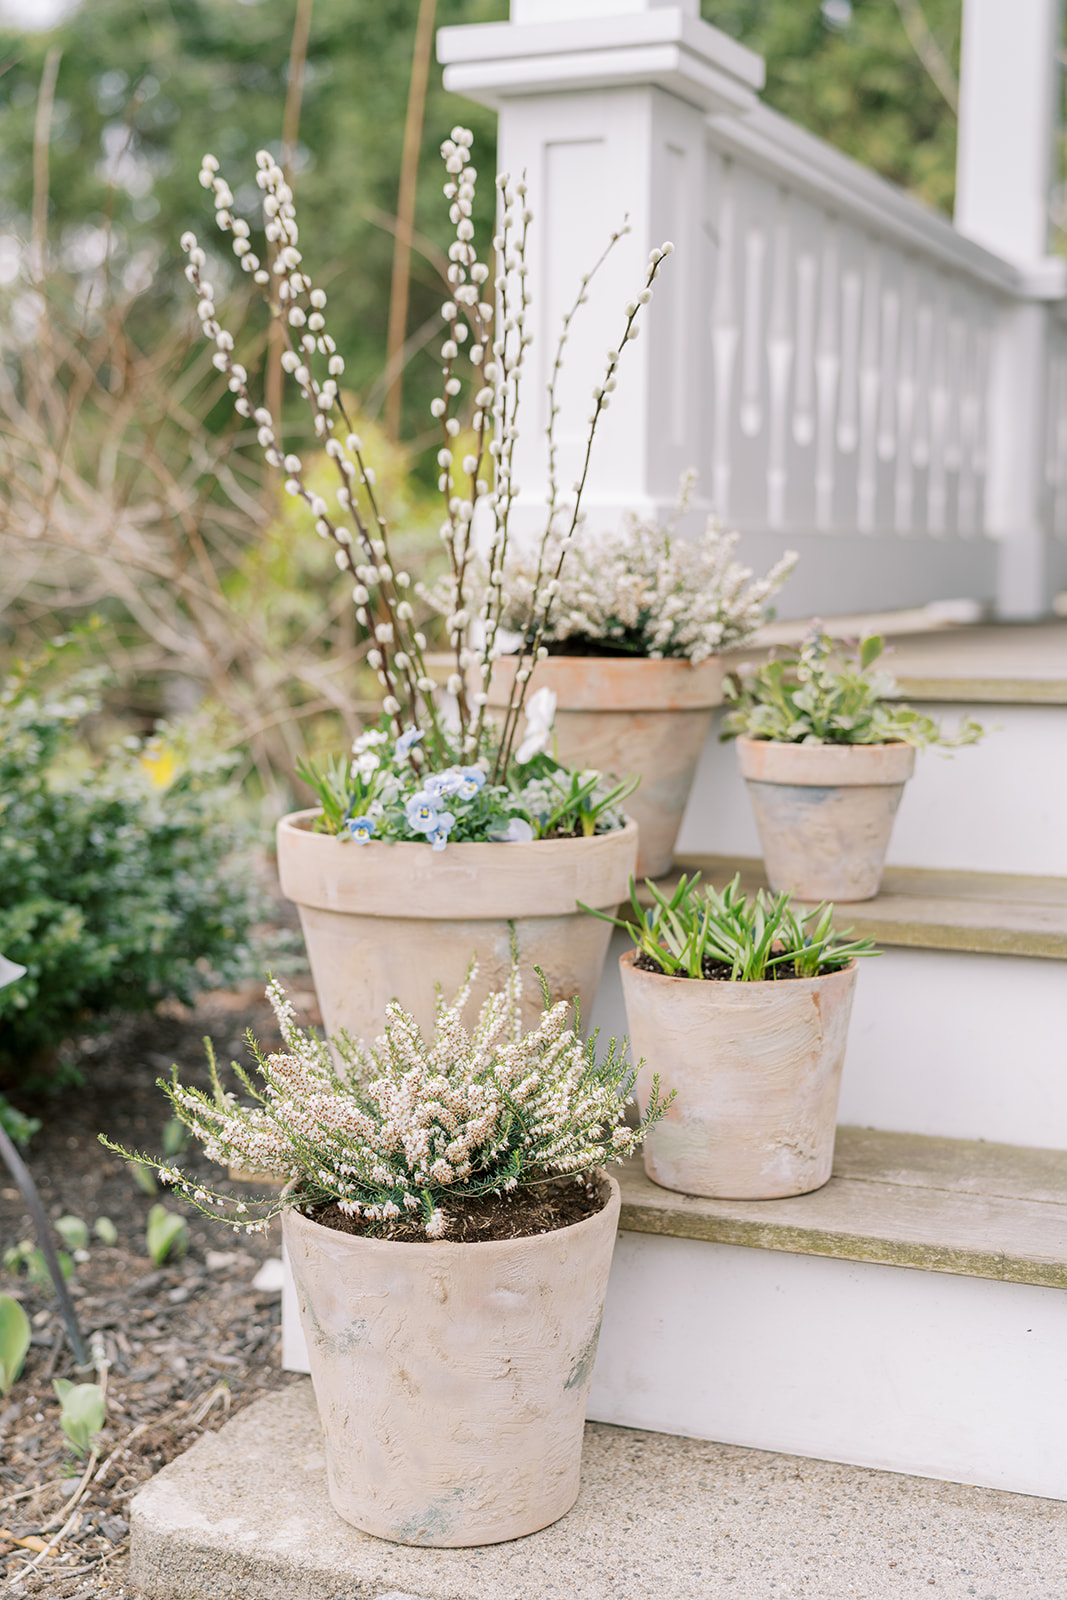
It’s early in Boston to be planting but I can’t stop myself and got a jump start on our porch last week which you probably saw on Instagram. I’ve loved the aged terracotta pots for awhile but haven’t invested in them partially because the pretty ones are expensive and we can’t leave them out in wintertime, so it’s just another something that needs to be stored in the garage or basement. But with spring temperatures, sunnier days and such reasonable price tags, I couldn’t help myself during a visit to Home Depot. Judging by the number of messages I got, you all are just as excited about these DIY aged terracotta pots as I am.
AGING TERRACOTTA POTS
What is terracotta? It literally means “baked earth” and is typically a brownish orange/red unglazed earthenware that has been used for centuries usually as a building medium or for ceramics. I bought different pot sizes (and shapes) for the layered look going up our porch steps and knew that orange color would have to go. I didn’t know how at the time but I figured someone somewhere had probably figured it out. If I had patience Martha Stewart recommended smearing on yogurt and setting them in the shade for a month. And many many more posts recommended pelletized garden lime, which when dissolved in water can be painted on for a muddy, chalky appearance, which is what I ended up using.
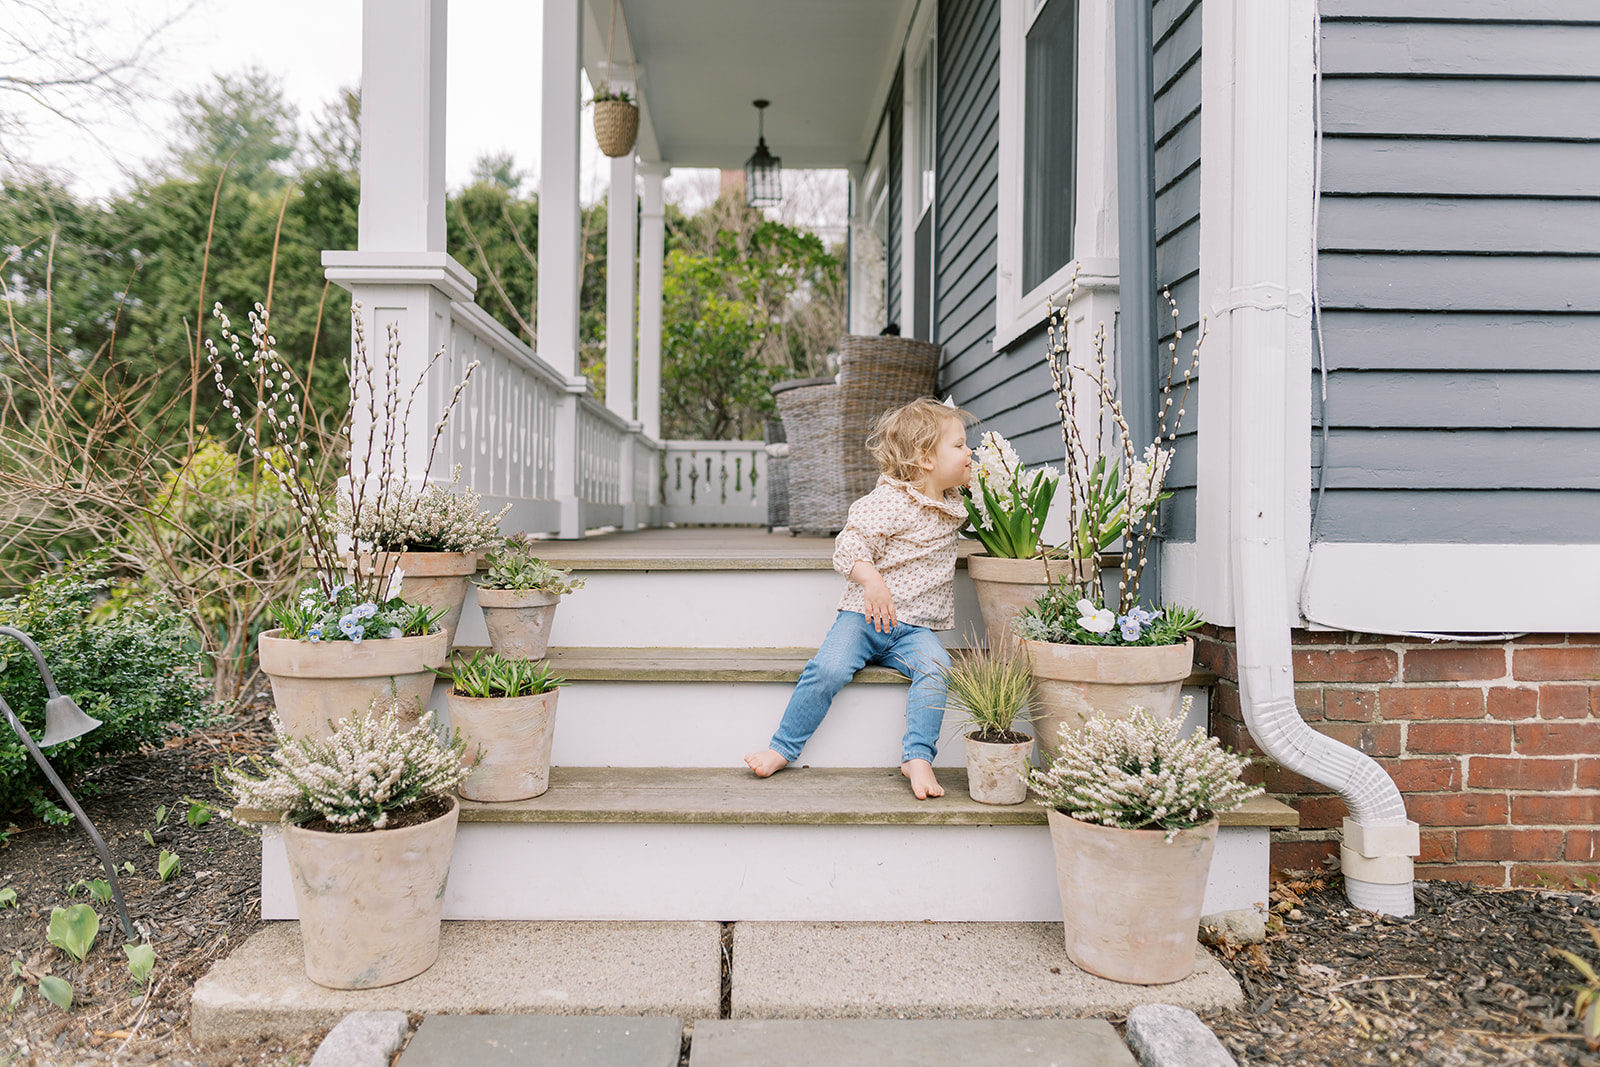
I had some Garden Lime in the garage already but it’s easy to find at any garden center or Amazon. What I wasn’t sure of was how these DIY aged terracotta pots would weather in the rain. Particularly the steps leading up to our porch get a deluge of rain thanks to a broken rain gutter. Oh the joys of the not-so-fun home projects yet to be accomplished around this old house. I did spray a quick coat of matte sealer after I finished making them to try and prolong the appearance. After a long night of heavy rain I surveyed the damage and I’m happy to report that although some of the lime definitely came off, it actually looks even more “real” now. I’ll probably give them another spray with the clear coat and hope they last. I have tons of gardening lime and it really doesn’t take much to touch up as needed so I’m not concerned.
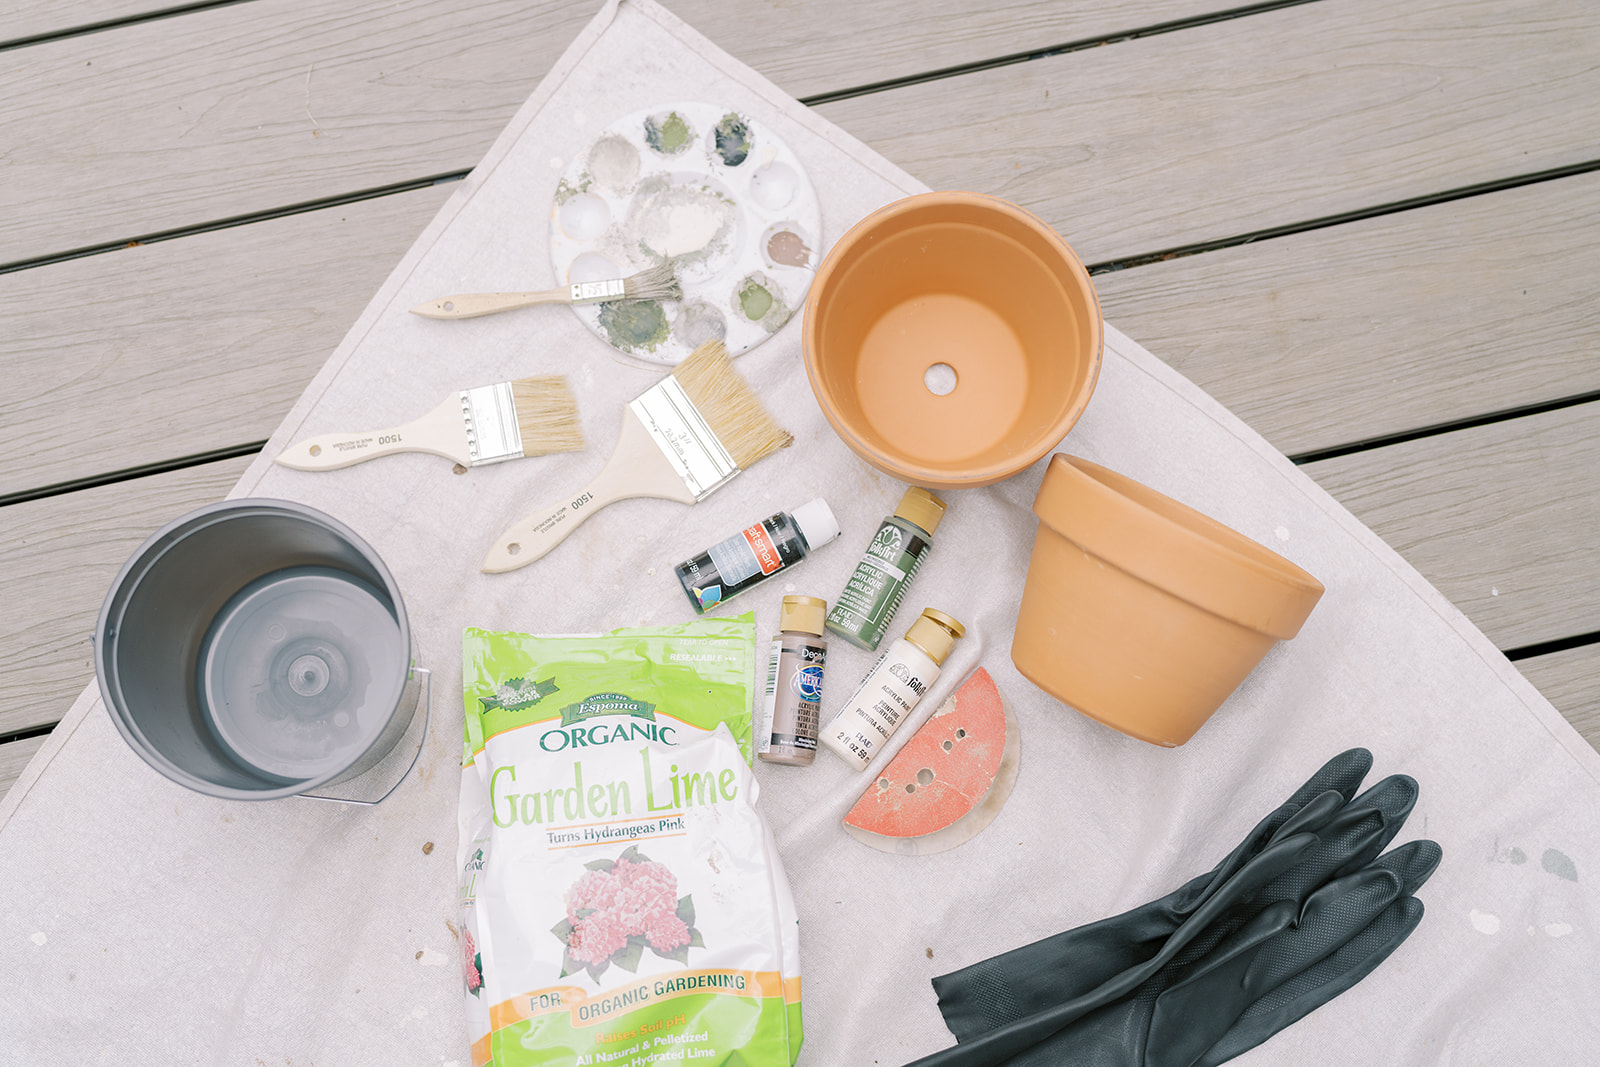
SUPPLIES
Terracotta Pots (various sizes and shapes per your preference)
Cheap paint brush (use an old one or buy an inexpensive one)
Garden Lime (I used this brand)
Small mixing bowl (I bought one at Home Depot in the paint section)
Water
Tarp or covering for your work area
Acrylic Paints
Rough Sandpaper (I have no idea what grit I used, I pulled it out of my husband’s work bench)
INSTRUCTIONS
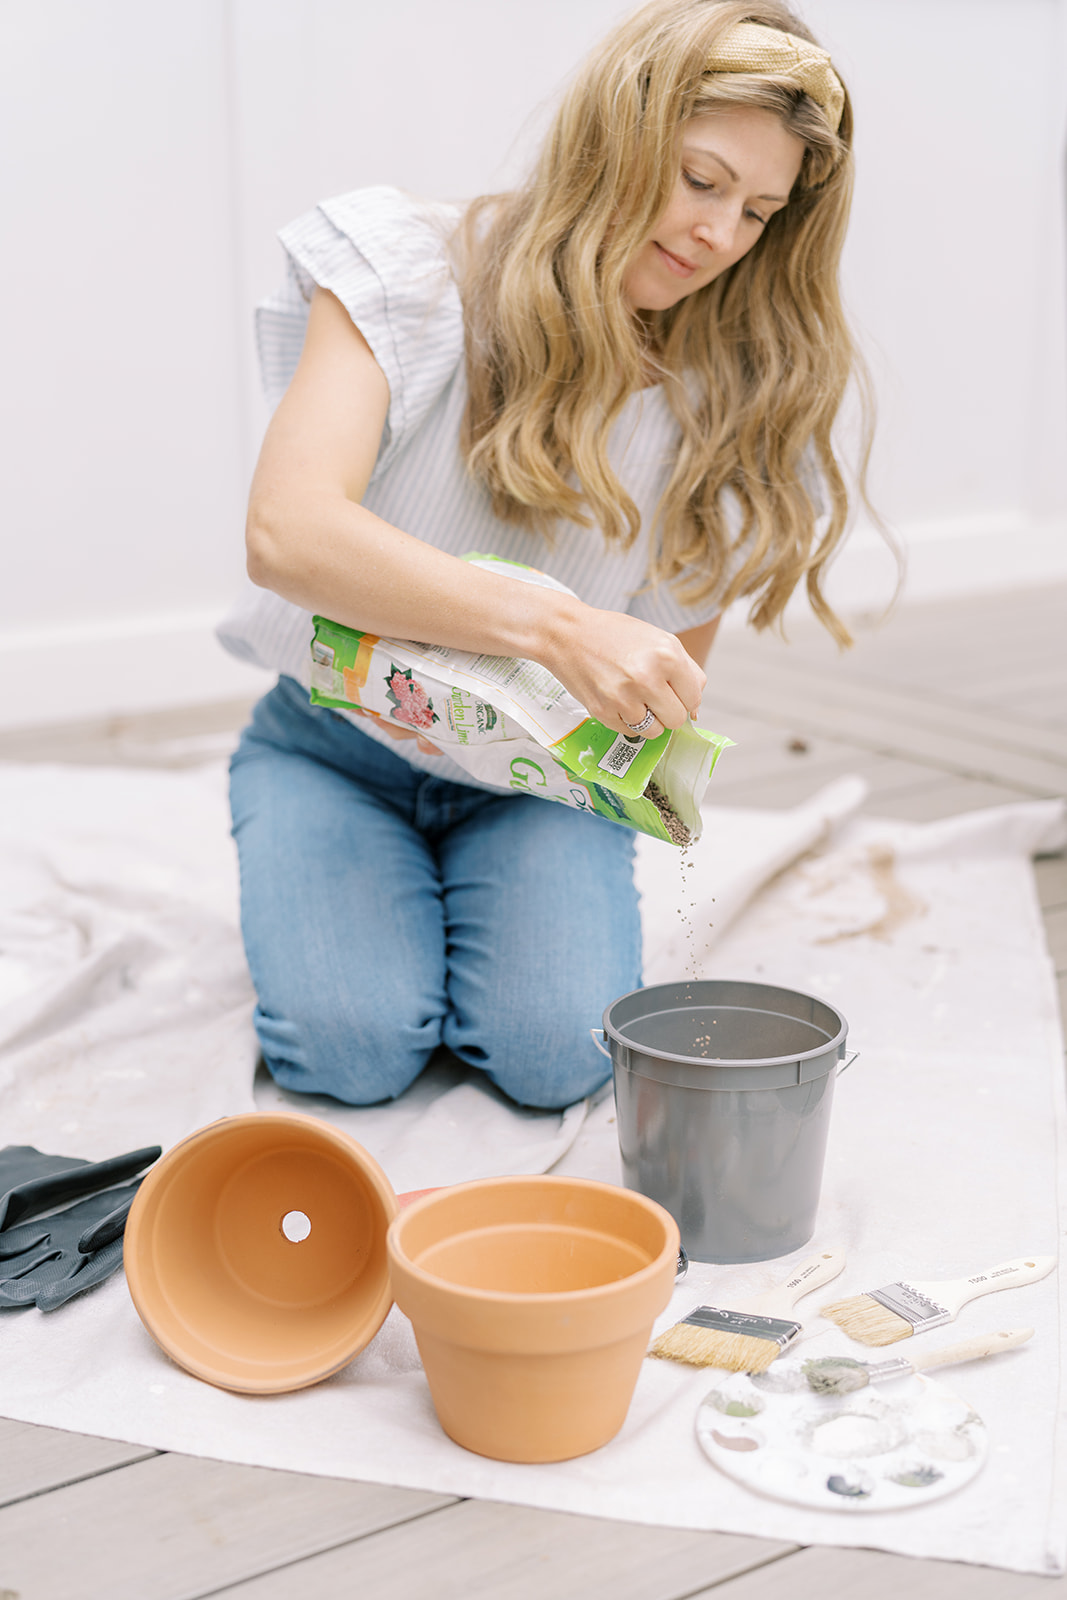
Start by laying out your supplies so everything is ready to go. Pour pelletized garden lime into a mixing bowl. I bought a cheap one in the paint section of Home Depot so I didn’t have to use a kitchen bowl.
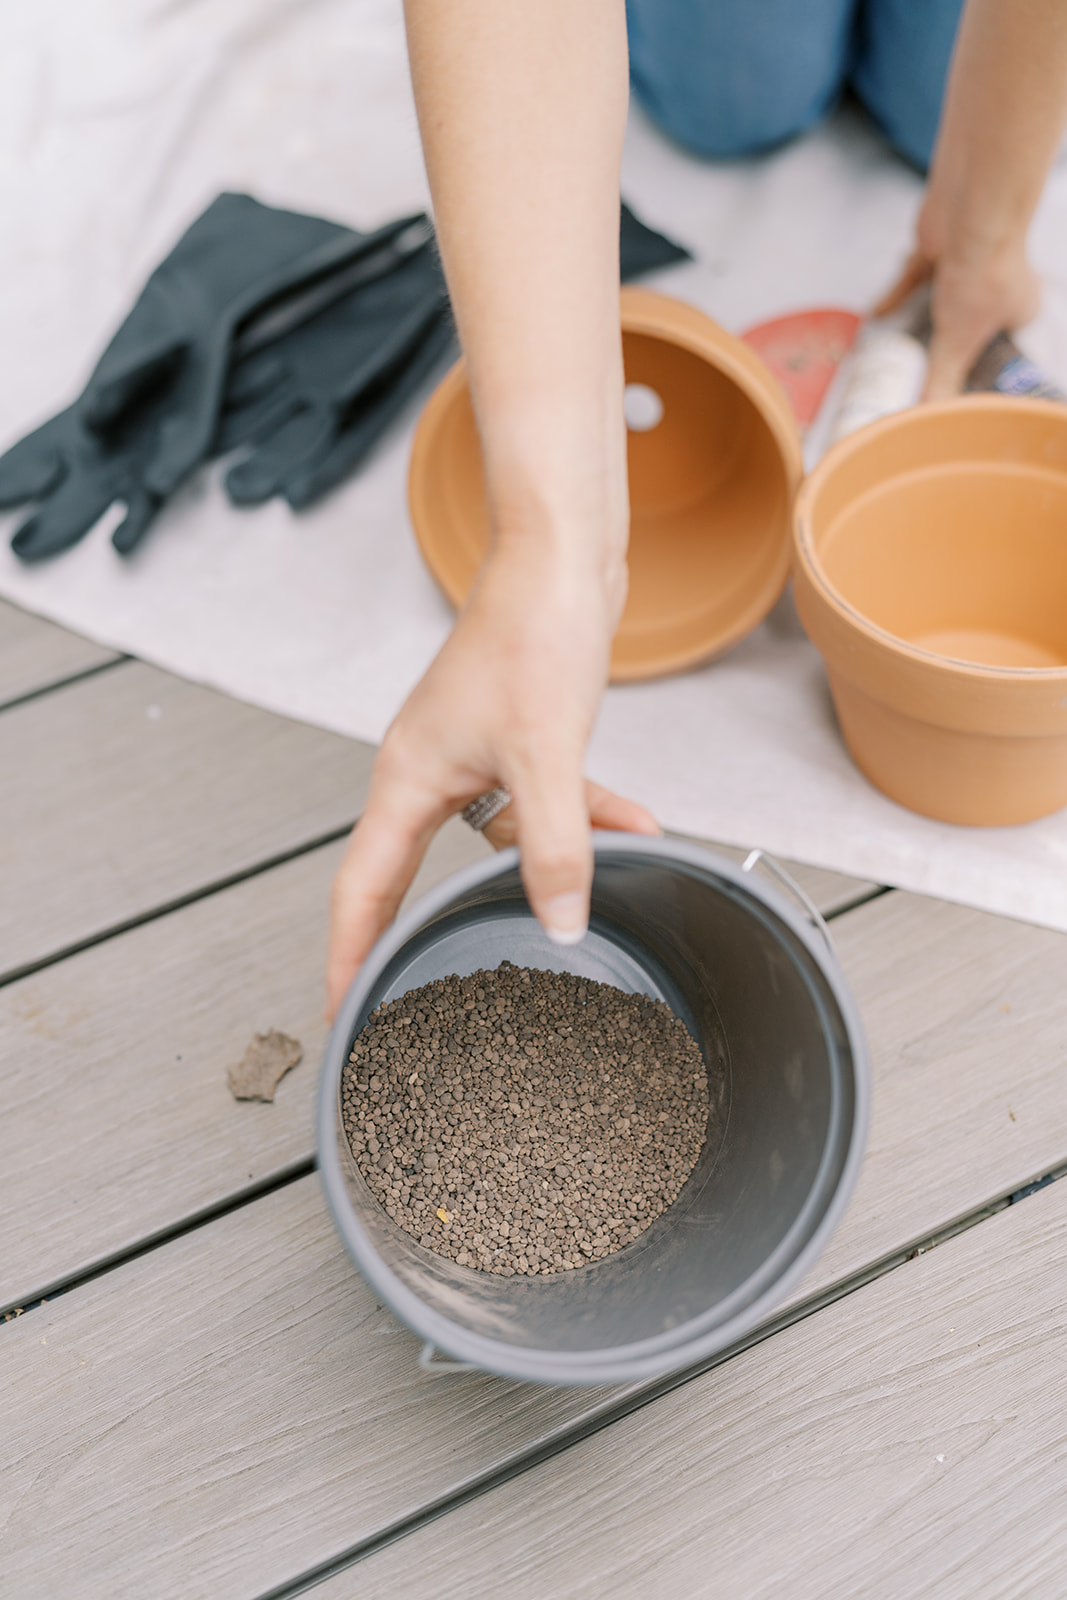


Add just a little bit of water to it and stir stir stir. It starts off very grainy as you can see in the upper left picture and as you stir, the lime dissolves and you’re left with a smoother muddy consistency like the picture on the upper right. It took a few minutes of mixing to get mine smooth. Don’t add too much water to begin with otherwise it’s too thin. If you do, just add some more lime.
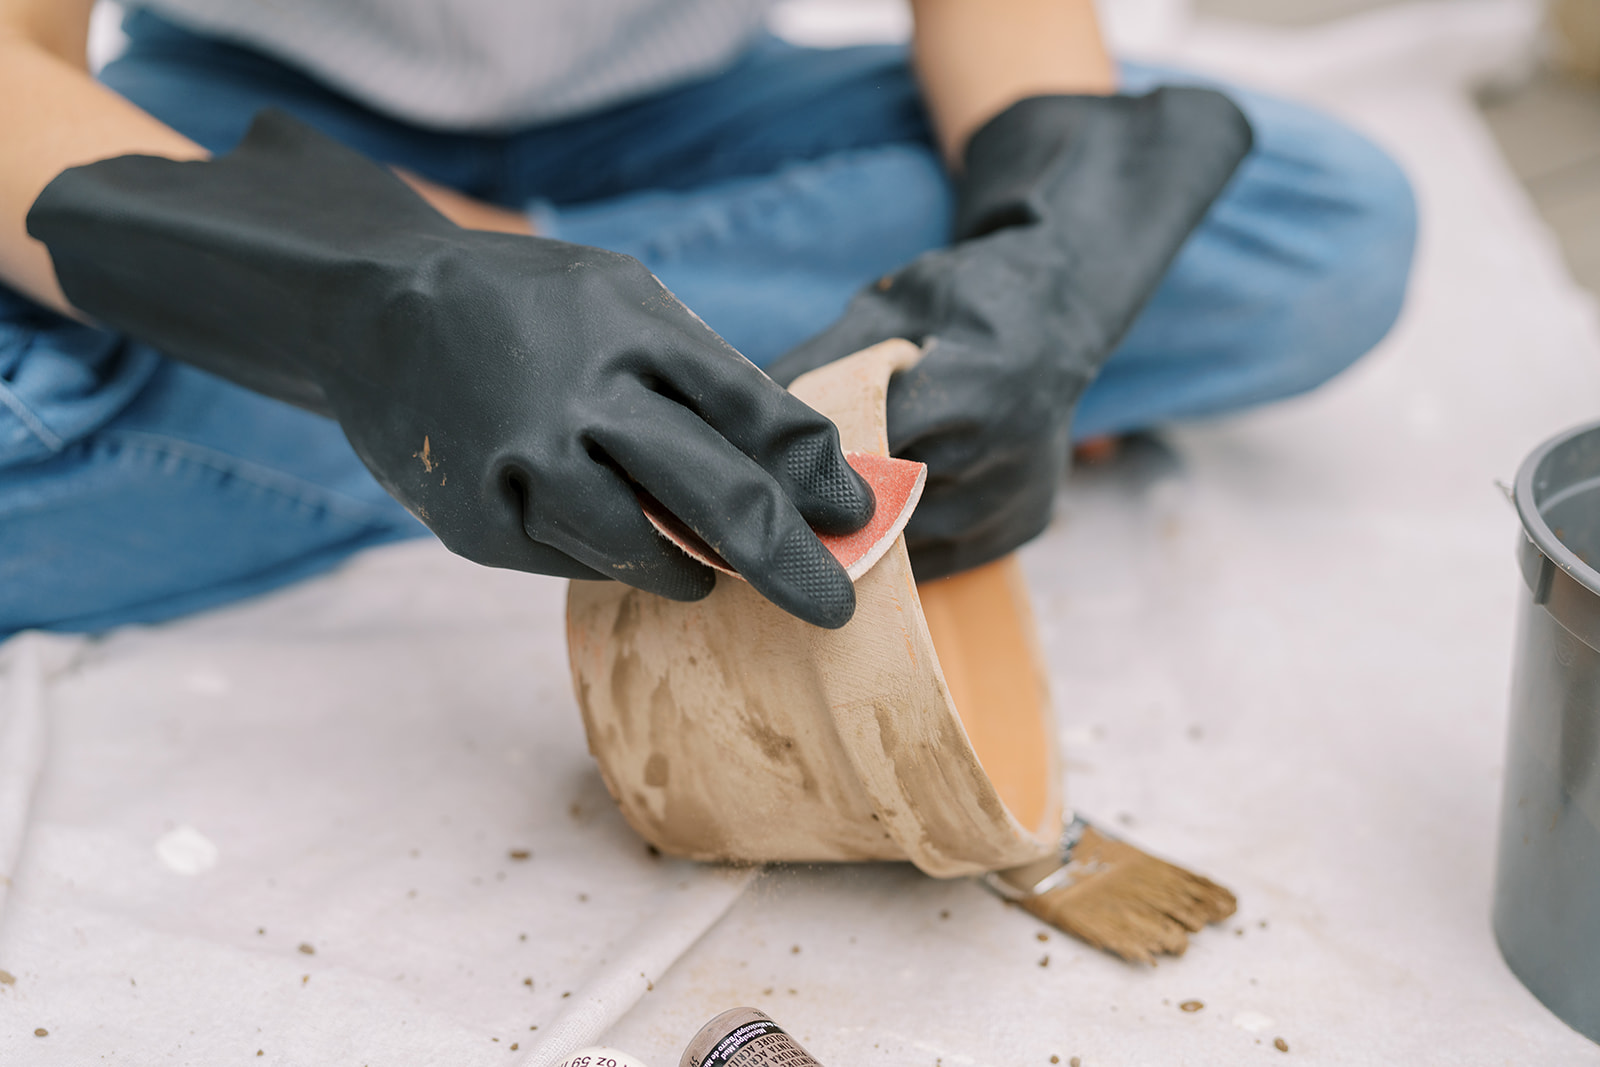
Paint that lime on. I coated it, lightly in some spots, thicker in others and dragged the paint brush diagonally at times to give it more texture. Inevitably you’ll get some of the pellets on your pot. Either flick them off while it’s drying or sand off when it’s dry. The terracotta is porous so it’s going to suck the liquid in and it dries fairly quickly, especially if you’re doing it outside. I let mine dry for a few minutes and then it was ready to sand. Some spots were still damp which actually helped when I went to distress the pot more with paint.
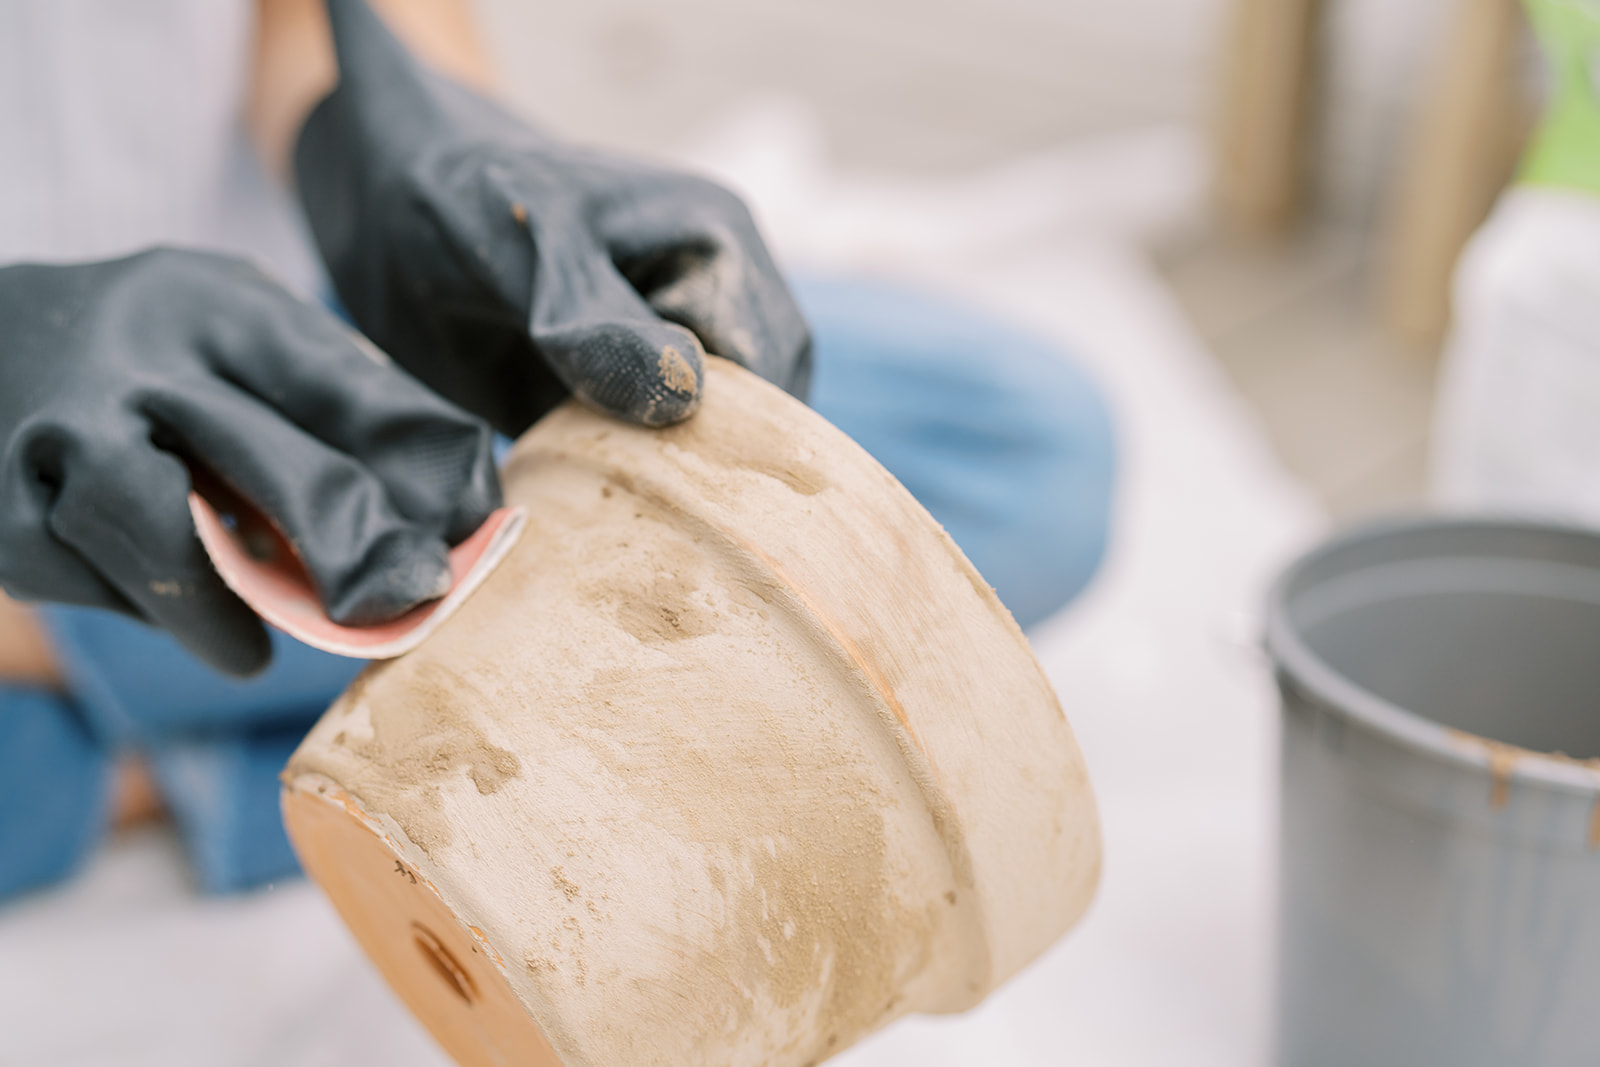
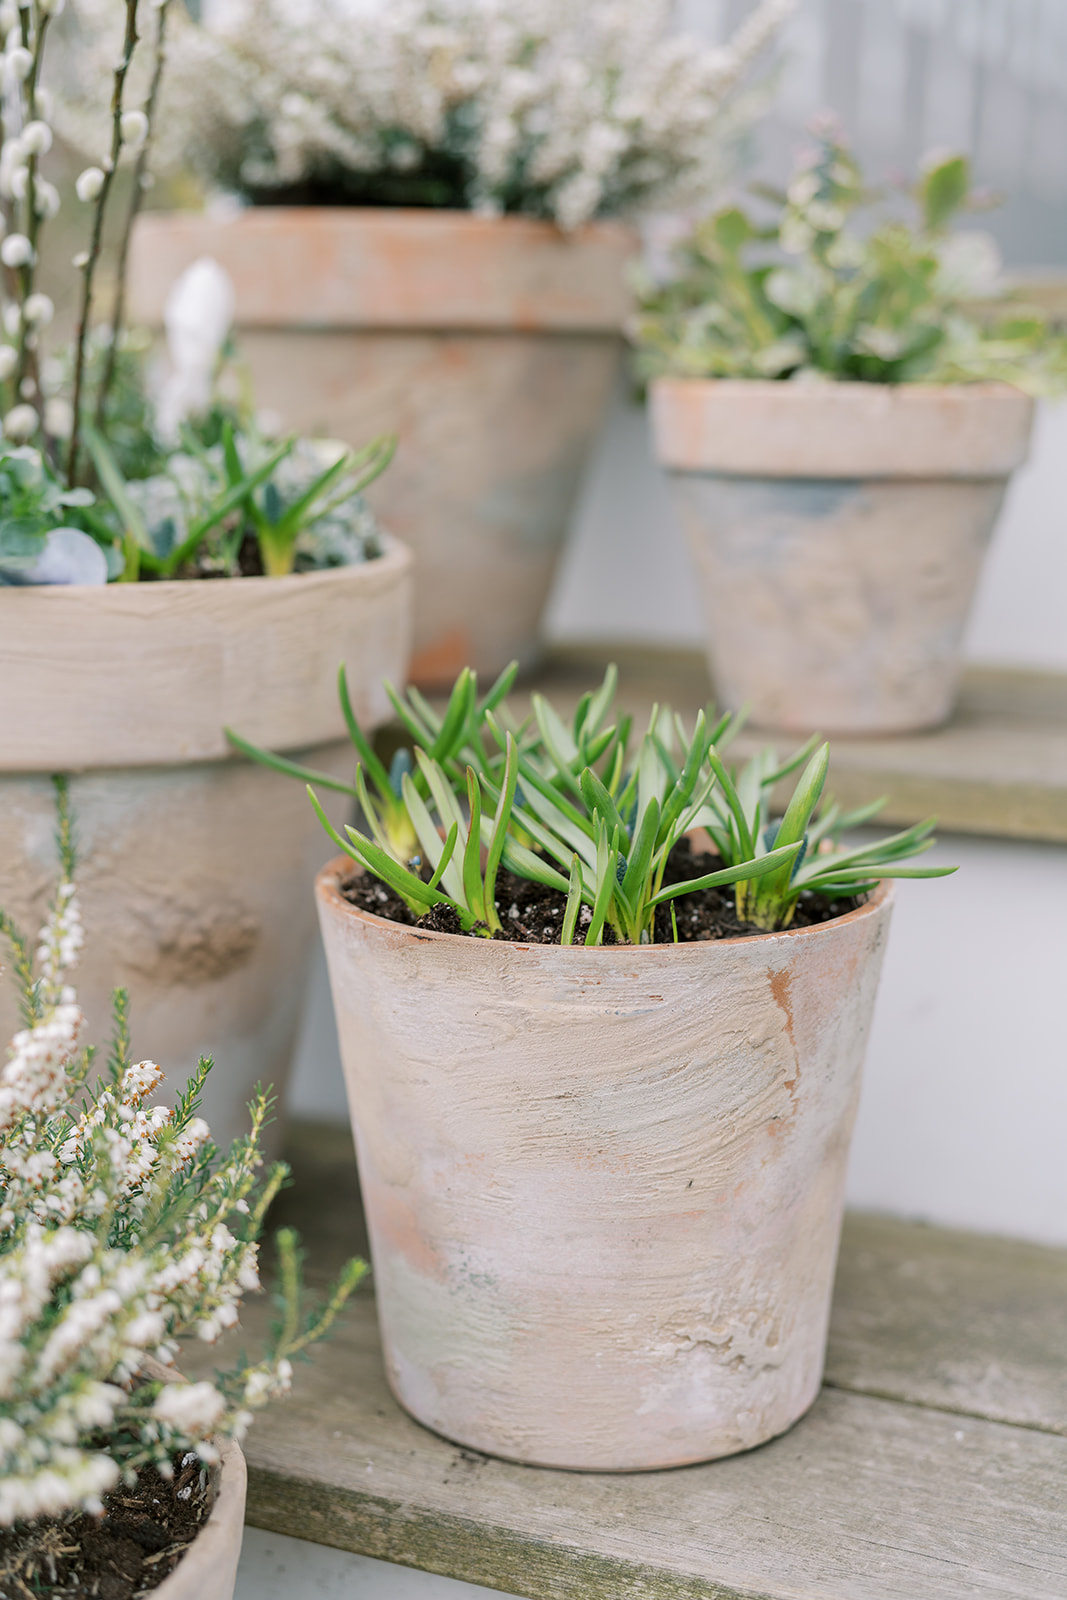
The point of sanding isn’t to take all the lime off, it’s to soften some of the visible brush strokes and allow the terracotta to show through in places.
ADDING ACRYLIC PAINT DISTRESSING
I guess technically this step isn’t entirely necessary. I liked the color difference it added to my pots and it was really easy and done within minutes. The trick here is to be irregular with your application of the paint. Push it into spots, smear it around, allow it to mix with the lime and come off in spots.
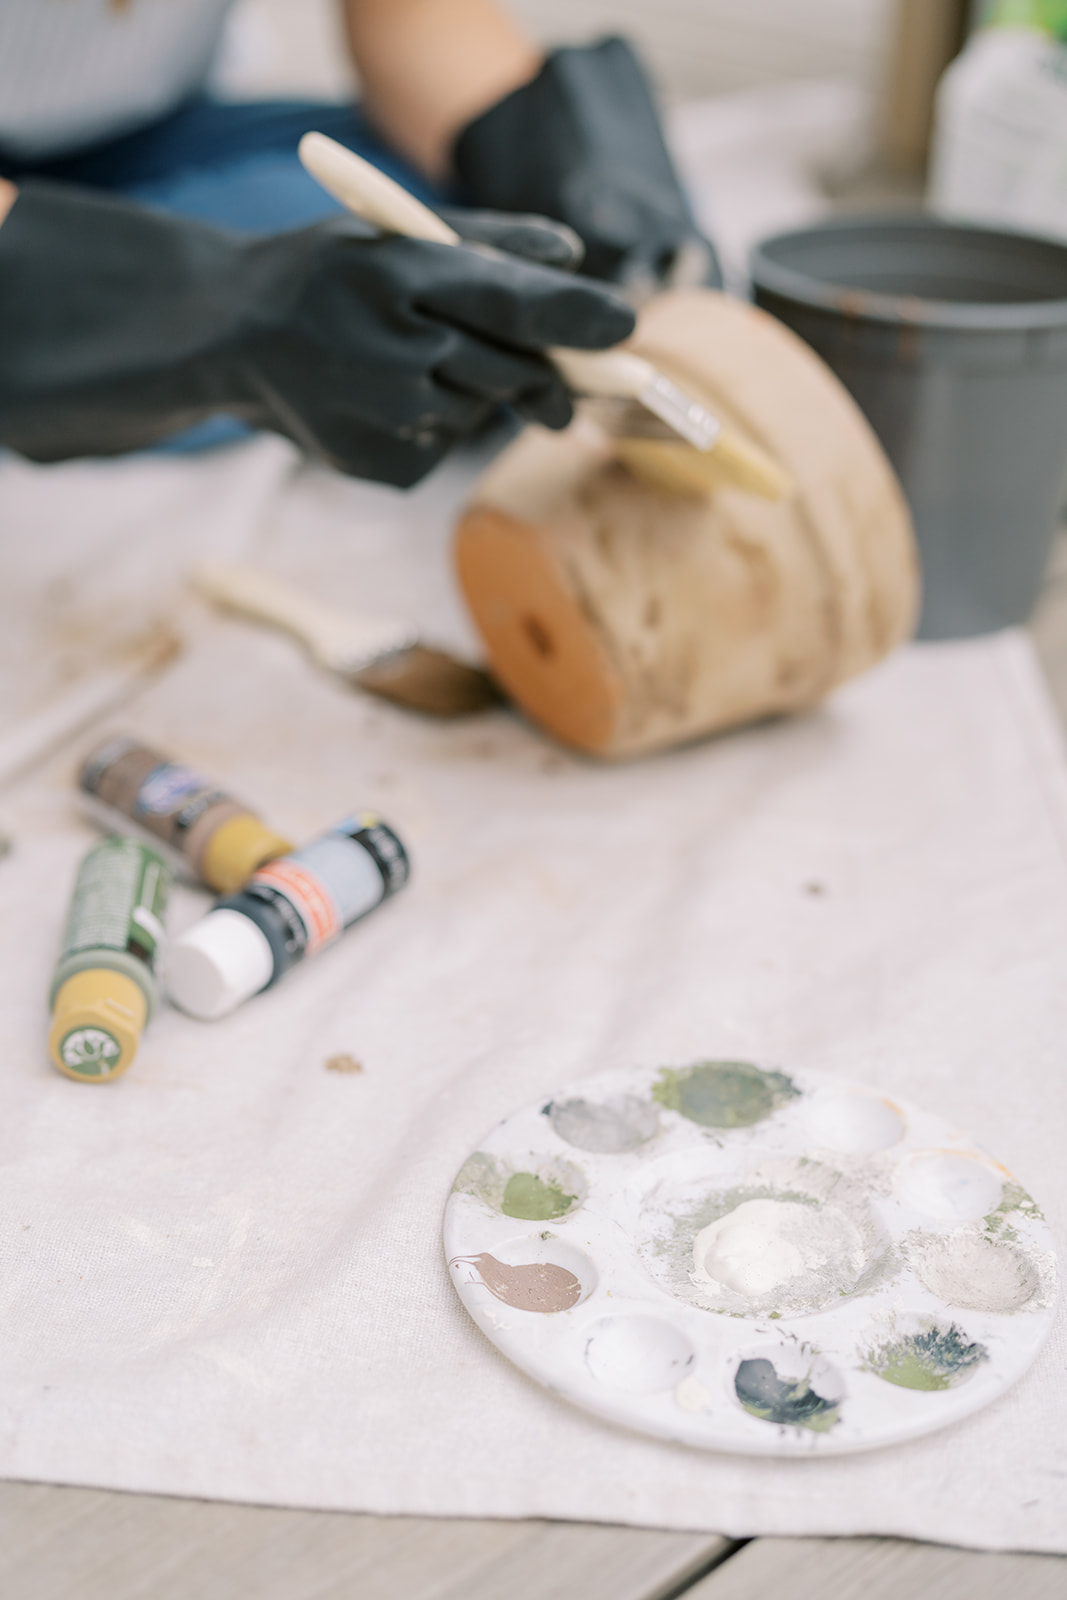
I used four acrylic paint colors: a cream, a muted green, black and brown. The most used color was the cream. I only used the black and brown to change the color tone of the green which I dappled onto the pots in places to give it a mossy appearance.
Once you’re done, let it dry for a few more minutes and spray it with a matte clear coat. Don’t be alarmed when you spray it on. It almost makes the lime disappear for a moment but as the clear coat dries, the bright orange color fades again.
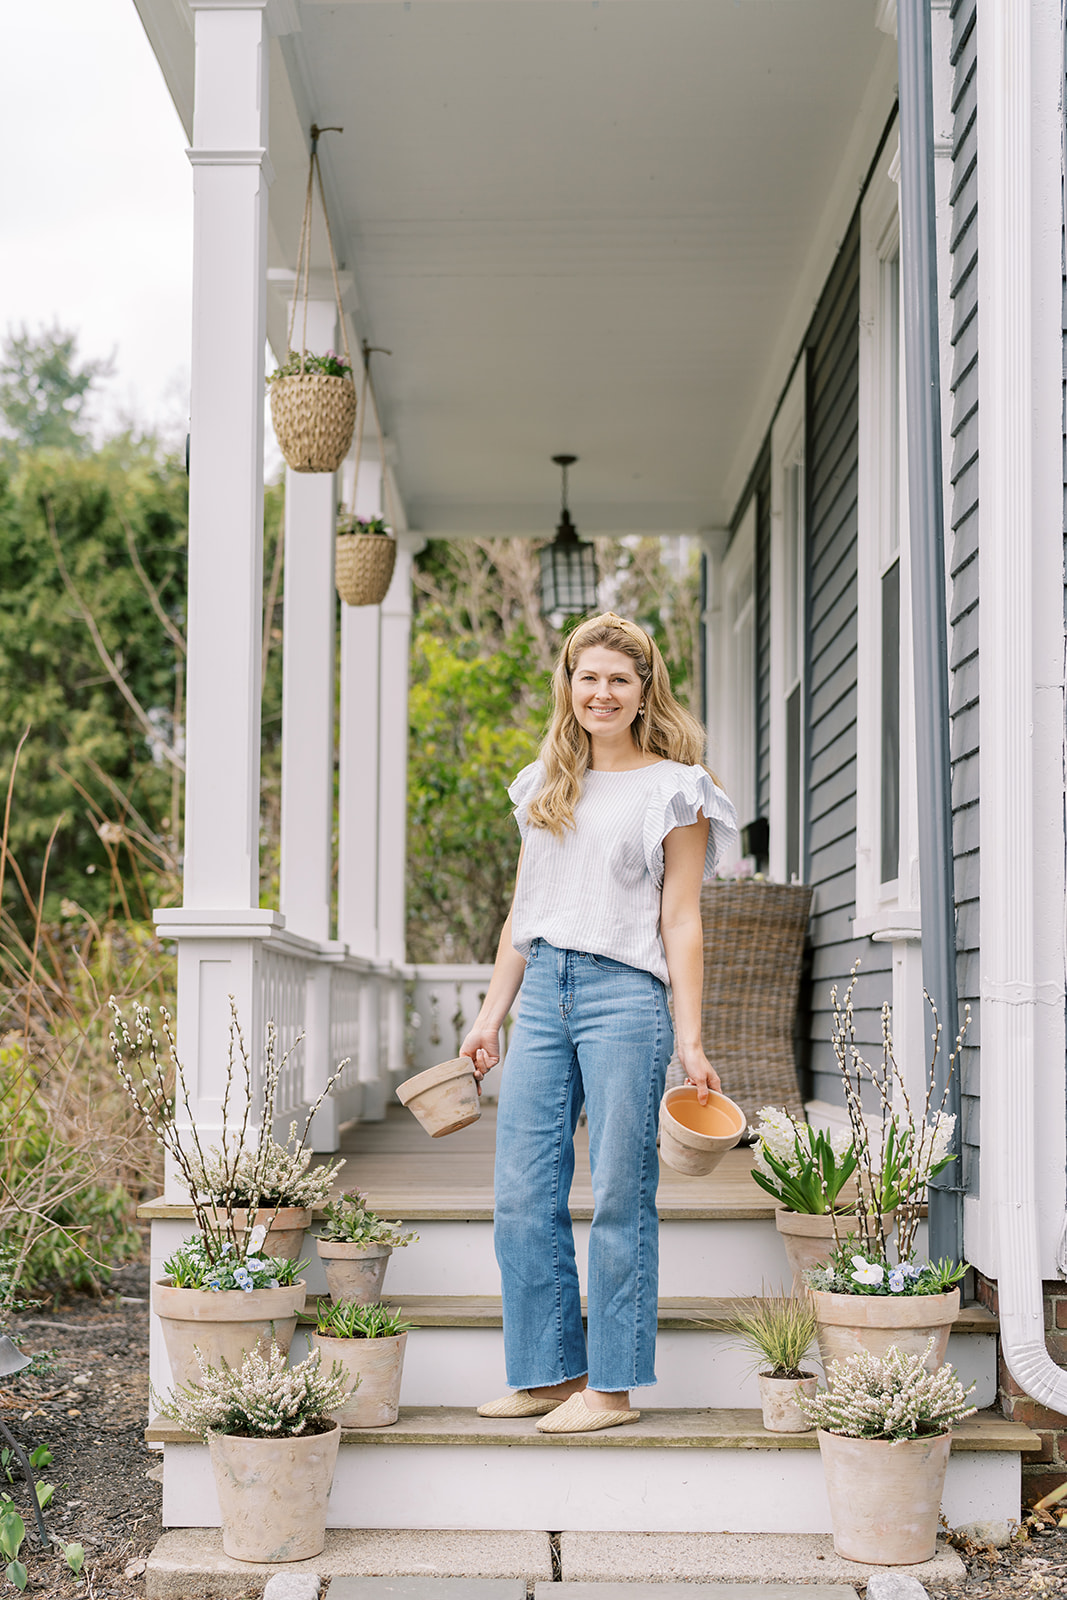
Ruthie of Ruth Eileen Photography did a beautiful job capturing this fun spring project. I hope you are inspired to get outside and make some beautiful DIY aged terracotta pots. I’d love to see them so tag me on Instagram. This is just one of many spring garden projects on this fun blog hop, scroll below for some more ideas.
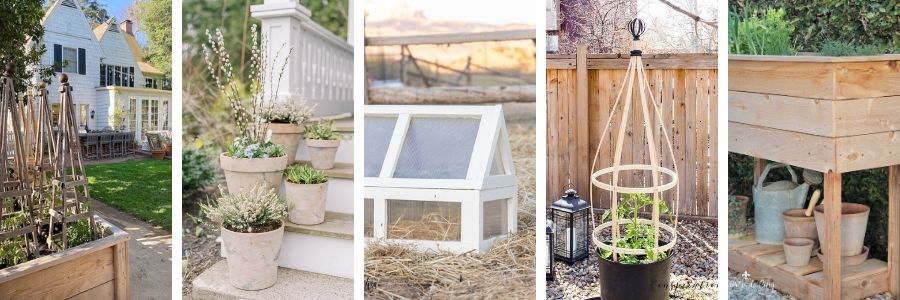
My 100 Year Old Home | How to Grow Tomatoes at Home
Finding Lovely | DIY Aged Terracotta Pots
Twelve on Main | Super Cute DIY Mini Greenhouse
Inspiration for Moms | DIY Planter Trellis
Maison de Cinq | DIY Raised Herb Garden Planter Box
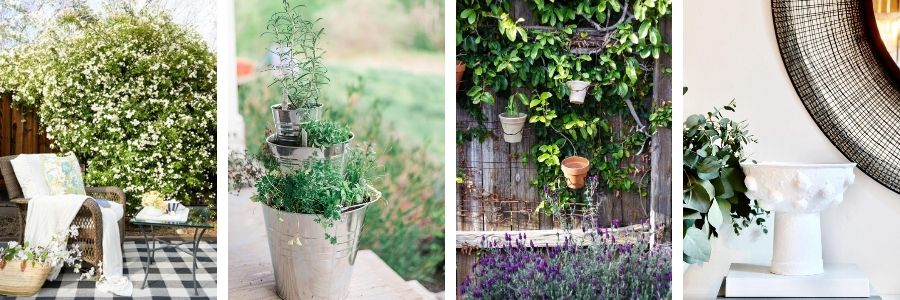
Happy Happy Nester | Lady Banks Rose
The DIY Mommy | Tiered Herb Planter with Dollar Store Buckets
Zevy Joy | Gardening Tips and Ideas From Our New Yard
My Sweet Savannah | DIY modern pedestal planter

 comment share
[…] Finding Lovely | DIY Aged Terracotta Pots […]
[…] Finding Lovely | DIY Aged Terracotta Pots […]
[…] Finding Lovely | DIY Aged Terracotta Pots […]
[…] Finding Lovely | DIY Aged Terracotta Pots […]