
HOME TOUR

The State Street Project is done and it feels great to finally share it. Who doesn’t love a good before and after? This was a project for a dear friend and one we did on a budget. And just like anything in design, there is a range of cost associated with renovations. Kitchens can be hundreds of thousands of dollars or a couple thousand if you’re getting new appliances.
Remember this? For those on Instagram I showed you these pictures months ago.
THE BEFORE
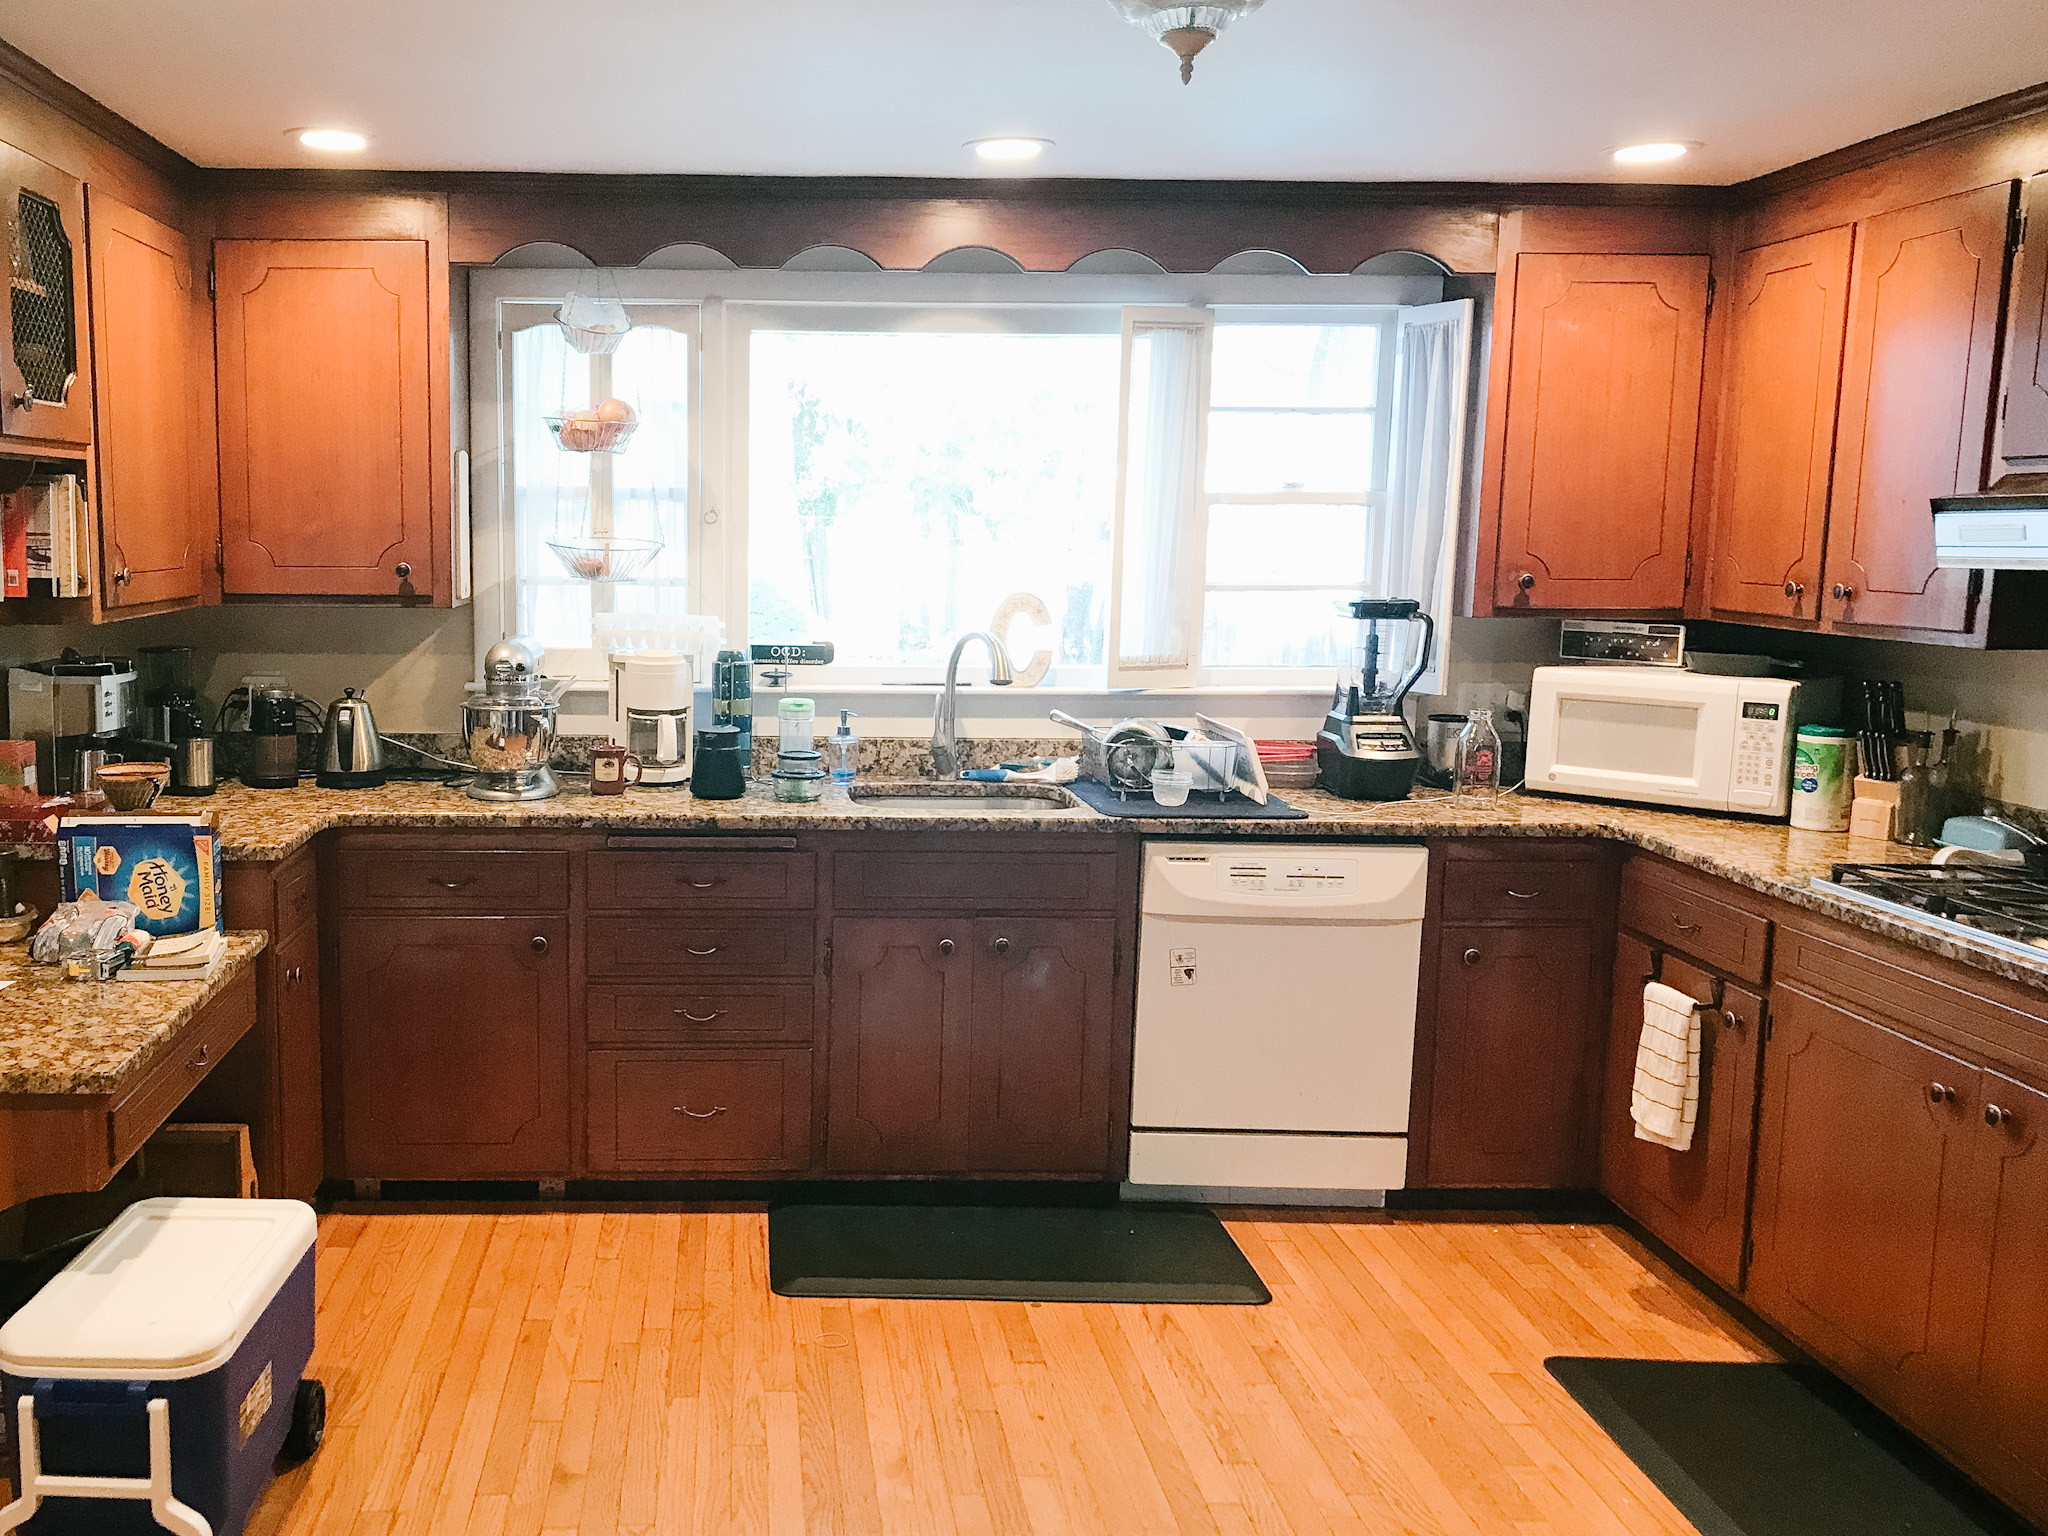
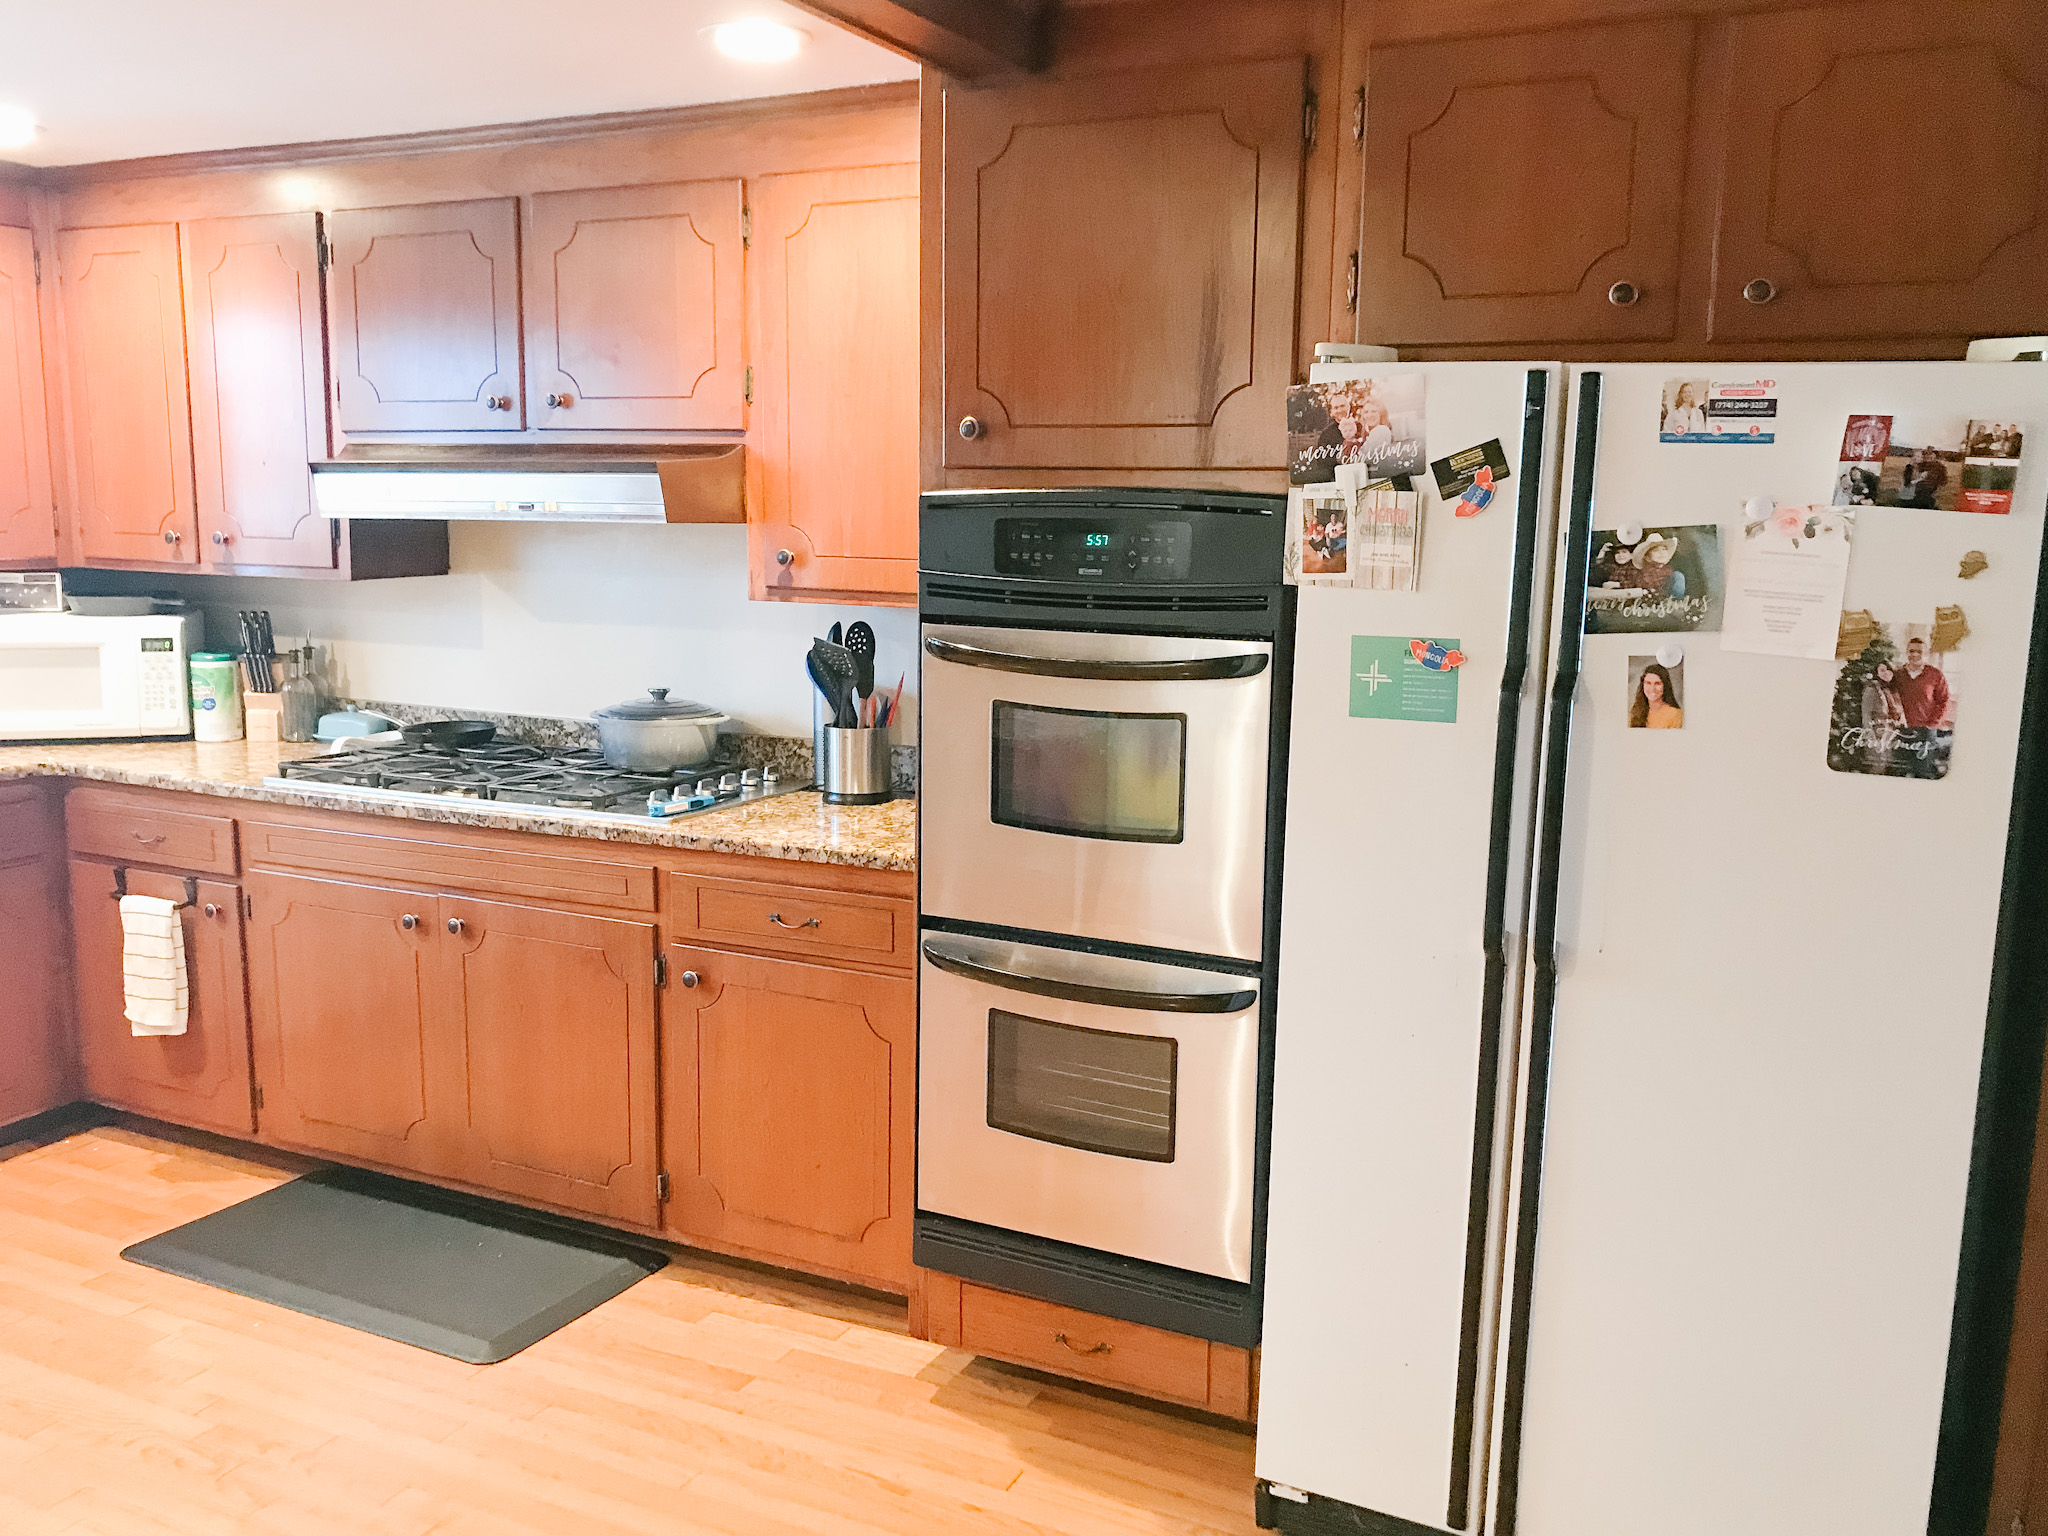

What!? Isn’t that crazy? That wavy piece over the sink gets me every time. When was that ever a good idea? It was dark, dated and dingy to say the least. Definitely not a space you want to spend much time. Luckily there exists so wondrous a medium so as to instantly lighten and brighten…oh the joys of paint.
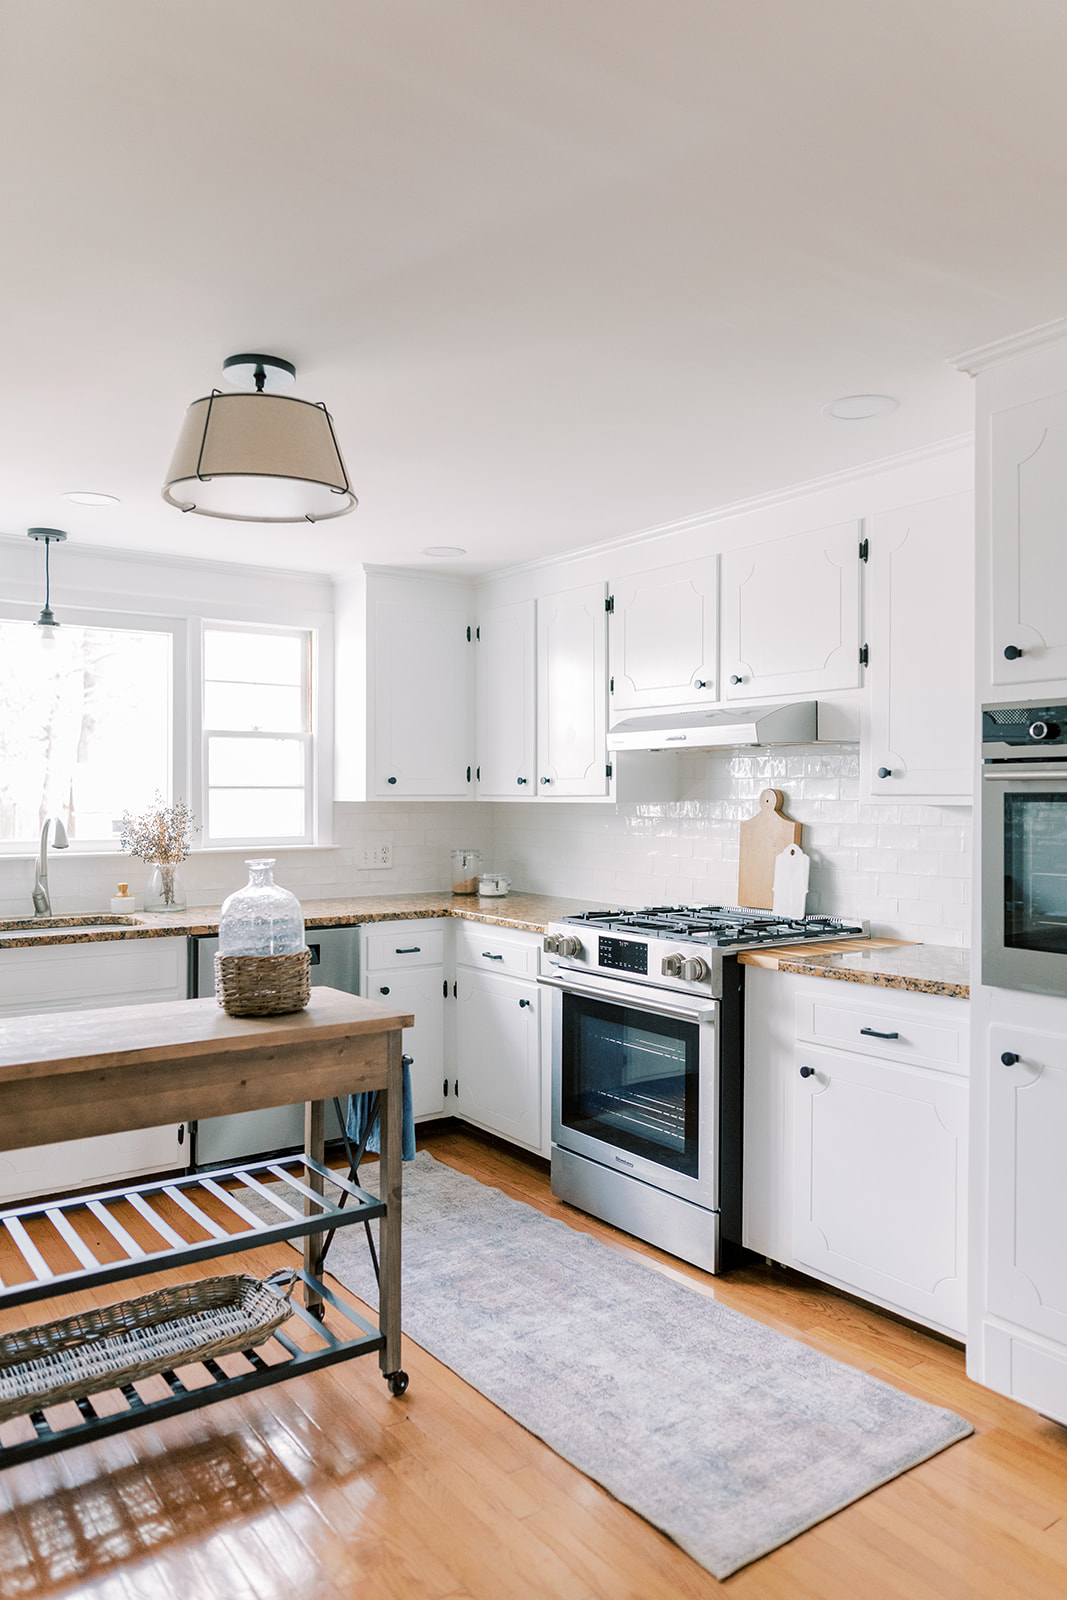
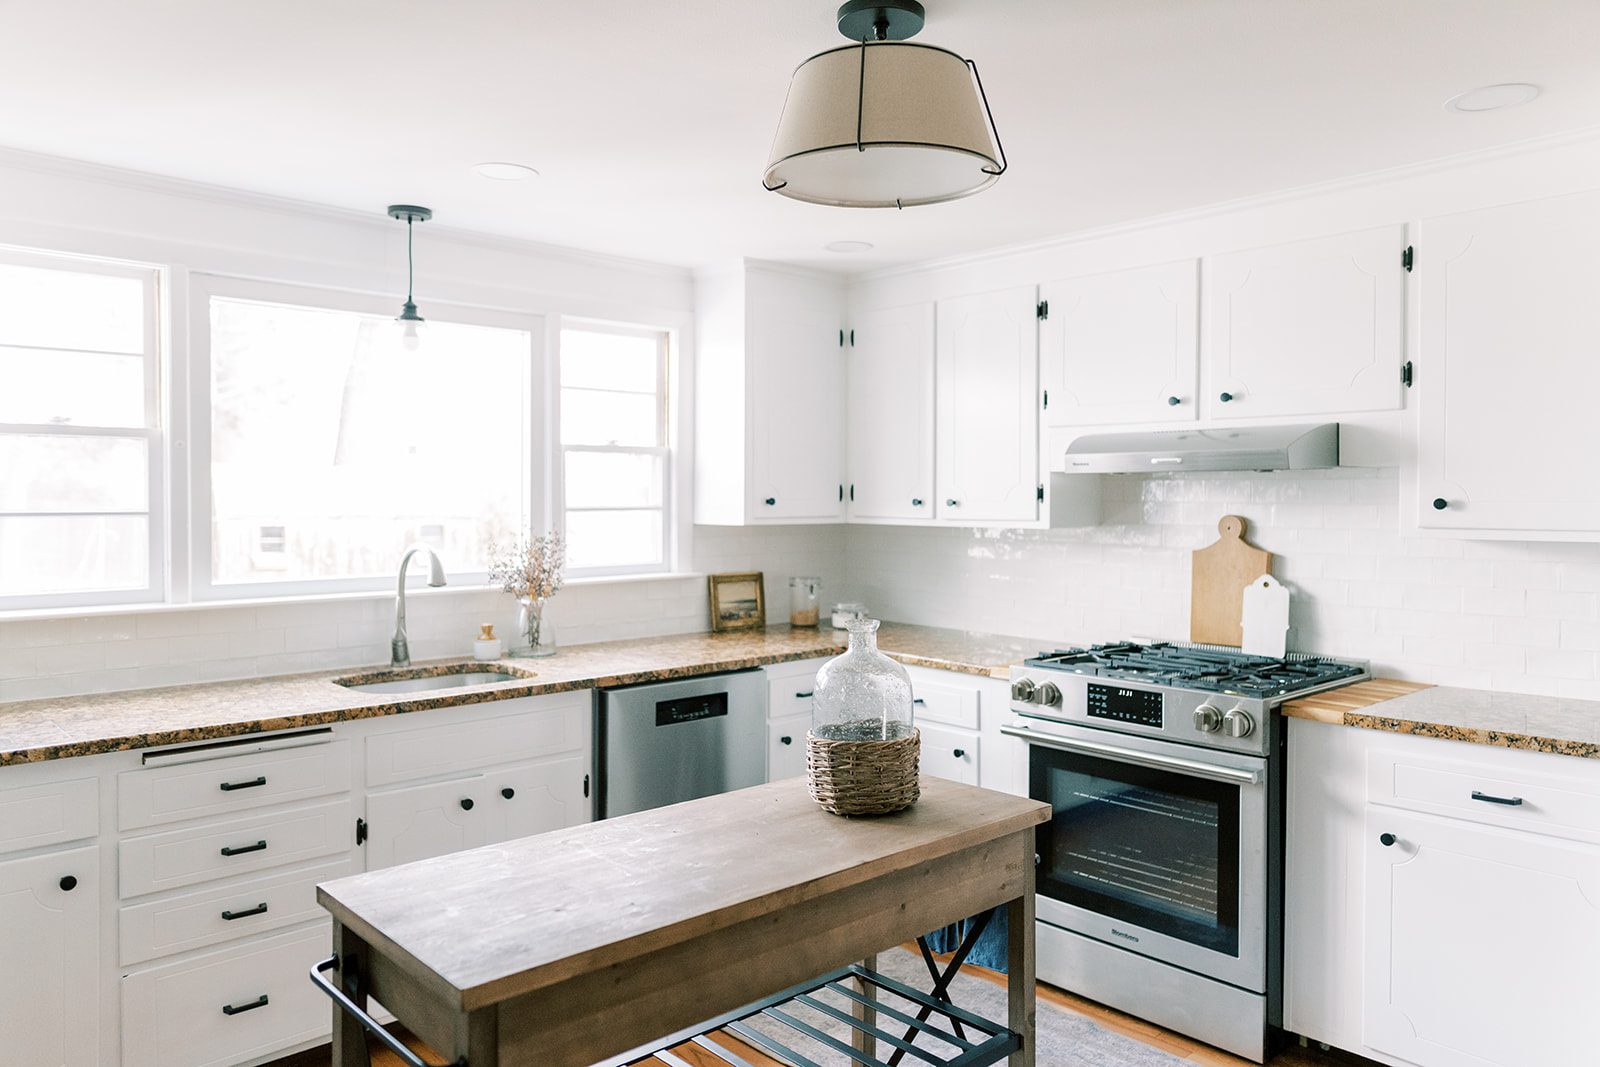
THE AFTER
Ta da. So. Much. Better. This was never going to be an “on the cover of Architectural Digest” finished product because it wasn’t a gut job. Counters, cabinets, flooring and windows were too cost prohibitive to change. But just because you can’t gut it and go with the custom designer cabinetry doesn’t mean you can’t make your space lovely.
THE PAINT
We used Benjamin Moore Chantilly Lace on the cabinets, walls, and ceiling. Basically everything. It is my favorite white, beautiful and crisp. I wanted this space to be bright and paint instantly accomplished this! Blue Ocean Painting (IG @blueocean.painting) was a pleasure to work with. They painted all the cabinetry in this dated kitchen.
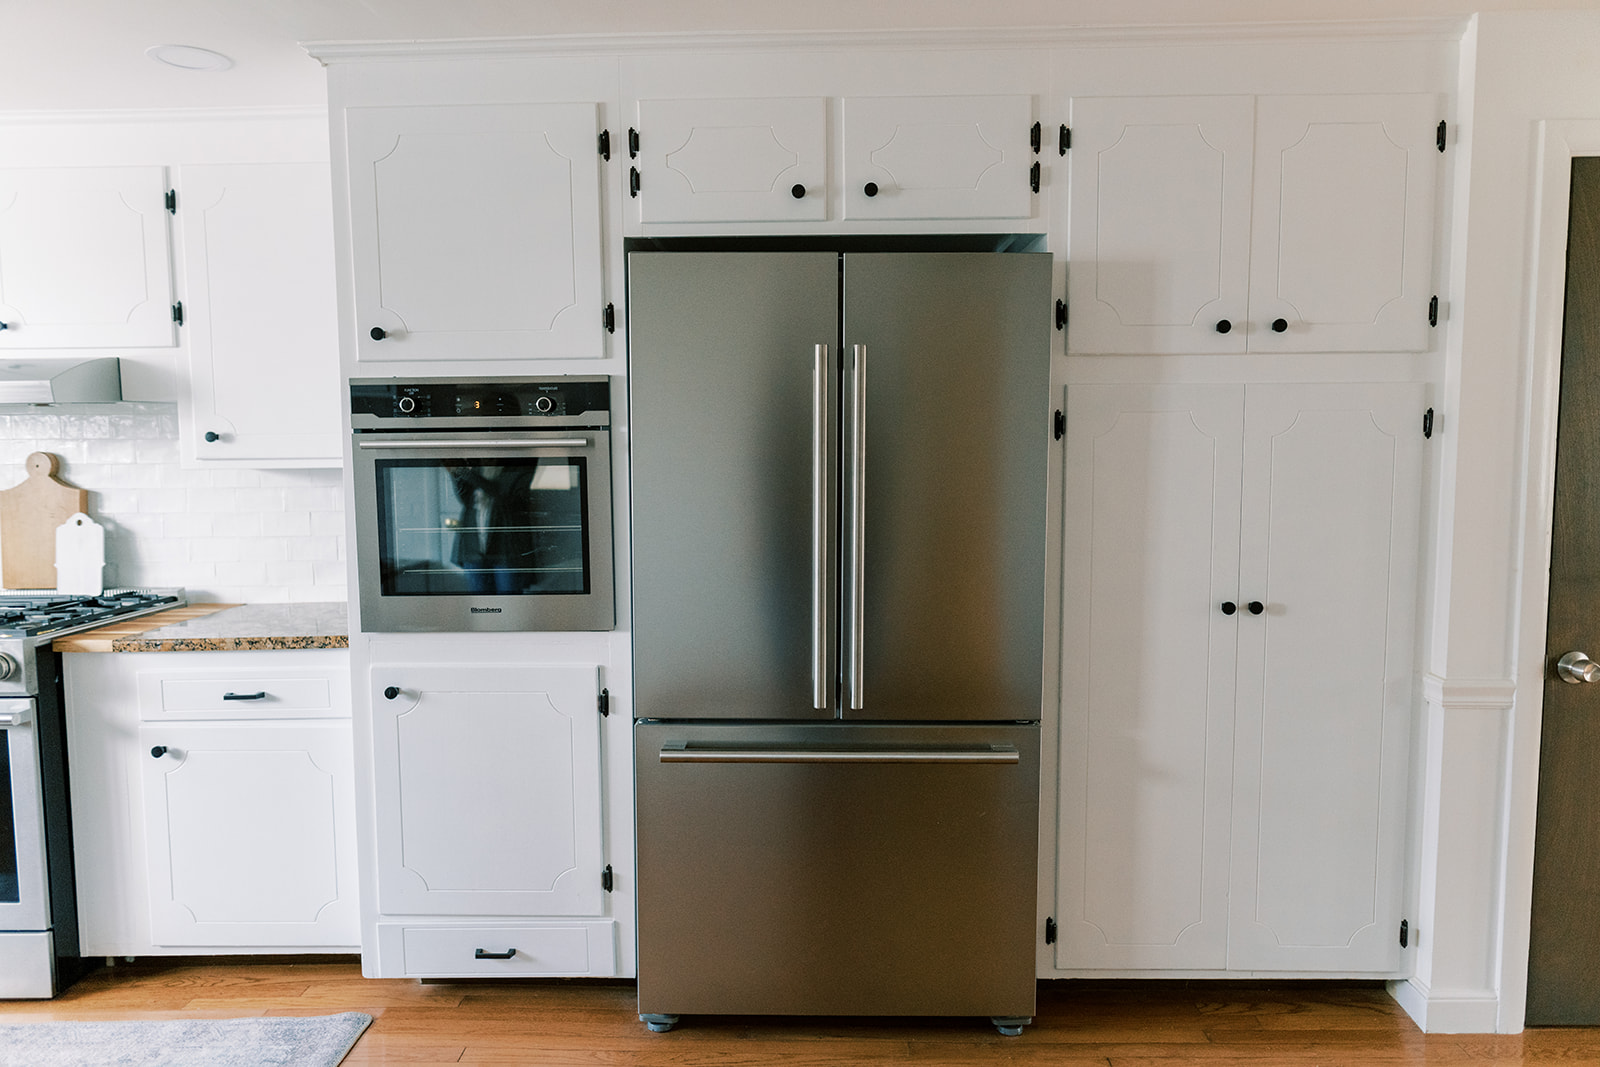
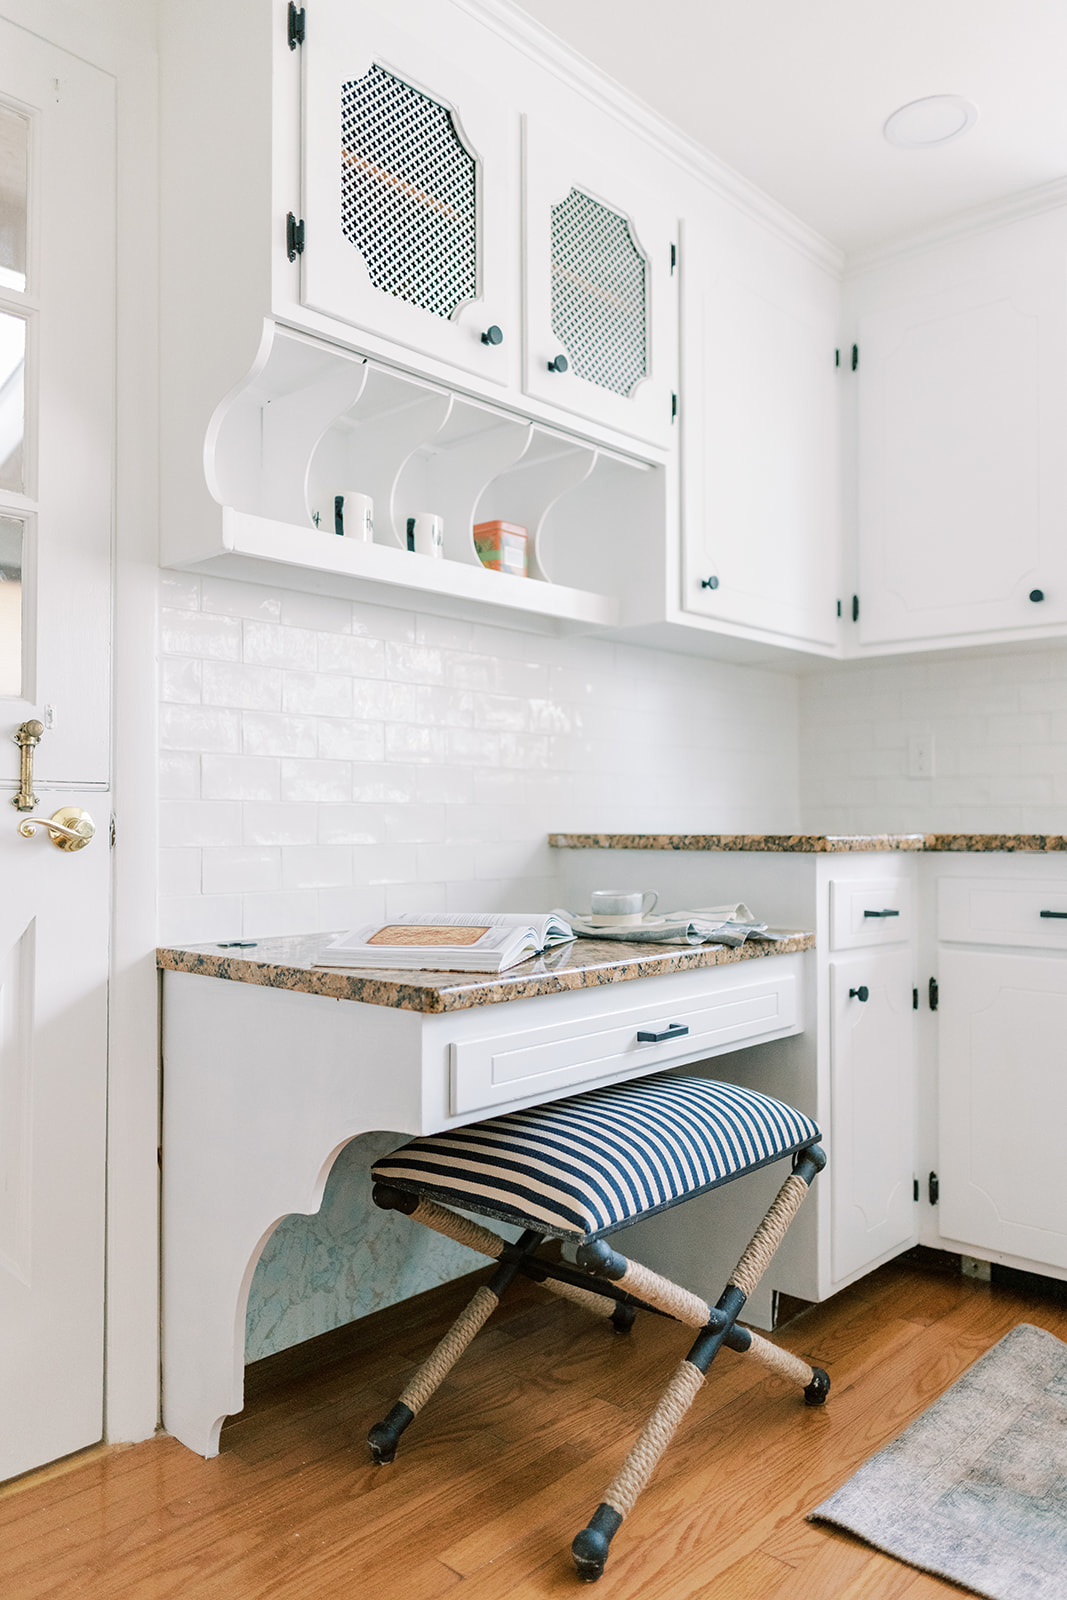
HARDWARE
We updated the hardware, both the cabinet hinges and the drawer pulls / cabinet knobs. And that coupled with the new paint made a huge difference. Someone had recommended flipping the cabinet doors over so the inside is now the outside in order to get rid of the decorative etching. We couldn’t do that with these, although a great idea, because of the way they are rounded on the edges.
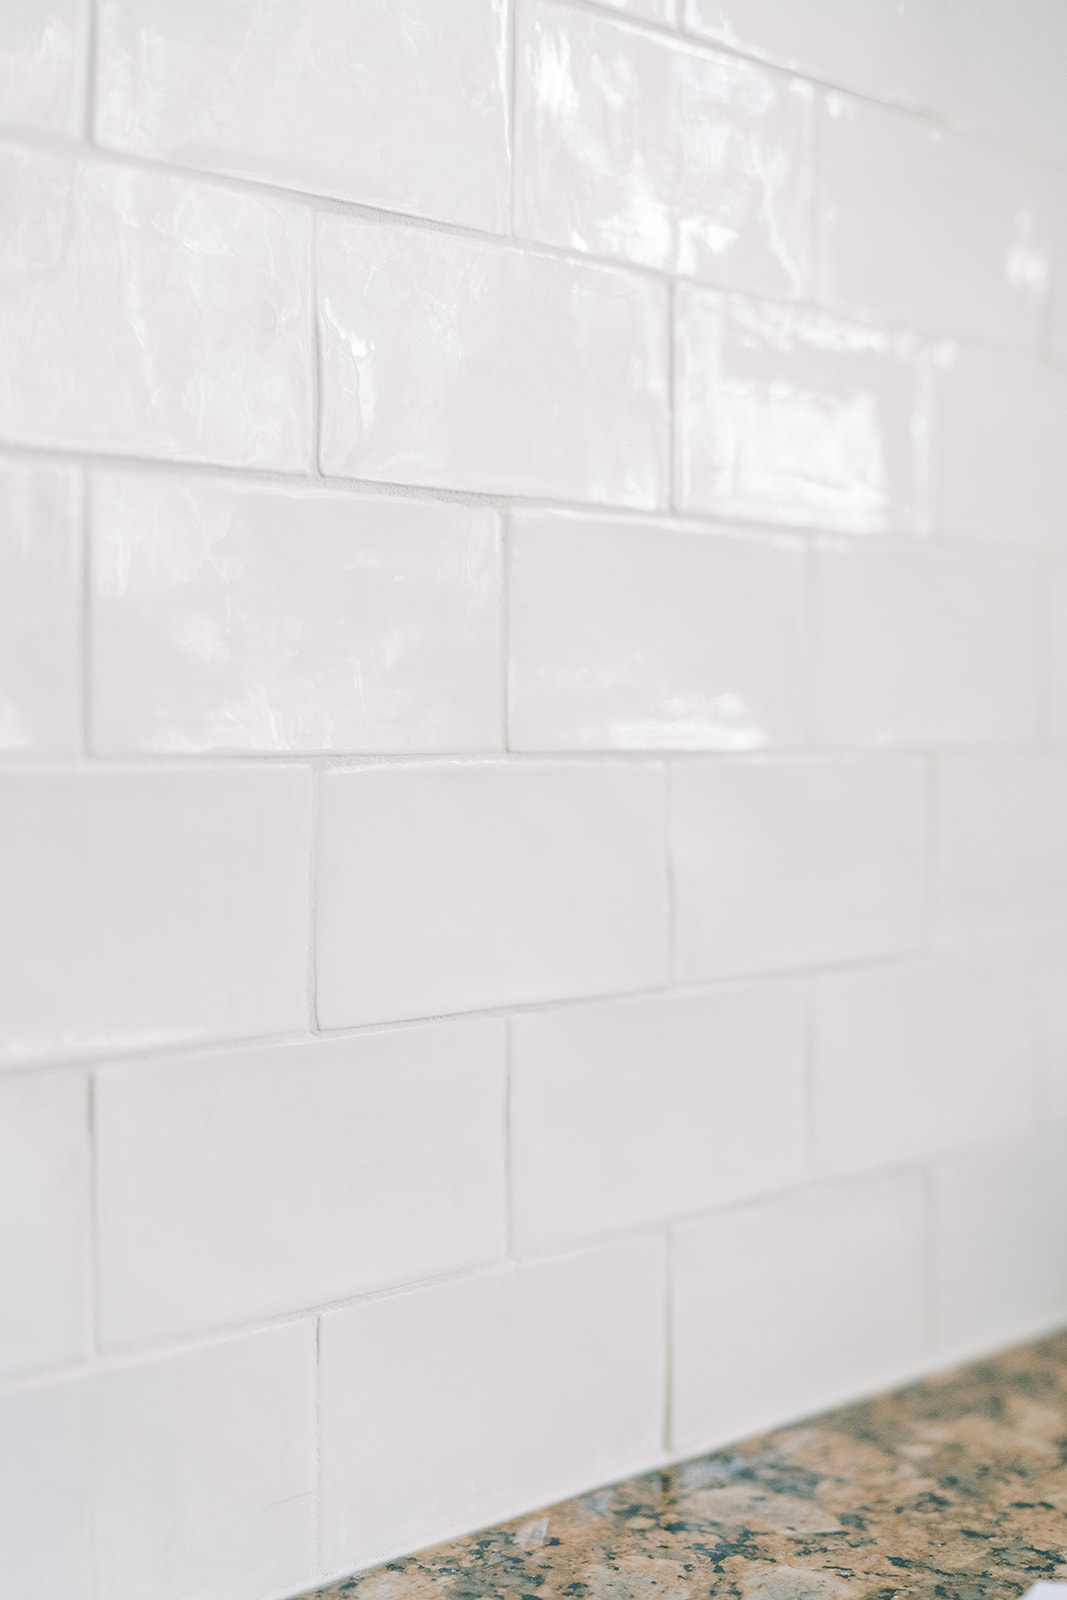
TILE BACKSPLASH
Prior to this update, the kitchen had no backsplash. I knew there was nothing I could do about the dated granite counters but I could update with tile and down play the darkness of them. We chose a classic white 3 x 6″ subway tile.
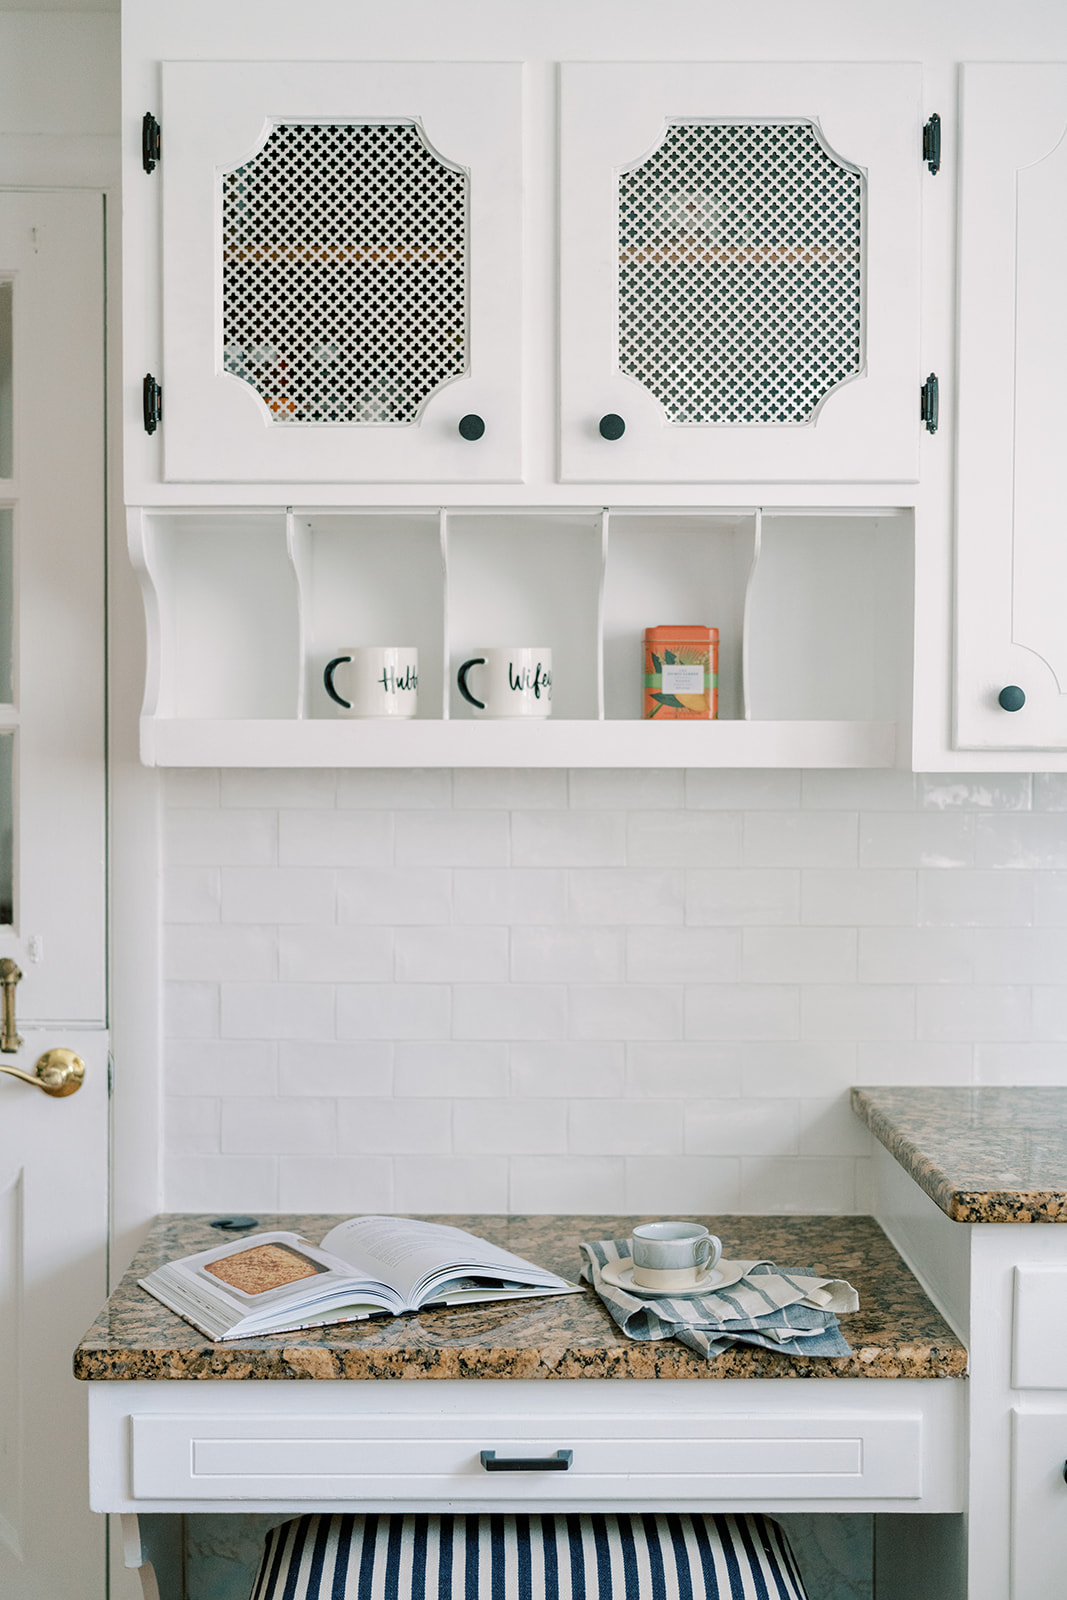
I love these ones, they’ve got a slight movement to them, a handmade look that reflects the light beautifully. And you can’t beat the cost effectiveness of a ceramic tile. Pride Tile Inc. did a spectacular job installing the tile. If you’re in Massachusetts they come highly recommended.
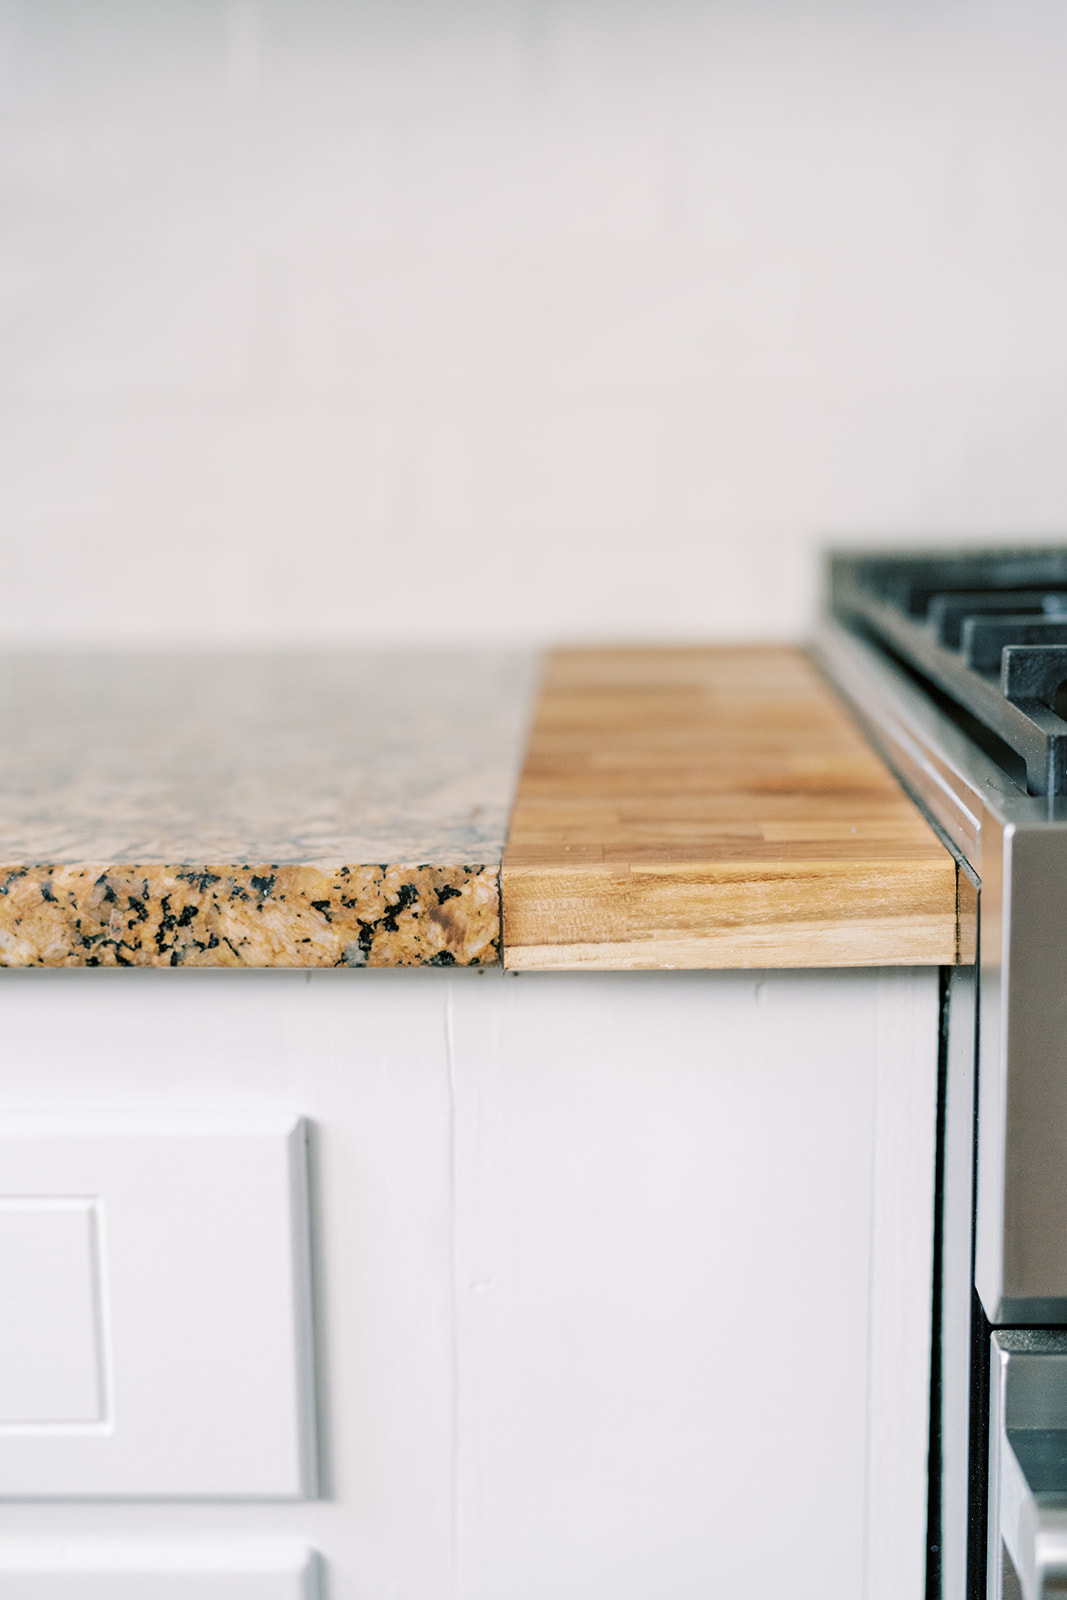
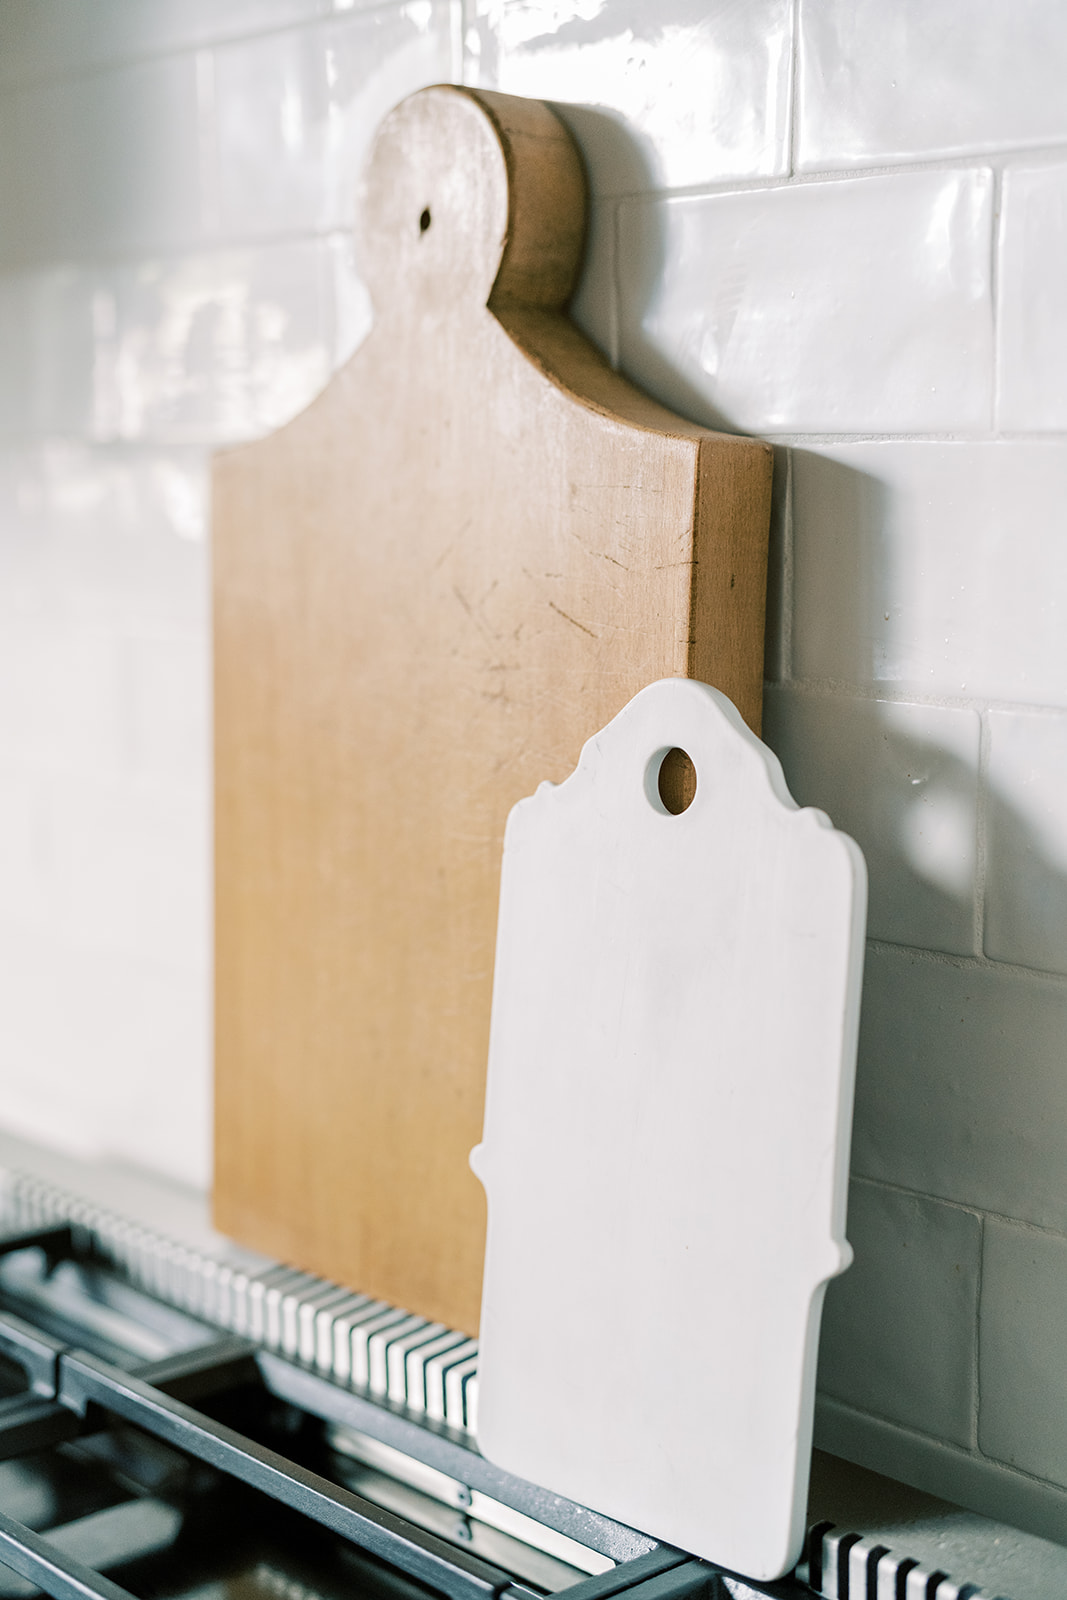
BUTCHER BLOCK HACK
Doug and his team from Pride Tile Inc. even helped us make the new range fit where the old (and bigger!) countertop insert had been. It was such an old insert that it wasn’t even a standard size. They cut out the granite and added butcher block to either side of the new range to fit the old spot. You have to do what you have to do sometimes!
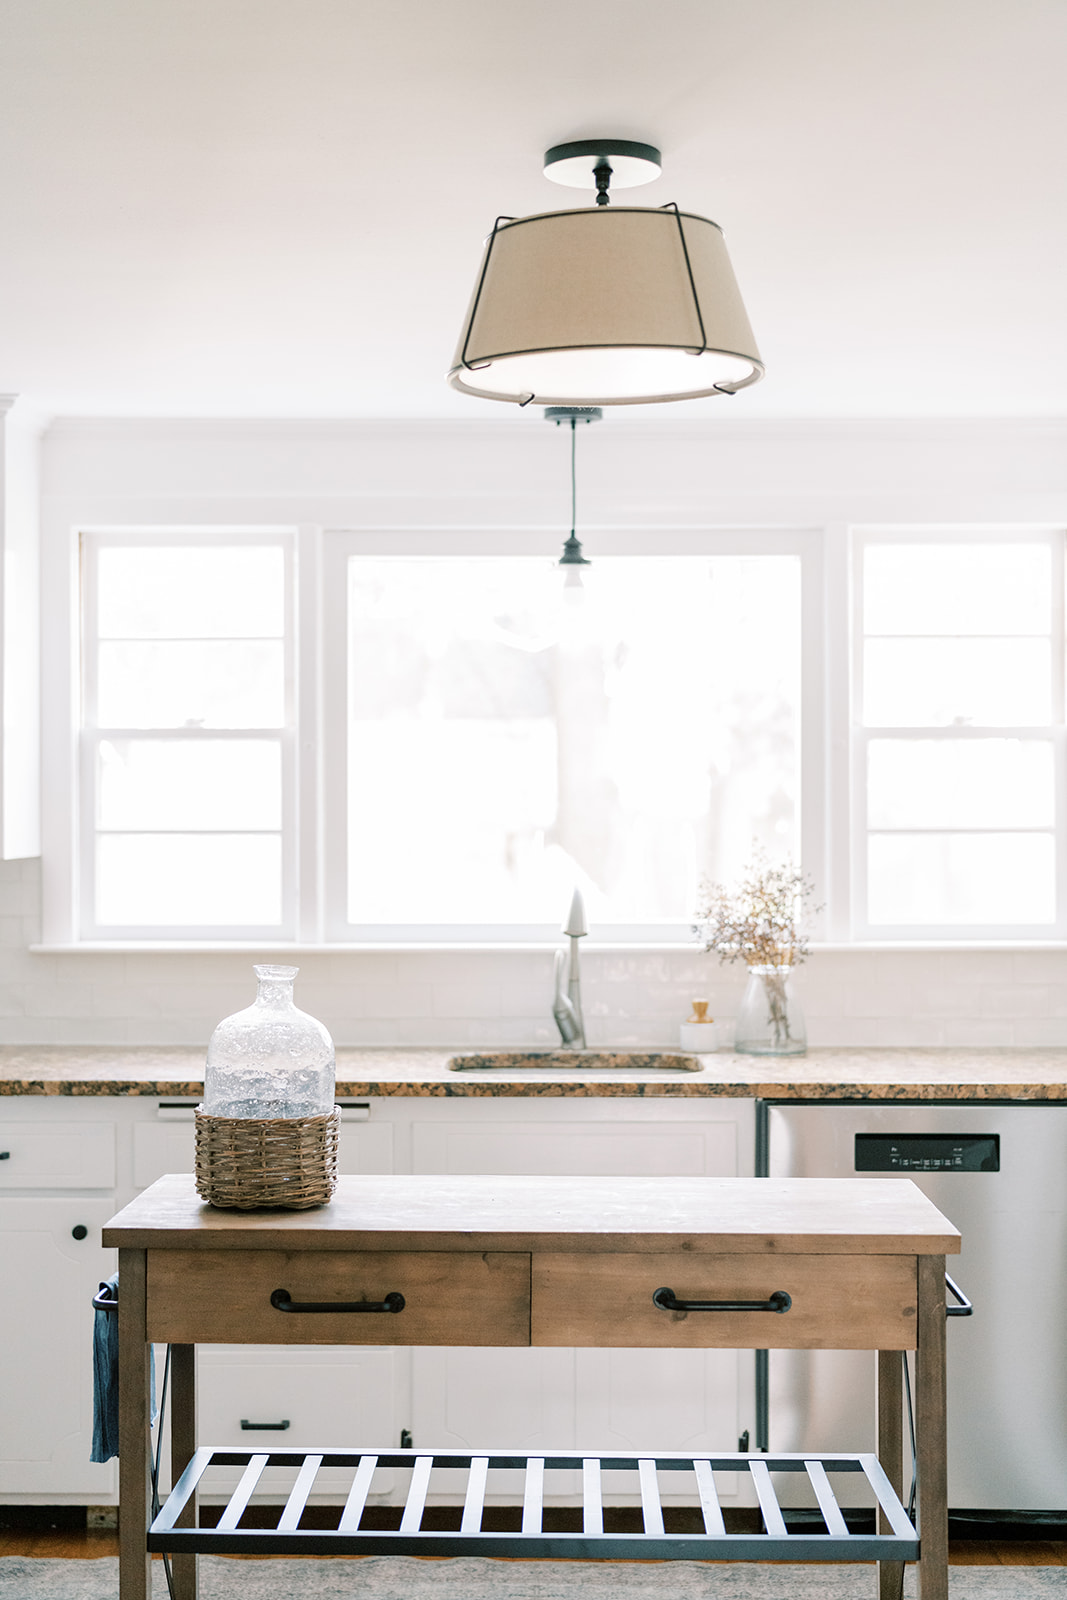
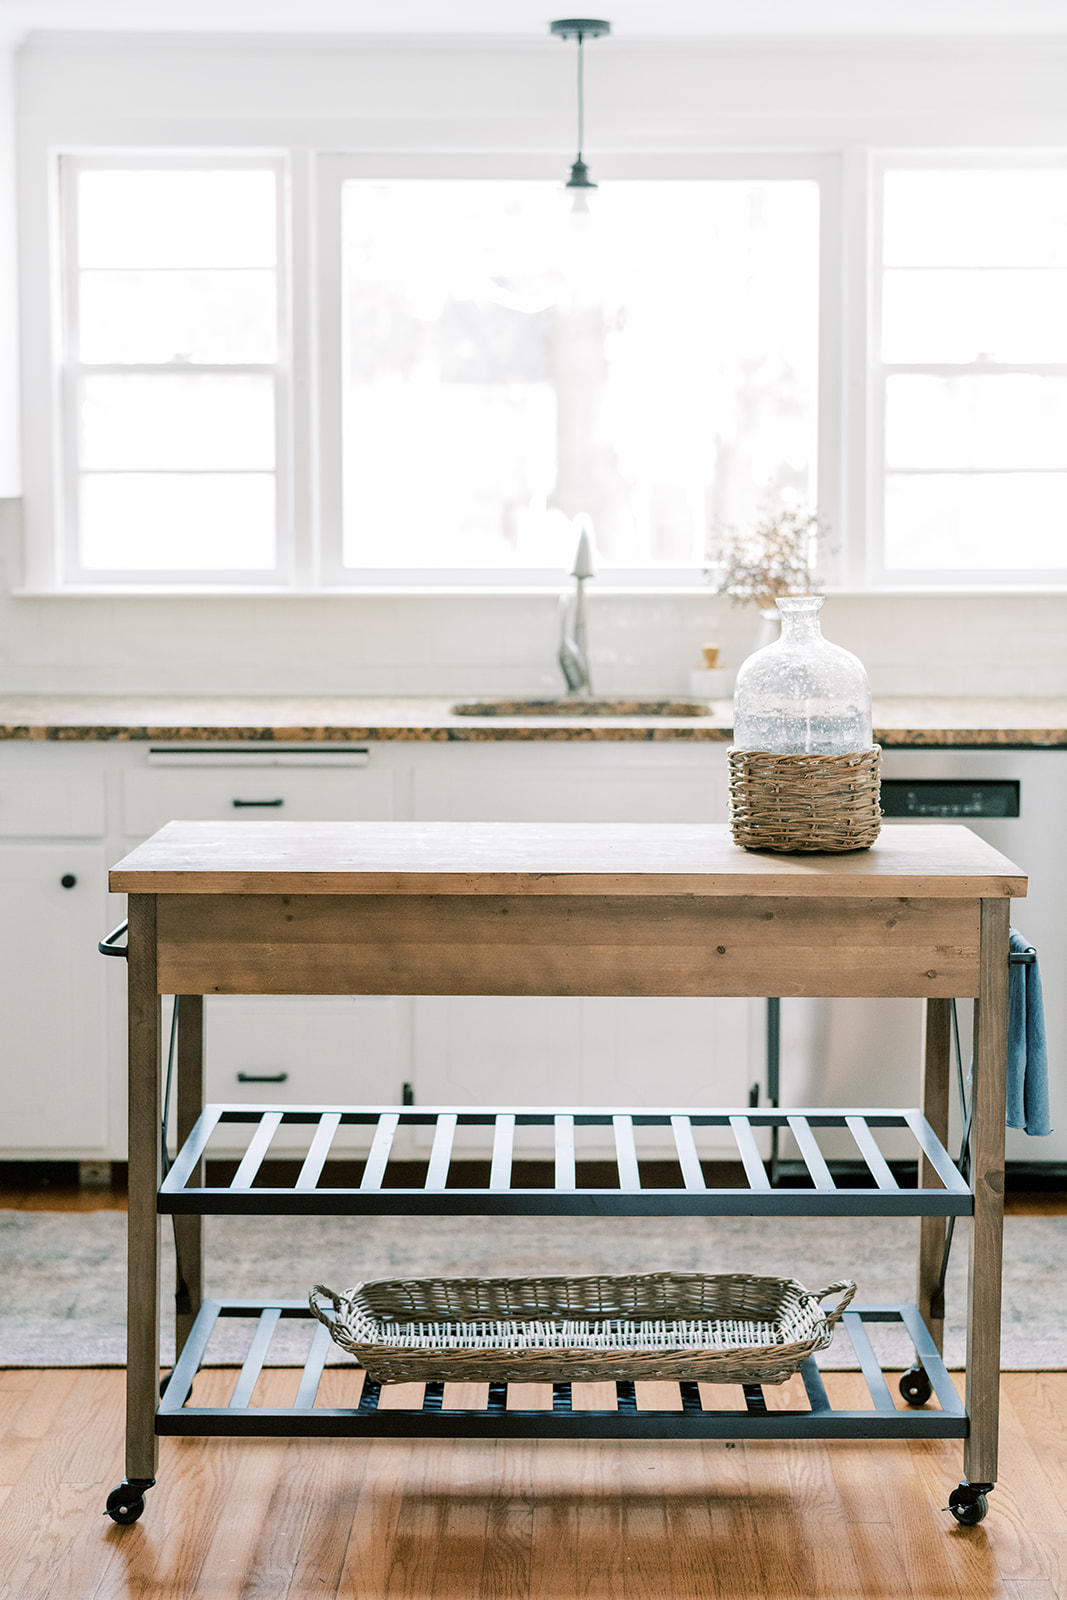
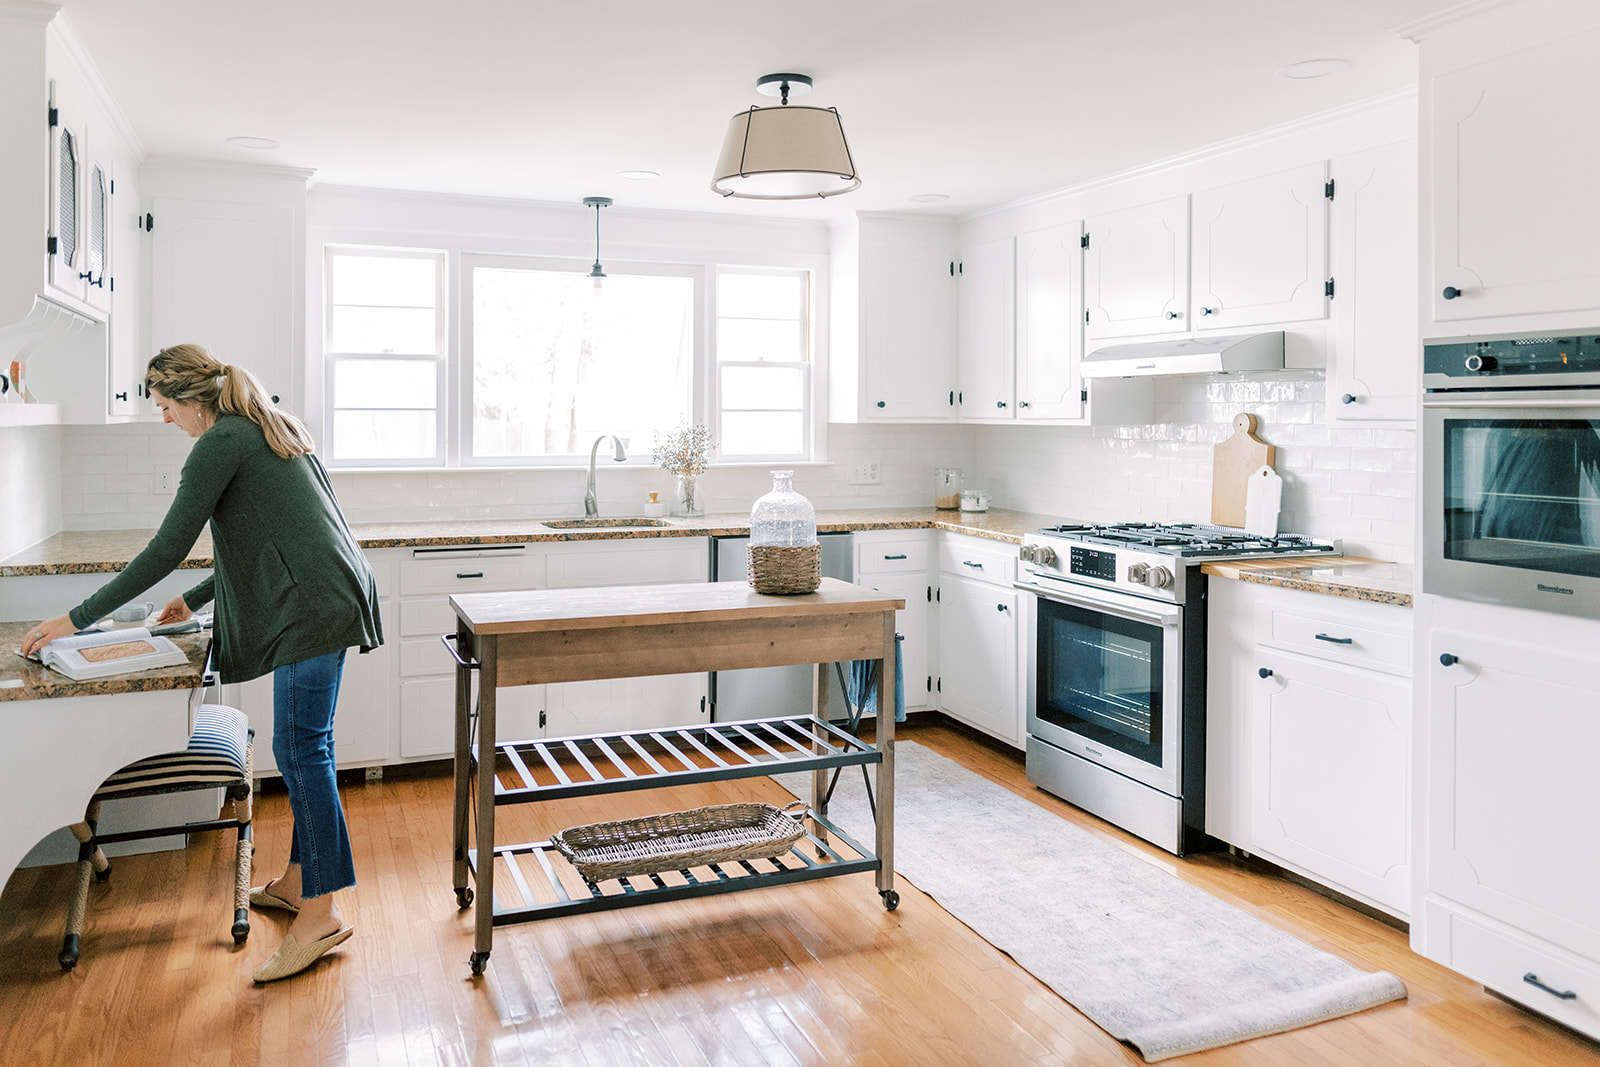
KITCHEN ISLAND
This kitchen island was a steal for how adorable it is and well made. For less than $200, this kitchen island adds storage and character and since it’s on wheels, you can move it around as need be.
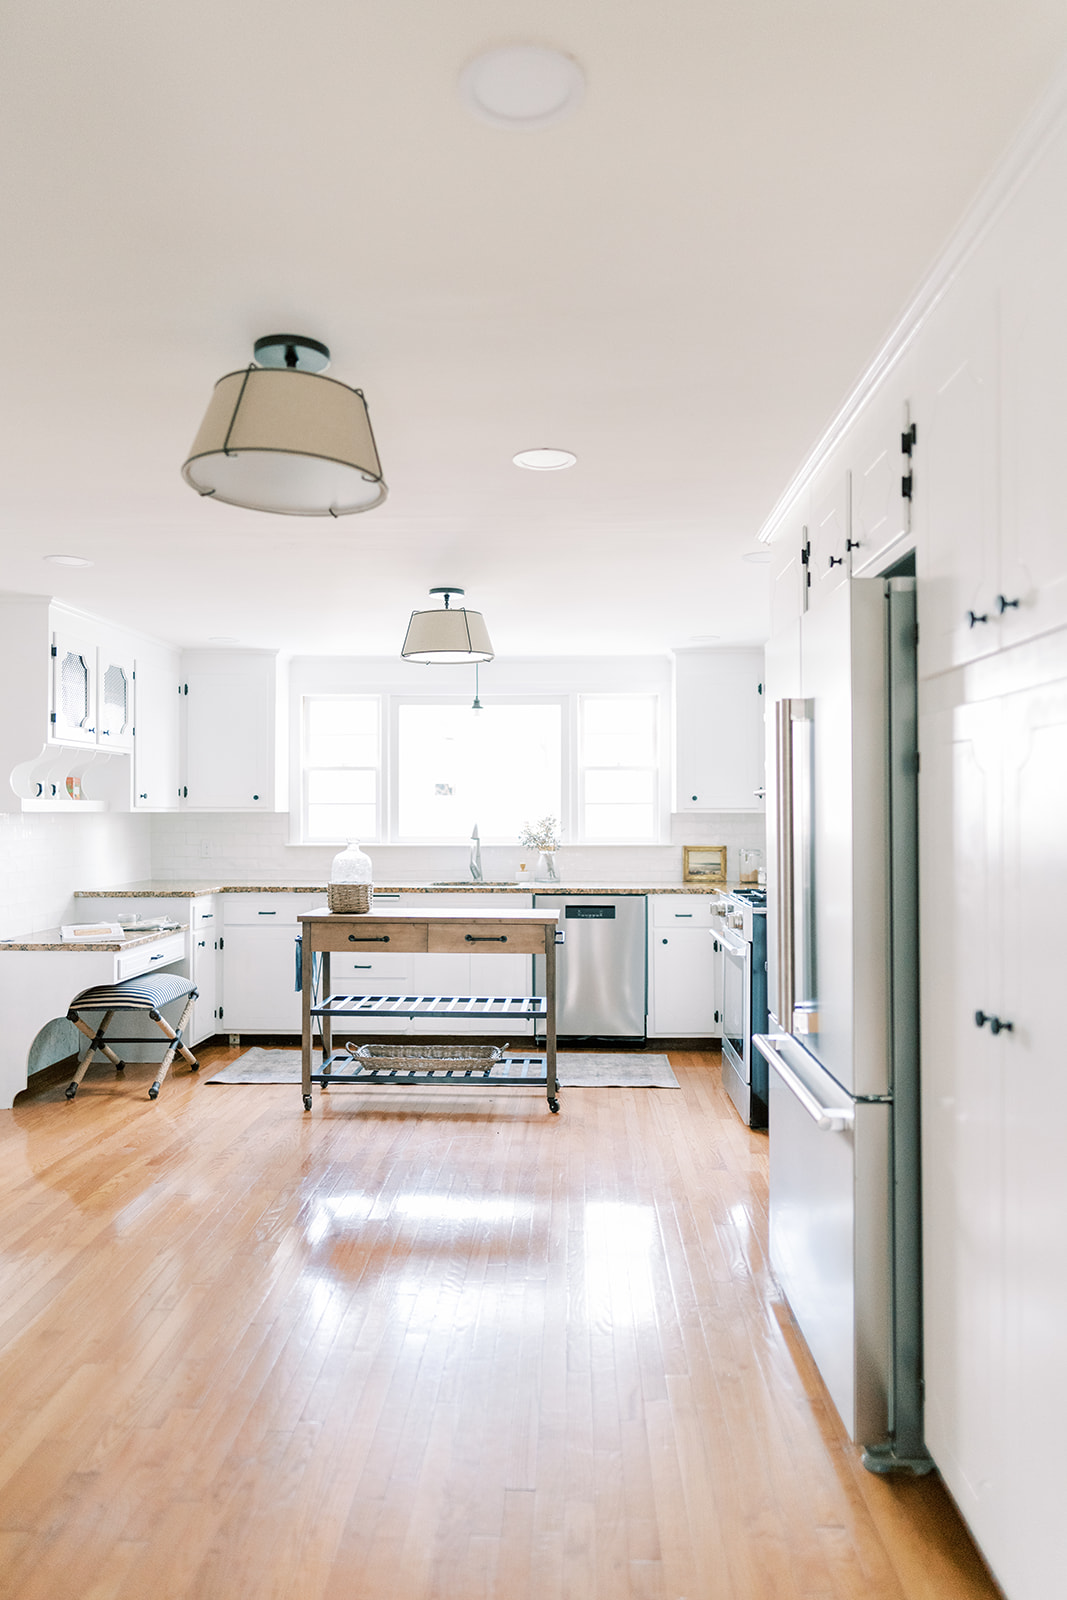
THE LIGHTS
I’ve wanted to use these semi-flush lights for a looong time. They’re so pretty! They add an instant update to a space that was very much needing it. The hanging light over the sink was a budget find to help offset the cost of the other two.
PROJECT AT A GLANCE
Paint: Benjamin Moore Chantilly Lace (sheen-satin for cabinets, eggshell walls, flat for the ceiling)
Tile: 3 x 6″ Subway Tile, white grout
Appliances: Blomberg
Photography: Ruth Eileen Photography
Its always fun to see how you can transform a space just with a little paint. I hope you’ve enjoyed this renovation! It was a joy to help this space find a bit more lovely and was captured ever so beautifully by Ruth Eileen Photography.

 comment share