
HOME TOUR

I think I’m trying to funnel spring with this fun DIY wall hanging. Here in New England were going on a solid three months of frigidness and I’m a bit over it. Bring on the flowers, pink, and long walks outside. This blog hop was the perfect excuse to dive into florals so thank you for joining me from sweet Christina at CG Home Interiors. I loved her IKEA hack. Since I don’t actually have magic powers, this springy wall hanging with beautiful REAL preserved roses will have to do.


My sweet friend Rachel at The Cultivated Life, used preserved roses in a floral arrangement recently and I was so intrigued. I didn’t know these even existed but I love the idea of using real flowers instead of the faux silk ones so I ordered them from Afloral and Etsy to adorn this wall hanging. They are so beautiful. I also ordered dried ivory blush straw flowers for added texture. I love how this hanging turned out and I think it will end up in Aubrey’s nursery once that begins to take shape.


I’ve literally never made a macramé anything before so this could not be easier if I could pull it off with a newborn in my lap. I picked up cotton twine at Michaels, grabbed a sticked that was sticking out of the snow and did a quick internet search for directions and inspiration. I used this blog post to start the design. I liked how they walked me through the steps to make that cool square knot you see.


I looped 24 lengths of cotton rope over the branch. For each individual loop you get two strands of rope hanging down. To make the square knot you’ll use four strands of rope or two of these looped lengths of rope.

To make that square knot pictured above, grab your 4 strands of rope in your hand starting from the left. Take the rope strand on the left and place it over the two middle strands and then under the right strand. Take that right strand pass it under the middle two and then pass it through the loop opening that was created by initially pulling the left strand over. Pull the two outside strands to tighten them into place. Now repeat these steps again and this gives you the square knot. Keep going until you’ve grouped using all your looped pieces. And see this blog post if you want close up pictures of each step to make a square knot. It took me a little bit to visualize what was suppose to happen but once I did it a few times, it went quickly and becomes easy.


To make the second row of square knots, start from the left again but skip the first two strands. See picture above.


For that third row of square knots, start all the way to the left with those two strands that got skipped when you did the second row. This gives you a really cool diamond pattern to this wall hanging.


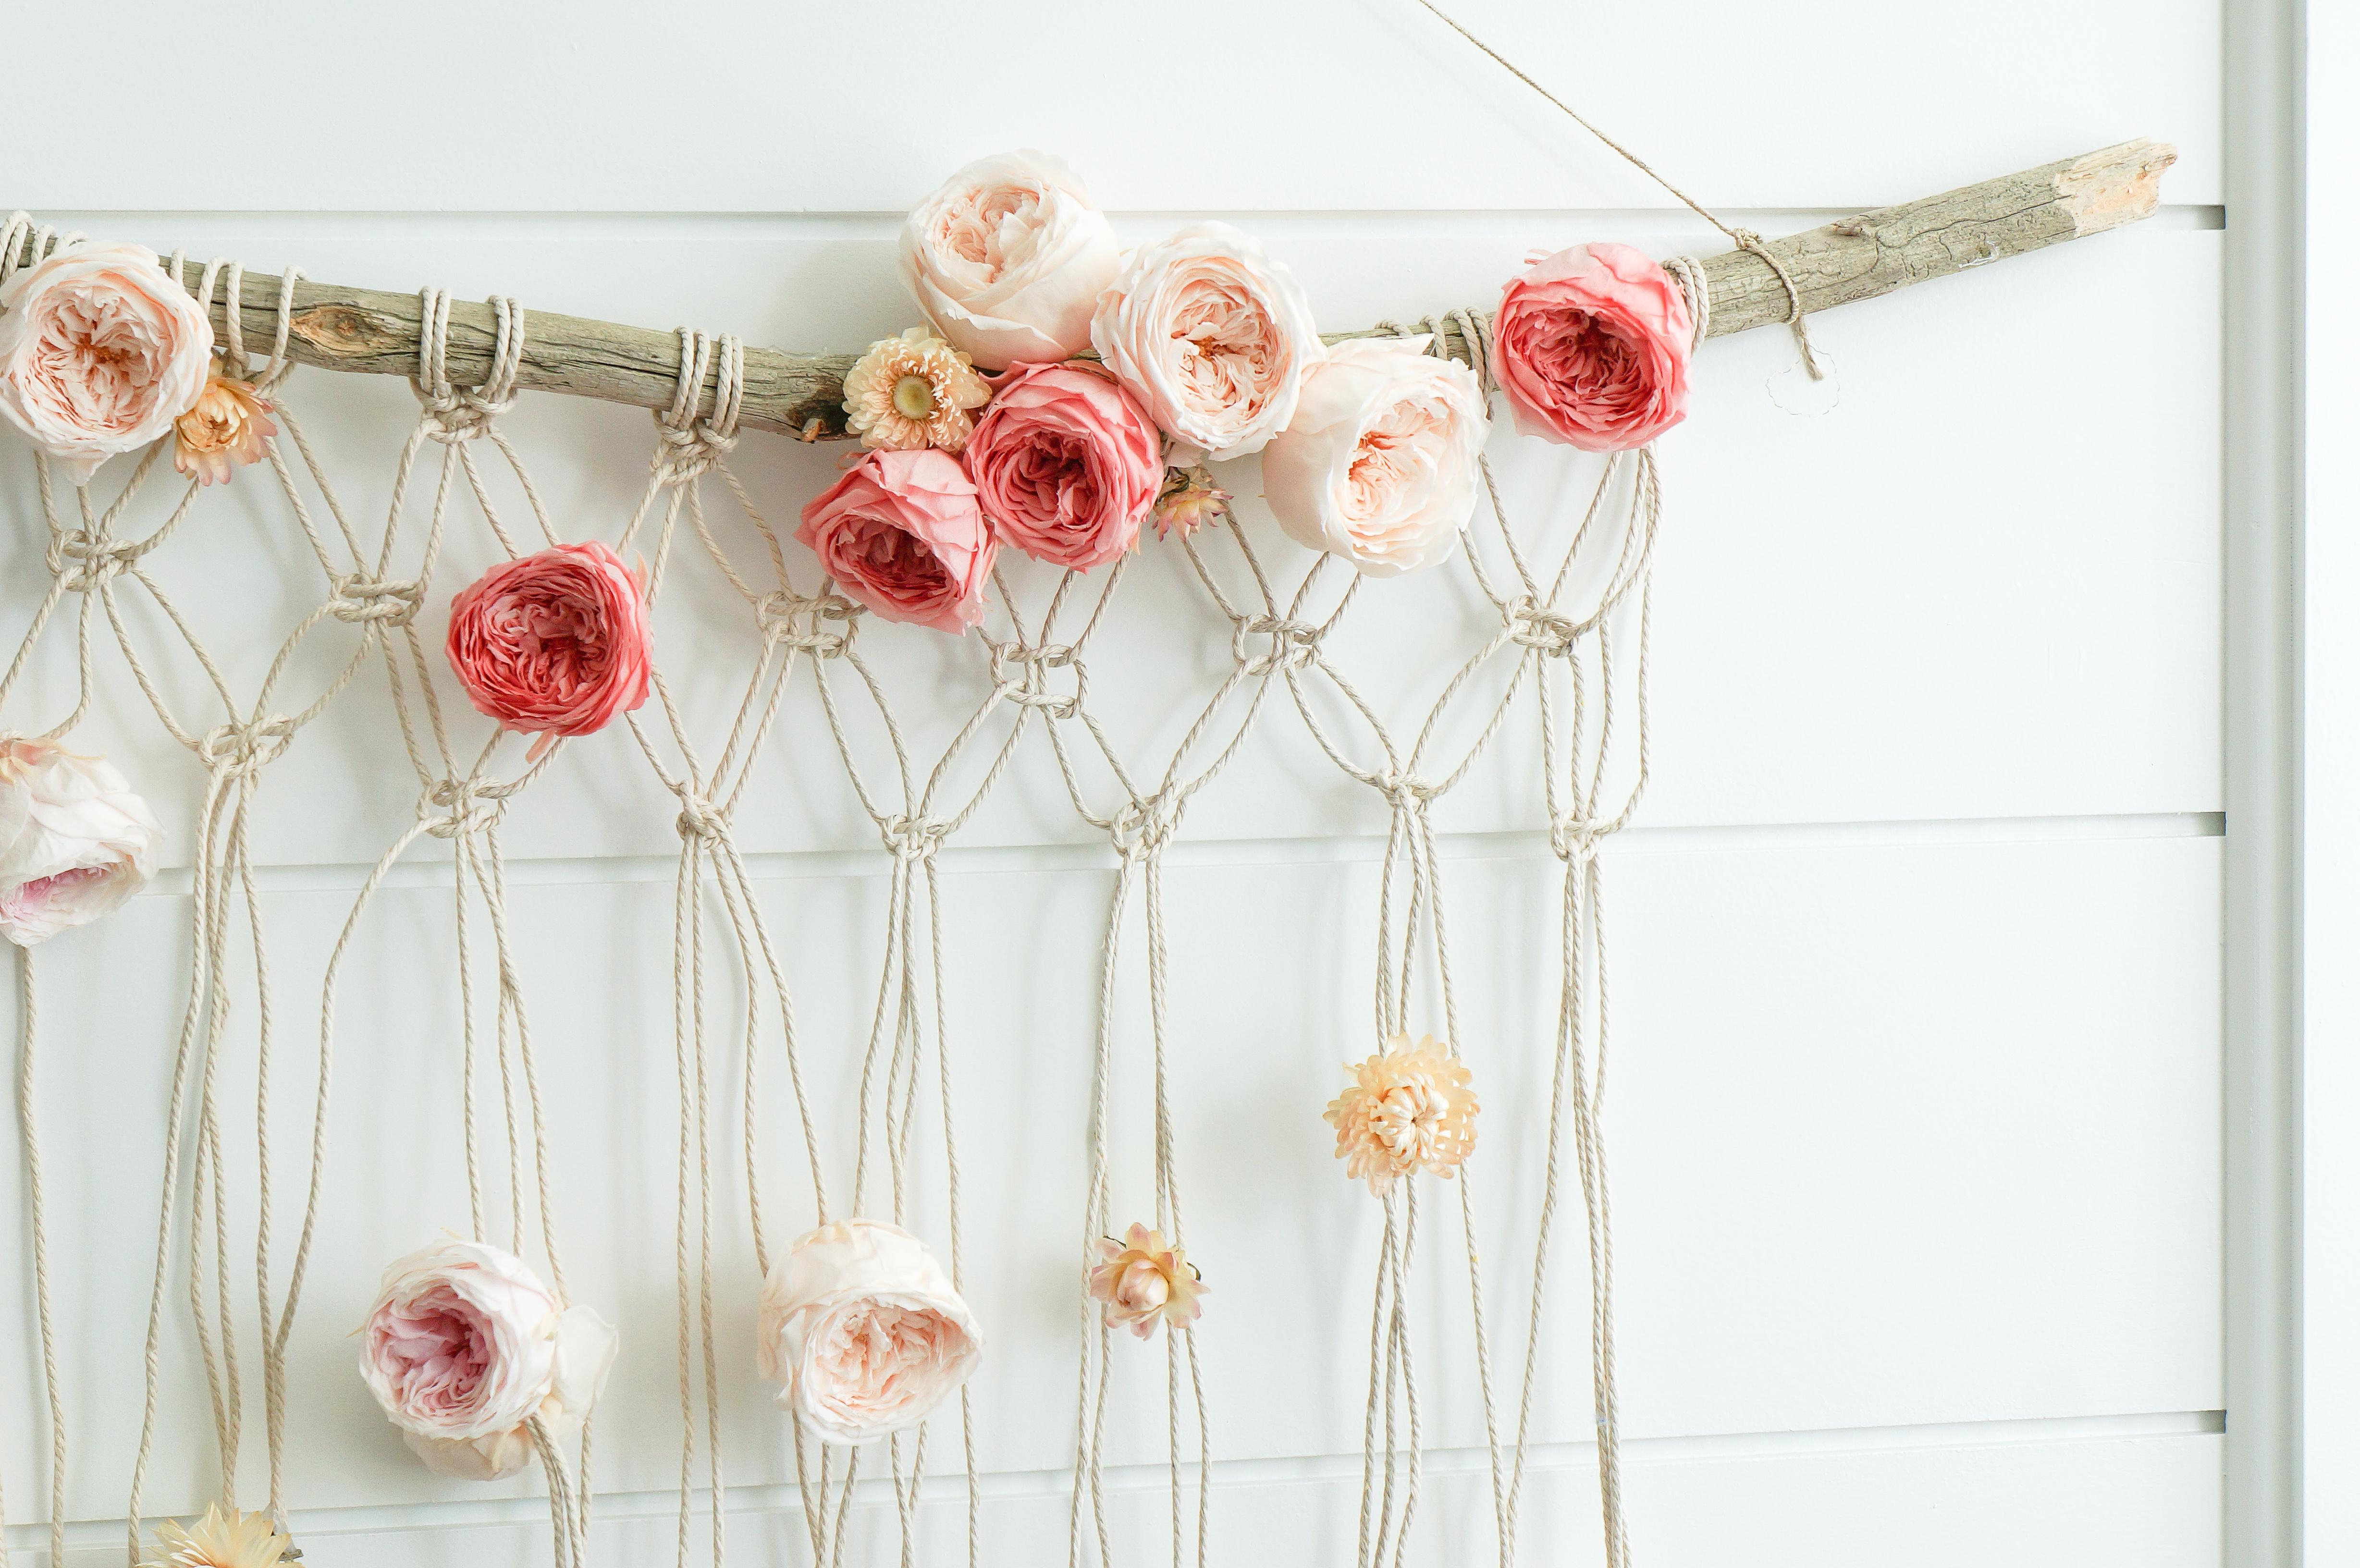
I stopped with just the three rows of squared knots because I liked the diamond pattern at the top and loose strands hanging down. You could keep going or use any other knot to create your wall hanging. Here’s where it gets fun in my opinion. Adding the pretty flowers. I used hot glue to glue the roses onto my rope hanging. I grouped some together and used individual flowers to add dimension to the hanging. This is really just a matter of gluing them on in a way you think looks nice.


I ended up gluing the rose heads between two strands of rope, see the picture above, but first making sure the rope strands were facing forward. This helps keep them facing out so you see the pretty rose heads vs the ugly glued back portion.


I love the finished product. Perfect for spring and a pretty easy DIY. And those preserved roses are spectacular. They look like I just clipped them off a bush outside. I hope you’ve enjoyed this lovely craft. Tag me if you make your own, I’d love to see yours. Now hop on over to Janine of Happy Happy Nester. Janine is so creative, you’re going to love her tissue paper flowers tutorial. I’m dying to make them.


19 responses to “Floral Macramé Wall Hanging”
Leave a Reply

 comment share
[…] Marketing BFF | 1111 Light Lane | CG Home Interiors Finding Lovely | Happy Happy Nester | Life Is Better At Home | My 100 Year Old […]
[…] Marketing BFF | 1111 Light Lane | CG Home Interiors Finding Lovely | Happy Happy Nester | Life Is Better At Home | My 100 Year Old Home […]
[…] Marketing BFF | 1111 Light Lane | CG Home Interiors Finding Lovely | Happy Happy Nester | Life Is Better At Home | My 100 Year Old […]
[…] Marketing BFF | 1111 Light Lane | CG Home InteriorsFinding Lovely | Happy Happy Nester | Life Is Better At Home | My 100 Year Old […]
This is GORGEOUS! And something that would be a great gift for one of my friends girls bedroom! Love, love, love it! Thx
Awww thank you Tana! This would definitely be a wonderful gift! Glad you enjoyed it!
Ok, I’m dying over here since I stopped breathing. LOVE your project! I had no idea there are dried David Austin roses, HELLO! Ok, ordering them today!!!! Love your post, can you tell?
Haha, aren’t they amazing Janine?! They’re even better in person!
This is gorgeous ~ and it will be a great addition to Aubrey’s nursery! Absolutely love it, its simplicity, and want to make something similar!!!
Thank you Kathleen!
I am dying over those preserved roses!! Your macrame hanging turned out so lovely, Jackie!!
Thank you Christina! Aren’t they beautiful!? My goodness I’m excited to do more things with these gorgeous roses.
Beautiful as always Jackie! Love those preserved roses and well done with the macrame (Especially with a newborn in your lap)
Thank you Judy!
Soooo beautiful! Love every single detail! You are so creative and inspiring! So fun joining you on this blog hop! xo, Beth
Thank you Beth! It was a fun one to make!
[…] Photo source: findinglovely.com Feast your eyes on their stunning tutorial. […]
[…] Floral Macramé Wall Hanging […]
[…] Image and tutorial by findinglovely […]