
HOME TOUR
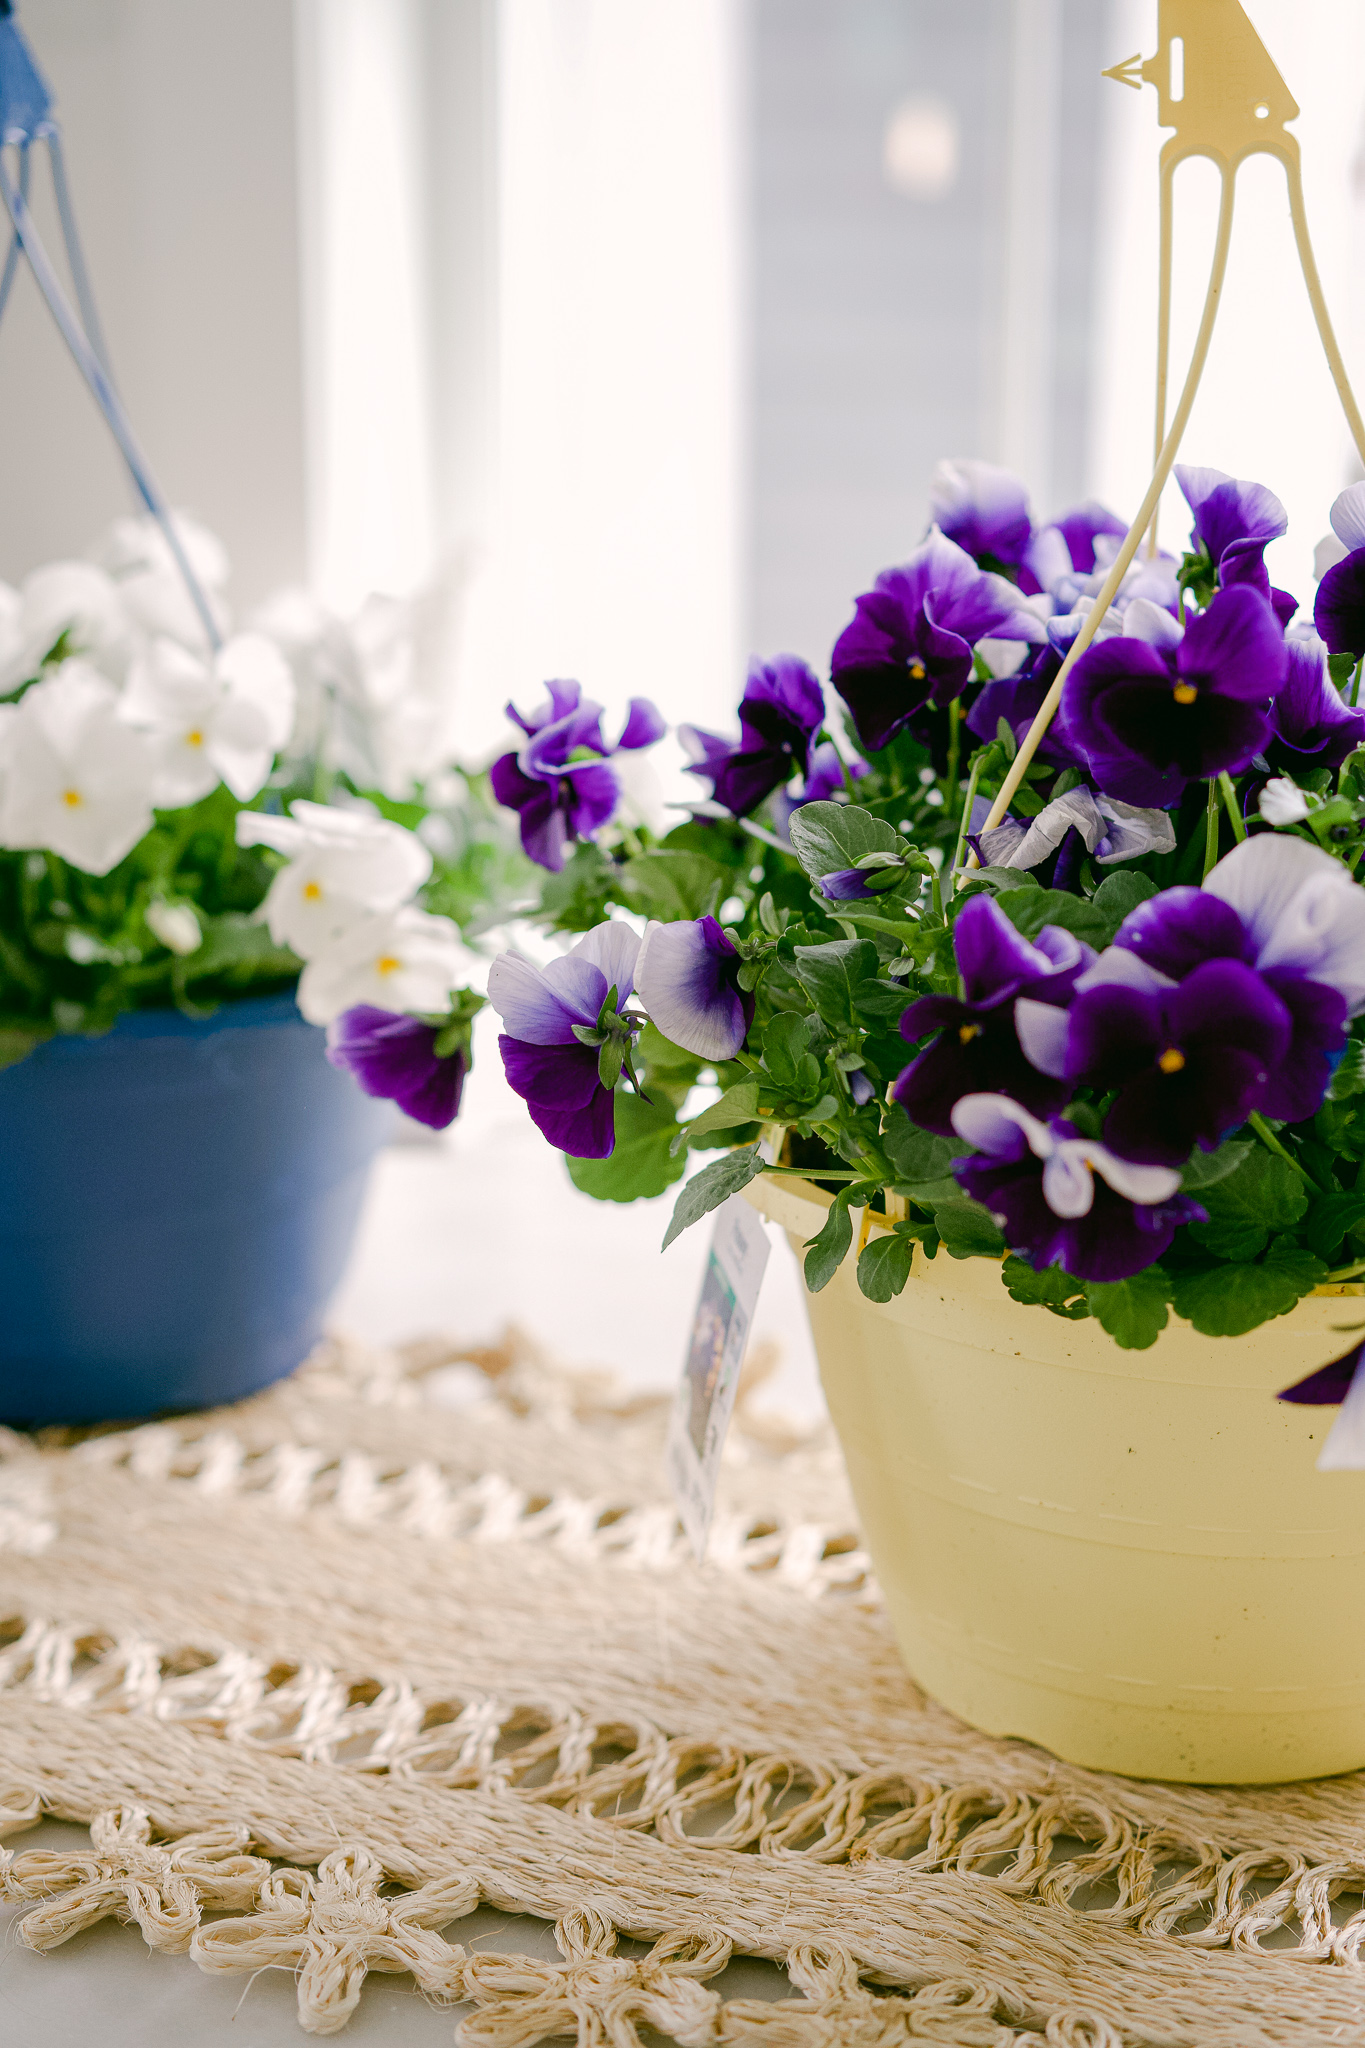
If pansy’s aren’t the early spring flower then I don’t know what is. I sent Matt to the garden center to find some on Sunday and there were slim pickings. Turns out mid march is still quite early for flowers here in New England. He found a purple bunch and a white bunch and that was all I had to work with. I had hoped for violas but those weren’t available yet. Violas are smaller and more delicate than pansies and my personal favorite for early spring blooms. This wreath is made using pressed fresh flowers. If you’ve never made pressed flowers before then I have a surprise in store for you! Skip the weeks worth of waiting for pressed flowers to dry out and press these quickly in the microwave. Some hot glue and a delicate wreath frame and voila, a pressed pansy wreath to celebrate spring.
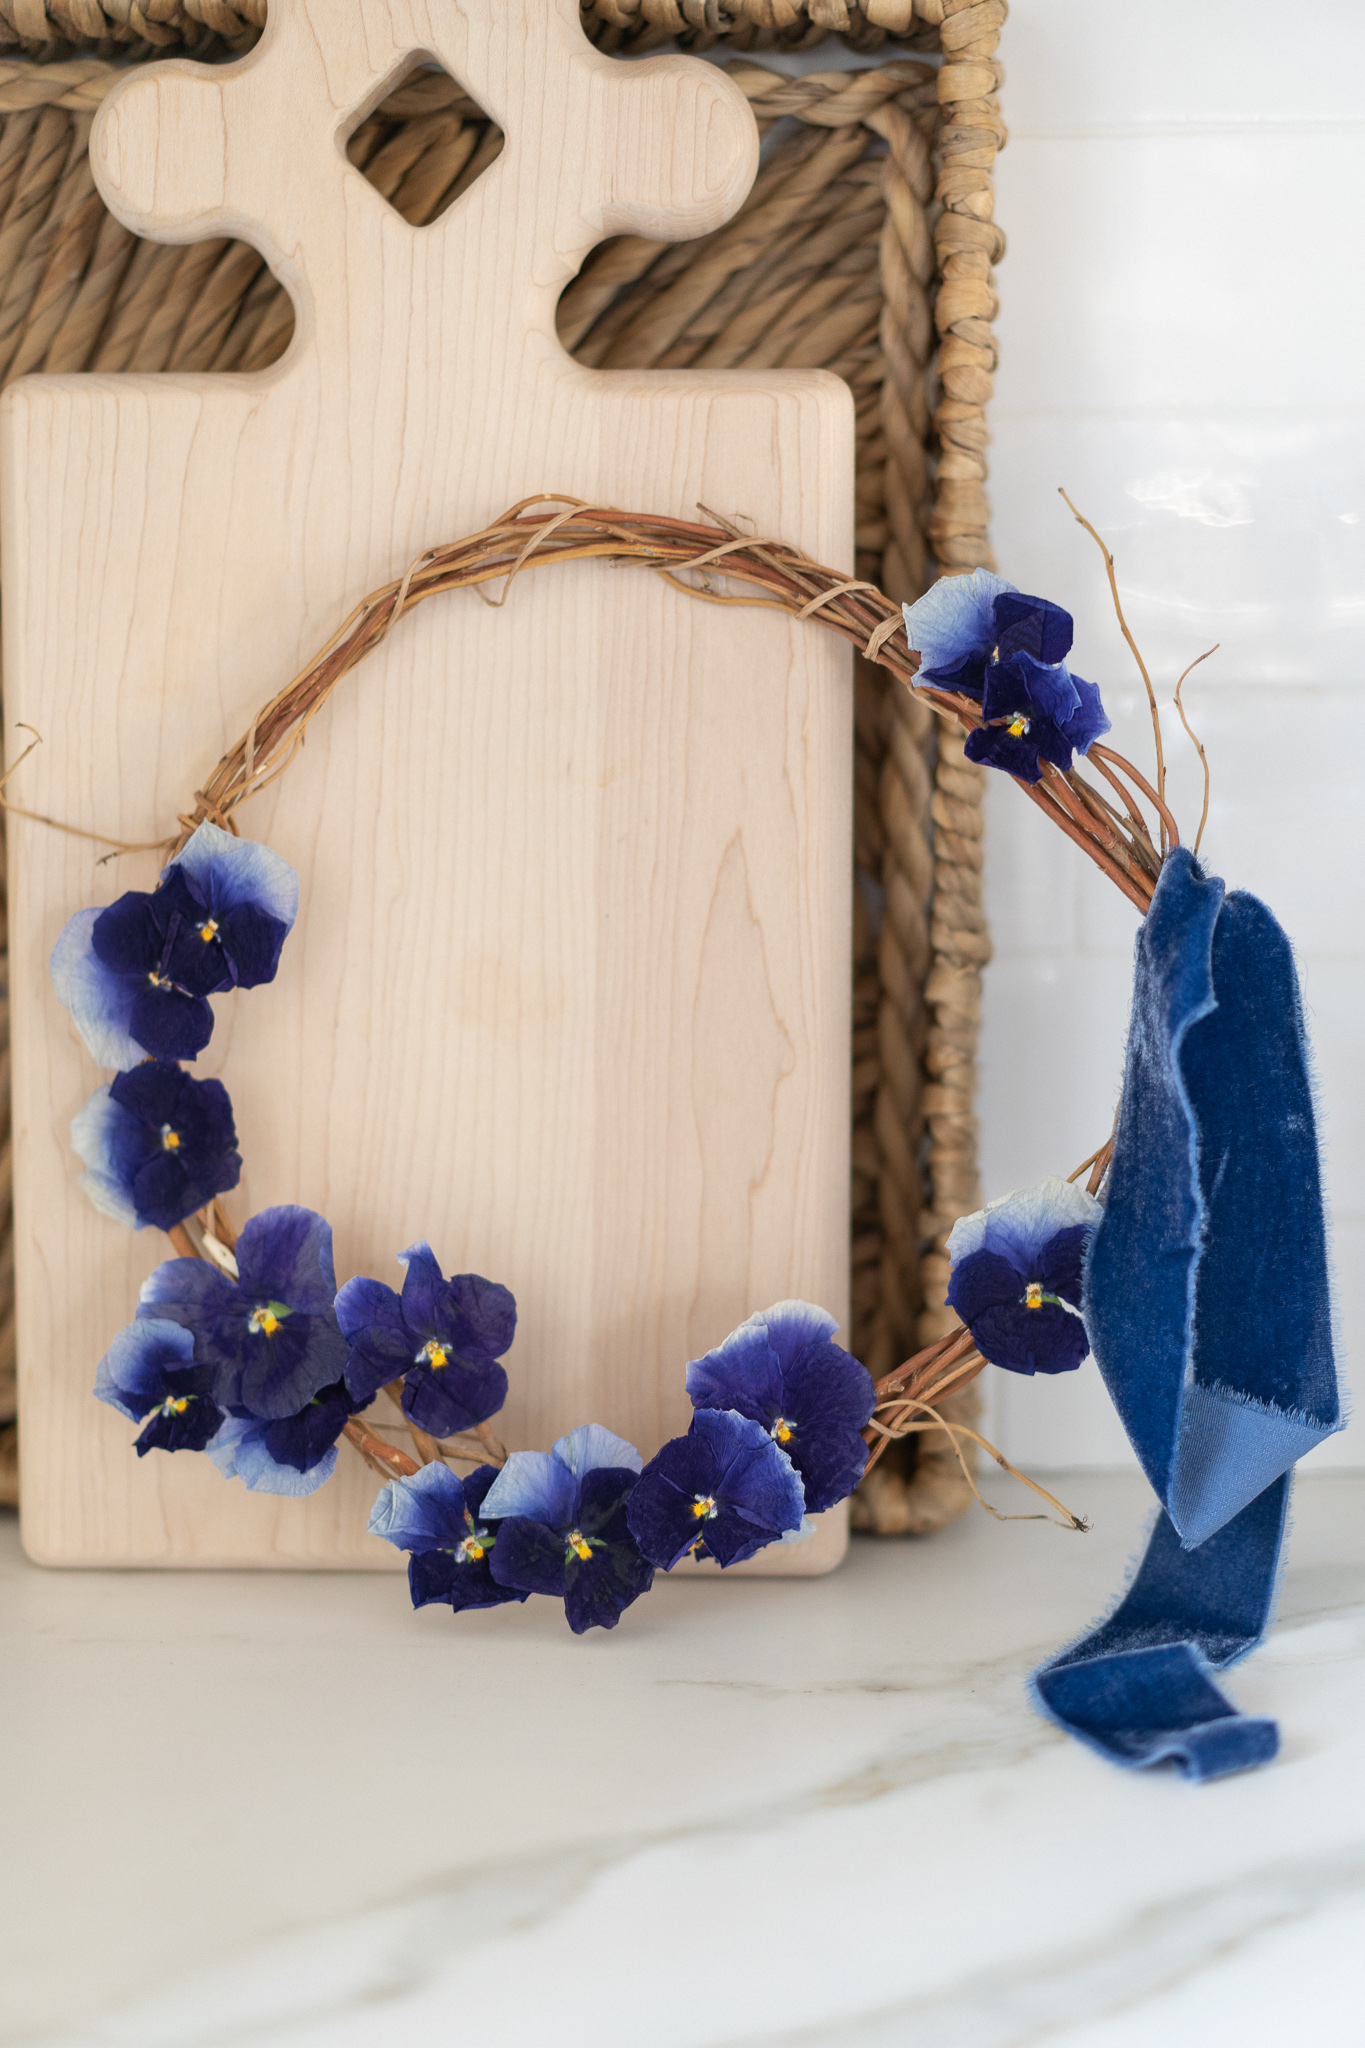
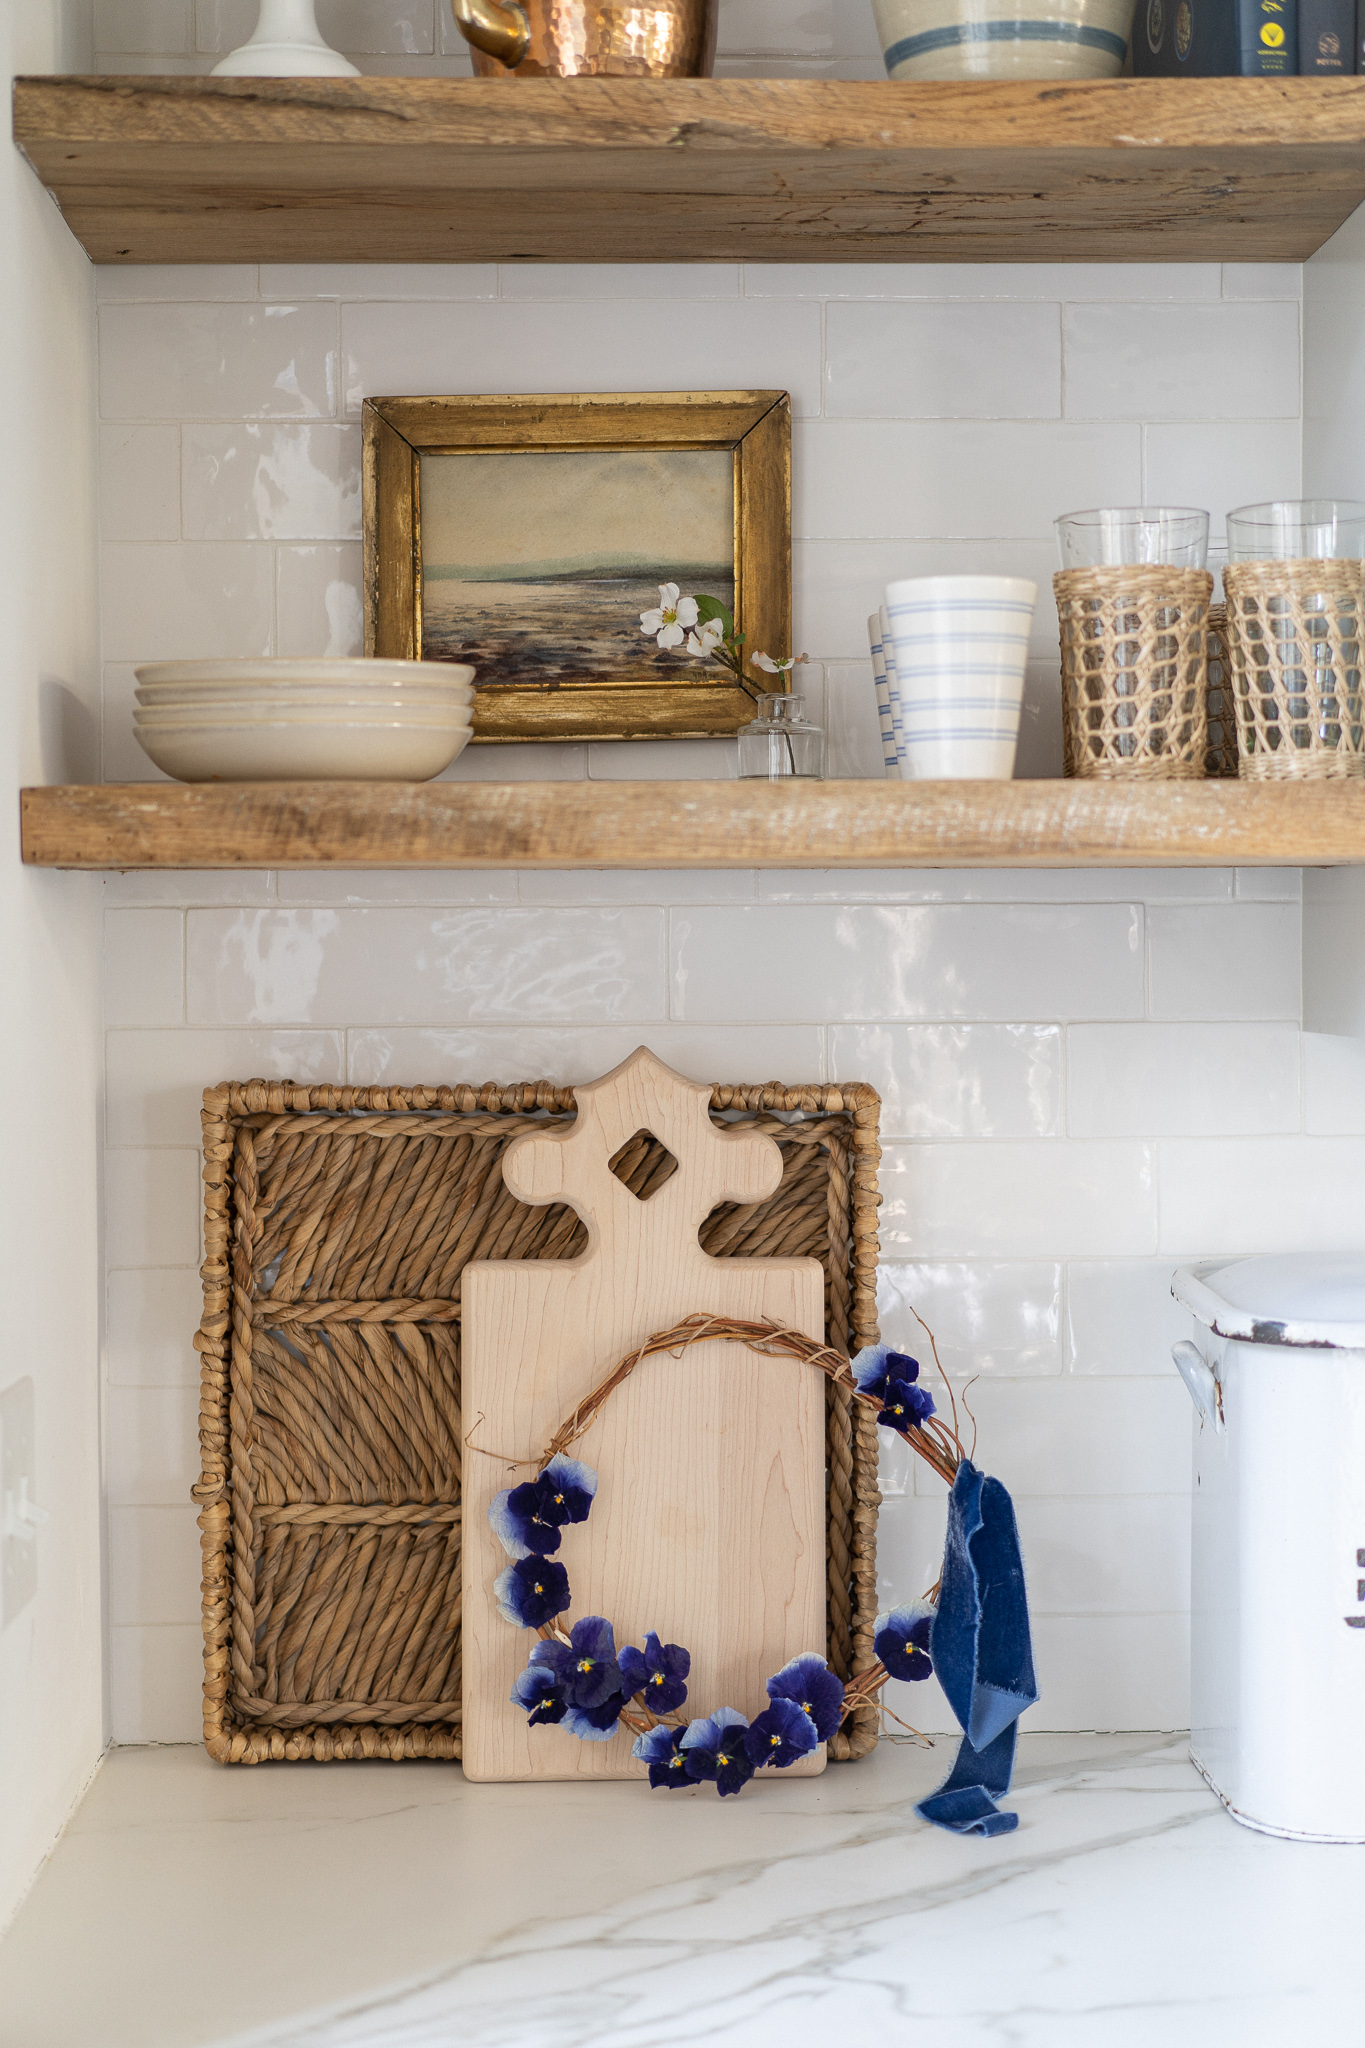
Pressed flowers are delicate. This is not going to do well on your exterior door in a wind storm. I styled mine on my kitchen shelves. And I think on the inside of a door it would probably do fine. I bumped mine a couple of times and lost some pieces of the petals. But if you have a gentle spot for it, it sure is a lovely spring wreath.
PRESSING FLOWERS
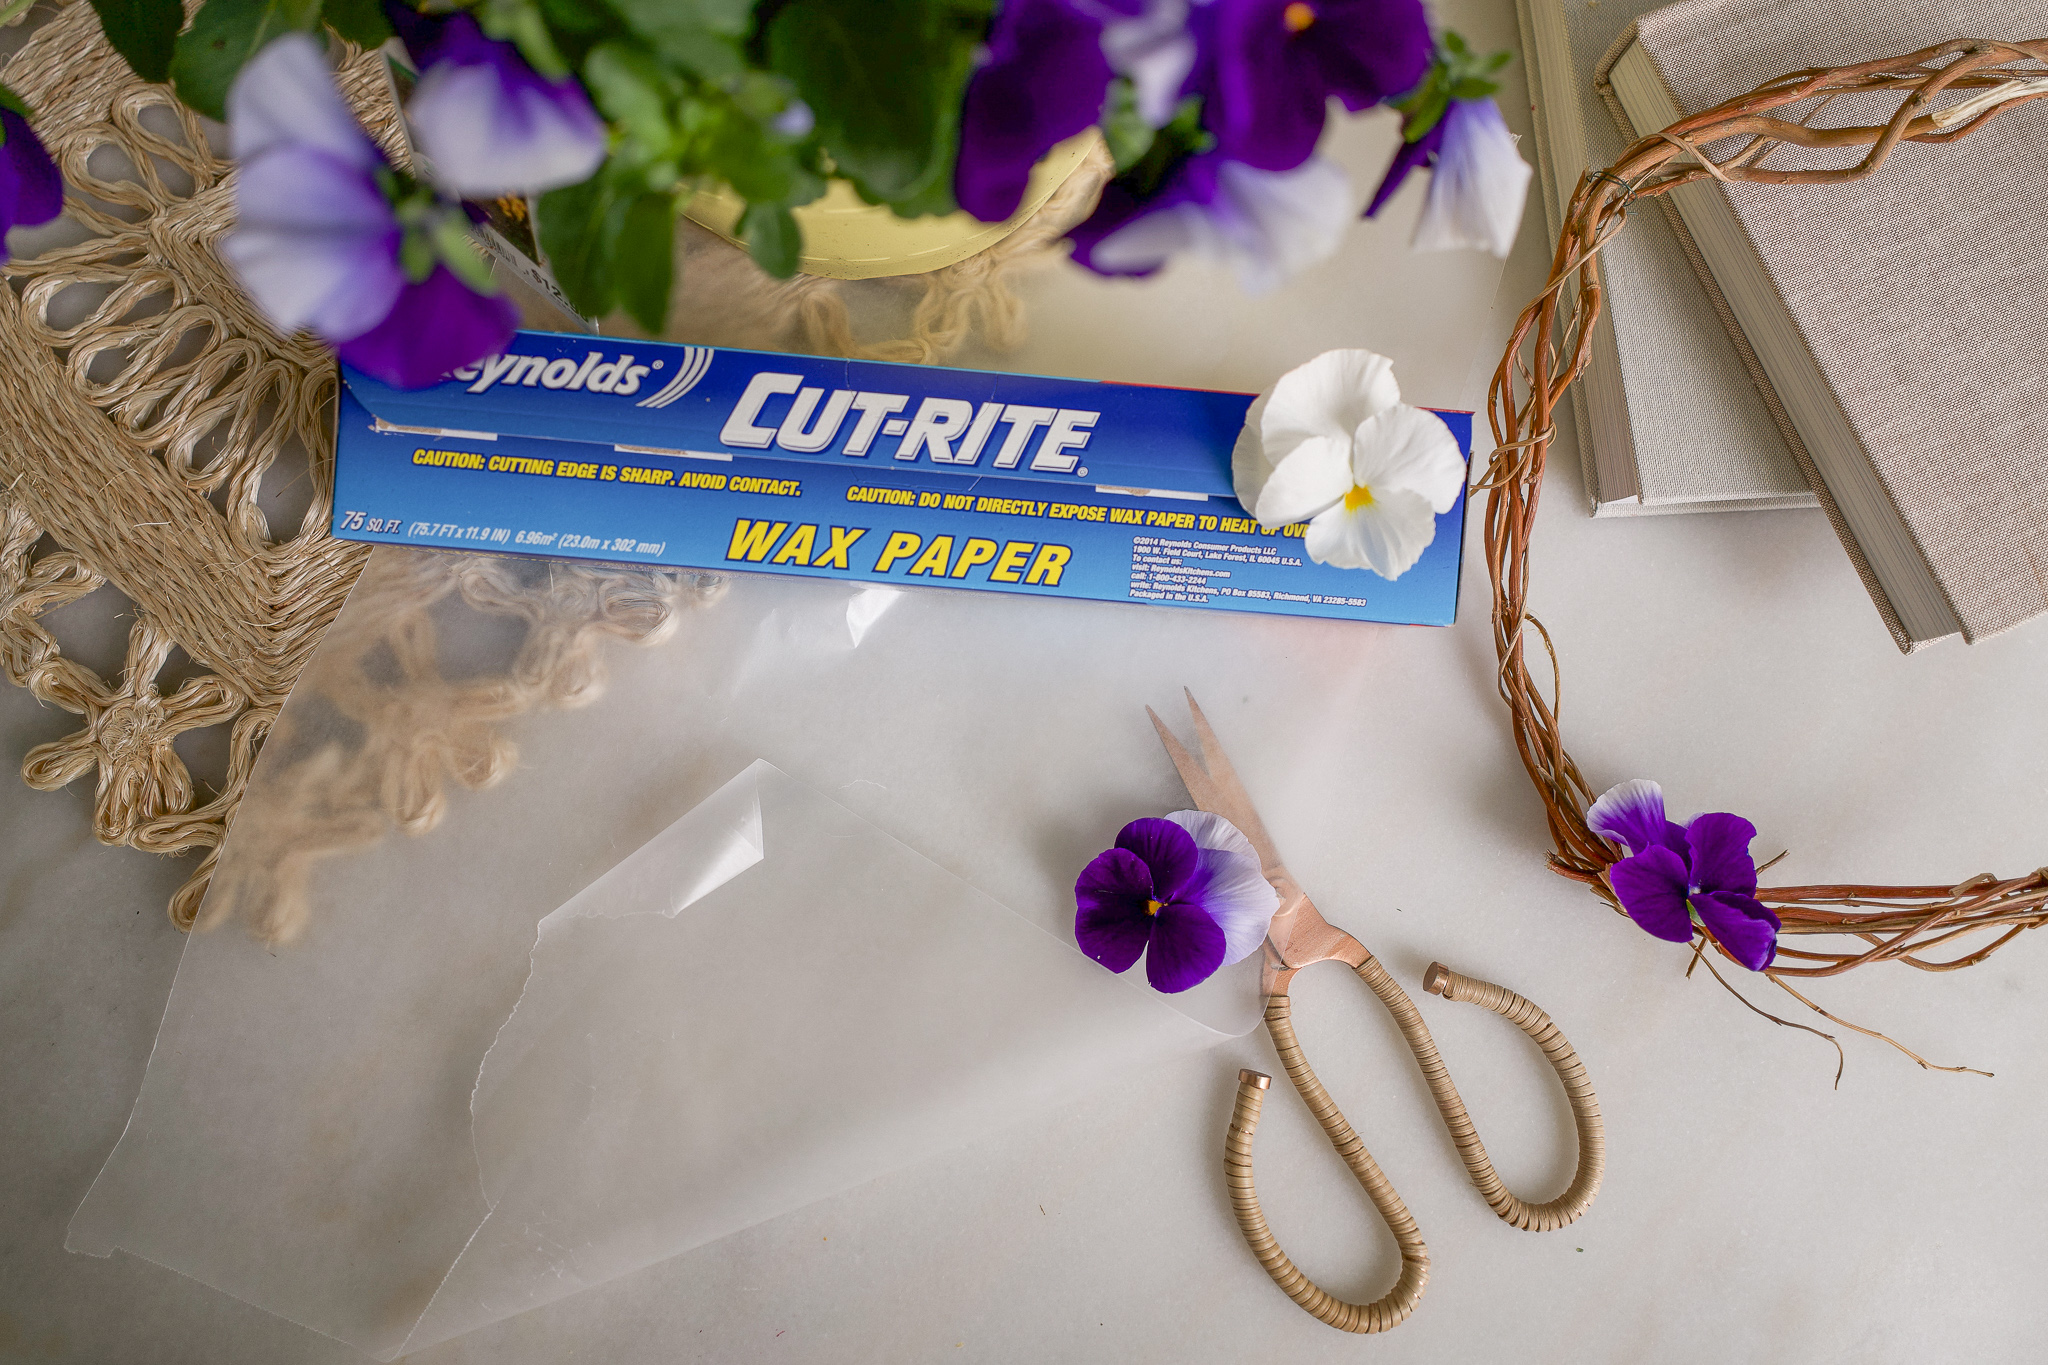
Your typical method for pressing flowers involves some wax paper and heavy books. Or a flower press if you’re fancy and have one of those. I started with books on my counter with the flour and sugar canisters on top. And didn’t realize just how long it takes to dry them this way! A good 3 to 4 weeks. If you’re like me and impatient, you can quickly and easily press flowers in the microwave. If all else fails and you have no DIY bones in you, you can buy pre-dried Pansies on Etsy here.
THE MICROWAVE METHOD
I get this sounds weird and I was super skeptical but I found lots of sites online with advice on how to do this. Here’s what I did and why:
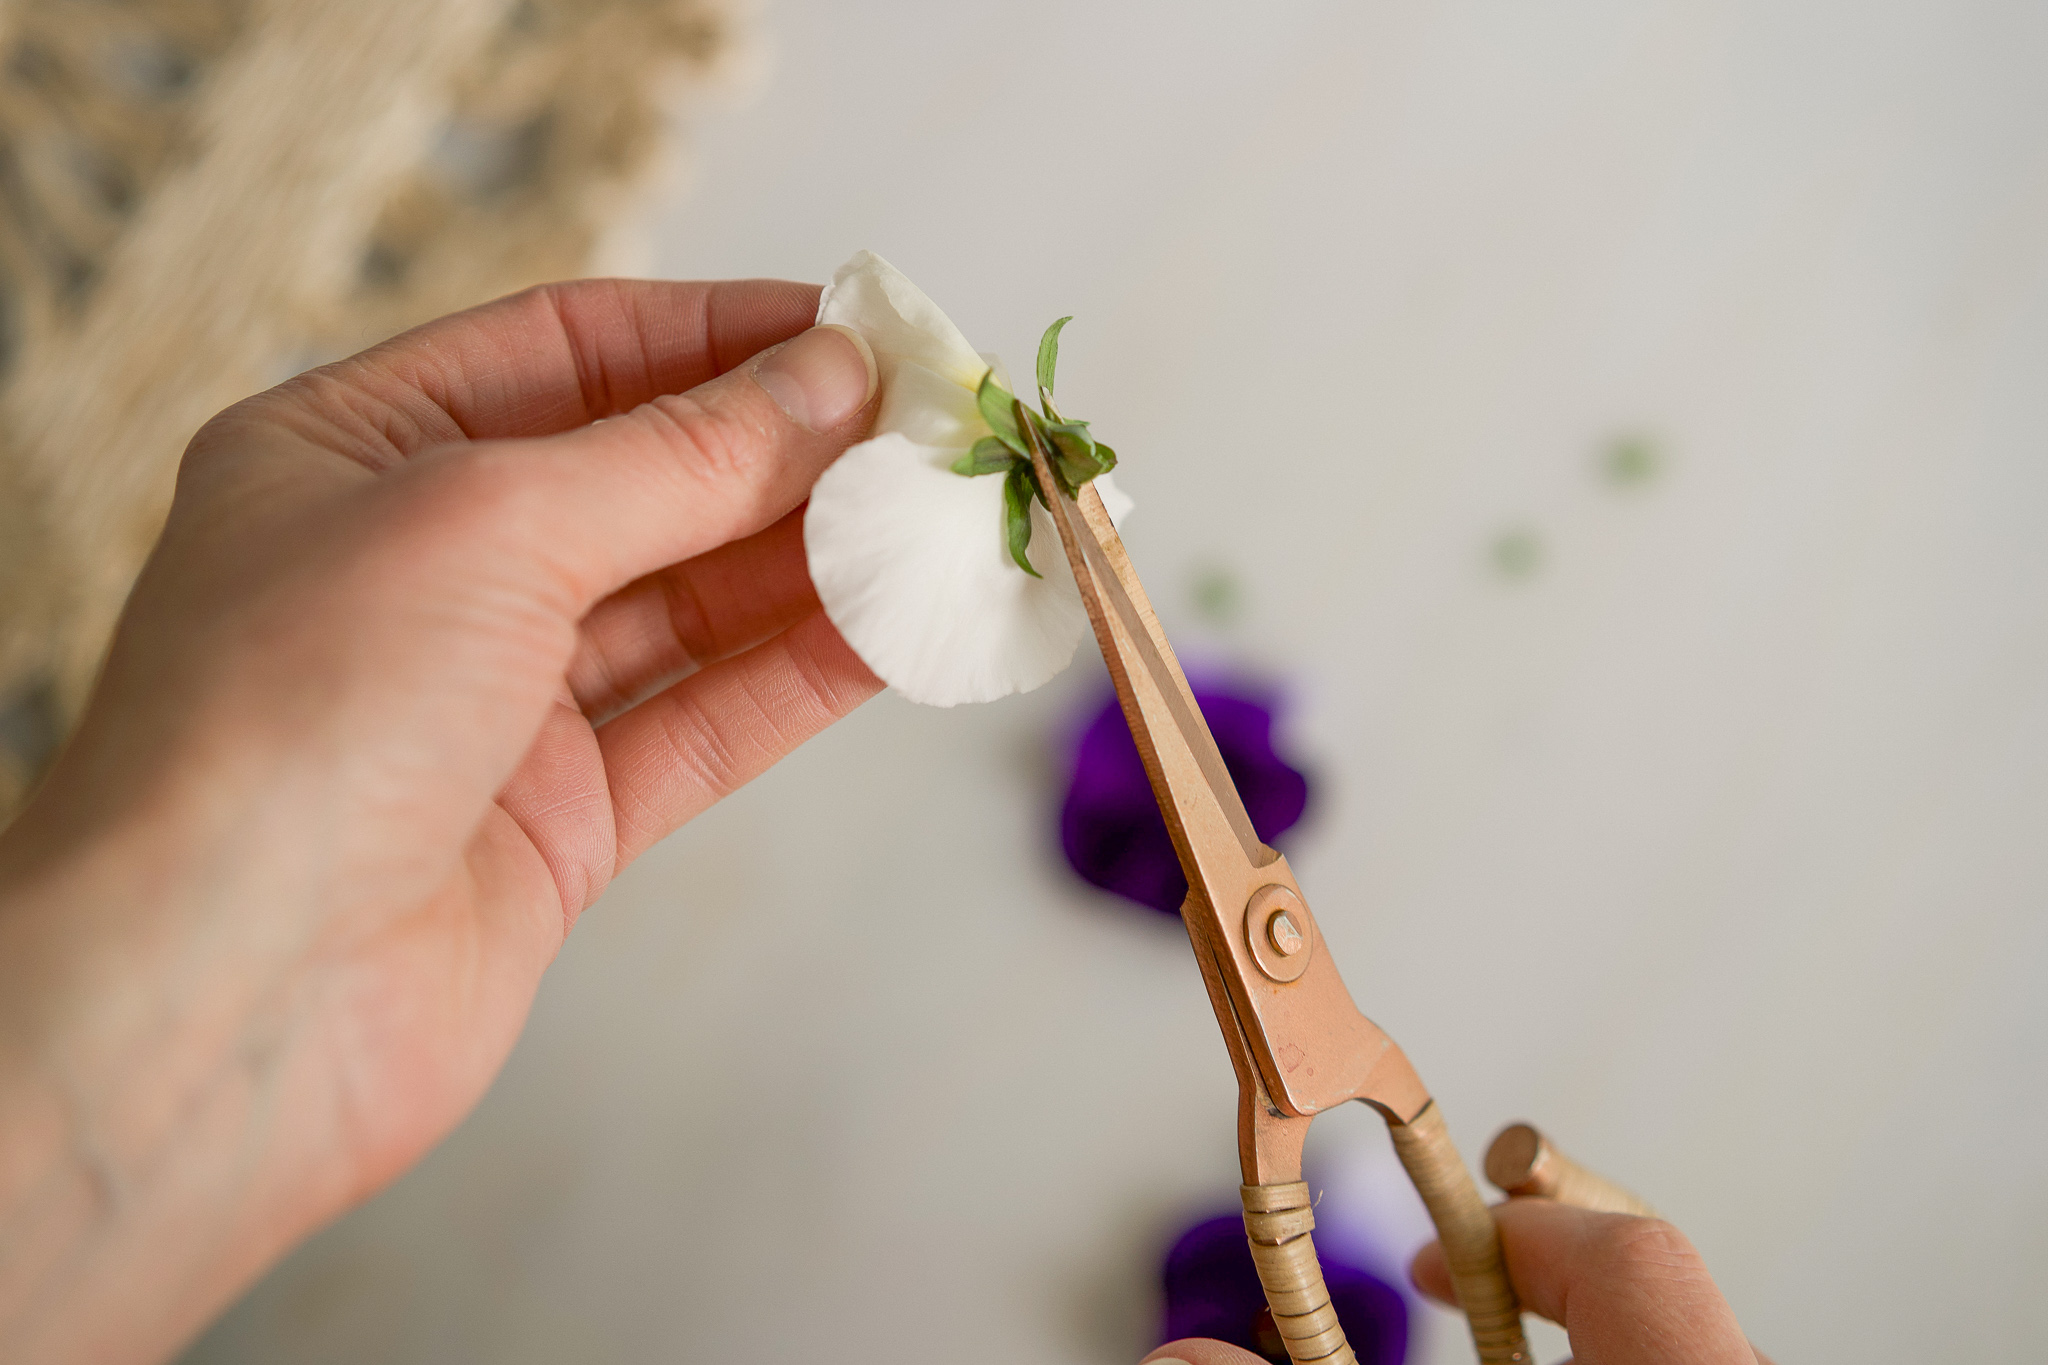
I had already started pressing my pansies between wax paper in a book so they were nice and flat but they’ll flatten out with this method too. I started with two sheets of paper towel. We have a small microwave so I cut the corners off my paper towels to make a round shape so they wouldn’t get stuck as the tray and plates rotated.
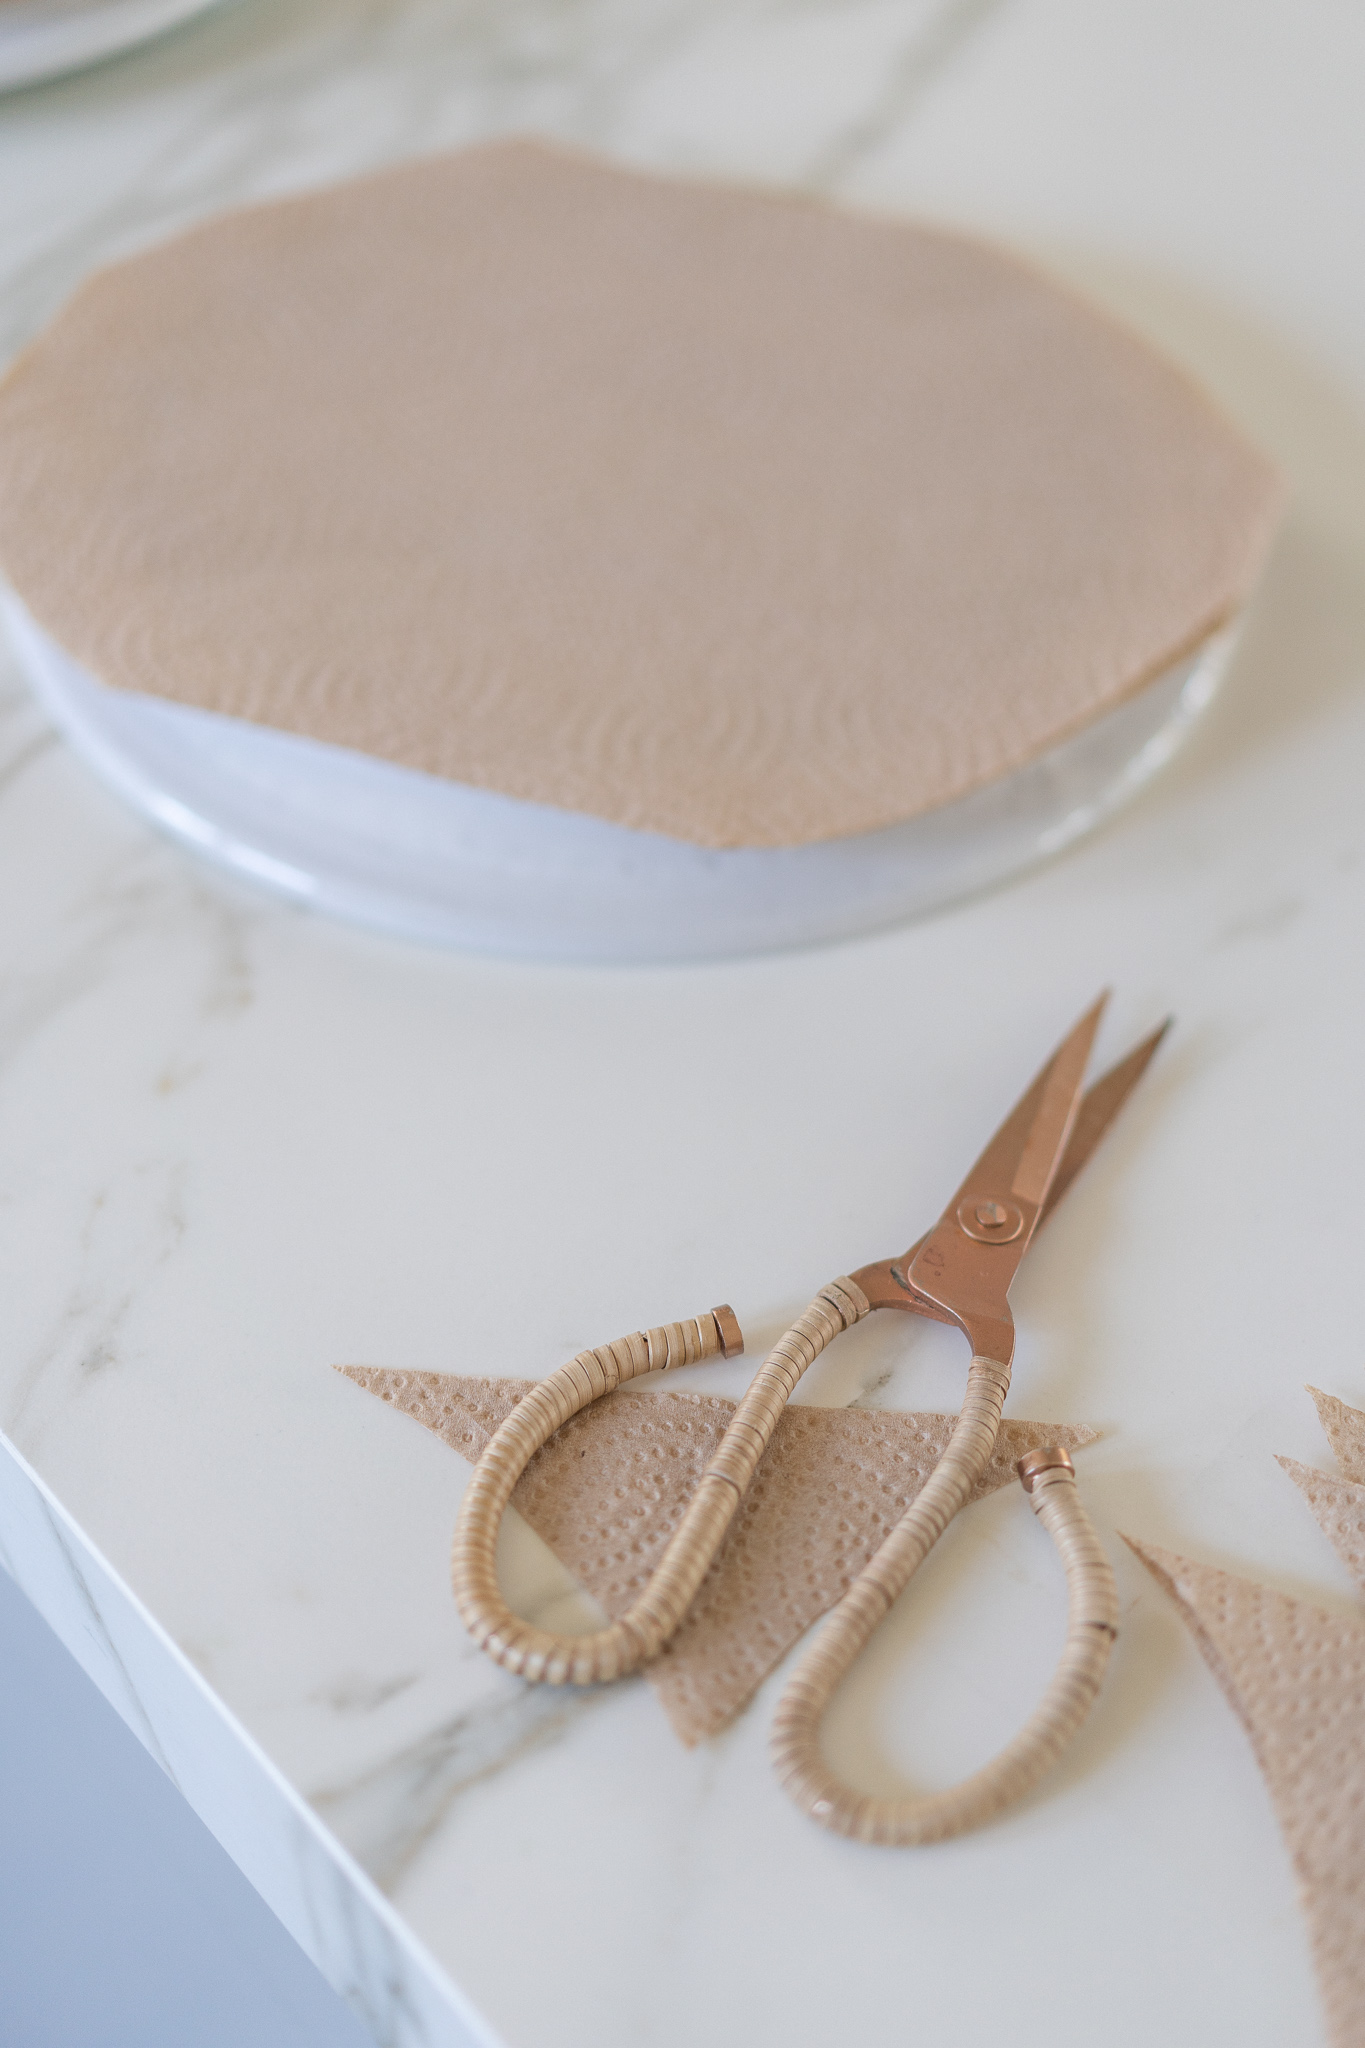
I took two of my heavy microwave safe dinner plates and placed one facing down and the other facing up leaving a flat area in between to put the paper towels.
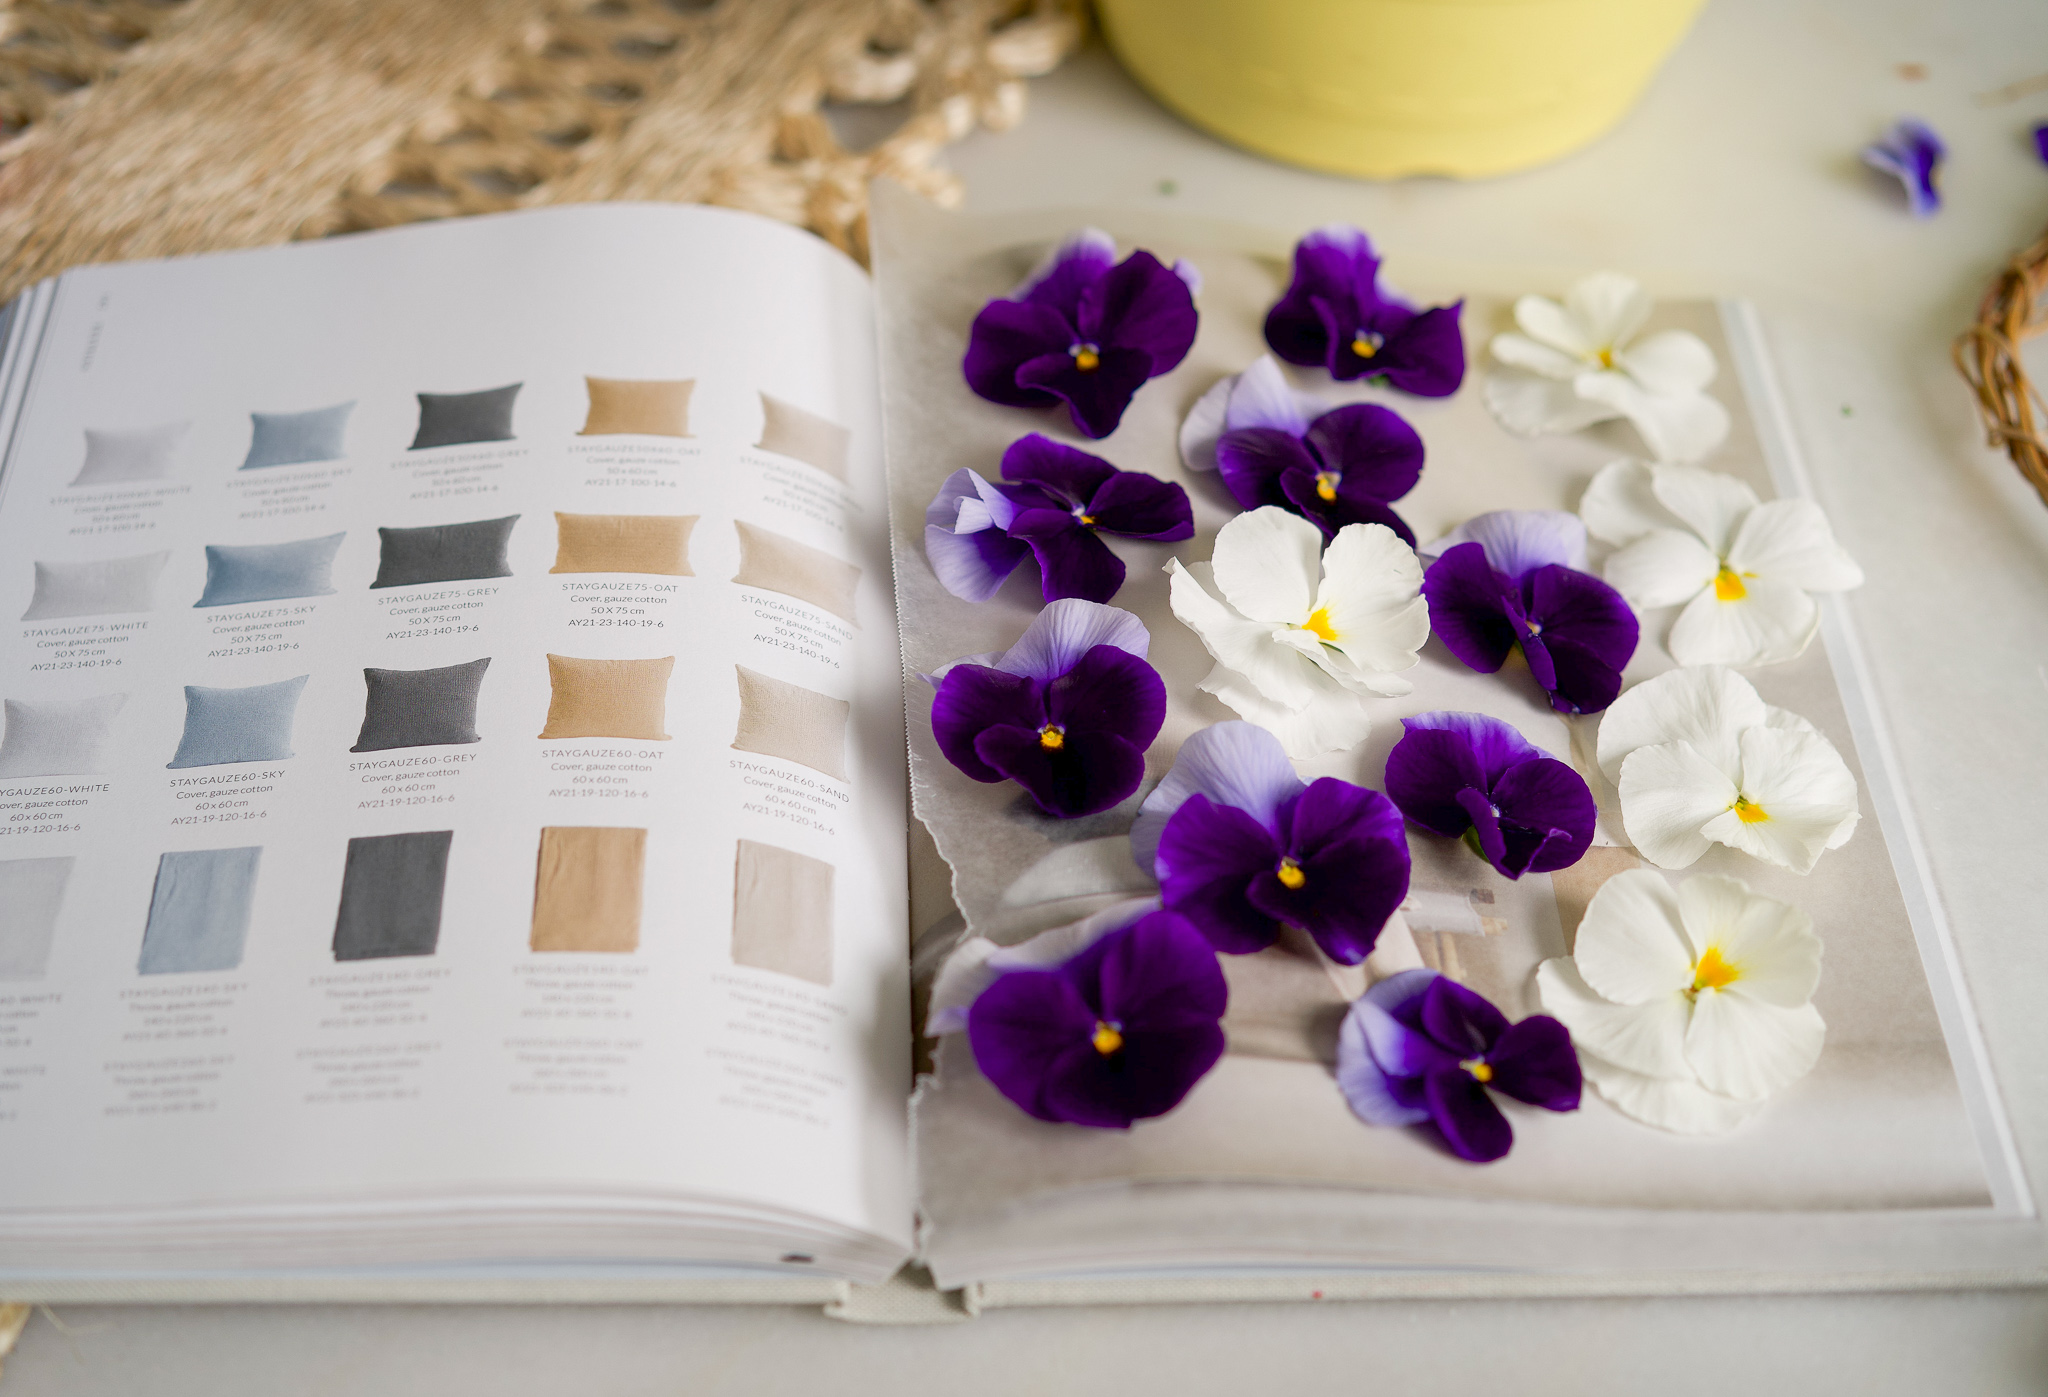
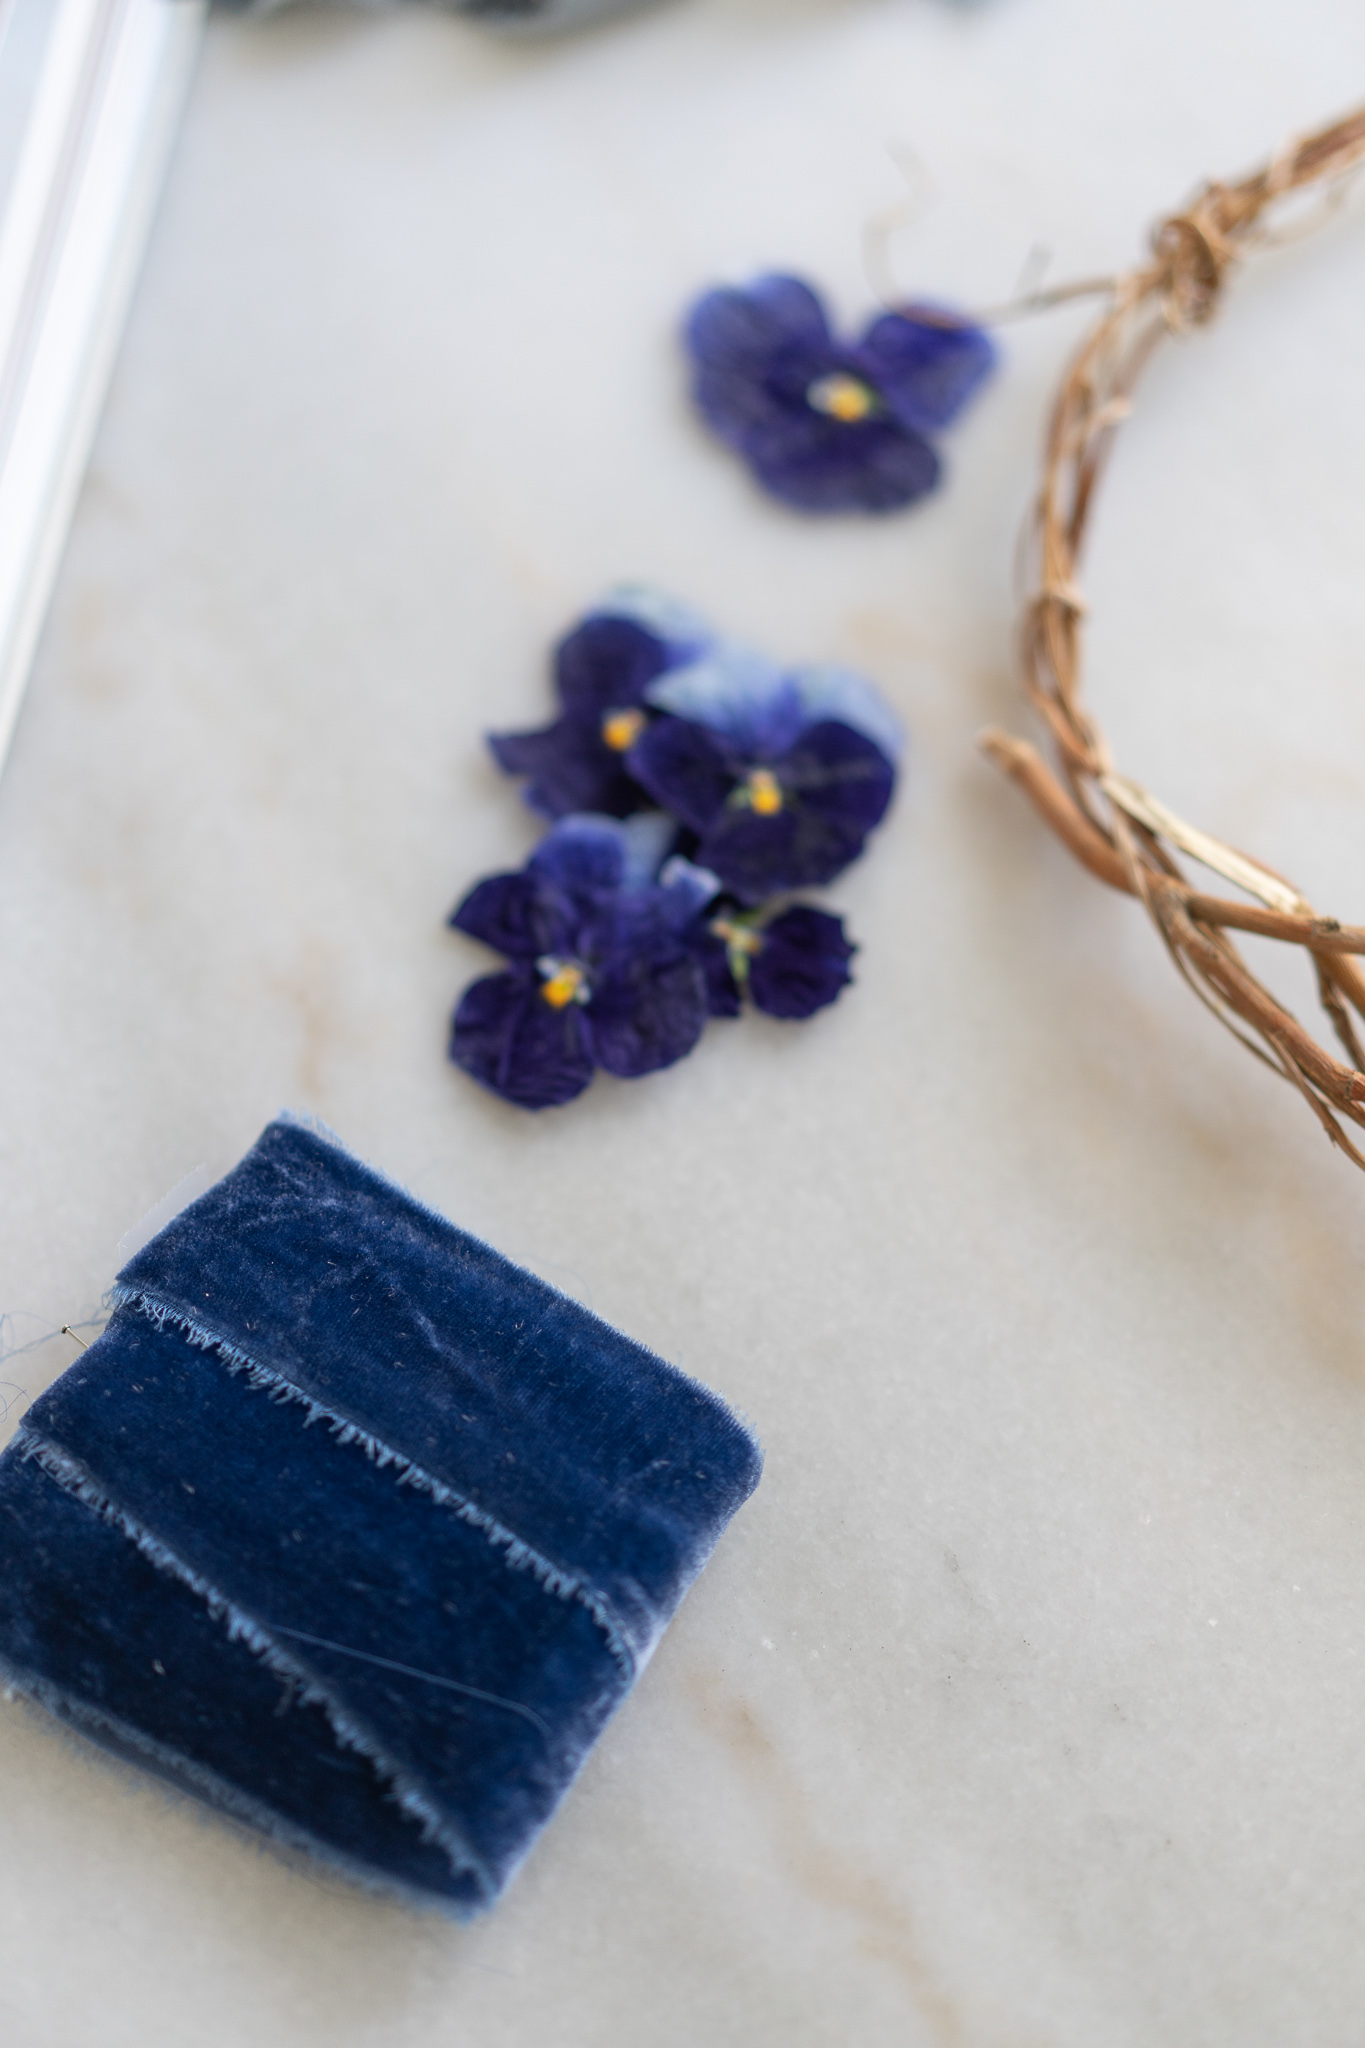
Put your flowers on top of a paper towel (I only used the purple ones because white turns brown) and place a second paper towel over the top. Gently press the plate over the top. You can see mine in the picture above. Start with a minute in the microwave on low power and assess their dryness. It took 3-4 minutes and letting them “cool” uncovered for a couple minutes to finally feel dry. They do change color, as do all pressed flowers. From a more purple color they turned blue, which I actually like better.
MAKING THE WREATH
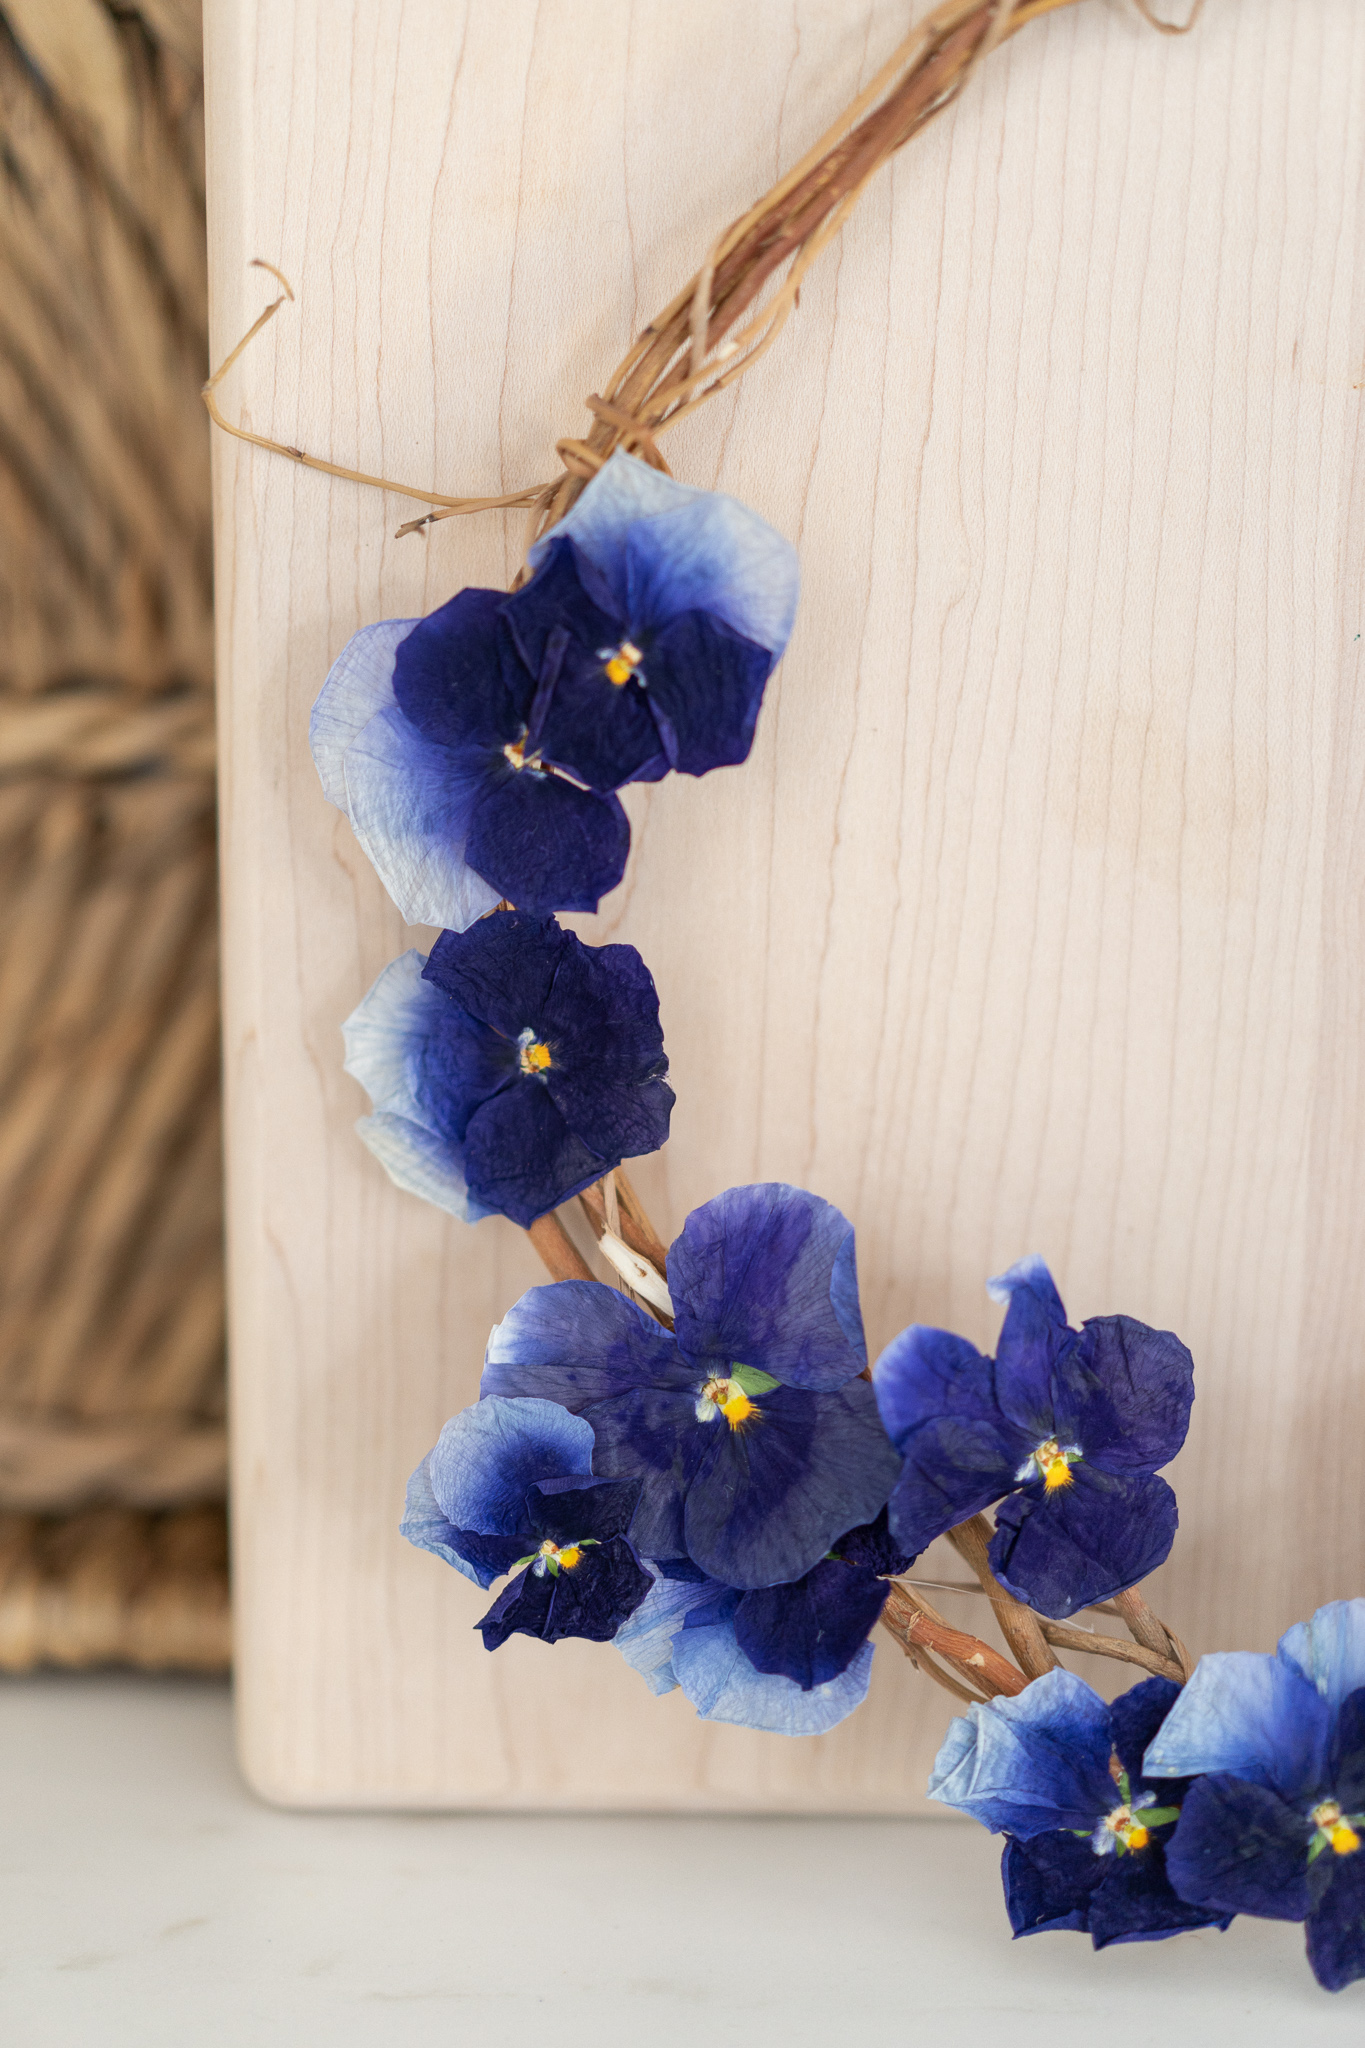
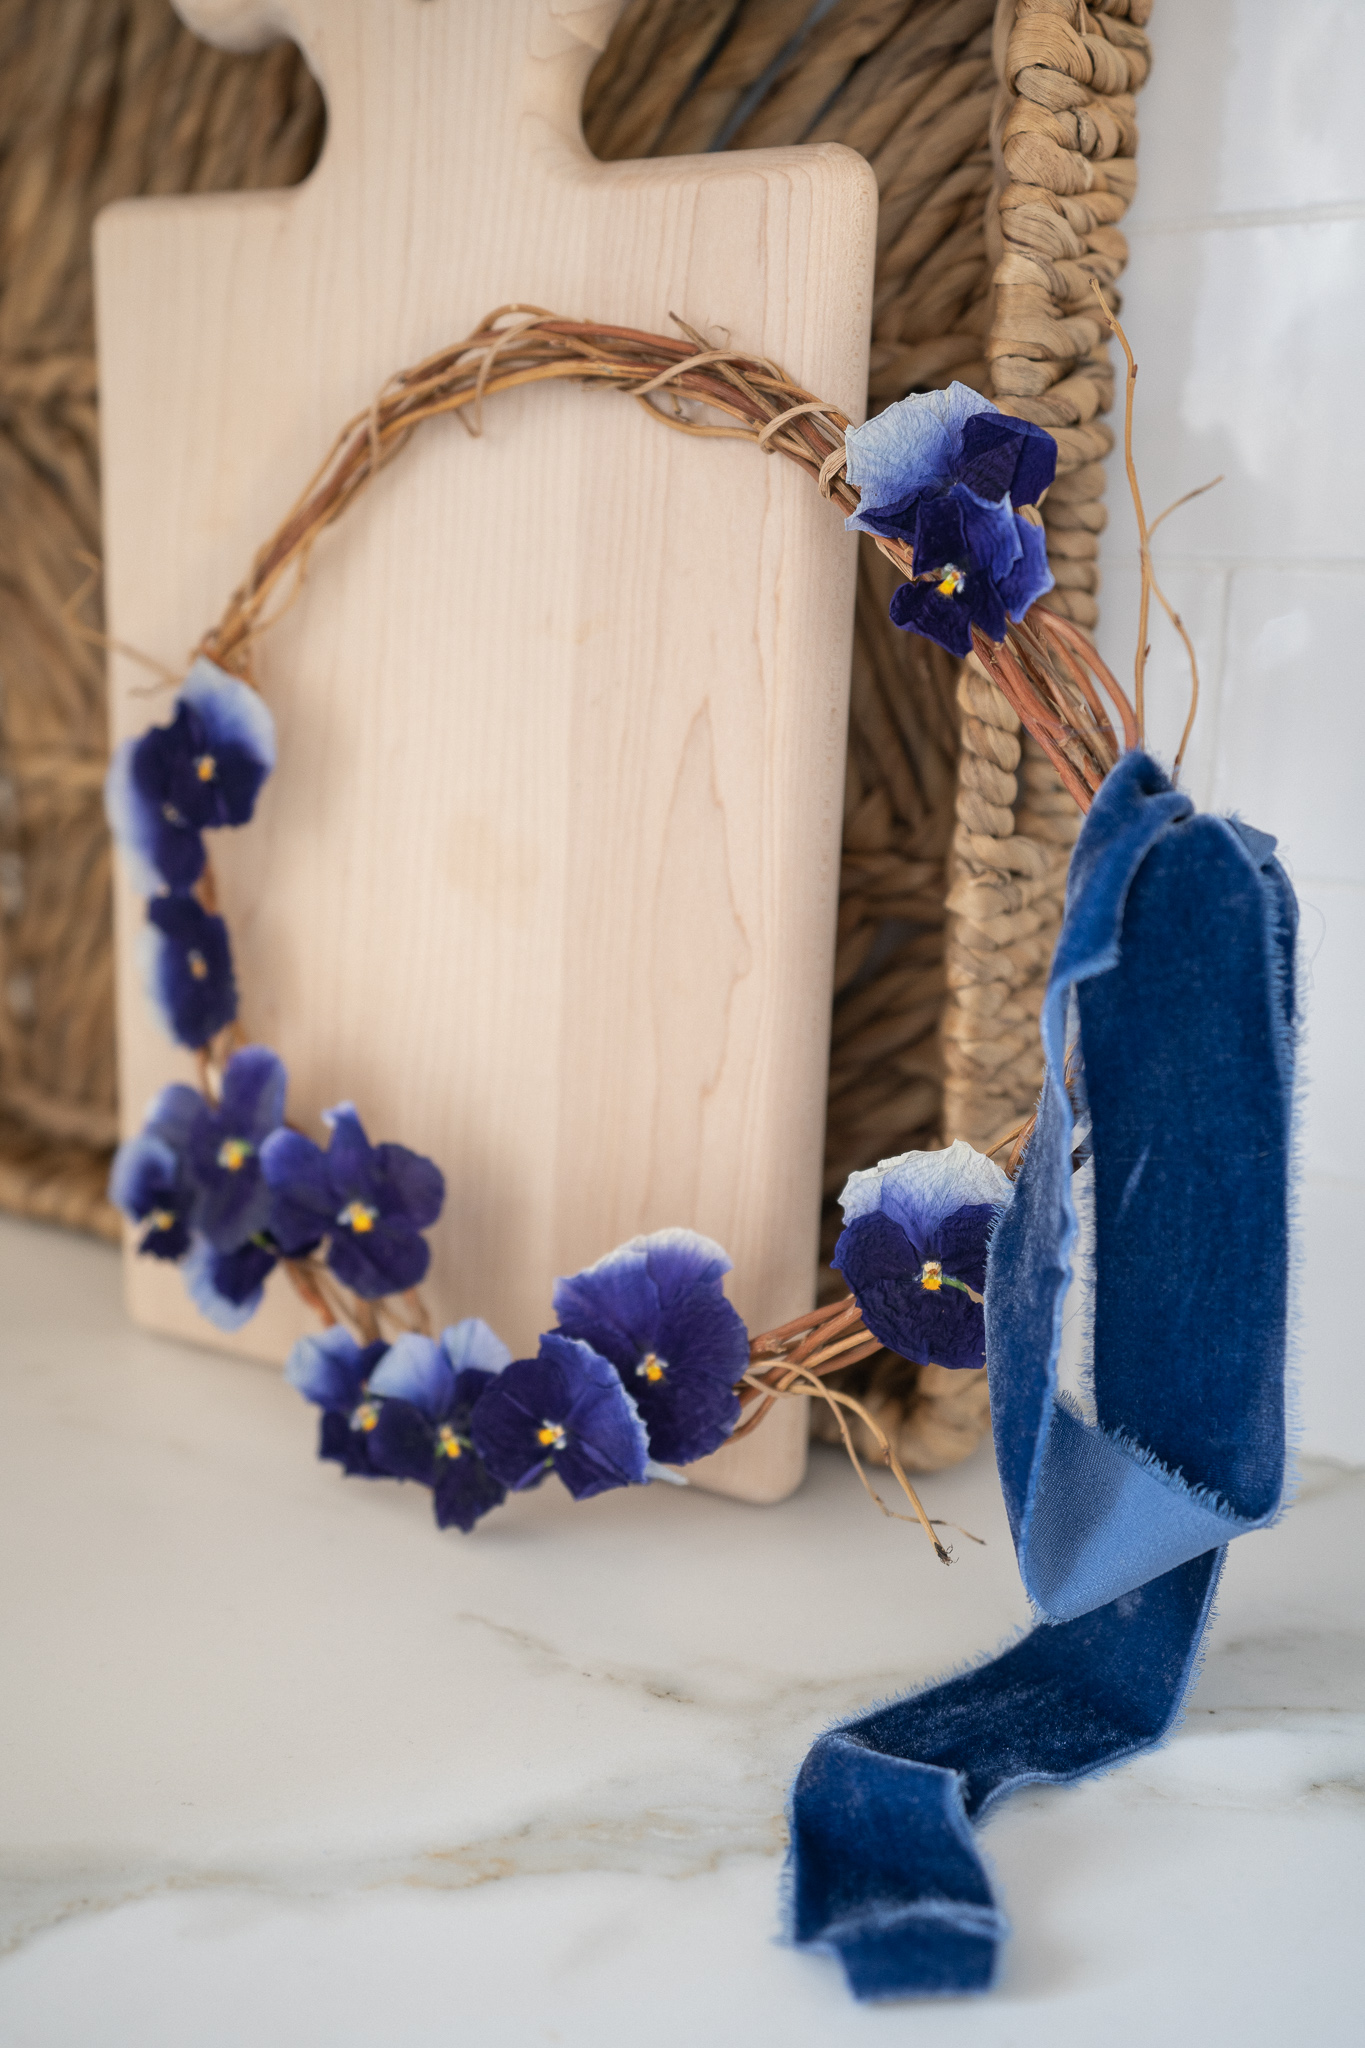
Once you have the dried, pressed pansies, start by heating up your glue gun and finding some ribbon. I love this Etsy shop for beautifully dyed velvet ribbons. Now I started with some of my larger pansies and then layered smaller ones or slightly broken ones around those in a crescent moon shape around the frame, off setting my ribbon. I like the more modern look of the asymmetrical placement. All in and because my wreath frame was small (around 10″) I used less than 20 dried, pressed pansies.
I hope you have a chance to welcome spring with something creative! This is an easy and lovely wreath to welcome the start of flower season. Join me as I visit all my friends who have some spring wreath ideas.
Blogger’s Best Series – Spring Wreath DIY
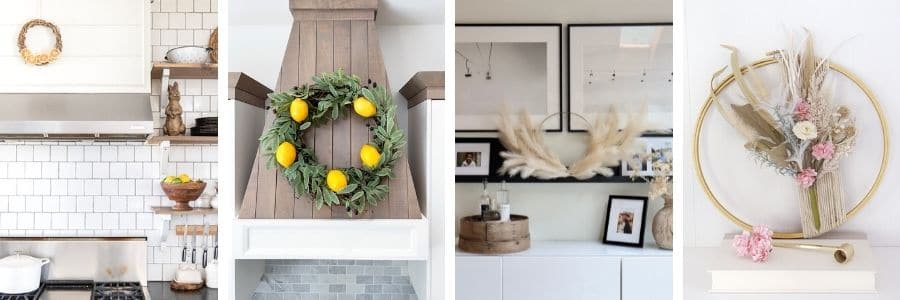
Easy Dried Lemon Slice Spring Wreath | Twelve on Main
DIY Lemon and Olive Spring Wreath | The Happy Housie
DIY Modern Spring Wreath | My Sweet Savannah
Simple Spring Wreath | Paint Me Pink

Spring Basket Wreath | Modern Glam
How to Make a Spring Wreath from a Small Lunch Bag | My 100 Year Old Home
Easy Spring Tulip Wreath | Happy Happy Nester
Spring Wreath Ideas and DIY | Craftberry Bush
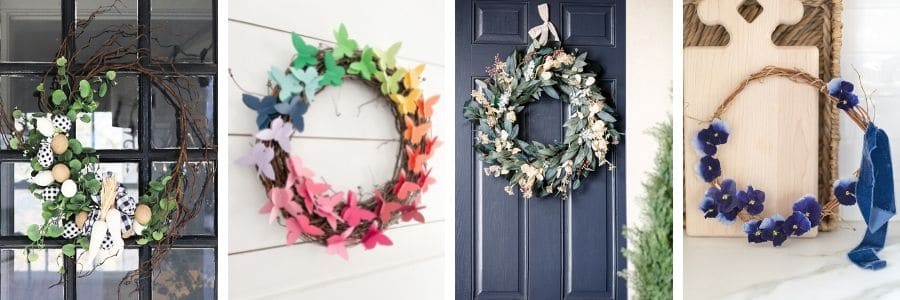
Buffalo Check Easter Wreath | Thistlewood Farms
Easy Spring Rainbow Butterfly Wreath | Tatertots and Jello
Easy Interchangeable DIY Spring Wreath | Your Marketing BFF
A Pressed Pansy Wreath | Finding Lovely

 comment share
[…] A Pressed Pansy Wreath | Finding Lovely […]
[…] A Pressed Pansy Wreath | Finding Lovely […]
[…] A Pressed Pansy Wreath | Finding Lovely […]
[…] Pressed Pansy Wreath | lovely find […]
[…] Uma coroa de amor-perfeito prensada | Achando lindo […]
Oh my gosh, this is so beatiful! What a sweet idea, very creative.
[…] Presēts Pansy Vainags | Meklējot Lovely […]
[…] A Pressed Pansy Wreath | Finding Lovely […]
[…] A Pressed Pansy Wreath | Finding Lovely […]