
HOME TOUR
You know that old mantra “it takes a village” while that does not apply here! With just a few supplies, a little ingenuity, some time and defensive moves to keep the toddlers at bay, this adorable, glittery-black Halloween village is just a few snips away. It looks lovely on a spooky mantel or incorporated into your fall decor. Best of all, this whole project cost $2.08, if you have some basic supplies on hand! So grab your scissors and tape and get ready to make a village.

All I, (and by “I” I mean “hubby”), since he was already at Target, needed to buy for this project was the black poster board and black glitter. I already had the cutting mat and razor blade tool. These are clearly not required but sure made it a lot easier. I’m not sure how else you cut out the windows without a razor blade or xacto knife.
SUPPLIES
- 1 Black Sheet of Poster Board
- Scissors
- Scotch Tape
- Clear Glue or adhesive (for the glitter application)
- Pencil
- Xacto knife or handheld razor blade tool
- Cutting mat (or thick stack of brown paper bags)
- Black glitter
- Ruler
- Black sharpie marker

INSTRUCTIONS
For these houses I free-handed the size, placing pencil dots to outline the desired houses’ shape and then connected the dots with a ruler for straight lines. I did the same for the windows. Make your homes are an inch taller than you’re hoping for and an inch wider on the sides so you have room to fold the flaps, enabling them to stand once folded and taped.
See the picture above–you can see the extra paper for the sides and the pencil line where you fold. See the picture below to see the folded section at the bottom of the house.

The roofs were the trickiest part to me. I ended up cutting a strip of black paper per side of the house so it would overhang the side by 0.5 inch, making eaves. Because I didn’t measure this but more freehanded the house shapes, they weren’t perfectly the same length on each side of the roofline. I found the roof sat better when each side was made individually and then taped together vs a long black strip of paper folded in half.

Here’s where I think you can improve. I slathered on a thick layer of Elmers clear glue and sprinkled it with glitter. I forgot that Elmers glue warps the paper and wrinkles it. So my roofs were bumpier, once dry, than I had hoped for but with two toddlers trying to play soccer with my houses, this is the best I could do. There has got to be a better adhesive out there that doesn’t make the paper wrinkle. Since it has been years since I’ve scrapbooked, I didn’t have any other glue options but Elmers on hand. A bumpy roof isn’t the worst thing in the world and gives it a creepy look. I’m all ears for your adhesive suggestions, all you crafty friends out there.
Once my glitter roofs were dry I taped them to the houses. It was messy, glitter got everywhere. So it may be better to put the roof on first and then use a different kind of adhesive to apply the glitter.
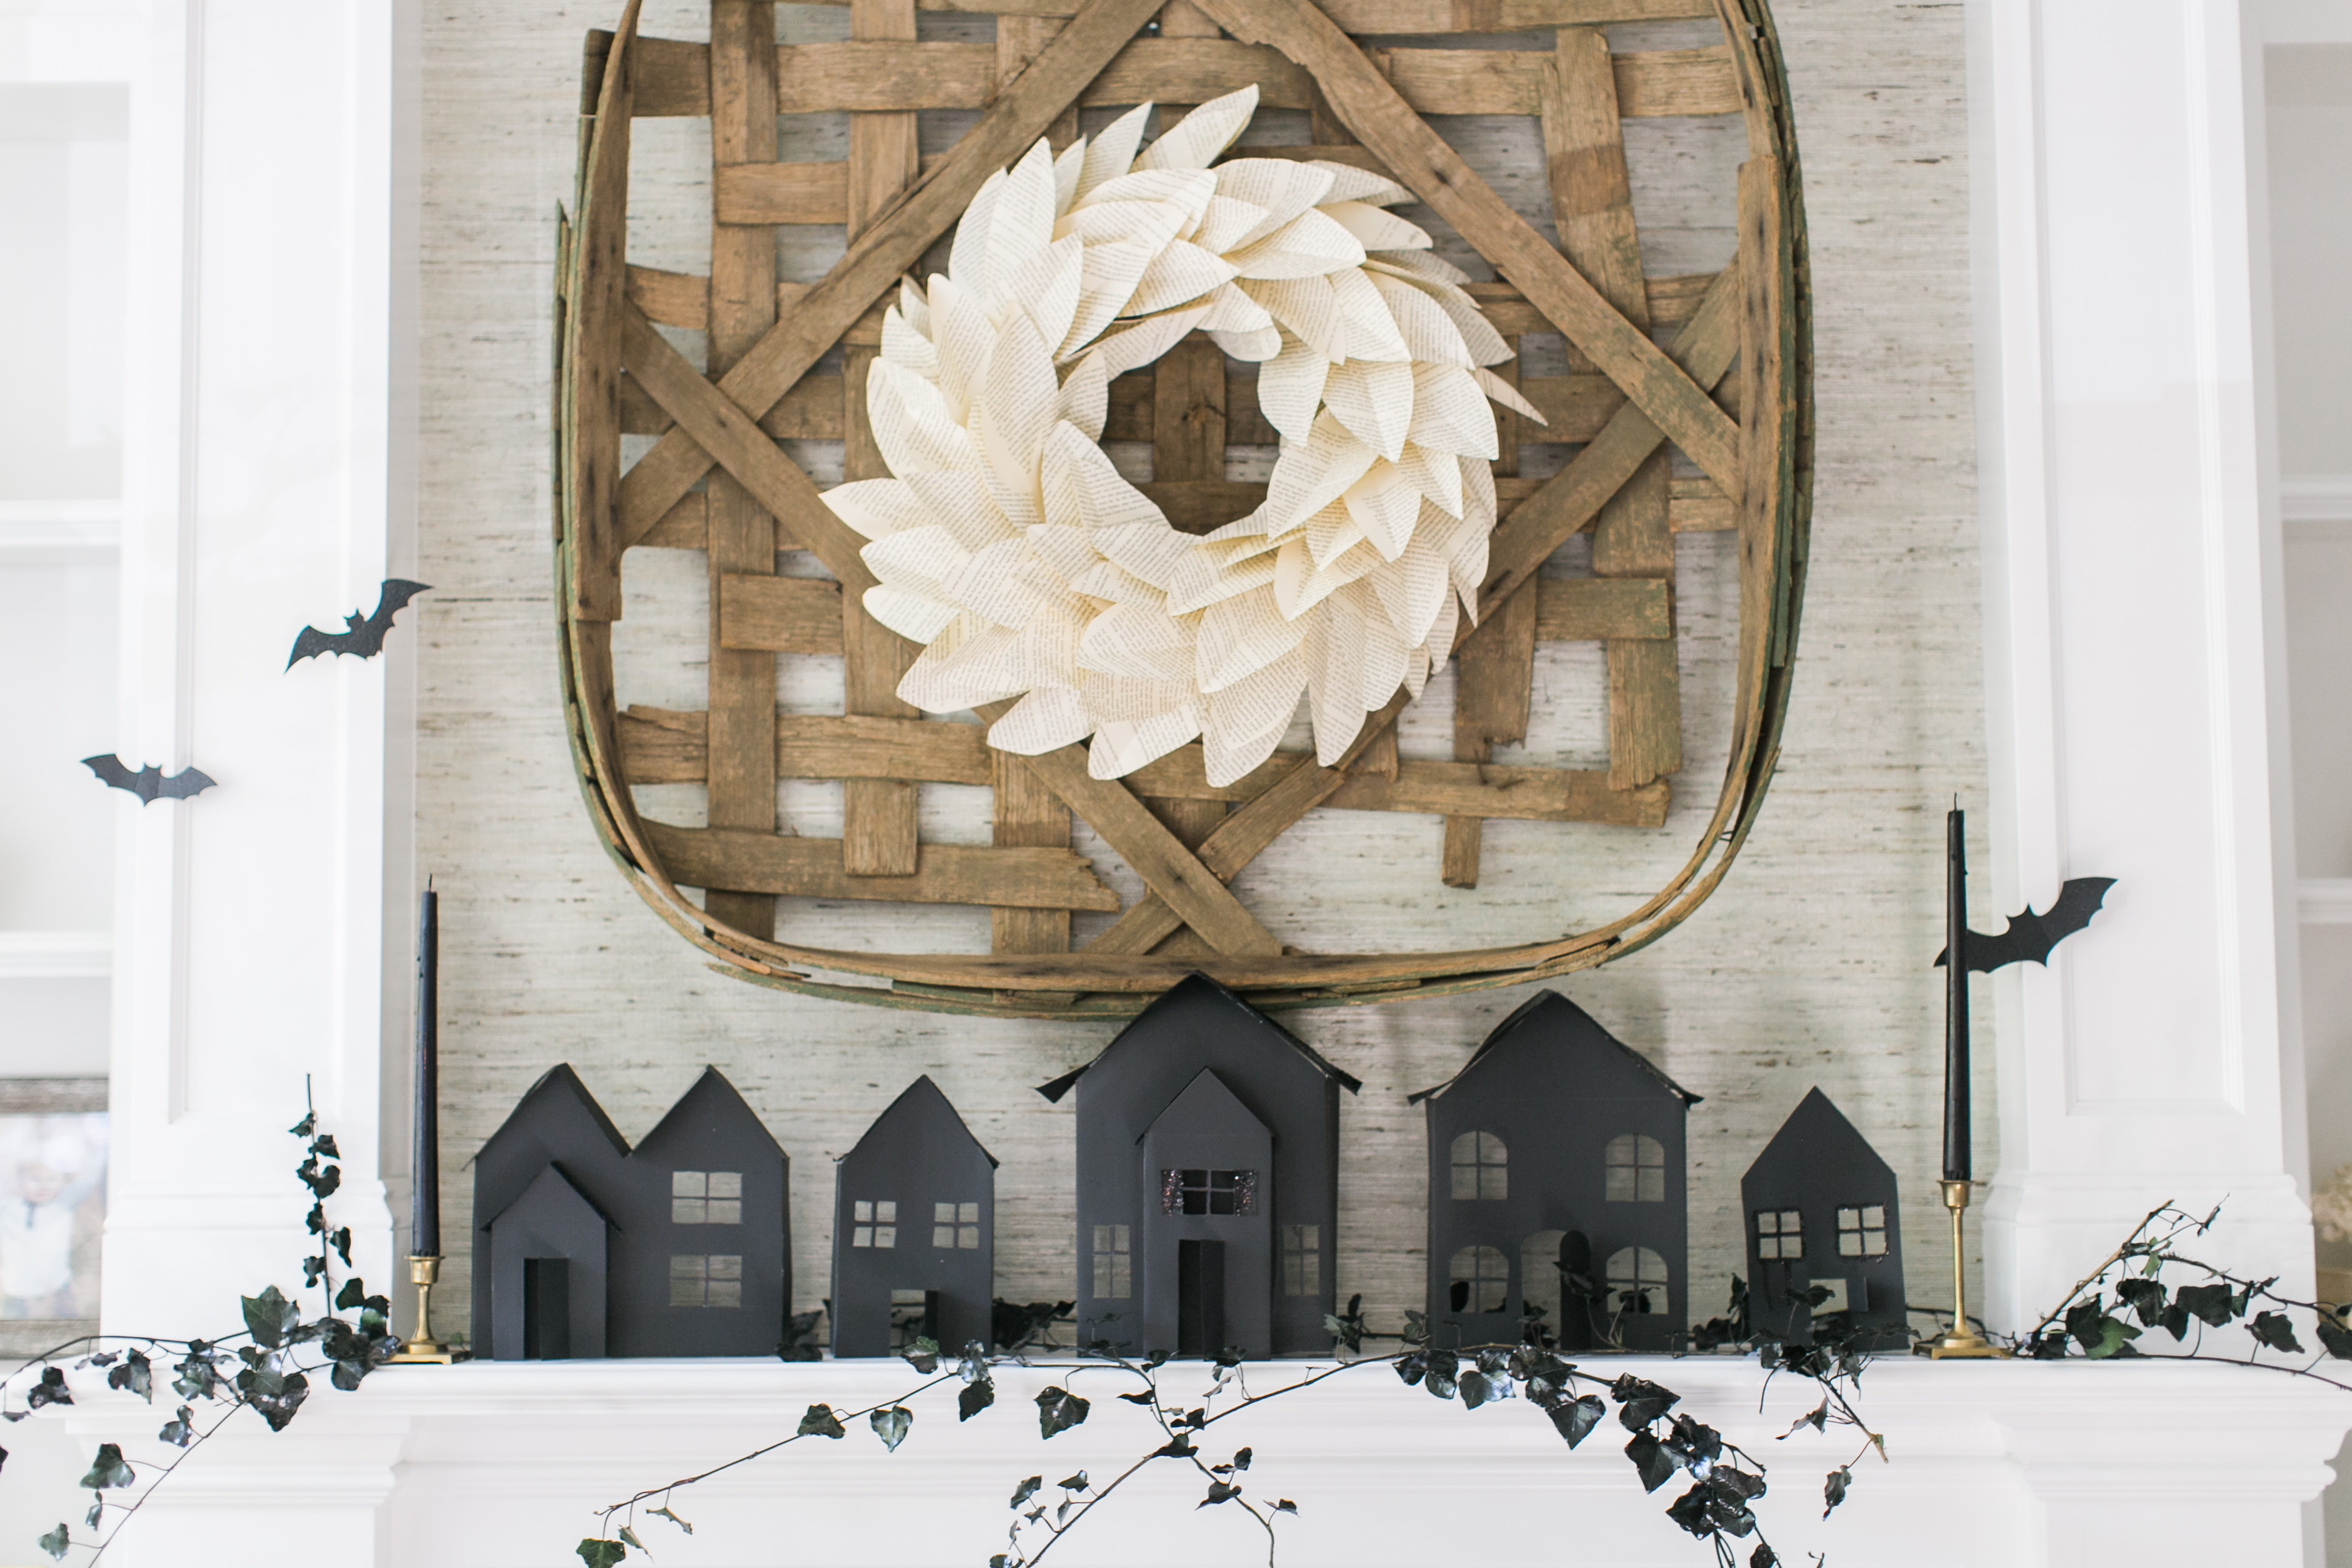
Once you are finished cutting out your houses, folding them and assembling, go over the folded and cut parts with your sharpie. As this black poster board and is not black all the way through, I found the cut lines were white. This was easily fixed with the edge of the sharpie. This gives it a polished look so they are truly black houses. And voila. One $0.79 black poster board created 5 Halloween houses for my mantel.

You can see our entire Halloween house tour here. These beautiful pictures were taken by Ruth Eileen Photography. She’s your gal if you are looking for a New England photographer.
2 responses to “A Spooky Black Halloween Village”
Leave a Reply

 comment share
Me again…I just love these little haunted houses! I also like the black candles, tiny bats and the creeping ivy, all of which add to the spookiness! The perfect vignette of Halloween mystery for a home with two little kids. Happy Trick or Treating!
Thank you sweet Linda! What a nice comment to read!