
HOME TOUR
Sweet friends! Excuse the very long hiatus from blog land. We’ve been (literally) all over the world. From Napa with family for 2 months to Sri Lanka and the Maldives, it’s been quite literally exhausting and exhilarating all at once.
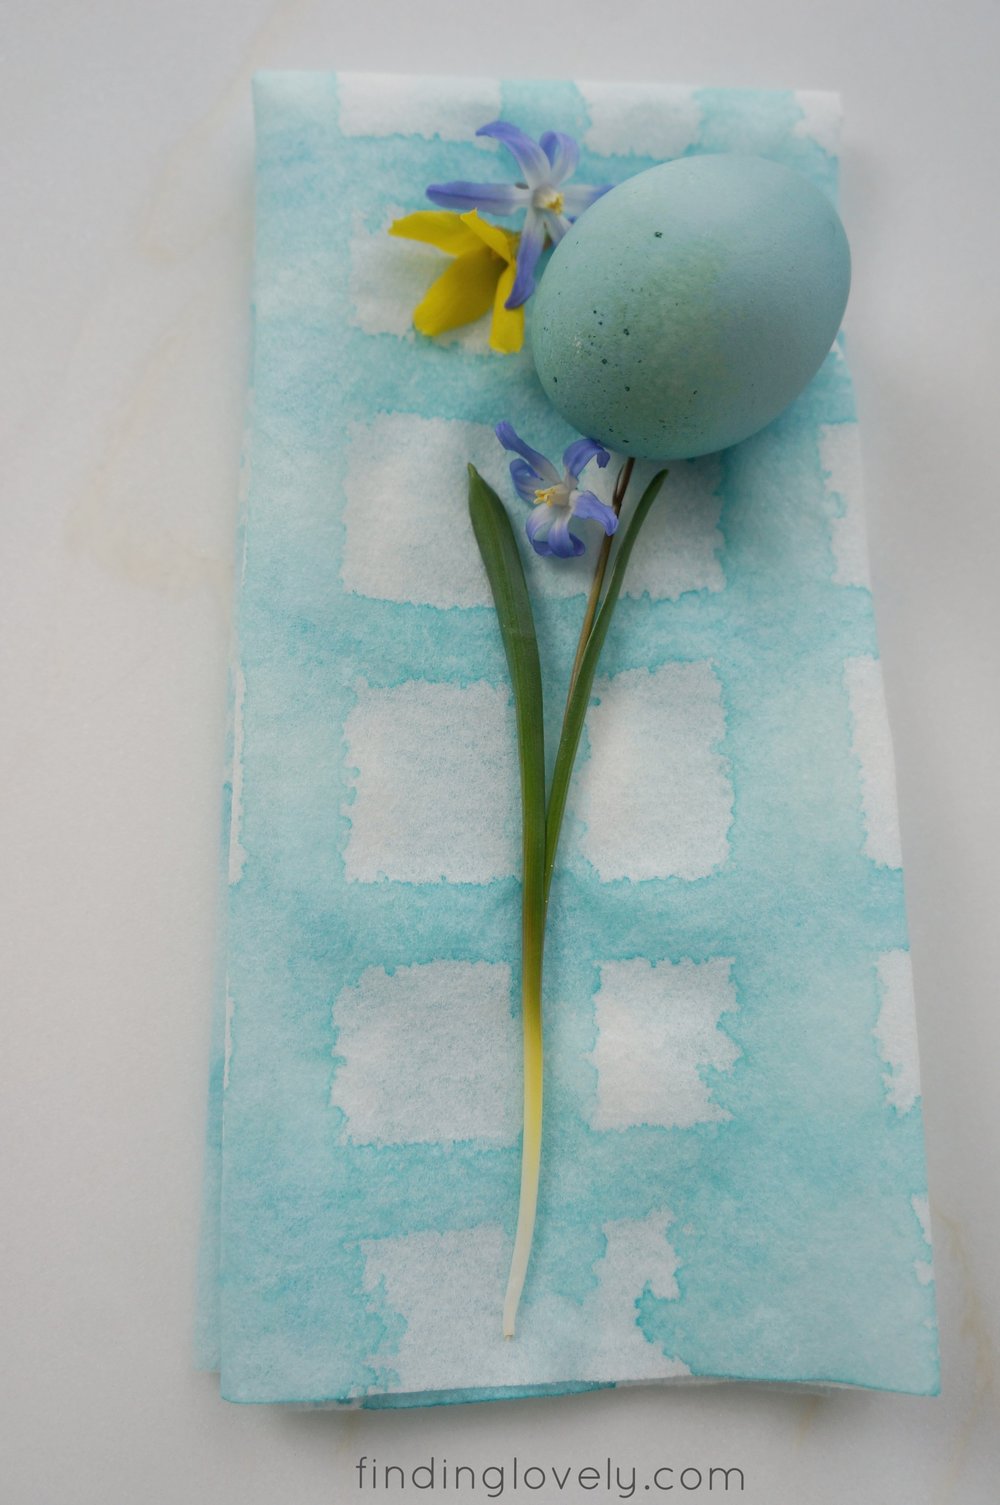
We got back on Saturday night and I feel like I’ve launched myself into Easter. There were just too many fun Pinterest ideas to pass up. Last night I had purple cabbage dyeing eggs on the stove and today…drum roll please…watercolor paper napkins.
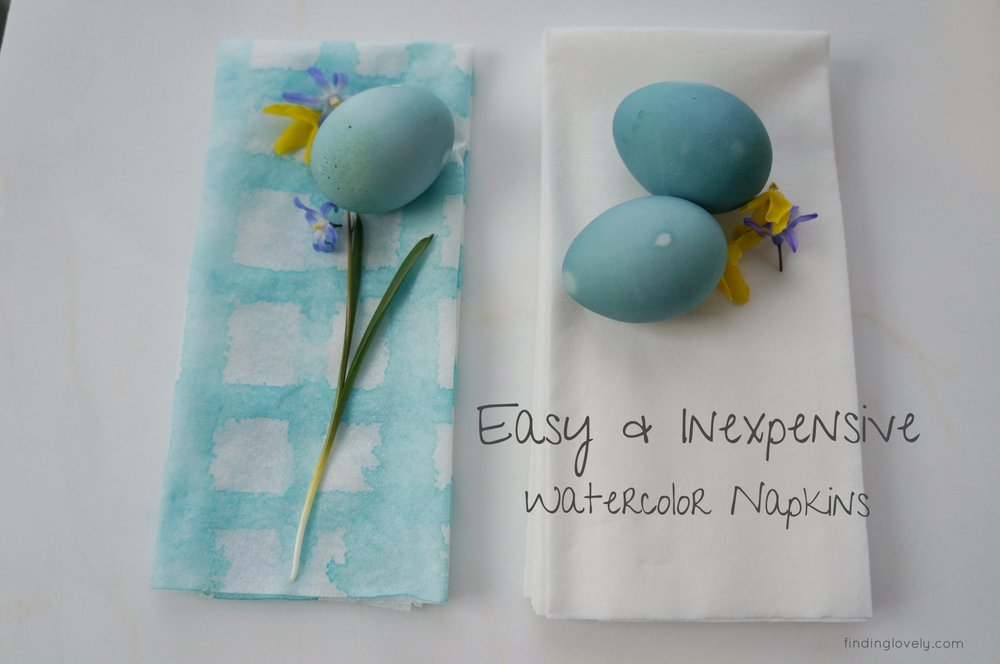
You see, we’re two months away from literally tearing down half our house. So our purse strings are tightly shut at this point. So I got to thinking, how can I make a pretty Easter table and spend next to nil? There are so many beautiful linens out there this time of year, they have me all drooling. I looked at my sorry stash of beige and thought, “there’s got to be something better than this?” Enter…a paint brush, some watercolors and thick paper napkins. Thick is key. We’re not talking Bounty paper towels. These are the nice, thick…dare I say, luxurious paper napkins. I got mine from amazon. They are 12″ by 17″ so they are a nice size. Overall this project took maybe 20 minutes start to finish, required minimal skill and has so much possibility.
Supplies
- Thick paper napkins
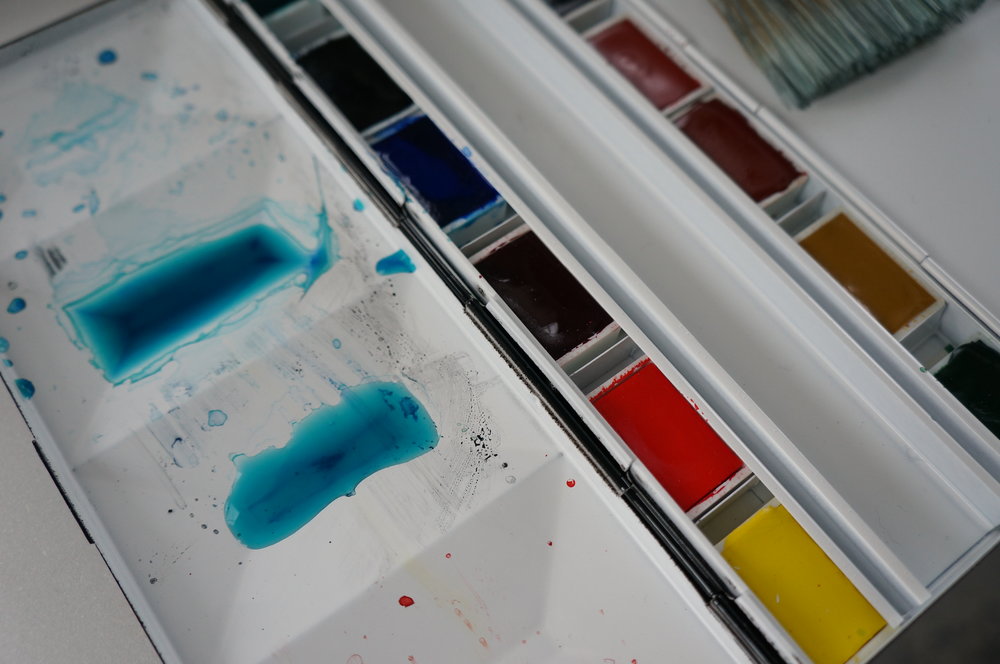
- Water colors
- Thick paint brush
- Extra water in bowls
- Ziplock bags (or newspaper) to protect your surface
Steps
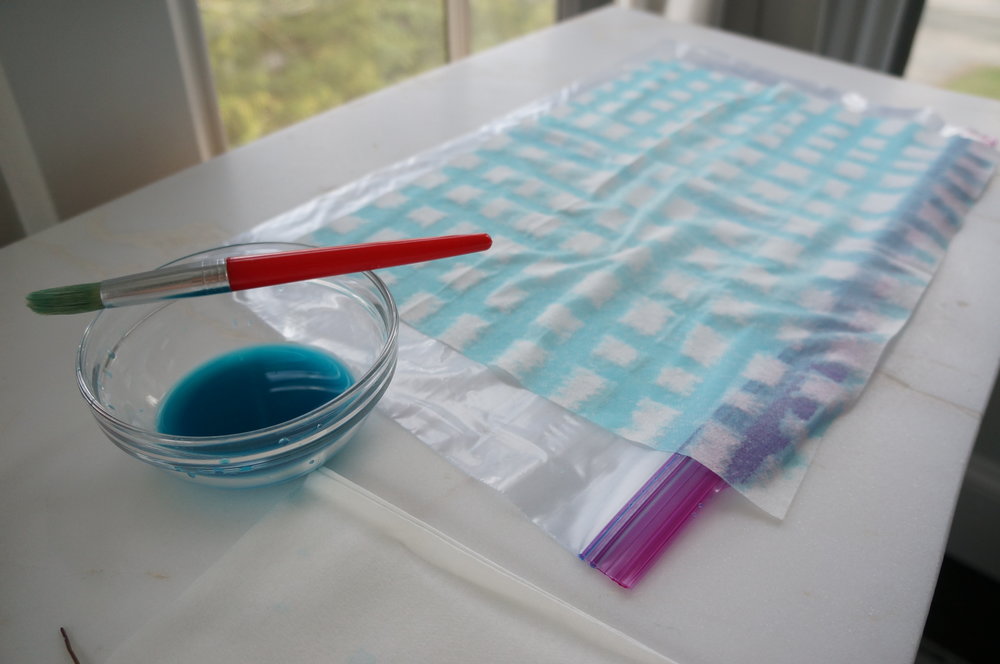
1. Lay out some kind of covering over a flat surface. I used two ziplock bags to protect my table.
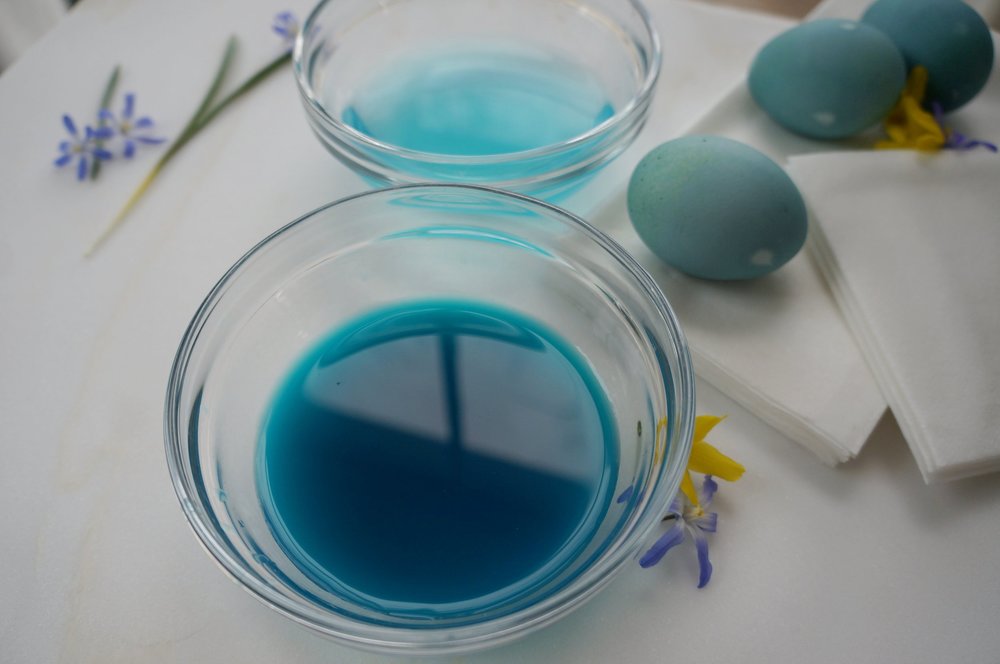
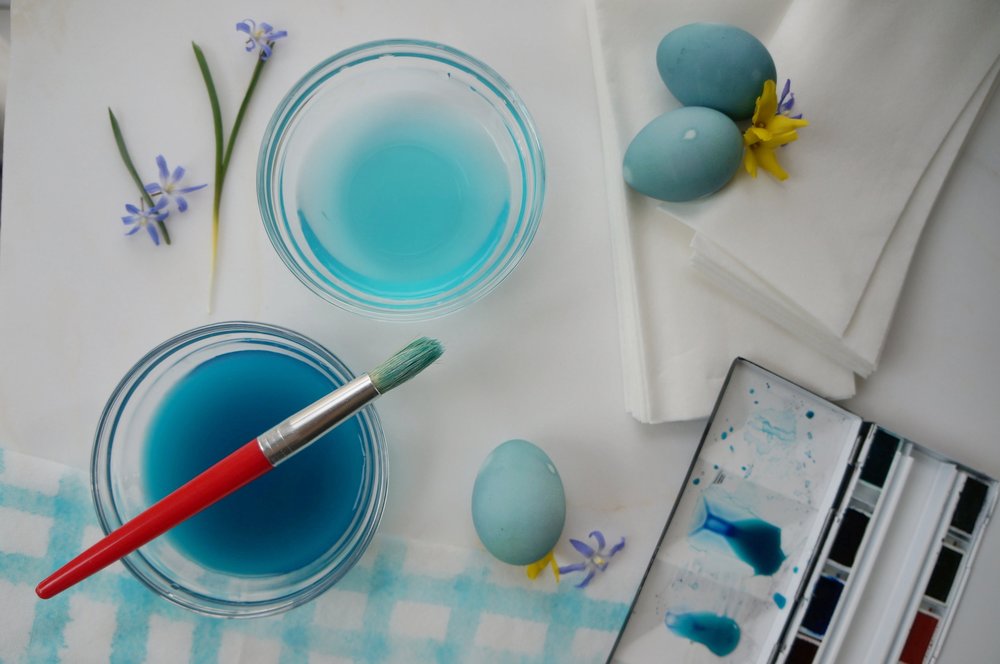
2. Grab all your supplies and set out…a water color kit, paint brush, water in bowls and your napkins.
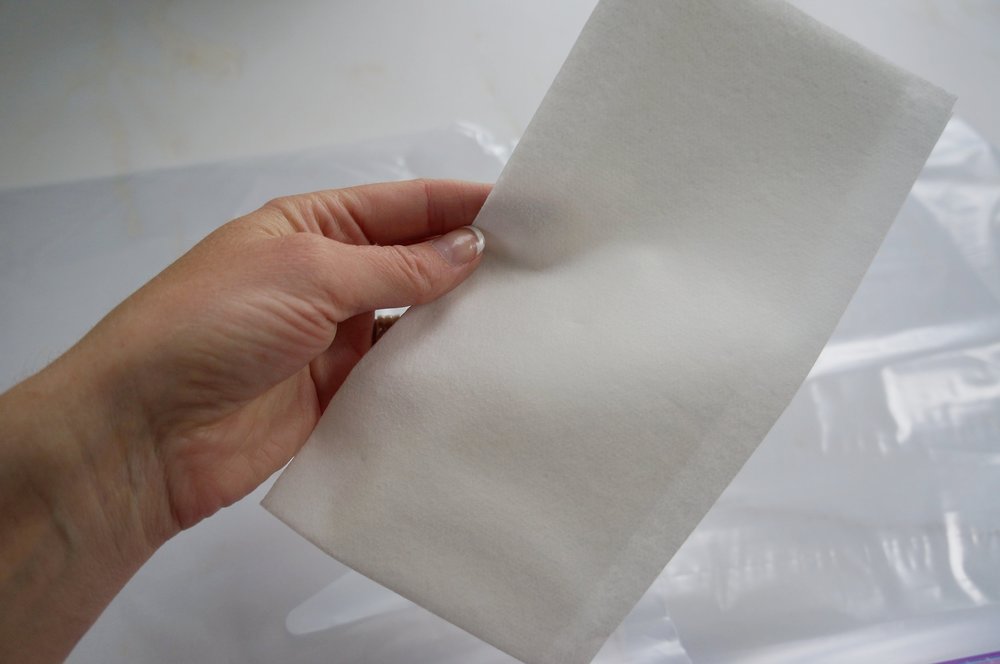
3. I unfolded the napkin and smoothed it flat on top of the ziplock bags.
4. Grab your paint brush and mix the watercolors to your desired color. I was going for a pretty aqua which means I used some blue and some green. Do note that the colors dry lighter on the napkin.
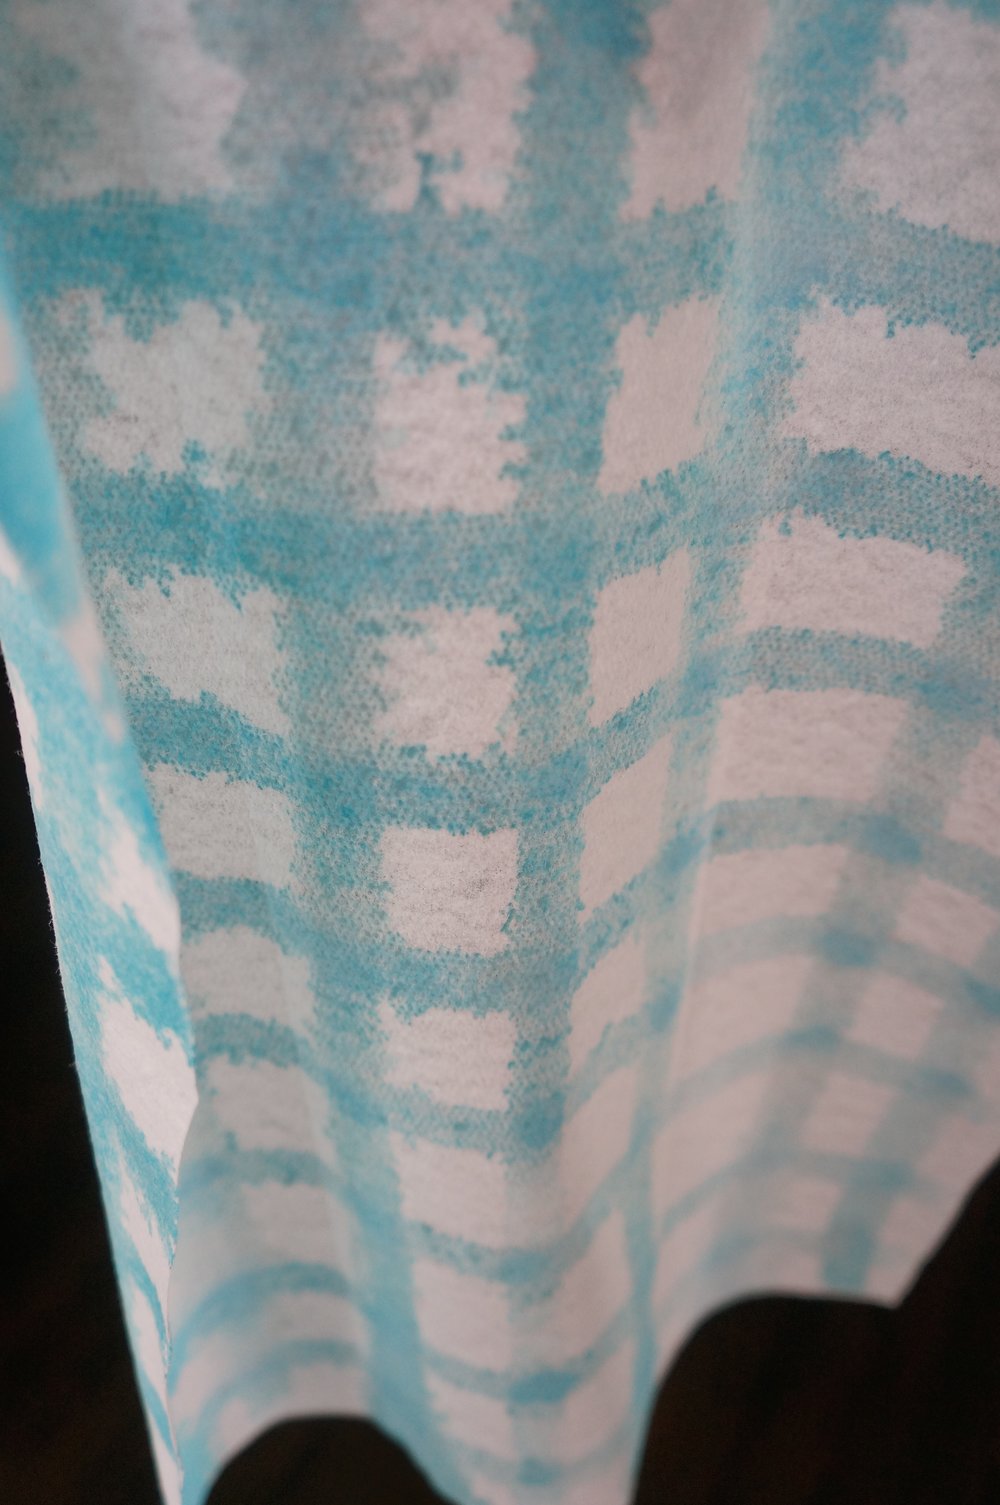
5. My inspiration was some gingham or buffalo check napkins I had seen recently at a store. This meant I needed to run a series of parallel lines horizontally and then vertically.
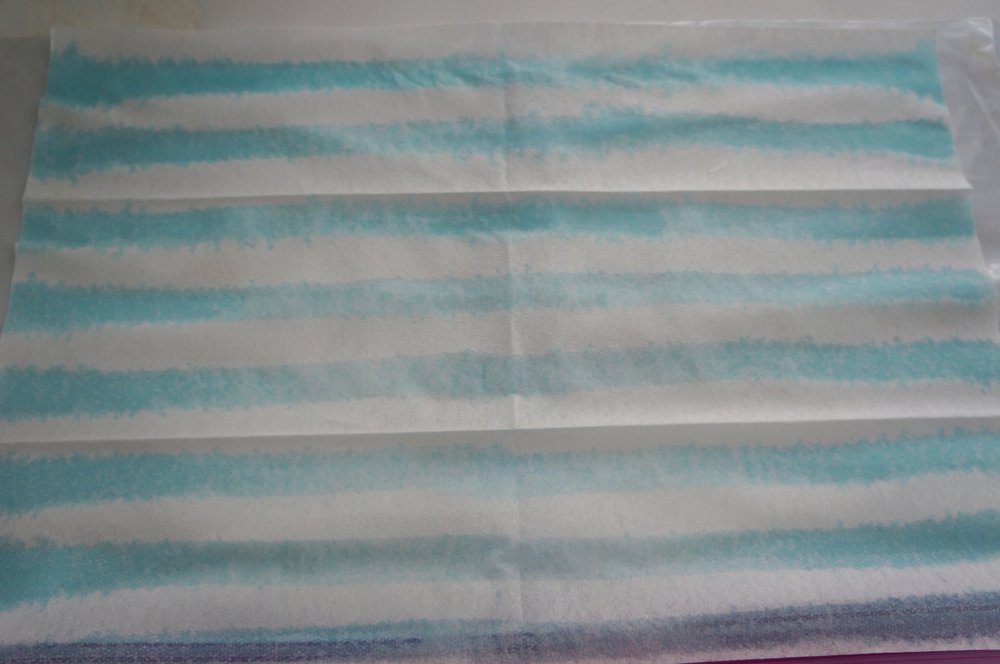 Horizontal lines
 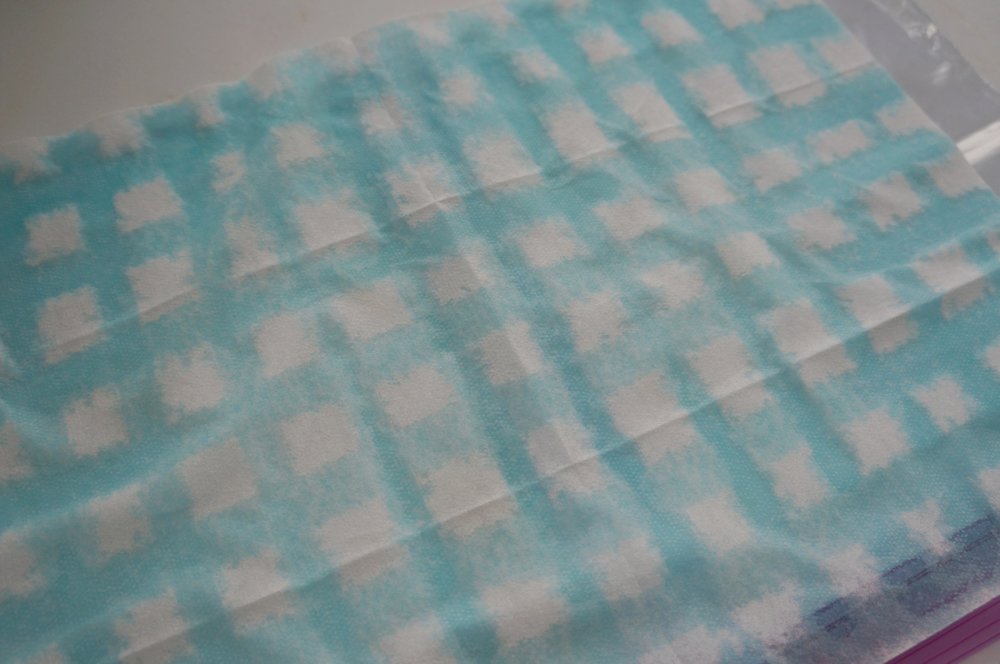 Then added vertical lines
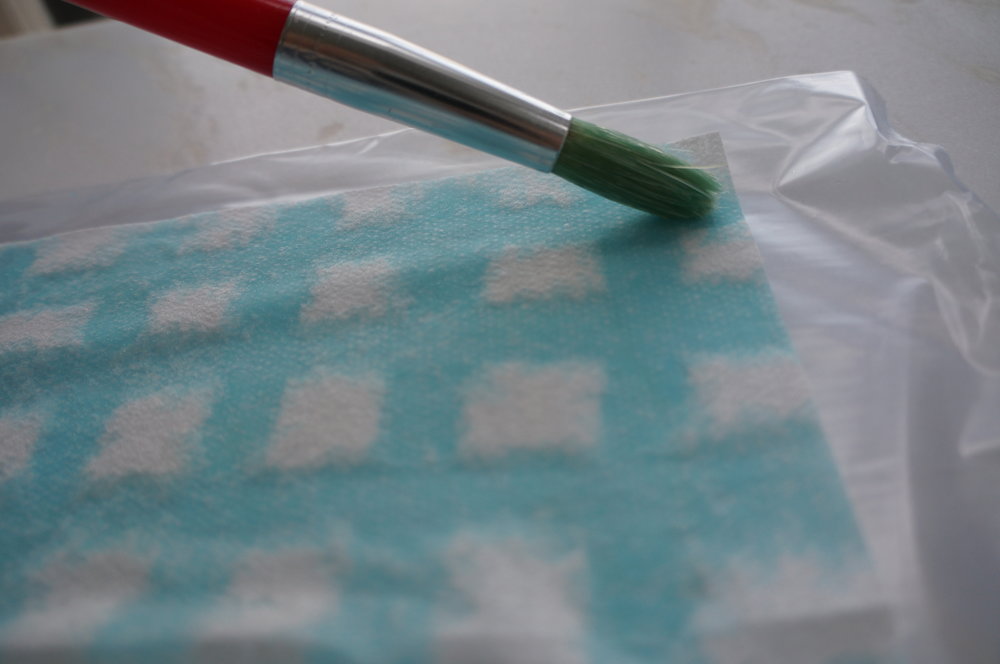
6. Here’s my best tip for you if you’re going for straight lines: dip your paint brush into the watercolor, shake of the excess, barely touch the napkin at the edge and lightly start drawing a straight line. As you get about a quarter of the way across the napkin, press harder into your paintbrush. This makes your line roughly the same thickness all the way across. The initial touch of the watercolor to the napkin spreads the color quickly and if you are pressing down hard, you’re going to end up with a big blotch. So tread lightly and then press harder as you go. I stopped at the halfway point on the napkin (nicely delineated for me by a fold) and then repeated the same process from the other direction, meeting the original line at the middle. This gave me a relatively even line.
 A light touch, barely touching the brush to the napkin
 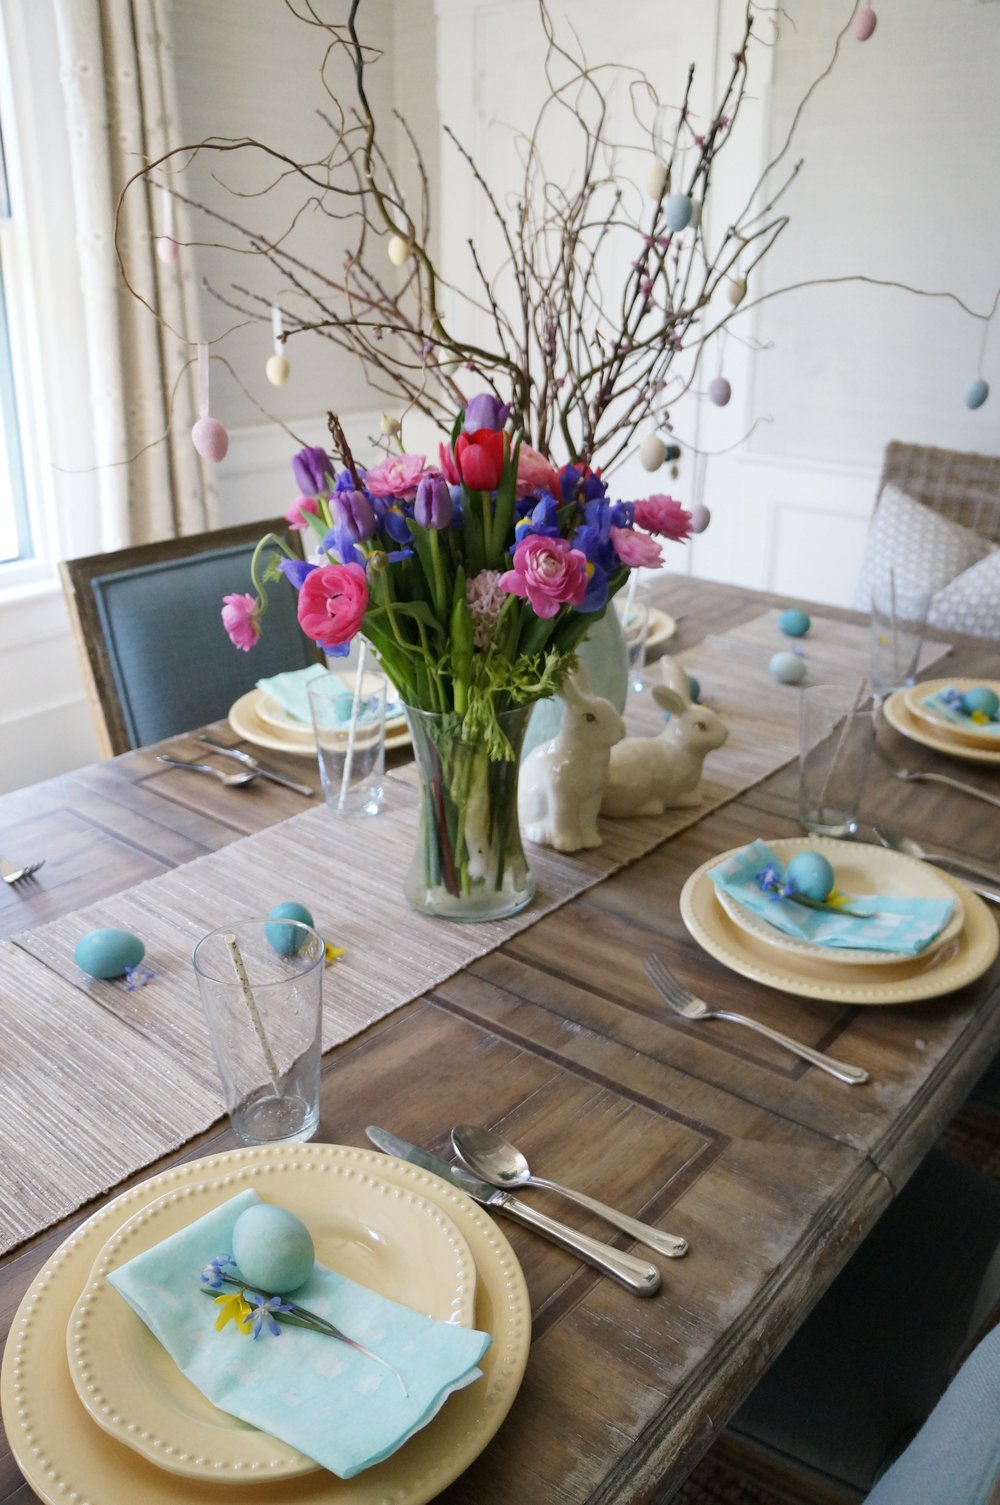 Pressing the brush much harder to keep the line relatively the same thickness
It really took very little time and I started to realize that the beauty of this is in the imperfections. It’s never going to look exactly like the gingham store napkins but the whimsy made the final product lovely.
7. Lay your wet napkin out flat to dry. I used my hamper.
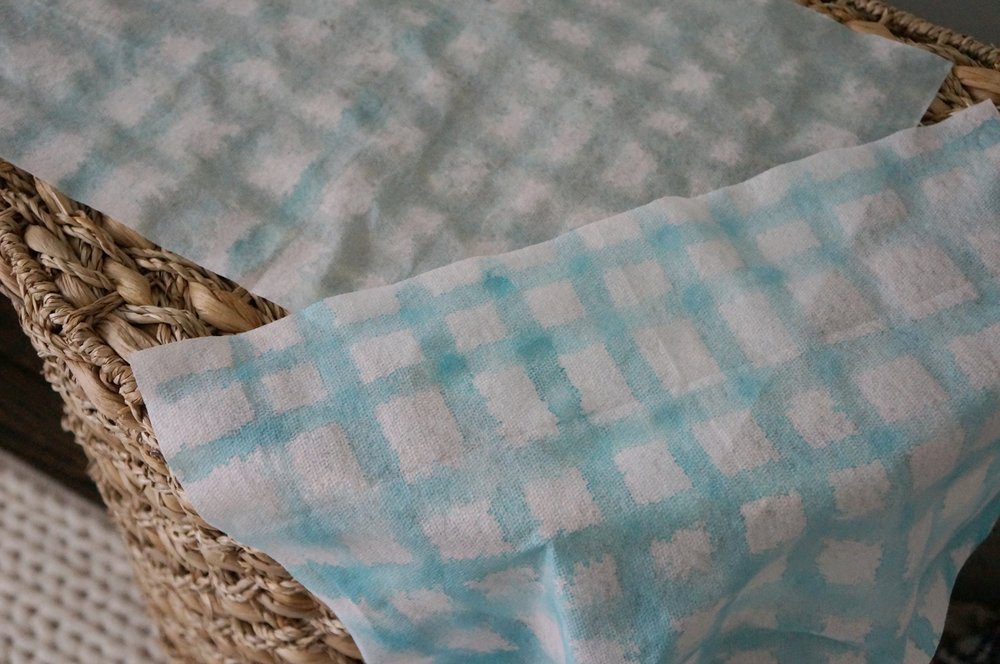
After the napkins dried thoroughly, I folded them back up the way they started and set them on the table. Voila! Easy, inexpensive white napkin refresh.

I have big plans of setting up the Easter table so stay tuned. 🙂 Until then, blessings friends!

 comment share