
HOME TOUR
02.01.2017
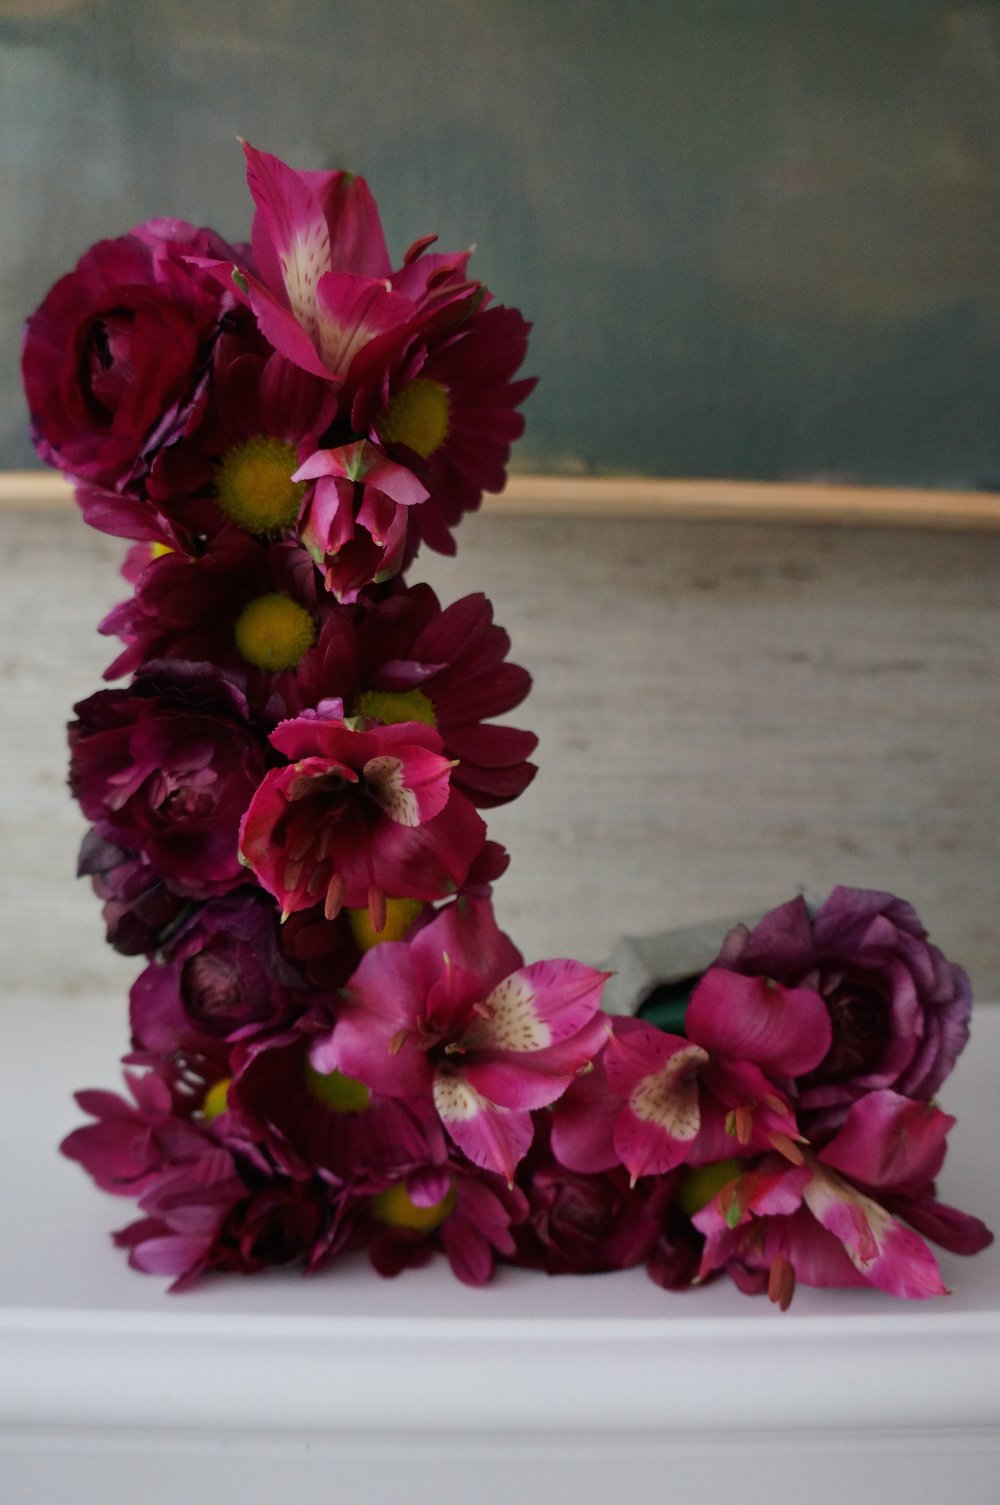
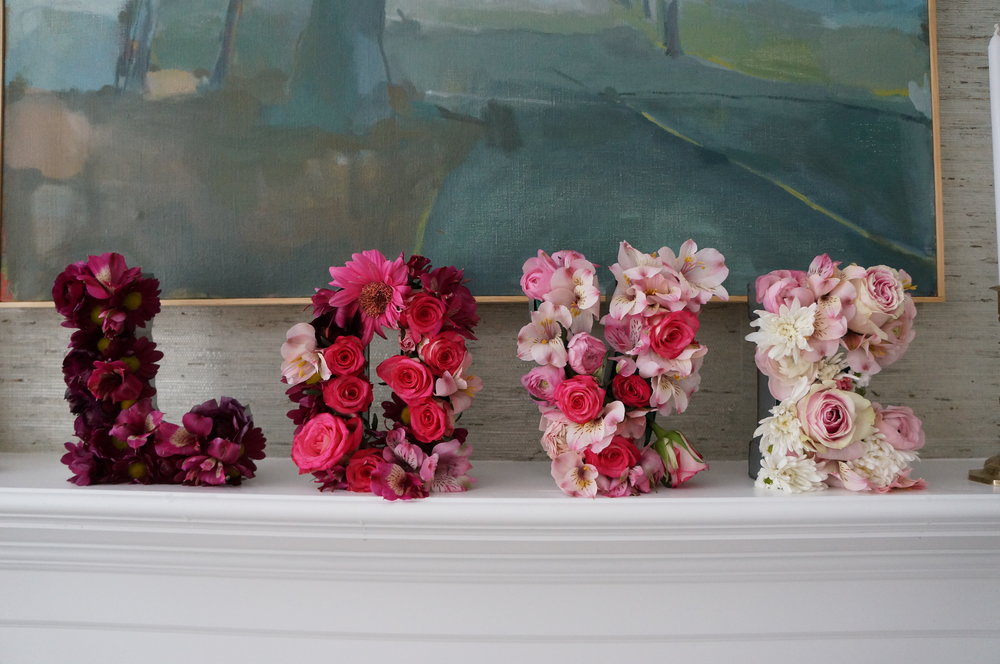
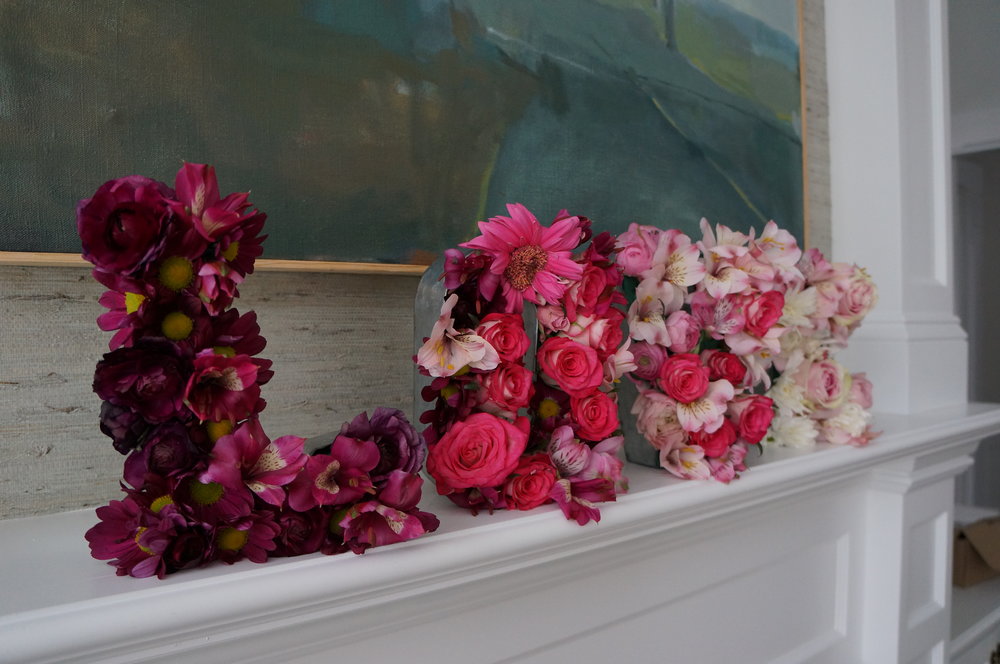
LOVE is all you need
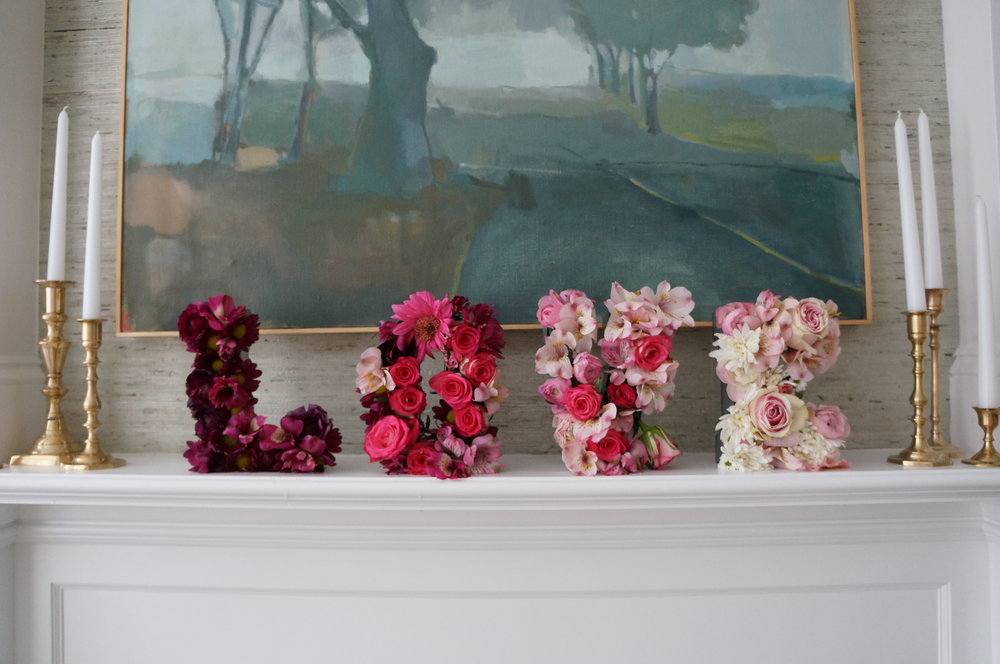
What if, instead of a dozen red roses this year you get a few inexpensive arrangements at Trader Joes and make an ombre LOVE flower arrangement? I mean why not? We have all the time in the world right?!. Haha. But seriously friends, this isn’t as bad as it looks and boy is it beautiful. It would be a perfect for DIY wedding project or decor for any myriad of celebrations.
When thinking about decor this Valentine’s Day I wanted to focus on LOVE. I’m talking to my little boys a lot about love and what that looks like anchored by the truth of the scriptures and full of grace. I think, no matter your religious background, right now you’d agree, we all need more of it. So let’s let the beauty of LOVE sink deep into our souls and get our hands full of some lovely flowers. Talk about a pick me up in the middle of a cold winter. What could be better than an ombre fresh flower arrangement spelling love?
Supplies:
- 3 blocks of WET floral foam
- serrated knife
- 4 metal letters (L-O-V-E)
- About 4-5 bouquets of flowers, at least 10 flowers per bouquet) I bought mine based on color and price-1 dozen pink roses, 2-8 stem ranunculus bunches, mums, one bouquet I’m not sure the name of and a mixed bouquet all from Trader Joes and reasonably priced.
- Duct tape if you chose to destroy the L and then reassemble
- Power tools as needed to make your letters work
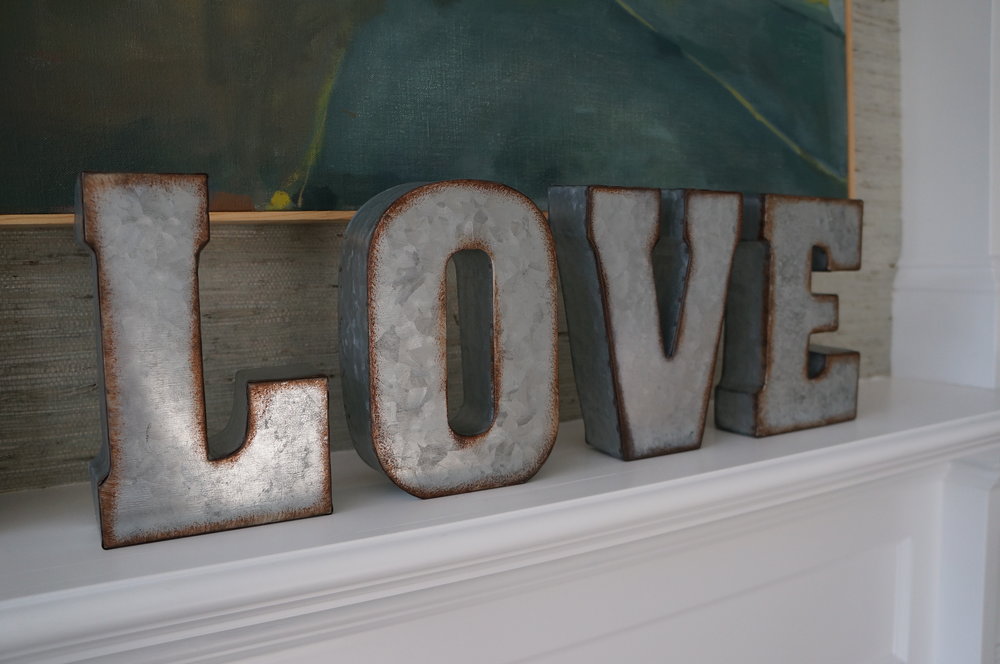
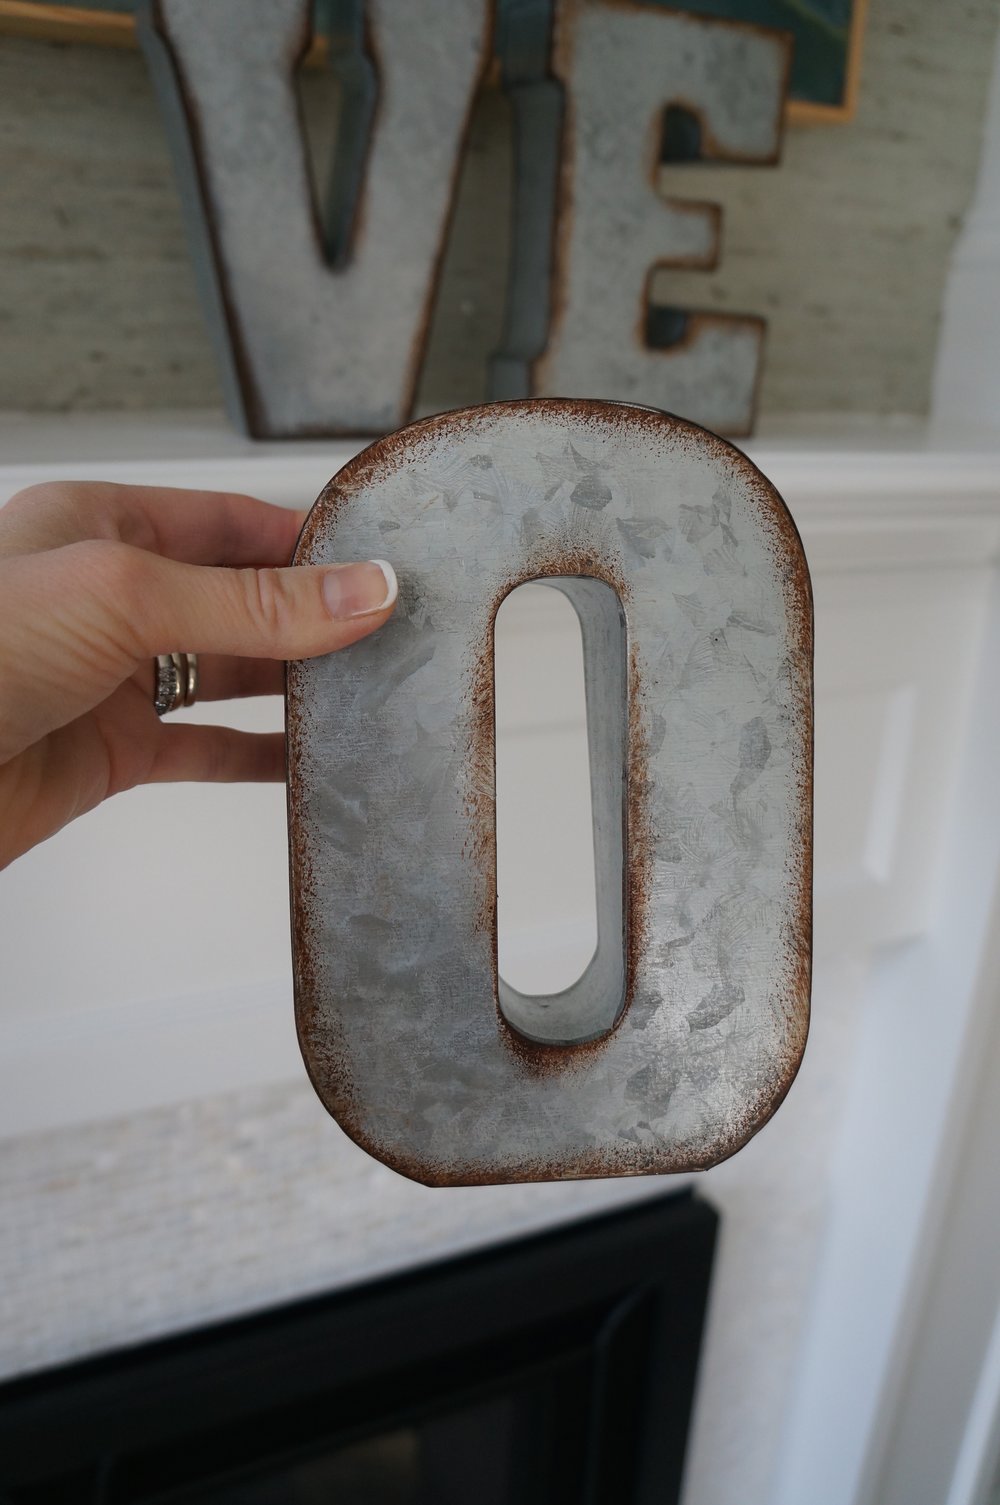
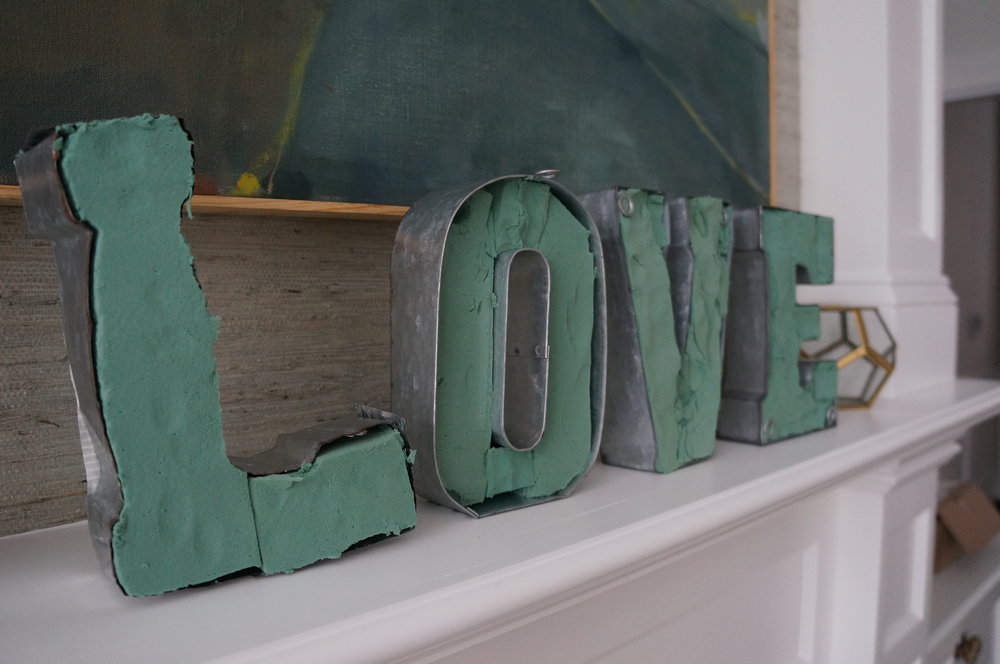
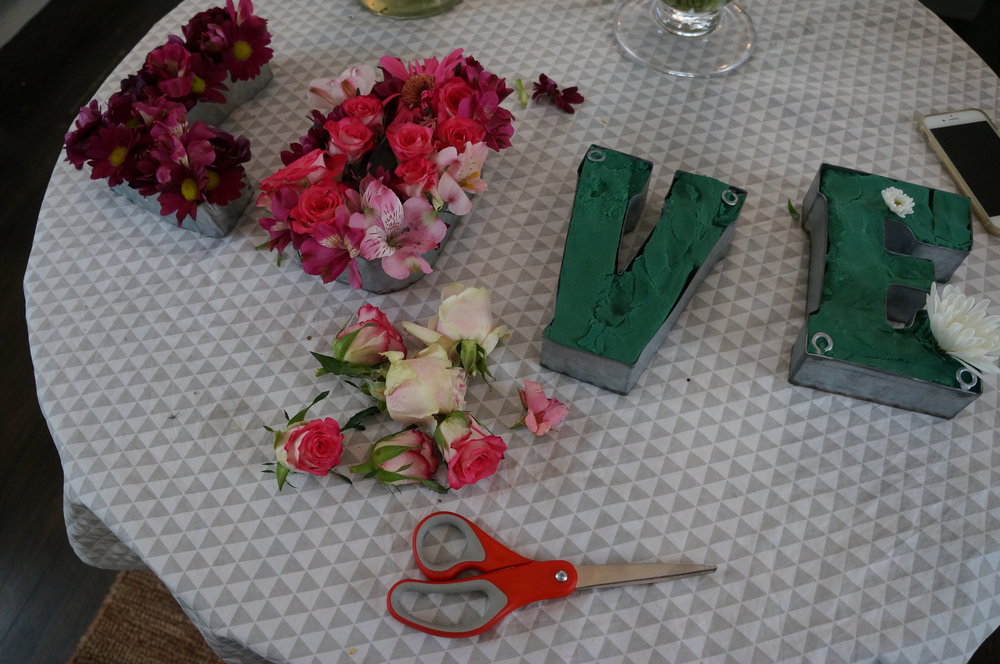
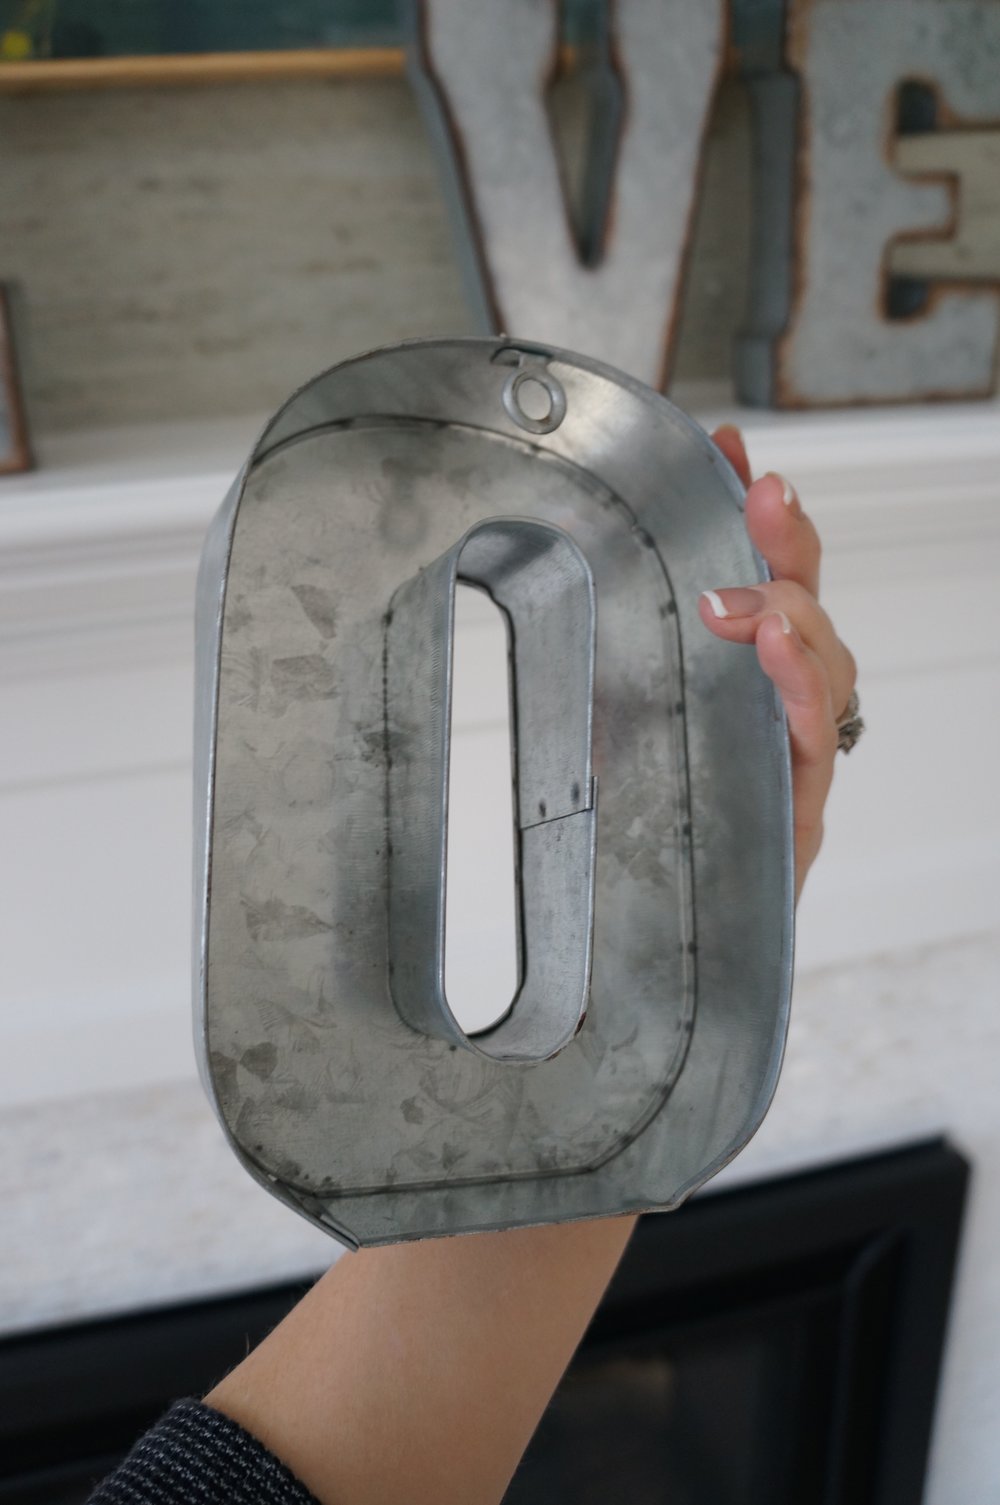 See how when you turn these letters around they are hollow? The O, the V, and the E (when flipped upside down and turned around) all work perfectly for this project. The L is the only hard one.
This project went fast once I had the letters worked out. So the only real snag in this project is finding the metal letters and fixing the ‘L’ if you go the route I did. As these are real flowers you need WET floral foam. Don’t make that mistake at the craft store. There are both dry and wet foam sitting side by side so pay close attention to which one finds its way into your cart.
I had to scour the internet for the right letters. I was hesitant to go with a paper mache letter as I was afraid the water logged floral foam would cause it to disintegrate all over my mantel. So I searched and searched and ended up buying these four L-O-V-E letters off of ETSY. You can find them here. They are 7″ tall and 6″ in length at the longest part of the letter L. Perfectly NOT overwhelming but just the right amount of lovely.
So be warned. These letters are NOT designed to be turned around. We are using them in a way that they are not intended to be used. This means that the O, the V and E, once flipped around to reveal the hollow side all look like they are going the right direction out of sheer luck. BUT the L. Well he decided to be a bit more difficult. This is where we insert some light profanity and power tools. I handed the L to my husband and said, “Okay go. Take the front off the letter off so I can use the outline, duct tape the back so the foam stays in place and have an L that doesn’t look like it is backwards sitting on my mantel.” So he really did the hard work. And it wasn’t pretty folks. I’d be lying if I said that it was easy. He banged and hammered away at the sucker for a good 45 minutes. We were left with a mangled mess that we put back together. BE WARNED. If you do this, the metal is sharp. My hubby had to use a few bandaids when he was done.
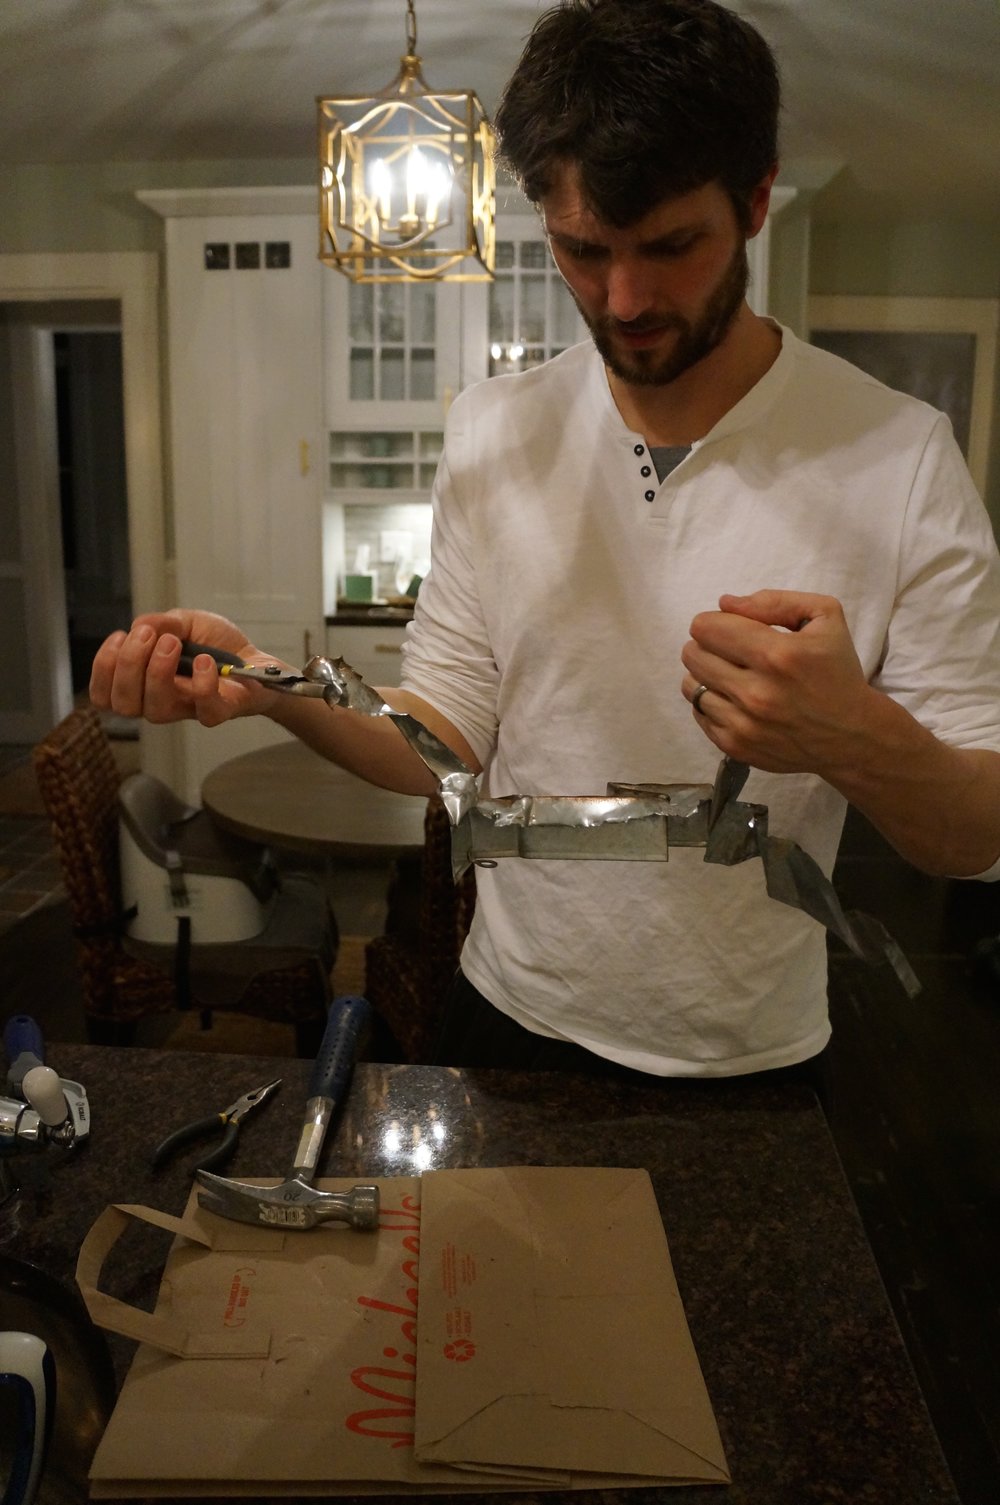 I told you it wasn’t pretty. Gah!
But…here’s where I think you’ll do better. You see you’ll read this and think, “ok this is how I am NOT doing this” and you’ll take the sucker to Home Depot and figure out how to unweld the spots on the front part of the letter that holds it on. OR you’ll splurge for these, which are much bigger, and already hollow.
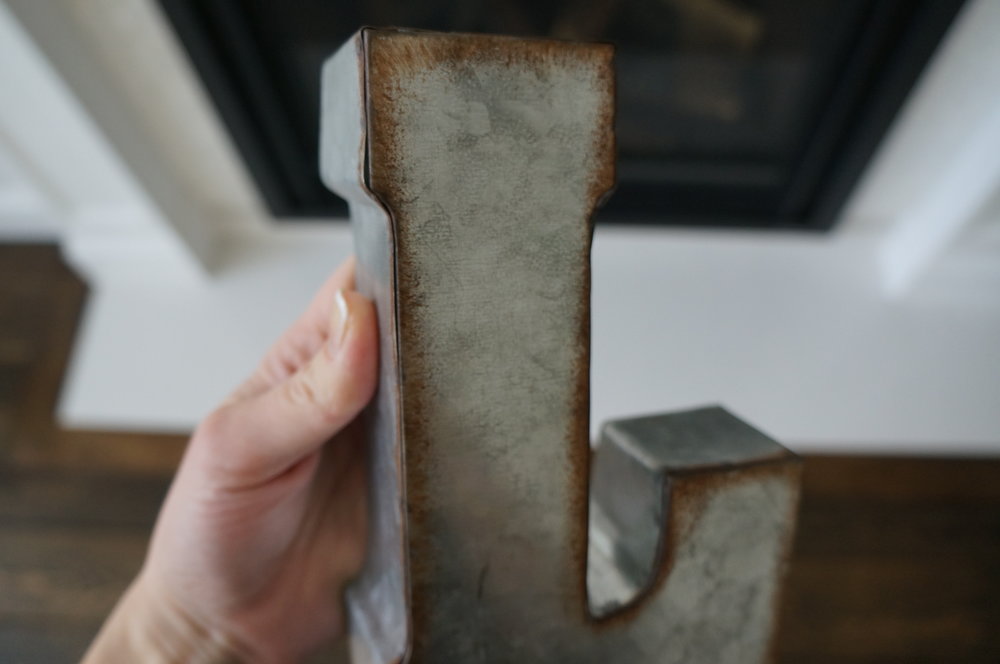 See how it looks like the front is just loosely attached. Don’t be fooled. It was WORK to pry the sucker apart. Totally worth it in the end but WORK.
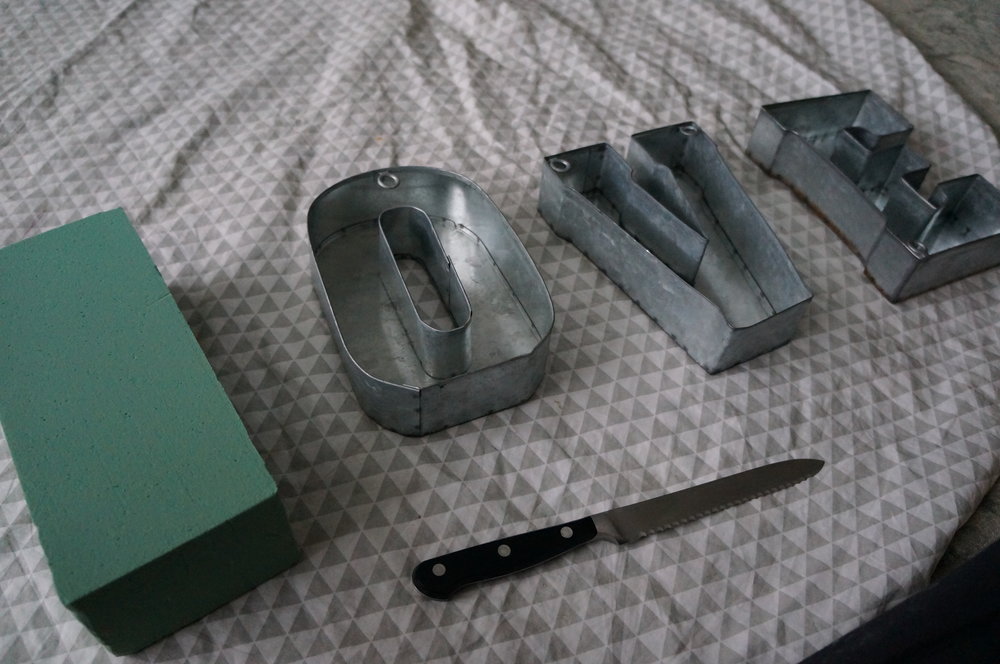
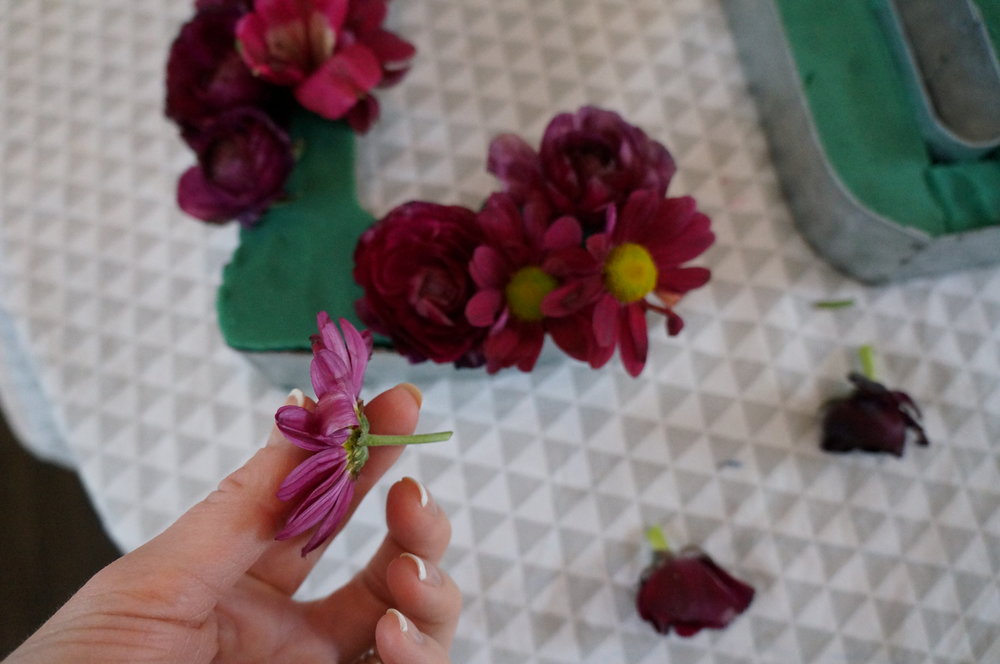
Here’s the nice thing about metal letters. The floral foam if it is still dry can literally be molded easily to fit the letters. I had a serrated knife out but quickly realized the foam is so pliable that all I had to do once I cut it to the right depth was press down and it slides into the metal letter with ease.
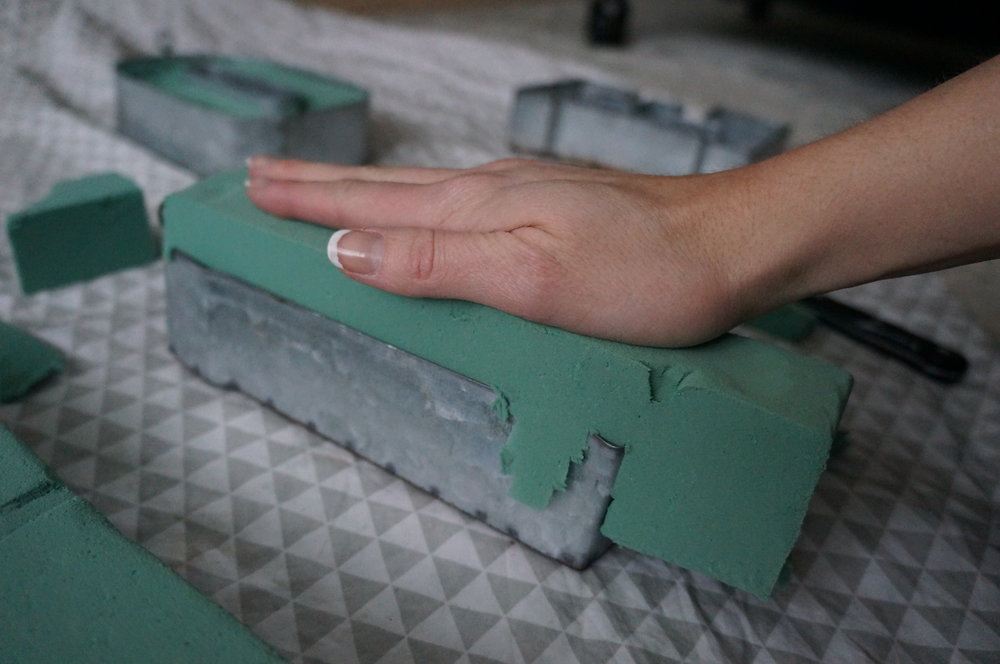
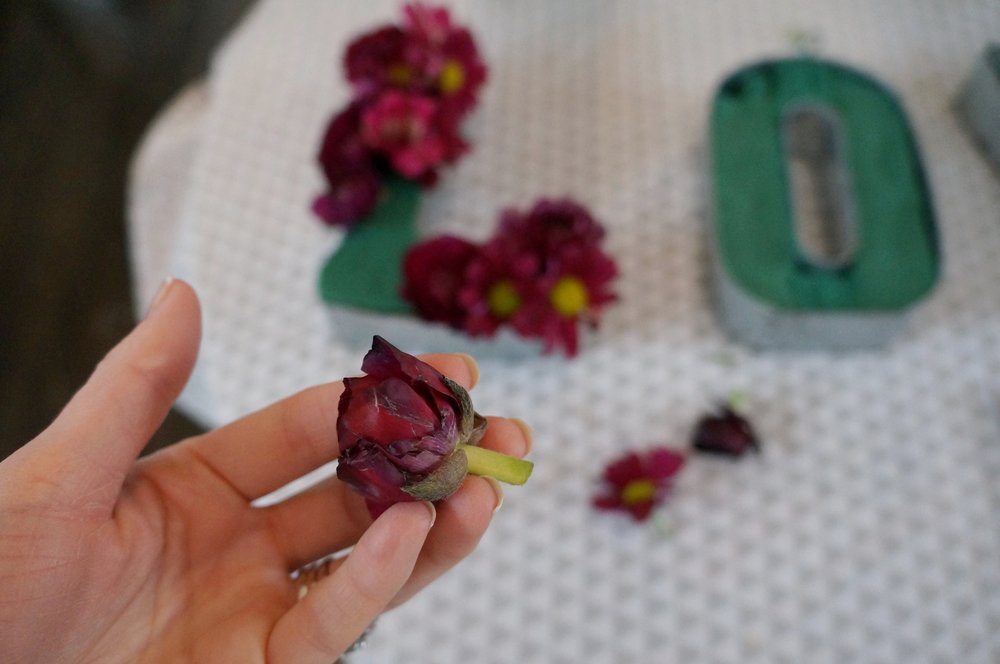
Once I had the letters filled with foam I ran water over the foam in the sink to saturate it. And then the fun (and easy) part begins. You cut the heads off the flower stems leaving ~1 inch of stem to be pressed into the foam and you just squeeze them all together so as to not see the foam beneath. This took me maybe 20 minutes with toddlers pulling on my legs begging for snacks. So buy the right letters and this will be a breeze.
 You can see how the poor L is needing some LOVE. Yikes. But I had hope all the bangs would hide nicely once the flowers got placed in side and it worked out.
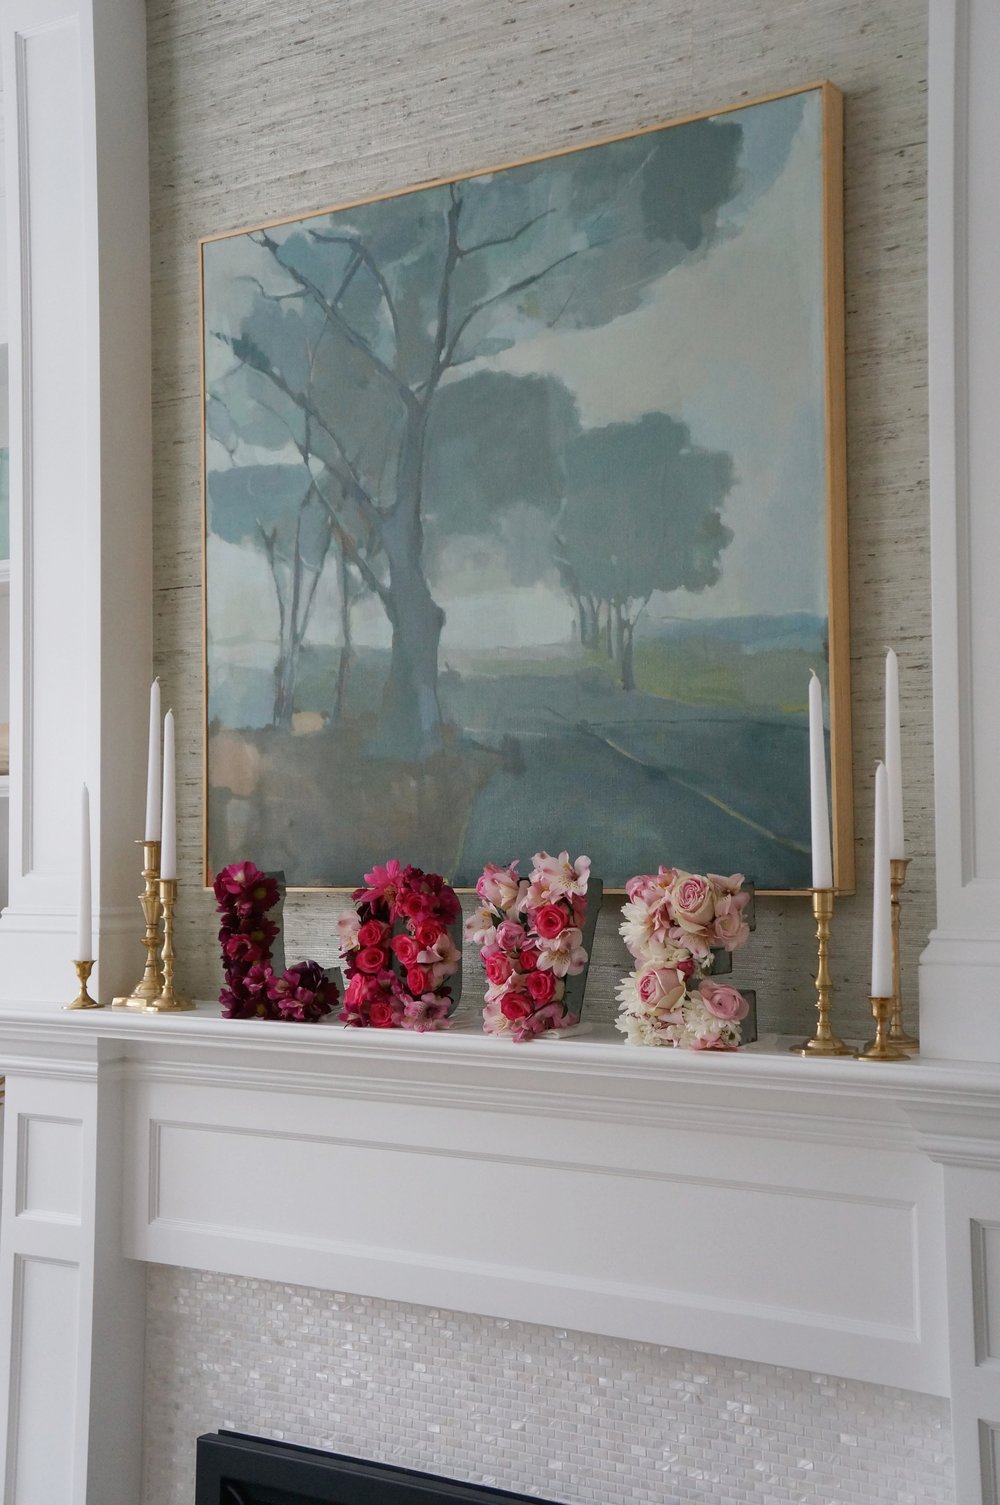
Happy Valentine’s Day. Let us all remember that love drives us forward. We show love. We give love freely and we are thankful for the love shown to us.

 comment share