
HOME TOUR
Are you looking for a fun way to decorate pumpkins this year? I’ve never tried this before and hadn’t read any instruction. So this is my wing-it approach that seemed to work well. I think they turned out pretty. Clearly not a perfect lace impression but that isn’t what I expected.
I searched Joann’s looking for something to stiffen up my chalk paint imagining a mortar-like consistency that I slopped on, not enough to slide under the open lace work pattern of the lace I bought. No such luck. Enter starring at your baking cupboard and thinking, “hmm, corn starch works with apple pies, why not try it.” AND it worked like a champ. These are fresh pumpkins, I’m expecting to throw them away in a few months so this did not need to be perfect or withstand the test of time. You may want to research this a bit more if you are doing them on faux pumpkins and plan to keep them around.
Materials:
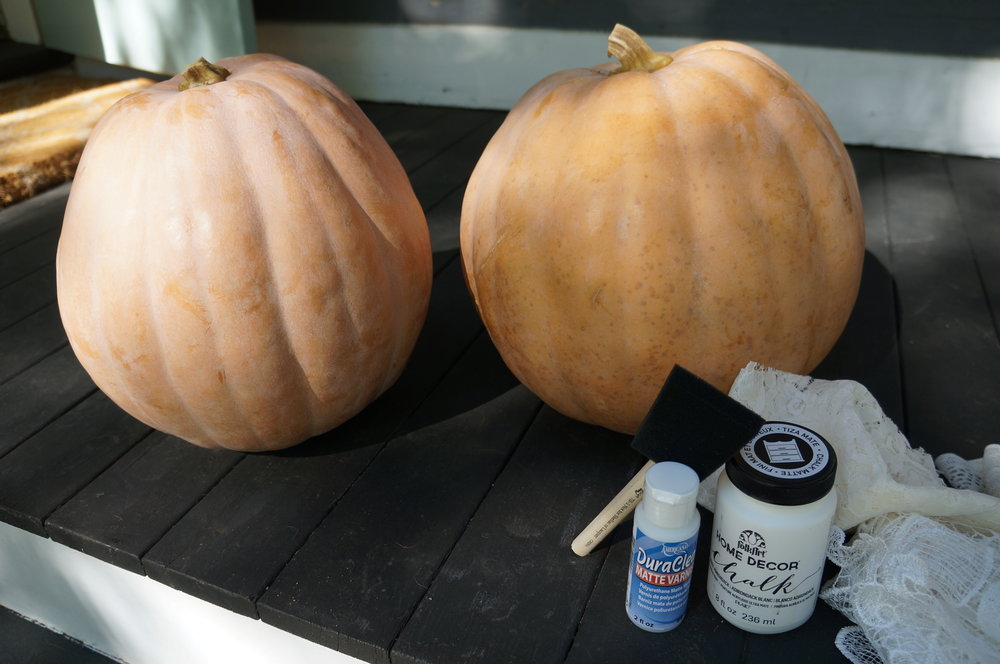
- Pumpkins, the smoother the better
- Lace (I bought 1/4 yard pieces at Joann’s)
- Sponge brush
- FolkArt Home Decor Chalk Paint in White Adirondack (I did not use the matte varnish pictured below)
- Scissors
- Paper Towels
- Cornstarch
- Spatula
Here’s what I did:
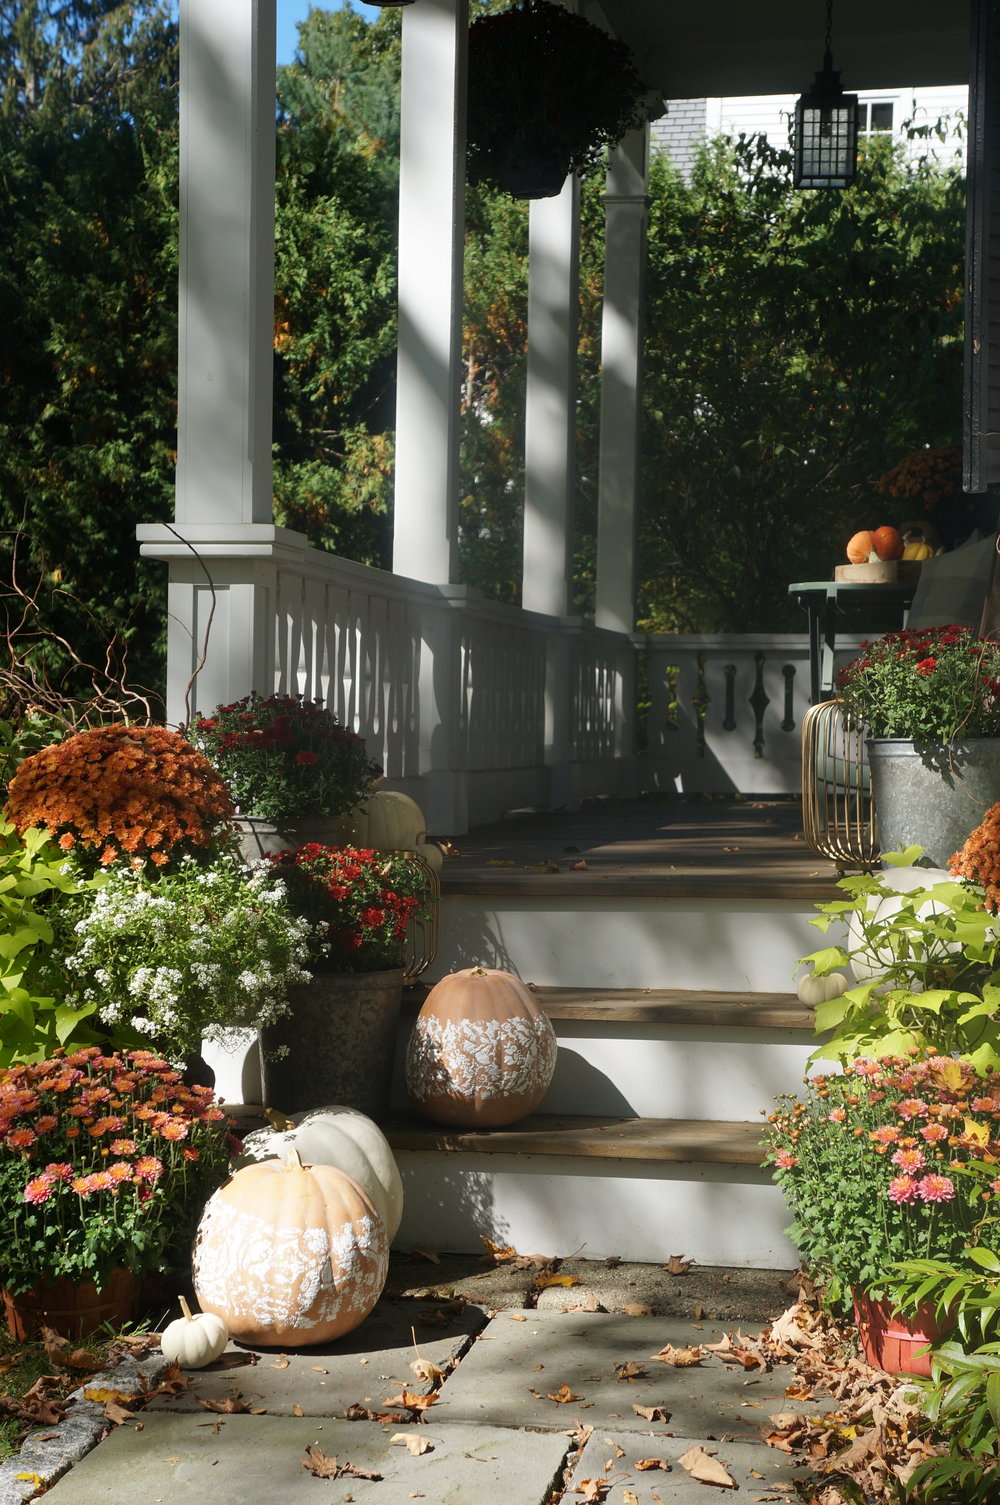
1. I put the pumpkins on my kitchen table on paper towels and set up my space with easy access to the sink expecting I’d have to rinse at least one off (and I did!)

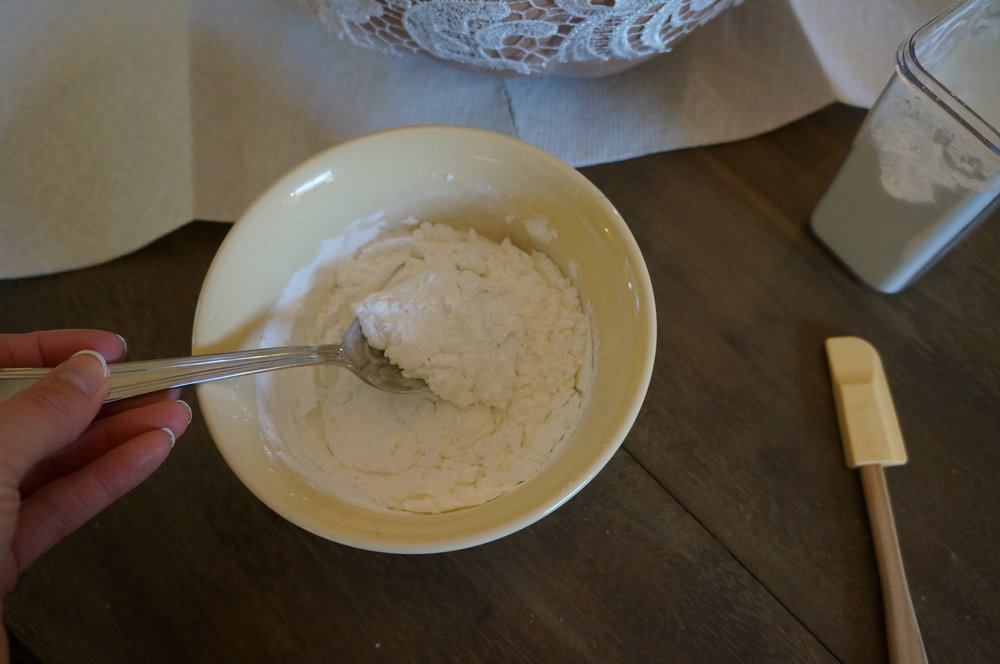
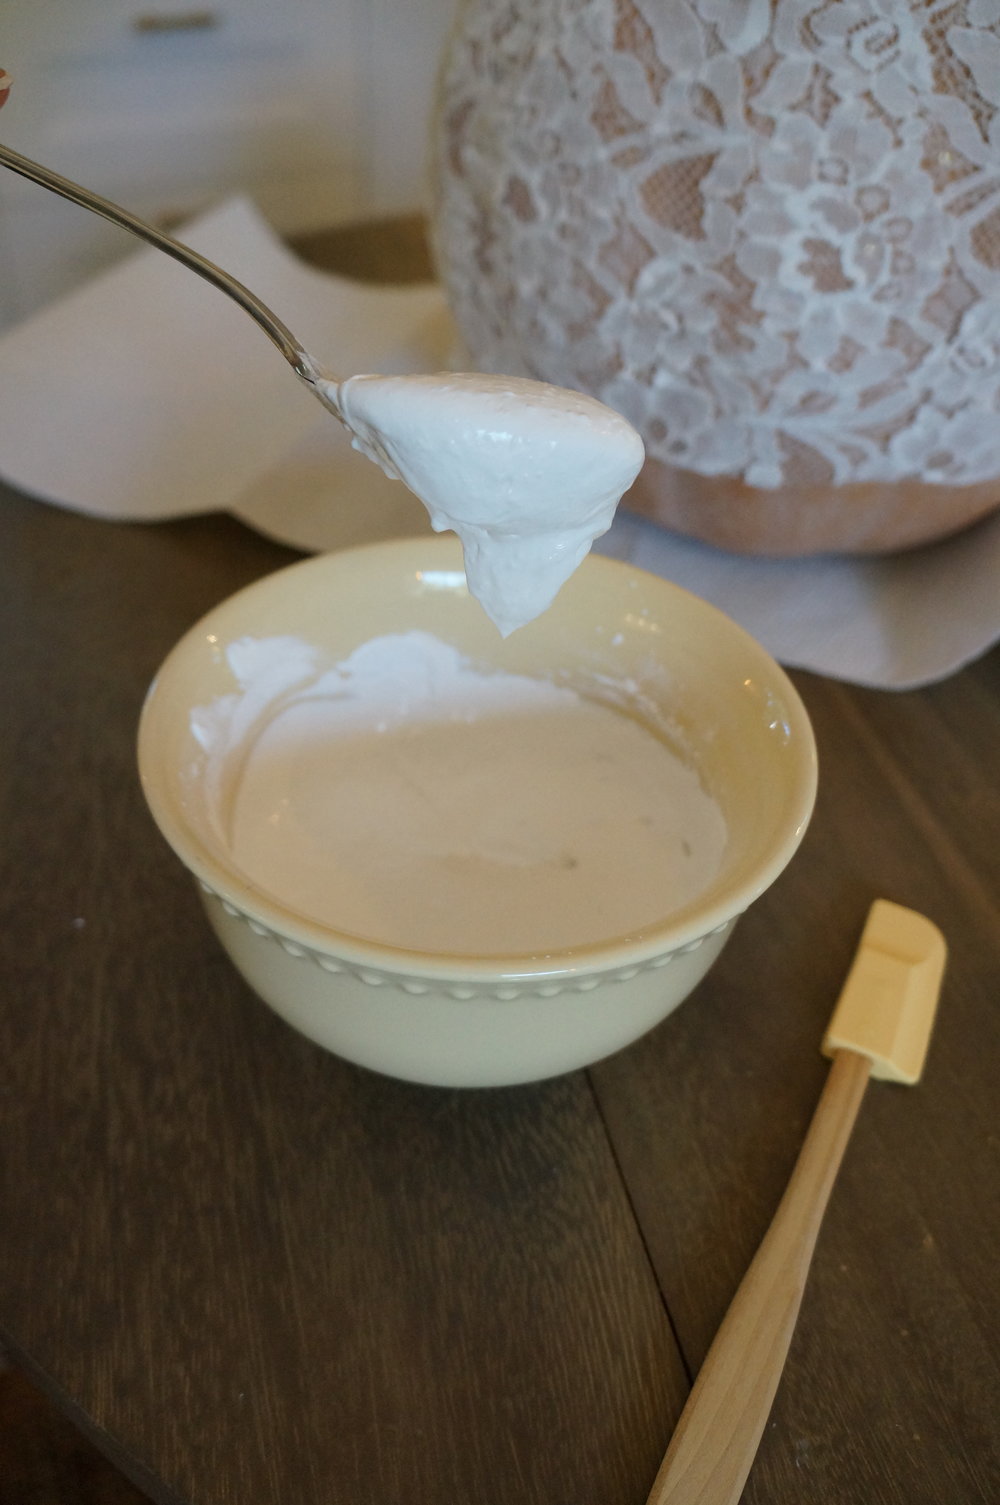
2. I eye-balled the amount of paint I used, pouring into a bowl and added two heaping scoops of corn starch. I mixed it and it seemed to work like a champ. It has the consistency of spreadable frosting.
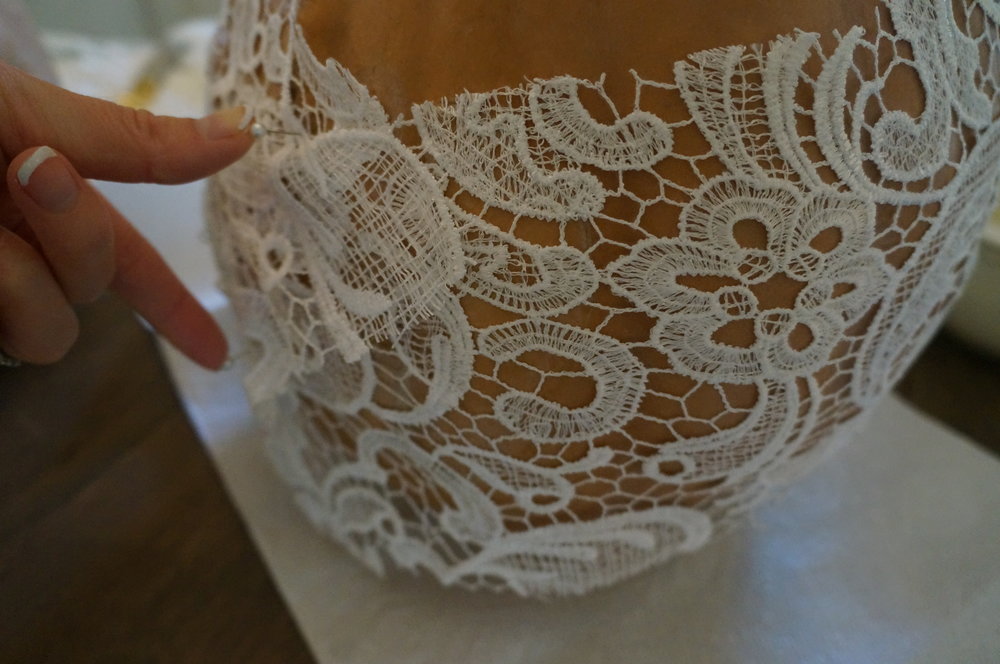
3. I used two small pins from my sewing basket and stretched the lace around the pumpkin, pinning the lace together to the pumpkin on the least attractive side.
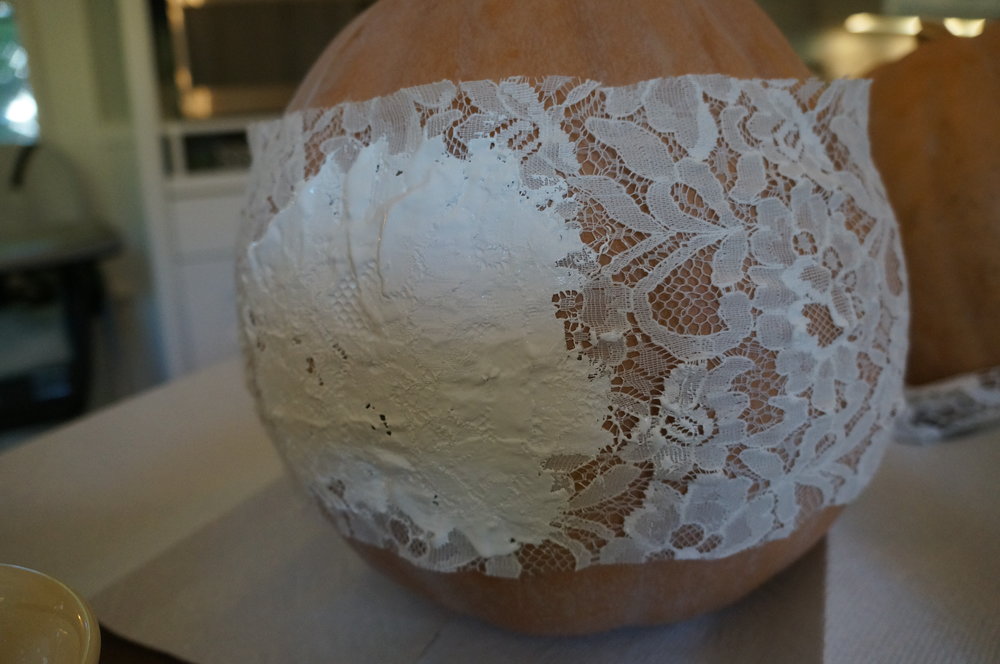
4. For my first method, I used a tight lace patterned strip, meaning there were much less open areas to the lace pattern. The width of your lace piece is going to depend on how much pumpkin you want showing. Mine was about 6 inches wide. I thickly GLOPED the paint onto the lace using a mini spatula. Evenly coating the lace all the way around then removing the pins and slowly peeling the lace off so as to not smudge it as you remove it. Overall I like this pattern so I kept it. But then I got the genius (NOT SO MUCH, don’t try it!) idea to then stick the painted side of the lace I had just peeled off the pumpkin, down onto my second pumpkin, expecting to get the opposite pattern of the lace to imprint. This was much less attractive so I washed it off.
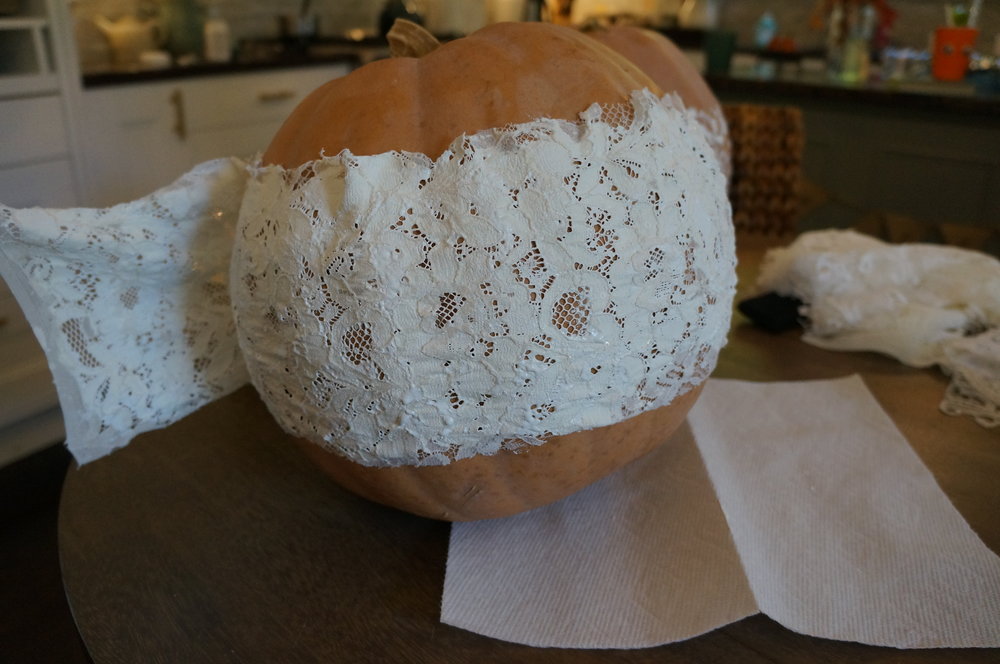

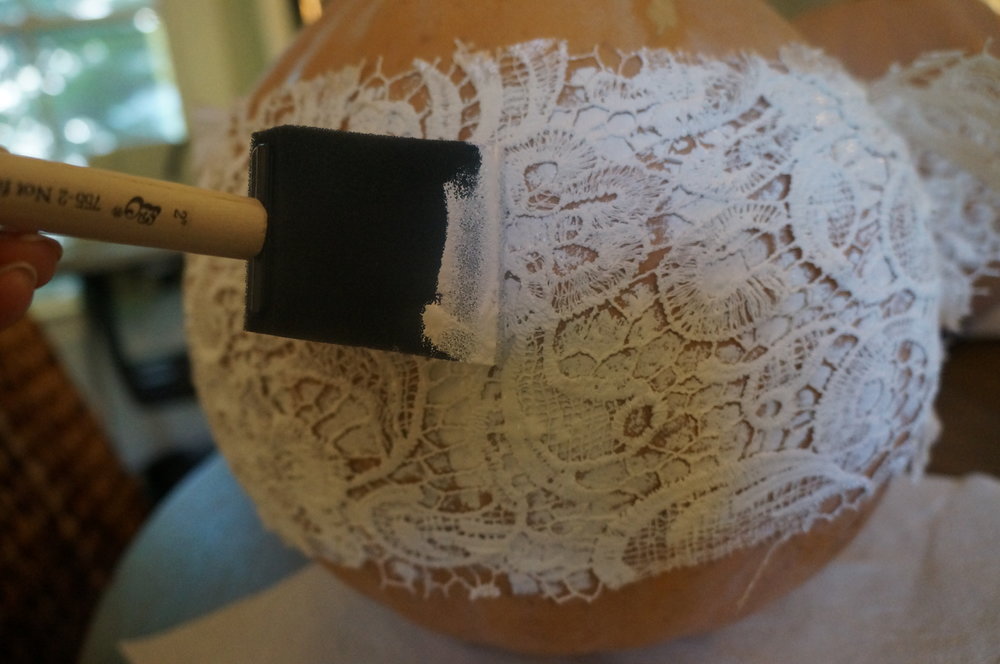
5. Method two (my favorite): I pinned a more open work lace strip onto the freshly washed pumpkin, pinning it together once again on the least attractive side. This time I LIGHTLY, using a foam brush, sponged the thickened paint all over the pumpkin. Once I covered the lace all around with my paint, I removed it slowly. I like this pattern most of all and it was easier. Sponge away my friends.
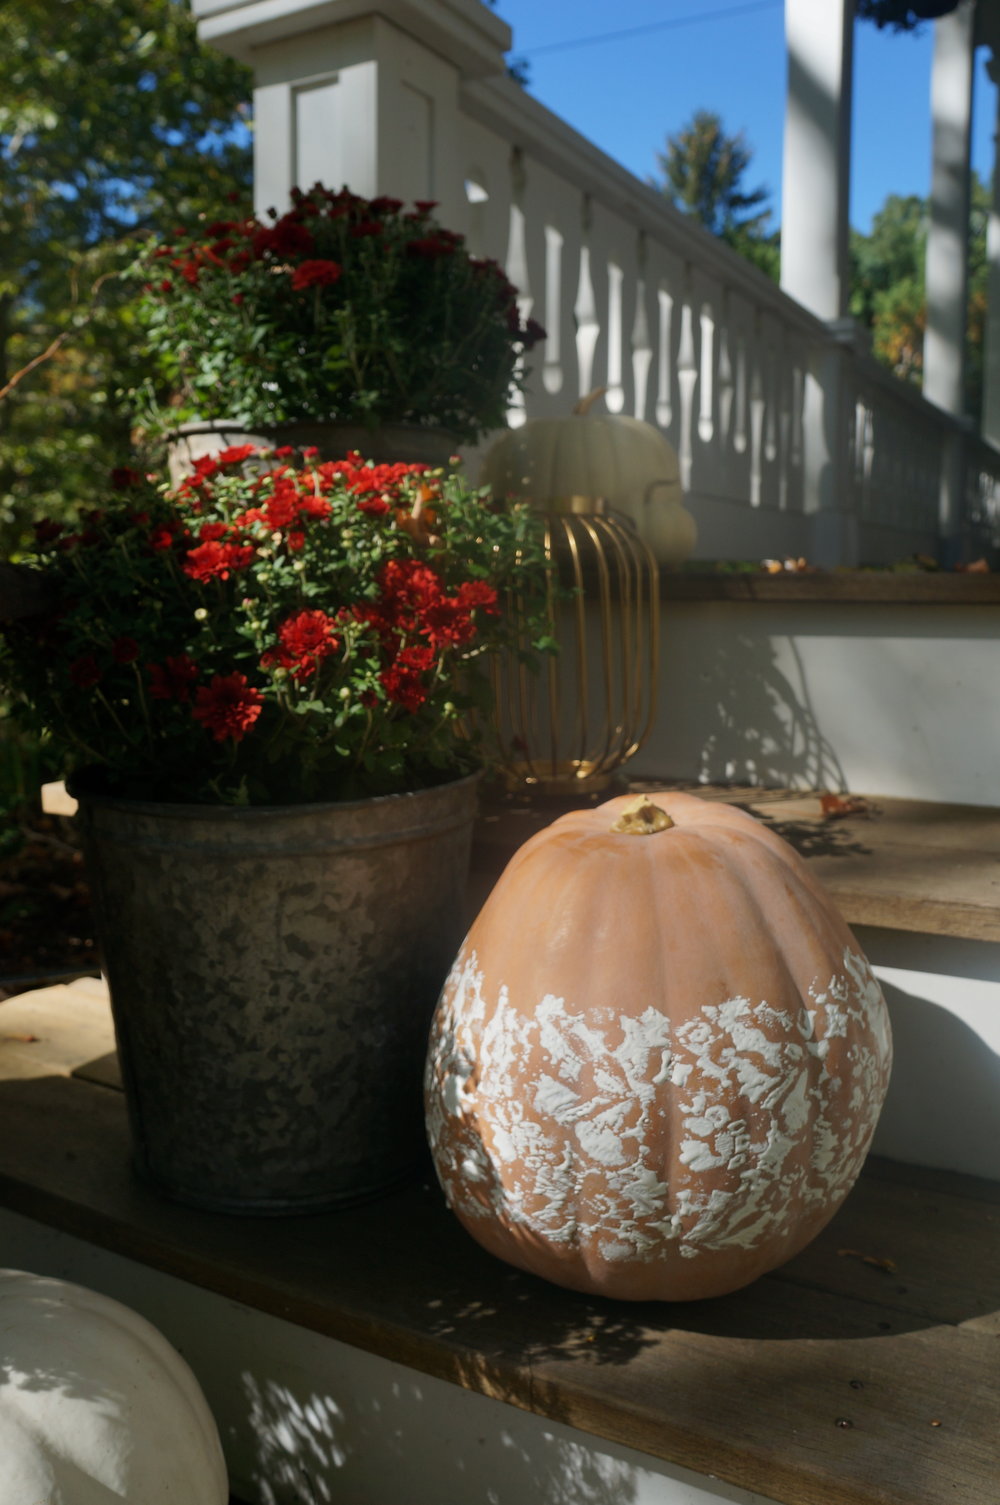
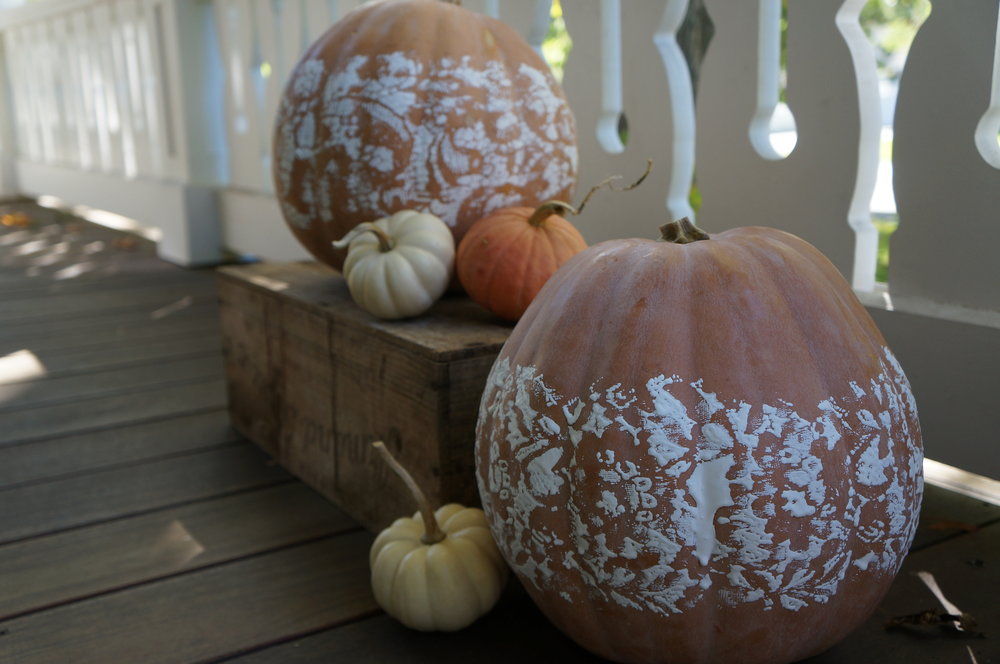
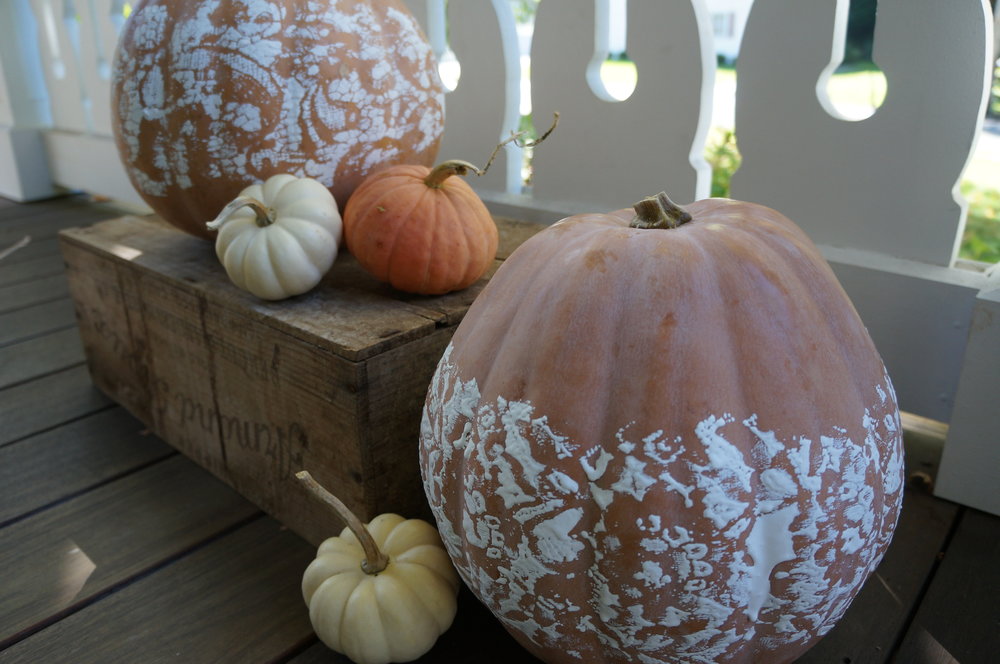 The pumpkin in the front is made via method 1. The pumpkin on the crate is via method 2.

 comment share
Great idea!